brake fluid GMC SIERRA 2010 User Guide
[x] Cancel search | Manufacturer: GMC, Model Year: 2010, Model line: SIERRA, Model: GMC SIERRA 2010Pages: 630, PDF Size: 4.65 MB
Page 447 of 630
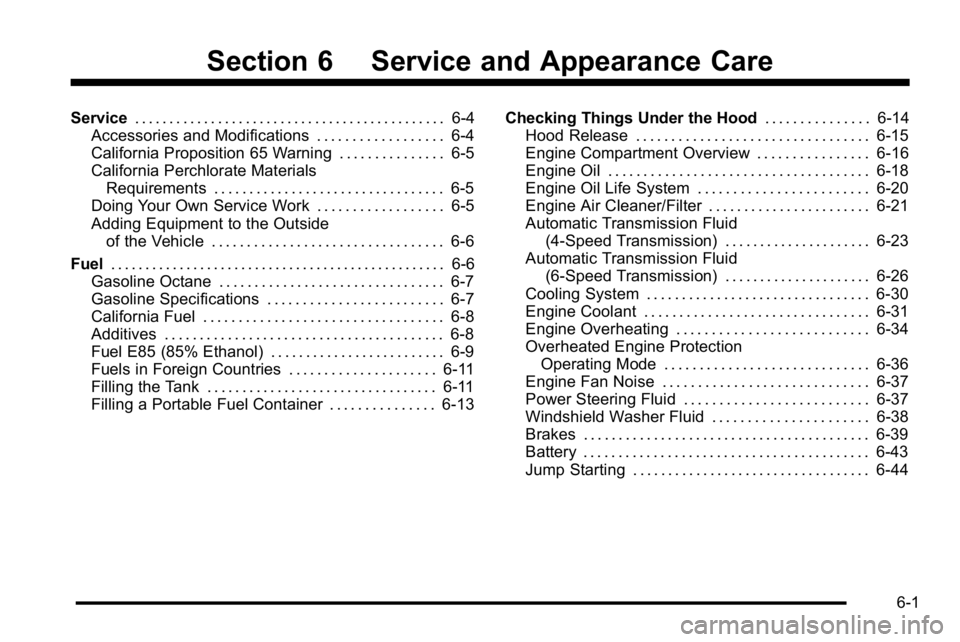
Section 6 Service and Appearance Care
Service. . . . . . . . . . . . . . . . . . . . . . . . . . . . . . . . . . . . . . . . . . . . . 6-4
Accessories and Modifications . . . . . . . . . . . . . . . . . . 6-4
California Proposition 65 Warning . . . . . . . . . . . . . . . 6-5
California Perchlorate Materials Requirements . . . . . . . . . . . . . . . . . . . . . . . . . . . . . . . . . 6-5
Doing Your Own Service Work . . . . . . . . . . . . . . . . . . 6-5
Adding Equipment to the Outside of the Vehicle . . . . . . . . . . . . . . . . . . . . . . . . . . . . . . . . . 6-6
Fuel . . . . . . . . . . . . . . . . . . . . . . . . . . . . . . . . . . . . . . . . . . . . . . . . . 6-6
Gasoline Octane . . . . . . . . . . . . . . . . . . . . . . . . . . . . . . . . 6-7
Gasoline Specifications . . . . . . . . . . . . . . . . . . . . . . . . . 6-7
California Fuel . . . . . . . . . . . . . . . . . . . . . . . . . . . . . . . . . . 6-8
Additives . . . . . . . . . . . . . . . . . . . . . . . . . . . . . . . . . . . . . . . . 6-8
Fuel E85 (85% Ethanol) . . . . . . . . . . . . . . . . . . . . . . . . . 6-9
Fuels in Foreign Countries . . . . . . . . . . . . . . . . . . . . . 6-11
Filling the Tank . . . . . . . . . . . . . . . . . . . . . . . . . . . . . . . . . 6-11
Filling a Portable Fuel Container . . . . . . . . . . . . . . . 6-13 Checking Things Under the Hood
. . . . . . . . . . . . . . .6-14
Hood Release . . . . . . . . . . . . . . . . . . . . . . . . . . . . . . . . . 6-15
Engine Compartment Overview . . . . . . . . . . . . . . . . 6-16
Engine Oil . . . . . . . . . . . . . . . . . . . . . . . . . . . . . . . . . . . . . 6-18
Engine Oil Life System . . . . . . . . . . . . . . . . . . . . . . . . 6-20
Engine Air Cleaner/Filter . . . . . . . . . . . . . . . . . . . . . . . 6-21
Automatic Transmission Fluid (4-Speed Transmission) . . . . . . . . . . . . . . . . . . . . . 6-23
Automatic Transmission Fluid (6-Speed Transmission) . . . . . . . . . . . . . . . . . . . . . 6-26
Cooling System . . . . . . . . . . . . . . . . . . . . . . . . . . . . . . . . 6-30
Engine Coolant . . . . . . . . . . . . . . . . . . . . . . . . . . . . . . . . 6-31
Engine Overheating . . . . . . . . . . . . . . . . . . . . . . . . . . . 6-34
Overheated Engine Protection Operating Mode . . . . . . . . . . . . . . . . . . . . . . . . . . . . . 6-36
Engine Fan Noise . . . . . . . . . . . . . . . . . . . . . . . . . . . . . 6-37
Power Steering Fluid . . . . . . . . . . . . . . . . . . . . . . . . . . 6-37
Windshield Washer Fluid . . . . . . . . . . . . . . . . . . . . . . 6-38
Brakes . . . . . . . . . . . . . . . . . . . . . . . . . . . . . . . . . . . . . . . . . 6-39
Battery . . . . . . . . . . . . . . . . . . . . . . . . . . . . . . . . . . . . . . . . . 6-43
Jump Starting . . . . . . . . . . . . . . . . . . . . . . . . . . . . . . . . . . 6-44
6-1
Page 460 of 630
Checking Things Under
the Hood
{WARNING:
An electric fan under the hood can start up and
injure you even when the engine is not running.
Keep hands, clothing, and tools away from any
underhood electric fan.
{WARNING:
Things that burn can get on hot engine parts and
start a fire. These include liquids like fuel, oil,
coolant, brake fluid, windshield washer and other
fluids, and plastic or rubber. You or others could
be burned. Be careful not to drop or spill things
that will burn onto a hot engine.
6-14
Page 463 of 630
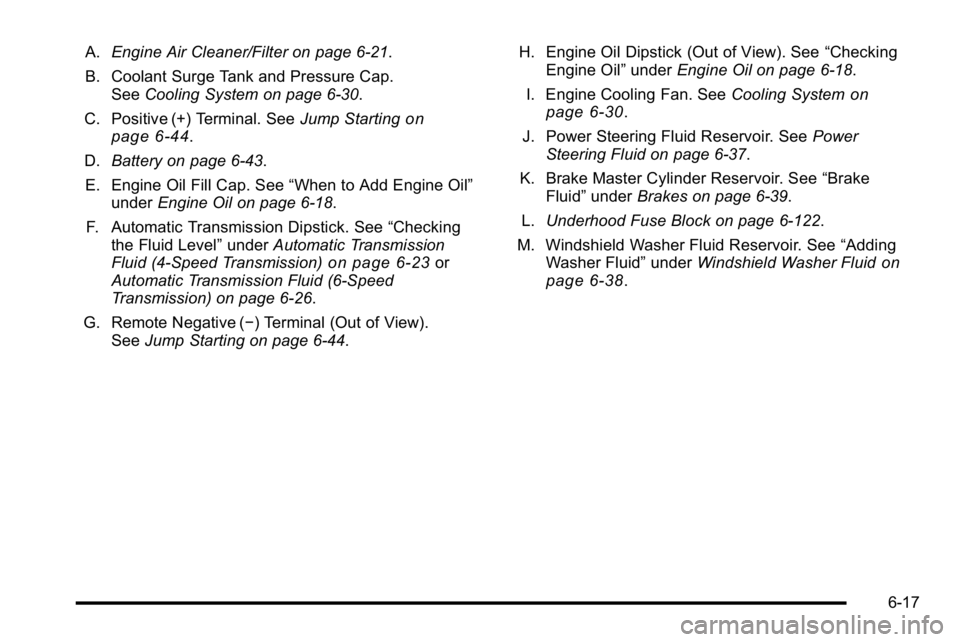
A.Engine Air Cleaner/Filter on page 6‑21.
B. Coolant Surge Tank and Pressure Cap. See Cooling System on page 6‑30.
C. Positive (+) Terminal. See Jump Starting
on
page 6‑44.
D. Battery on page 6‑43.
E. Engine Oil Fill Cap. See “When to Add Engine Oil”
under Engine Oil on page 6‑18.
F. Automatic Transmission Dipstick. See “Checking
the Fluid Level” underAutomatic Transmission
Fluid (4-Speed Transmission)
on page 6‑23or
Automatic Transmission Fluid (6-Speed
Transmission) on page 6‑26.
G. Remote Negative (−) Terminal (Out of View). See Jump Starting on page 6‑44. H. Engine Oil Dipstick (Out of View). See
“Checking
Engine Oil” underEngine Oil on page 6‑18.
I. Engine Cooling Fan. See Cooling System
on
page 6‑30.
J. Power Steering Fluid Reservoir. See Power
Steering Fluid on page 6‑37.
K. Brake Master Cylinder Reservoir. See “Brake
Fluid” under Brakes on page 6‑39.
L. Underhood Fuse Block on page 6‑122.
M. Windshield Washer Fluid Reservoir. See “Adding
Washer Fluid” underWindshield Washer Fluid
on
page 6‑38.
6-17
Page 470 of 630
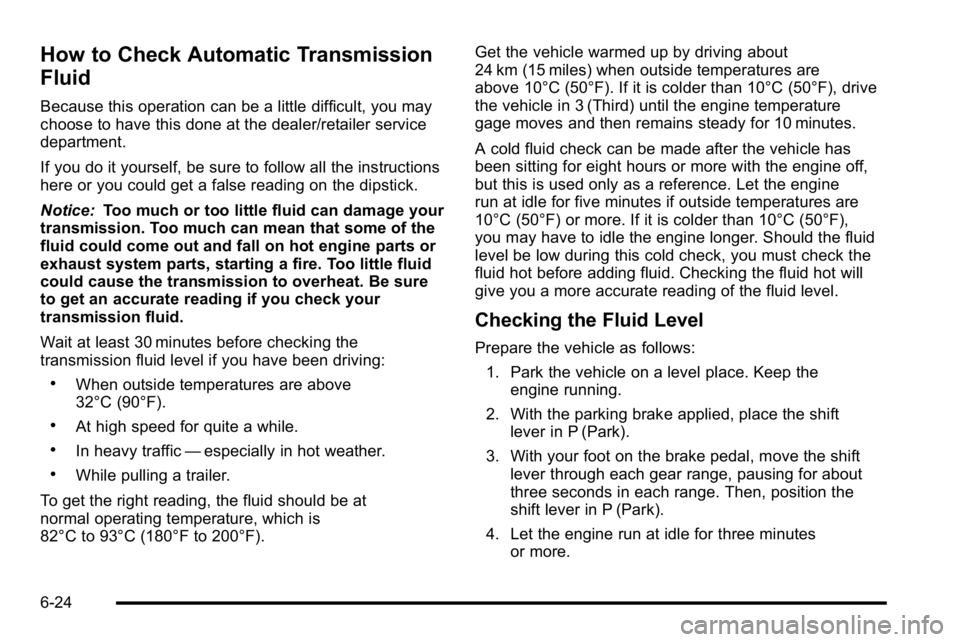
How to Check Automatic Transmission
Fluid
Because this operation can be a little difficult, you may
choose to have this done at the dealer/retailer service
department.
If you do it yourself, be sure to follow all the instructions
here or you could get a false reading on the dipstick.
Notice:Too much or too little fluid can damage your
transmission. Too much can mean that some of the
fluid could come out and fall on hot engine parts or
exhaust system parts, starting a fire. Too little fluid
could cause the transmission to overheat. Be sure
to get an accurate reading if you check your
transmission fluid.
Wait at least 30 minutes before checking the
transmission fluid level if you have been driving:
.When outside temperatures are above
32°C (90°F).
.At high speed for quite a while.
.In heavy traffic —especially in hot weather.
.While pulling a trailer.
To get the right reading, the fluid should be at
normal operating temperature, which is
82°C to 93°C (180°F to 200°F). Get the vehicle warmed up by driving about
24 km (15 miles) when outside temperatures are
above 10°C (50°F). If it is colder than 10°C (50°F), drive
the vehicle in 3 (Third) until the engine temperature
gage moves and then remains steady for 10 minutes.
A cold fluid check can be made after the vehicle has
been sitting for eight hours or more with the engine off,
but this is used only as a reference. Let the engine
run at idle for five minutes if outside temperatures are
10°C (50°F) or more. If it is colder than 10°C (50°F),
you may have to idle the engine longer. Should the fluid
level be low during this cold check, you must check the
fluid hot before adding fluid. Checking the fluid hot will
give you a more accurate reading of the fluid level.
Checking the Fluid Level
Prepare the vehicle as follows:
1. Park the vehicle on a level place. Keep the engine running.
2. With the parking brake applied, place the shift lever in P (Park).
3. With your foot on the brake pedal, move the shift lever through each gear range, pausing for about
three seconds in each range. Then, position the
shift lever in P (Park).
4. Let the engine run at idle for three minutes or more.
6-24
Page 473 of 630
How to Check Automatic Transmission
Fluid
Notice:Too much or too little fluid can damage your
transmission. Too much can mean that some of the
fluid could come out and fall on hot engine parts or
exhaust system parts, starting a fire. Too little fluid
could cause the transmission to overheat. Be sure
to get an accurate reading if you check your
transmission fluid.
Before checking the fluid level, prepare the vehicle
as follows:
1. Start the engine and park the vehicle on a level surface. Keep the engine running.
2. Apply the parking brake and place the shift lever in P (Park).
3. With your foot on the brake pedal, move the shift lever through each gear range, pausing for about
three seconds in each range. Then, move the shift
lever back to P (Park).
4. Allow the engine to idle (500 –800 rpm) for at least
one minute. Slowly release the brake pedal.
5. Keep the engine running and press the Trip/Fuel button or trip odometer reset stem until
TRANS TEMP (Transmission Temperature)
displays on the Driver Information Center (DIC). 6. Using the TRANS TEMP reading, determine and
perform the appropriate check procedure. If the
TRANS TEMP reading is not within the required
temperature ranges, allow the vehicle to cool,
or operate the vehicle until the appropriate
transmission fluid temperature is reached.
Cold Check Procedure
Use this procedure only as a reference to determine if
the transmission has enough fluid to be operated safely
until a hot check procedure can be made. The hot
check procedure is the most accurate method to check
the fluid level. Perform the hot check procedure at the
first opportunity. Use this cold check procedure to check
fluid level when the transmission temperature is
between 27°C and 32°C (80°F and 90°F).
1. Locate the
transmission dipstick
at the rear of the
engine compartment,
on the passenger side
of the vehicle.
See Engine Compartment Overview
on page 6‑16for more information.
2. Flip the handle up, and then pull out the dipstick and wipe it with a clean rag or paper towel.
6-27
Page 485 of 630
Notice:
.When using concentrated washer fluid,
follow the manufacturer's instructions for
adding water.
.Do not mix water with ready-to-use washer
fluid. Water can cause the solution to freeze
and damage the washer fluid tank and other
parts of the washer system. Also, water does
not clean as well as washer fluid.
.Fill the washer fluid tank only three-quarters
full when it is very cold. This allows for fluid
expansion if freezing occurs, which could
damage the tank if it is completely full.
.Do not use engine coolant (antifreeze) in the
windshield washer. It can damage the
vehicle's windshield washer system and
paint.
Brakes
Brake Fluid
The brake master cylinder
reservoir is filled with DOT
3 brake fluid. SeeEngine
Compartment Overview
on page 6‑16for the
location of the reservoir.
There are only two reasons why the brake fluid level in
the reservoir might go down:
.The brake fluid level goes down because of
normal brake lining wear. When new linings are
installed, the fluid level goes back up.
.A fluid leak in the brake hydraulic system can also
cause a low fluid level. Have the brake hydraulic
system fixed, since a leak means that sooner or
later the brakes will not work well.
6-39
Page 486 of 630
Do not top off the brake fluid. Adding fluid does not
correct a leak. If fluid is added when the linings are
worn, there will be too much fluid when new brake
linings are installed. Add or remove brake fluid, as
necessary, only when work is done on the brake
hydraulic system.
{WARNING:
If too much brake fluid is added, it can spill on the
engine and burn, if the engine is hot enough. You
or others could be burned, and the vehicle could
be damaged. Add brake fluid only when work is
done on the brake hydraulic system. See
“Checking Brake Fluid”in this section.
Refer to the Maintenance Schedule to determine when
to check the brake fluid. See Scheduled Maintenance
on page 7‑3.
Checking Brake Fluid
Check brake fluid by looking at the brake fluid reservoir.
SeeEngine Compartment Overview on page 6‑16.
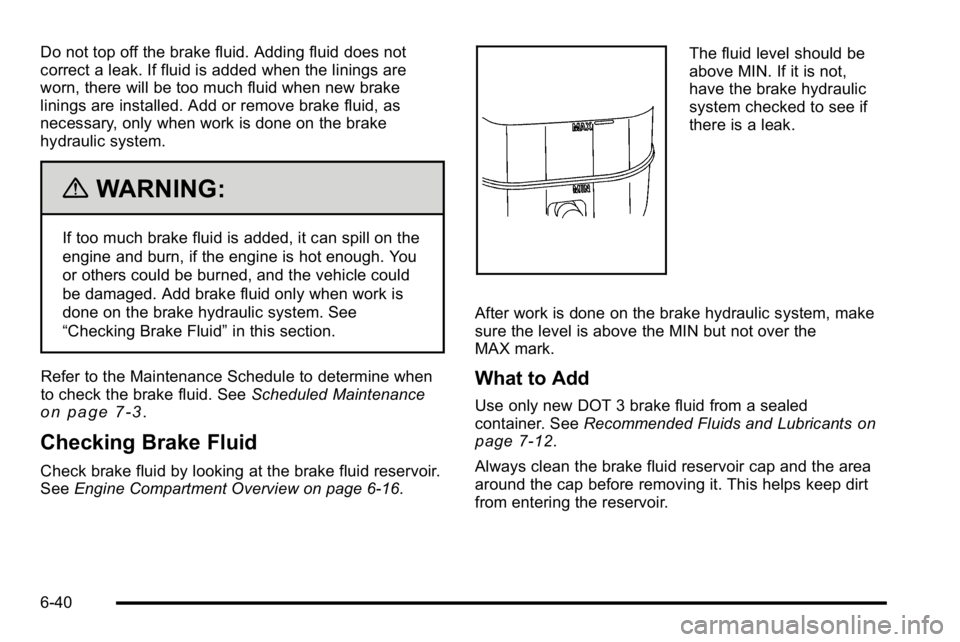
The fluid level should be
above MIN. If it is not,
have the brake hydraulic
system checked to see if
there is a leak.
After work is done on the brake hydraulic system, make
sure the level is above the MIN but not over the
MAX mark.
What to Add
Use only new DOT 3 brake fluid from a sealed
container. See Recommended Fluids and Lubricantson
page 7‑12.
Always clean the brake fluid reservoir cap and the area
around the cap before removing it. This helps keep dirt
from entering the reservoir.
6-40
Page 487 of 630
{WARNING:
With the wrong kind of fluid in the brake hydraulic
system, the brakes might not work well. This could
cause a crash. Always use the proper brake fluid.
Notice:
.Using the wrong fluid can badly damage
brake hydraulic system parts. For example,
just a few drops of mineral-based oil, such
as engine oil, in the brake hydraulic system
can damage brake hydraulic system parts
so badly that they will have to be replaced.
Do not let someone put in the wrong kind
of fluid.
.If brake fluid is spilled on the vehicle's
painted surfaces, the paint finish can be
damaged. Be careful not to spill brake
fluid on the vehicle. If you do, wash it off
immediately. See Washing Your Vehicle
on
page 6‑113
.
Brake Wear
This vehicle has front disc brakes and could have rear
drum brakes or rear disc brakes.
Disc brake pads have built-in wear indicators that make
a high-pitched warning sound when the brake pads are
worn and new pads are needed. The sound can come
and go or be heard all the time the vehicle is moving,
except when applying the brake pedal firmly.
{WARNING:
The brake wear warning sound means that soon
the brakes will not work well. That could lead to
an accident. When the brake wear warning sound
is heard, have the vehicle serviced.
Notice: Continuing to drive with worn-out brake
pads could result in costly brake repair.
Some driving conditions or climates can cause a brake
squeal when the brakes are first applied or lightly
applied. This does not mean something is wrong with
the brakes.
6-41
Page 578 of 630
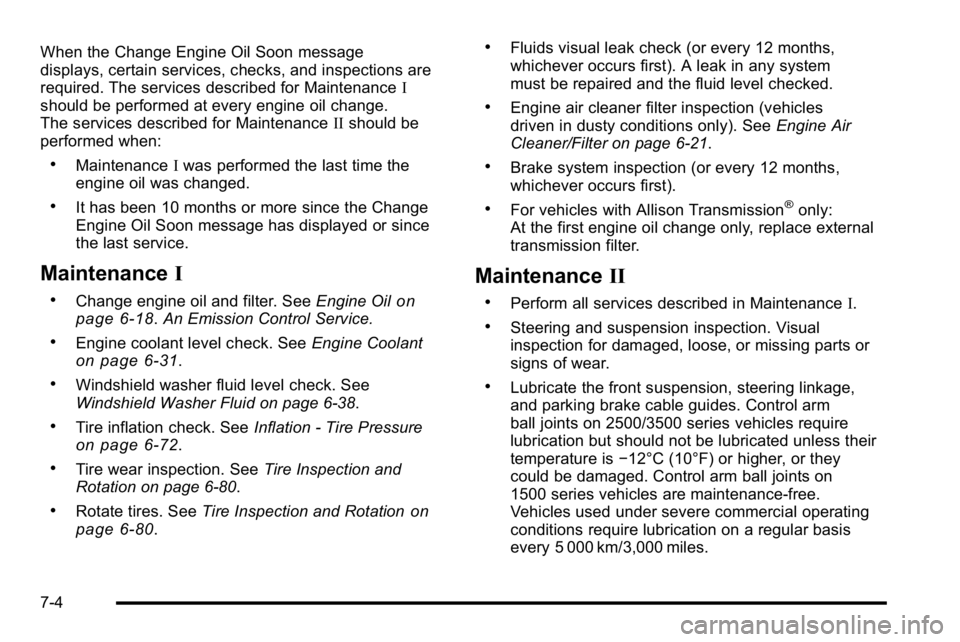
When the Change Engine Oil Soon message
displays, certain services, checks, and inspections are
required. The services described for MaintenanceI
should be performed at every engine oil change.
The services described for Maintenance IIshould be
performed when:
.Maintenance Iwas performed the last time the
engine oil was changed.
.It has been 10 months or more since the Change
Engine Oil Soon message has displayed or since
the last service.
Maintenance I
.Change engine oil and filter. See Engine Oilon
page 6‑18. An Emission Control Service.
.Engine coolant level check. See Engine Coolanton page 6‑31.
.Windshield washer fluid level check. See
Windshield Washer Fluid on page 6‑38.
.Tire inflation check. SeeInflation - Tire Pressureon page 6‑72.
.Tire wear inspection. See Tire Inspection and
Rotation on page 6‑80.
.Rotate tires. See Tire Inspection and Rotationon
page 6‑80.
.Fluids visual leak check (or every 12 months,
whichever occurs first). A leak in any system
must be repaired and the fluid level checked.
.Engine air cleaner filter inspection (vehicles
driven in dusty conditions only). See Engine Air
Cleaner/Filter on page 6‑21.
.Brake system inspection (or every 12 months,
whichever occurs first).
.For vehicles with Allison Transmission®only:
At the first engine oil change only, replace external
transmission filter.
Maintenance II
.Perform all services described in Maintenance I.
.Steering and suspension inspection. Visual
inspection for damaged, loose, or missing parts or
signs of wear.
.Lubricate the front suspension, steering linkage,
and parking brake cable guides. Control arm
ball joints on 2500/3500 series vehicles require
lubrication but should not be lubricated unless their
temperature is−12°C (10°F) or higher, or they
could be damaged. Control arm ball joints on
1500 series vehicles are maintenance‐free.
Vehicles used under severe commercial operating
conditions require lubrication on a regular basis
every 5 000 km/3,000 miles.
7-4
Page 580 of 630
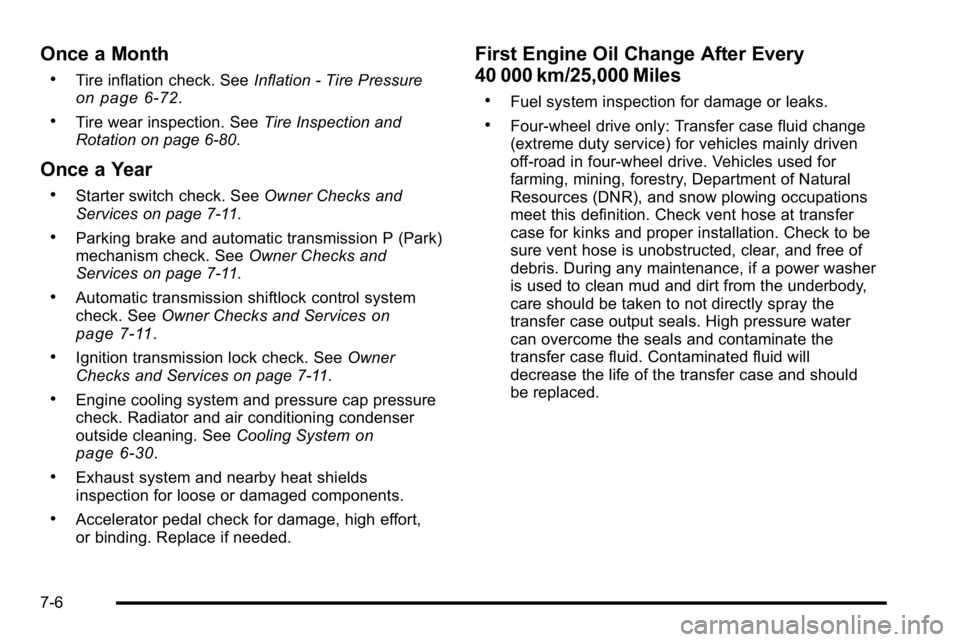
Once a Month
.Tire inflation check. SeeInflation - Tire Pressureon page 6‑72.
.Tire wear inspection. See Tire Inspection and
Rotation on page 6‑80.
Once a Year
.Starter switch check. See Owner Checks and
Services on page 7‑11.
.Parking brake and automatic transmission P (Park)
mechanism check. See Owner Checks and
Services on page 7‑11.
.Automatic transmission shiftlock control system
check. See Owner Checks and Serviceson
page 7‑11.
.Ignition transmission lock check. See Owner
Checks and Services on page 7‑11.
.Engine cooling system and pressure cap pressure
check. Radiator and air conditioning condenser
outside cleaning. See Cooling System
on
page 6‑30.
.Exhaust system and nearby heat shields
inspection for loose or damaged components.
.Accelerator pedal check for damage, high effort,
or binding. Replace if needed.
First Engine Oil Change After Every
40 000 km/25,000 Miles
.Fuel system inspection for damage or leaks.
.Four‐wheel drive only: Transfer case fluid change
(extreme duty service) for vehicles mainly driven
off‐road in four‐wheel drive. Vehicles used for
farming, mining, forestry, Department of Natural
Resources (DNR), and snow plowing occupations
meet this definition. Check vent hose at transfer
case for kinks and proper installation. Check to be
sure vent hose is unobstructed, clear, and free of
debris. During any maintenance, if a power washer
is used to clean mud and dirt from the underbody,
care should be taken to not directly spray the
transfer case output seals. High pressure water
can overcome the seals and contaminate the
transfer case fluid. Contaminated fluid will
decrease the life of the transfer case and should
be replaced.
7-6