Page 1 GMC SIERRA 2024 Owner's Guide
[x] Cancel search | Manufacturer: GMC, Model Year: 2024, Model line: SIERRA, Model: GMC SIERRA 2024Pages: 440, PDF Size: 9.21 MB
Page 196 of 440

GMC Sierra/Sierra Denali 2500 HD/3500 HD Owner Manual (GMNA-
Localizing-U.S./Canada-16908340) - 2024 - CRC - 12/7/22
194 Climate Controls
The fan, air delivery mode, air conditioning,
driver and passenger temperatures, and Sync
settings can be controlled by touching
CLIMATE on the infotainment home screen.
A selection can then be made on the front
climate control page displayed.
The fan speed setting appears briefly on the
display screen when the center stack climate
controls are adjusted.
Automatic Operation
The system automatically controls the fan
speed, air delivery, air conditioning, and
recirculation in order to heat or cool the
vehicle to the desired temperature.
When AUTO is lit, all four functions operate
automatically. Each function can also be
manually set and the selected setting is
displayed. Functions not manually set will
continue to be automatically controlled,
even if the AUTO indicator is not lit.
For automatic operation:1. Press AUTO.
2. Set the temperature. Allow the system time to stabilize. Adjust the temperature
as needed for best comfort. To improve fuel efficiency and to cool the
vehicle faster, recirculation may be
automatically selected in warm weather.
The recirculation light will not come on
when automatically controlled. See
@
under
“Manual Operation” for more details.
Manual Operation
9:Press to increase or decrease the fan
speed. The fan speed setting appears on the
main display. Pressing either button cancels
automatic fan control and the fan is
controlled manually.
Press AUTO to return to automatic
operation.
Driver and Passenger Temperature Control :
The temperature can be adjusted separately
for the driver and passenger.
Turn the knob clockwise or counterclockwise
to increase or decrease the driver or
passenger temperature setting. The driver
side or passenger side temperature display
shows the temperature setting increasing or
decreasing. SYNC :
Press to link the passenger
temperature setting to the driver setting.
The SYNC indicator light will turn on. When
the passenger setting is adjusted, the SYNC
indicator light will turn off.
Air Delivery Mode Control : Press
z,Y,
or
[to change the direction of the
airflow. Any combination of the three
controls can be selected. An indicator light
comes on in the selected mode button.
Changing the mode cancels the automatic
operation and the system goes into manual
mode. Press AUTO to return to automatic
operation.
To change the current mode, select one or
more of the following:
z: Air is directed to the windshield,
outboard A/C outlets, and side window
outlets.
Y: Air is directed to the A/C outlets.
[:Air is directed to the floor outlets,
with some air directed to the windshield,
outboard A/C outlets, and side window
outlets.
Page 294 of 440

GMC Sierra/Sierra Denali 2500 HD/3500 HD Owner Manual (GMNA-
Localizing-U.S./Canada-16908340) - 2024 - CRC - 12/13/22
292 Driving and Operating
Warning (Continued)
injury, death, or property damage. Only
use the ITBC system with electric or
electric over hydraulic trailer brake
systems.
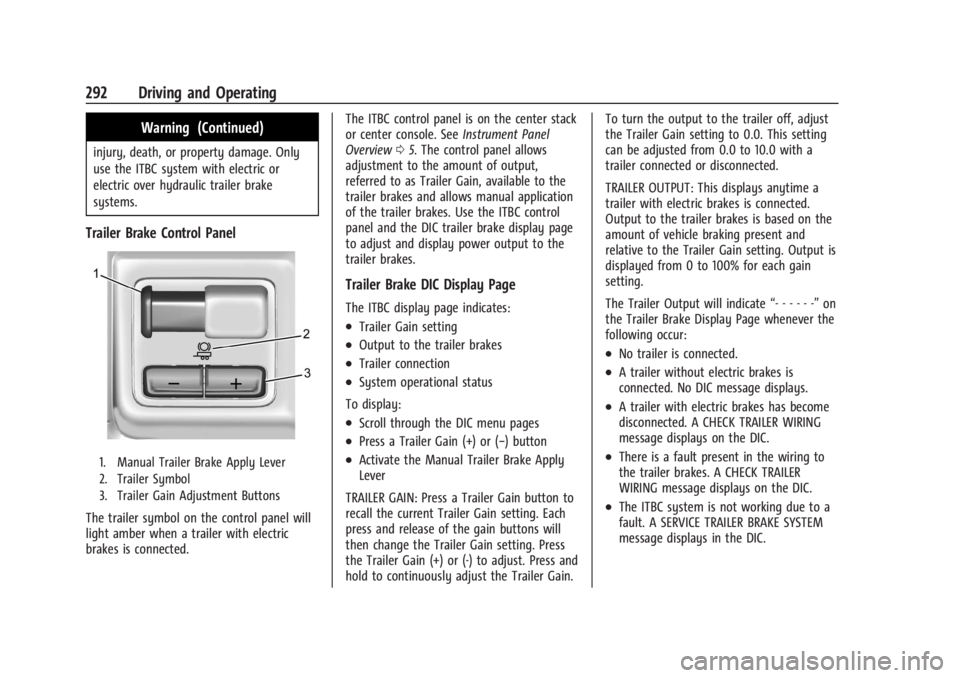
Trailer Brake Control Panel
1. Manual Trailer Brake Apply Lever
2. Trailer Symbol
3. Trailer Gain Adjustment Buttons
The trailer symbol on the control panel will
light amber when a trailer with electric
brakes is connected.The ITBC control panel is on the center stack
or center console. See
Instrument Panel
Overview 05. The control panel allows
adjustment to the amount of output,
referred to as Trailer Gain, available to the
trailer brakes and allows manual application
of the trailer brakes. Use the ITBC control
panel and the DIC trailer brake display page
to adjust and display power output to the
trailer brakes.
Trailer Brake DIC Display Page
The ITBC display page indicates:
.Trailer Gain setting
.Output to the trailer brakes
.Trailer connection
.System operational status
To display:
.Scroll through the DIC menu pages
.Press a Trailer Gain (+) or (−) button
.Activate the Manual Trailer Brake Apply
Lever
TRAILER GAIN: Press a Trailer Gain button to
recall the current Trailer Gain setting. Each
press and release of the gain buttons will
then change the Trailer Gain setting. Press
the Trailer Gain (+) or (-) to adjust. Press and
hold to continuously adjust the Trailer Gain. To turn the output to the trailer off, adjust
the Trailer Gain setting to 0.0. This setting
can be adjusted from 0.0 to 10.0 with a
trailer connected or disconnected.
TRAILER OUTPUT: This displays anytime a
trailer with electric brakes is connected.
Output to the trailer brakes is based on the
amount of vehicle braking present and
relative to the Trailer Gain setting. Output is
displayed from 0 to 100% for each gain
setting.
The Trailer Output will indicate
“- - - - - -”on
the Trailer Brake Display Page whenever the
following occur:
.No trailer is connected.
.A trailer without electric brakes is
connected. No DIC message displays.
.A trailer with electric brakes has become
disconnected. A CHECK TRAILER WIRING
message displays on the DIC.
.There is a fault present in the wiring to
the trailer brakes. A CHECK TRAILER
WIRING message displays on the DIC.
.The ITBC system is not working due to a
fault. A SERVICE TRAILER BRAKE SYSTEM
message displays in the DIC.
Page 299 of 440

GMC Sierra/Sierra Denali 2500 HD/3500 HD Owner Manual (GMNA-
Localizing-U.S./Canada-16908340) - 2024 - CRC - 12/13/22
Driving and Operating 297
If equipped this feature allows profiles for
connected trailers to be created to view
status, to store and track trailer usage
information, and to set up towing assist
features.
The Trailering App welcome page appears
when the Trailering App is opened for the
first time from the infotainment home
screen.
When a trailer is electrically connected and
a trailer profile has not been created, there
will be an option to create a profile, use a
guest profile, or select Accessory/No trailer.
When a trailer is electrically connected and
after a Trailer Profile has been created, the
trailer detection pop-up appears with a list
of all of the custom Trailer Profiles made on
the vehicle. To load an existing Trailer
Profile, select one of the Trailer Profiles
listed, or load the Guest Trailer Profile by
selecting GUEST TRAILER. Touching
Accessory/No trailer will select Accessory/No
trailer as the active Trailer Profile and will
dismiss the pop- up. Shifting the vehicle
from P (Park) will select Guest Trailer as the
active Trailer Profile and will dismiss the
pop-up.Create a Trailer Profile
Touch Add Trailer on the trailer detection
pop-up or touch + Add Trailer in the
Trailering App.
Follow the on-screen instructions to set up
profile.
After a profile is created, set up for
additional features may become available,
such as Tow/Haul Mode reminder, Trailer
Tire Pressure Monitoring System (TTPMS),
maintenance reminders, or towing assist.
Import a Trailer Profile
Touch Import on the trailer detection pop-up
or touch Import in the Trailering App.
Follow the on-screen instructions to import a
profile.
After a profile is imported, it can be selected
from the trailer list. The Tow/Haul Mode
reminder, Brake Gain Setting, and Trailer
Tire Pressure sensor learning, if equipped, do
not import.
Trailer Feature Setup
Tow/Haul Mode Reminder
To turn the Tow/Haul Mode Reminder
setting on, touch Yes. To turn it off,
touch No.Trailer Tire Pressure Setup
If the Trailer TTPMS is detected, touch the
Tire Pressure Monitoring icon to set up tire
pressure monitoring.
The trailer tire pressure sensors can transmit
up to 7 m (23 feet) from the hitch receiver of
the vehicle.
A trailer must be electrically connected to
the vehicle before starting the
sensor-to-vehicle learn process.
After selecting Start from the Learn Sensors
screen, use the Tool Method or the Manual
Method (described below) to learn each tire
sensor, during which the current tire number
will be highlighted.
Each sensor has a maximum of two minutes
to learn. After a sensor is learned, a
checkmark appears next to the tire, the
vehicle horn sounds, the vehicle brake lamps
flash, and all working trailer lamps flash.
It then moves to the next sensor.
Touch Stop to cancel the process.
The recommended tire pressure must be
entered for the trailer tires. This allows the
vehicle to alert when the tire pressure is
high or low.
Page 356 of 440

GMC Sierra/Sierra Denali 2500 HD/3500 HD Owner Manual (GMNA-
Localizing-U.S./Canada-16908340) - 2024 - CRC - 12/7/22
354 Vehicle Care
.There is a malfunction in the TPMS.
.There is a malfunction in the horn or turn
signal lamps.
.The TPMS sensor identification code is not
registered to the system.
.The TPMS sensor battery is low.
If the tire fill alert does not operate due to
TPMS interference, move the vehicle about
1 m (3 ft) back or forward and try again.
If the tire fill alert feature is not working,
use a tire pressure gauge.
TPMS Sensor Matching Process
Use this TPMS Sensor Matching Process if
your vehicle is equipped with dual rear
wheels:
Each TPMS sensor has a unique
identification code. The identification code
needs to be matched to a new tire/wheel
position after rotating the vehicle’s tires or
replacing one or more of the TPMS sensors.
Also, the TPMS sensor matching process
should be performed after replacing a spare
tire with a road tire containing the TPMS
sensor. The malfunction light and the DIC
message should go off at the next ignition
cycle. The sensors are matched to the tire/
wheel positions, using a TPMS relearn tool,
in the following order: driver side front tire, passenger side front tire, passenger side
outer rear tire, passenger side inner rear
tire, driver side outer rear tire, and driver
side inner rear tire. See your dealer for
service or to purchase a relearn tool.
A TPMS relearn tool can also be purchased.
See Tire Pressure Monitor Sensor Activation
Tool at www.gmtoolsandequipment.com or
call 1-800-GM TOOLS (1-800-468-6657).
There are two minutes to match the first
tire/wheel position, and five minutes overall
to match all six tire/wheel positions. If it
takes longer, the matching process stops
and must be restarted.
The TPMS sensor matching process is:
1. Set the parking brake.
2. Turn the ignition on without starting the vehicle.
3. Uplevel DIC Only: Make sure the Tire Pressure info page option is turned on.
The info pages on the DIC can be turned
on and off through the Options menu.
See Driver Information Center (DIC) (Base
Level) 0131 or
Driver Information Center (DIC) (Uplevel)
0 133. 4. If the vehicle has an uplevel DIC, use the
DIC controls on the right side of the
steering wheel to scroll to the Tire
Pressure screen under the DIC info page.
If the vehicle has a base level DIC, use
the trip odometer reset stem to scroll to
the Tire Pressure screen.
5. If the vehicle has an uplevel DIC, press and hold the thumbwheel located in the
center of the DIC controls on the right
side of the steering wheel.
If the vehicle has a base level DIC, press
and hold the trip odometer reset stem
for about five seconds. A message asking
if the process should begin should
appear. Select yes and press the trip
odometer reset stem to confirm the
selection.
The horn sounds twice to signal the
receiver is in relearn mode and the TIRE
LEARNING ACTIVE message displays on
the DIC screen.
6. Start with the driver side front tire.
7. Place the relearn tool against the tire sidewall, near the valve stem. Then press
the button to activate the TPMS sensor.
A horn chirp confirms that the sensor
identification code has been matched to
this tire and wheel position.
Page 419 of 440

GMC Sierra/Sierra Denali 2500 HD/3500 HD Owner Manual (GMNA-
Localizing-U.S./Canada-16908340) - 2024 - CRC - 12/7/22
OnStar 417
OnStar
OnStar Overview
OnStar Overview . . . . . . . . . . . . . . . . . . . . . . 417
OnStar Services
Emergency . . . . . . . . . . . . . . . . . . . . . . . . . . . . 418
Security . . . . . . . . . . . . . . . . . . . . . . . . . . . . . . . 418
OnStar Additional Information
OnStar Additional Information . . . . . . . . . 419
OnStar Overview
=Voice Command Button
QBlue OnStar Button
>Red Emergency Button
This vehicle may be equipped with a
comprehensive, in-vehicle system that can
connect to an OnStar Advisor for Emergency,
Security, Navigation, Connections, and
Diagnostics Services. OnStar services may
require a paid service plan and data plan.
OnStar requires the vehicle battery and
electrical system, cellular service, and GPS
satellite signals to be available and
operating. OnStar acts as a link to existing
emergency service providers. OnStar may
collect information about you and your
vehicle, including location information. See
OnStar User Terms, Privacy Statement, and
Software Terms for more details including
system limitations at www.onstar.com (U.S.)
or www.onstar.ca (Canada). The OnStar system status light is next to
the OnStar buttons. If the status light is:
.Solid Green: System is ready.
.Flashing Green: On a call.
.Red: Indicates a problem.
.Off: System is off. PressQtwice to
speak with an OnStar Advisor.
Press
Qor call 1-888-4ONSTAR
(1-888-466-7827) to speak to an Advisor.
Functionality of the Voice Command button
may vary by vehicle and region.
Press
=to:
.Open the OnStar app on the infotainment
display. If equipped, the infotainment
system has OnStar controls in the
embedded OnStar app on the Home Page.
Most OnStar functions that can be
performed with the buttons can be done
using the app. To open the app, touch the
OnStar icon on the Home Page. App
updates require a corresponding service
plan. Features vary by region and model.
Features are subject to change. For more
information, see my.gmc.com/learn or
press
Q.