brake light GMC SIERRA CLASSIC 2007 Owners Manual
[x] Cancel search | Manufacturer: GMC, Model Year: 2007, Model line: SIERRA CLASSIC, Model: GMC SIERRA CLASSIC 2007Pages: 674, PDF Size: 3.5 MB
Page 148 of 674
Tow/Haul Mode (Allison
Transmission®)
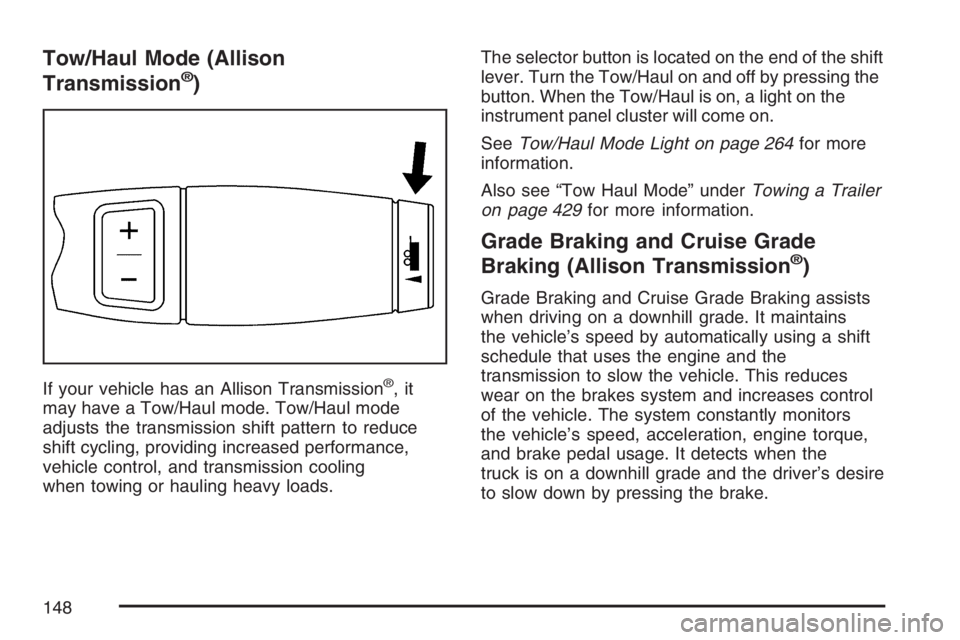
If your vehicle has an Allison Transmission®,it
may have a Tow/Haul mode. Tow/Haul mode
adjusts the transmission shift pattern to reduce
shift cycling, providing increased performance,
vehicle control, and transmission cooling
when towing or hauling heavy loads.The selector button is located on the end of the shift
lever. Turn the Tow/Haul on and off by pressing the
button. When the Tow/Haul is on, a light on the
instrument panel cluster will come on.
SeeTow/Haul Mode Light on page 264for more
information.
Also see “Tow Haul Mode” underTowing a Trailer
on page 429for more information.
Grade Braking and Cruise Grade
Braking (Allison Transmission®)
Grade Braking and Cruise Grade Braking assists
when driving on a downhill grade. It maintains
the vehicle’s speed by automatically using a shift
schedule that uses the engine and the
transmission to slow the vehicle. This reduces
wear on the brakes system and increases control
of the vehicle. The system constantly monitors
the vehicle’s speed, acceleration, engine torque,
and brake pedal usage. It detects when the
truck is on a downhill grade and the driver’s desire
to slow down by pressing the brake.
148
Page 152 of 674
Shift Speeds
{CAUTION:
If you skip a gear when you downshift,
you could lose control of your vehicle.
You could injure yourself or others. Do
not shift down more than one gear at a
time when you downshift.
Do not allow the engine Revolutions Per Minute
(RPM) to overspeed and enter the tachometer red
lines. Engine overspeed occurs when downshifting,
or descending a grade, at too high a vehicle
speed. When going down steep grades, always
select a gear at least one position lower than you
would use on climbing a grade. This will allow
the vehicle’s engine to provide some braking and
help to slow the vehicle as it goes down the
grade. Monitor your vehicle speed, acceleration
and engine RPM while applying the brakes as you
go down the grade to ensure you have complete
control over the vehicle.If your engine speed drops below 600 rpm, or if
the engine is not running smoothly, you should
downshift to the next lower gear. When operating
on slippery surfaces, downshift at lower than
normal vehicle speeds to prevent the tires from
slipping.
In vehicles that have a bench seat, move the
tallest beverage containers to the right cupholder
to provide additional clearance for the shift
lever.
For vehicles that have a center console, the front
cup holder pulls out and turns 180° to provide
additional clearance between tall beverage
containers and the shift lever.
Up-Shift Light
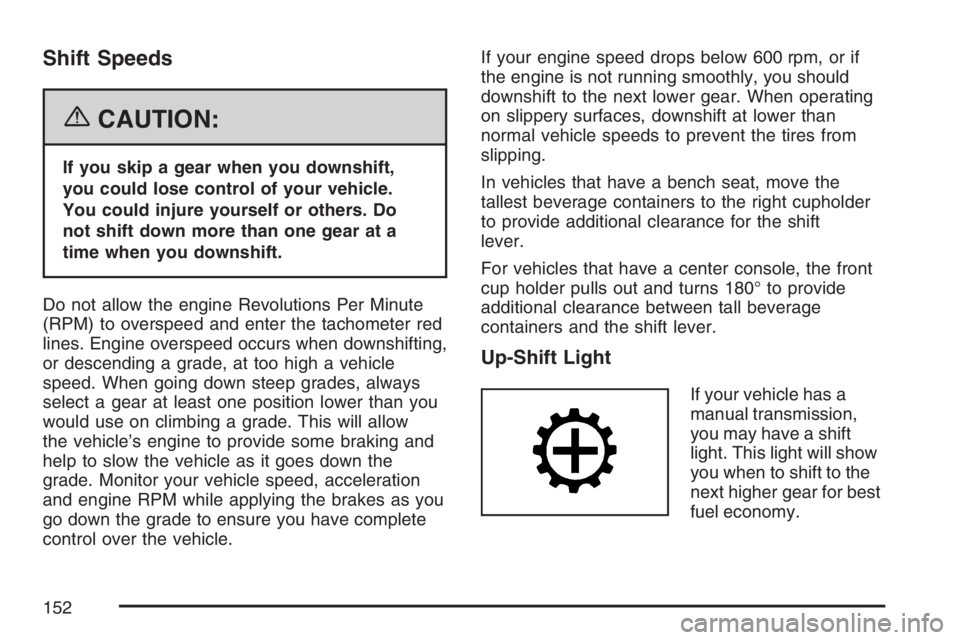
If your vehicle has a
manual transmission,
you may have a shift
light. This light will show
you when to shift to the
next higher gear for best
fuel economy.
152
Page 162 of 674
Shifting Into NEUTRAL
{CAUTION:
Shifting the transfer case to NEUTRAL
can cause your vehicle to roll even if the
transmission is in PARK (P). You or
someone else could be seriously injured.
Be sure to set the parking brake before
placing the transfer case in NEUTRAL.
SeeParking Brake on page 169.
To shift the transfer case to NEUTRAL do the
following:
1. Make sure the vehicle is parked so that it will
not roll.
2. Set the parking brake and apply the regular
brake pedal.
3. Start the vehicle or turn the ignition to RUN.4. Put the transmission in NEUTRAL (N).
5. Shift the transfer case to Two-Wheel
Drive High.
6. Simultaneously press and hold the Two-Wheel
Drive High and Four-Wheel Drive Low buttons
for 10 seconds. The red NEUTRAL light will
come on when the transfer case shift to
NEUTRAL is complete.
7. If the engine is running, shift the transmission
to REVERSE (R) for one second, then shift
the transmission to DRIVE (D) for one second,
or FIRST (1) for vehicles that have a manual
transmission.
8. Turn the engine off, by turning the key to
ACCESSORY.
9. Place the transmission shift lever in
PARK (P).
10. Release the parking brake prior to moving the
vehicle.
11. Turn the ignition to LOCK.
162
Page 163 of 674
Shifting Out of NEUTRAL
To shift out of NEUTRAL:
1. Set the parking brake and apply the regular
brake pedal.
2. Turn the ignition to RUN with the engine off.
3. Shift the transmission to NEUTRAL (N).
4. Press the button for the desired transfer case
shift position (Two-Wheel Drive High,
Four-Wheel Drive High, AUTO 4WD, or
Four-Wheel Drive Low).5. After the transfer case has shifted out of
NEUTRAL the red light will go out.
6. Release the parking brake prior to moving the
vehicle.
7. You may start the engine and shift the
transmission to the desired position.
Excessively shifting the transfer case into or out of
the different modes may cause the transfer
case to enter the shift protection mode. This mode
protects the transfer case from possible damage
and only allows the transfer case to respond
to one shift per 10 seconds. The transfer case may
stay in this mode for up to three minutes.
163
Page 167 of 674
Shifting from Four-Wheel Drive Low to
Four-Wheel Drive High or Two-Wheel
Drive High
To shift from Four-Wheel Drive Low to Four-Wheel
Drive High or Two-Wheel Drive High, your
vehicle must be stopped or moving less than
3 mph (5 km/h) with the transmission in
NEUTRAL (N) for an automatic transmission or
the clutch pedal pressed for a manual
transmission. The preferred method for shifting out
of Four-Wheel Drive Low is to have your vehicle
moving 3 mph (5 km/h).
Press and release the Two-Wheel Drive High or
Four-Wheel Drive High switch. You must wait
for the Two-Wheel Drive High or Four-Wheel Drive
High indicator light to stop �ashing and stay on
before shifting the transmission into gear or
releasing the clutch pedal.
If the Four-Wheel Drive High switch is pressed
when your vehicle is in gear, the Four-Wheel Drive
High indicator light will �ash for 30 seconds but
the vehicle will not complete the shift unless
it is moving slower than 3 mph (5 km/h) and the
transmission is in NEUTRAL (N).
Shifting into NEUTRAL
{CAUTION:
Shifting the transfer case to NEUTRAL
can cause your vehicle to roll even if the
transmission is in PARK (P). You or
someone else could be seriously injured.
Be sure to set the parking brake before
placing the transfer case in NEUTRAL.
SeeParking Brake on page 169.
To shift the transfer case to NEUTRAL, �rst make
sure the vehicle is parked so that it will not roll:
1. Set the parking brake and apply the regular
brake pedal.
2. Start the vehicle or turn the ignition to RUN.
3. Press the foot brake pedal and put the
transmission in NEUTRAL (N).
4. Shift the transfer case to Two-Wheel
Drive High.
167
Page 168 of 674
5. Simultaneously press and hold the Two-Wheel
Drive High and Four-Wheel Drive Low buttons
for 10 seconds. The red NEUTRAL light will
come on when the transfer case shift to
NEUTRAL is complete.
6. Start the engine if it is not already running.
7. Press and hold the foot brake pedal and
Shift the transmission to REVERSE (R)
for one second, then shift the transmission for
one second to DRIVE (D) for an automatic
transmission, or FIRST (1) for vehicles
that have a manual transmission. Then let out
the clutch. This is to ensure the transfer
case is in NEUTRAL. If not, repeat this
procedure starting at Step 3.
8. Turn the engine off, by turning the key to
ACCESSORY.
9. Place the transmission shift lever in PARK (P)
for an automatic transmission, or FIRST (1)
for vehicles that have a manual transmission.
10. Release the parking brake prior to moving the
vehicle.
11. Turn the ignition to LOCK.Shifting Out of NEUTRAL
To shift out of NEUTRAL:
1. Set the parking brake and press and hold the
regular brake pedal.
2. Shift the transmission to NEUTRAL (N) for an
automatic transmission, or press the clutch
pedal for vehicles that have a manual
transmission. Then turn the ignition to RUN
with the engine off.
3. Press the button for the desired transfer case
shift position (Two-Wheel Drive High,
Four-Wheel Drive High, or Four-Wheel
Drive Low).
4. After the transfer case has shifted out of
NEUTRAL the red light will go out.
5. Release the parking brake prior to moving the
vehicle.
168
Page 169 of 674
6. You may start the engine and shift the
transmission to the desired position.
Excessively shifting the transfer case into or
out of the different modes may cause the
transfer case to enter the shift protection
mode. This mode protects the transfer case
from possible damage and only allows
the transfer case to respond to one shift per
10 seconds. The transfer case may stay in this
mode for up to three minutes.
7. After the transfer case has shifted out of
NEUTRAL the red light will go out.
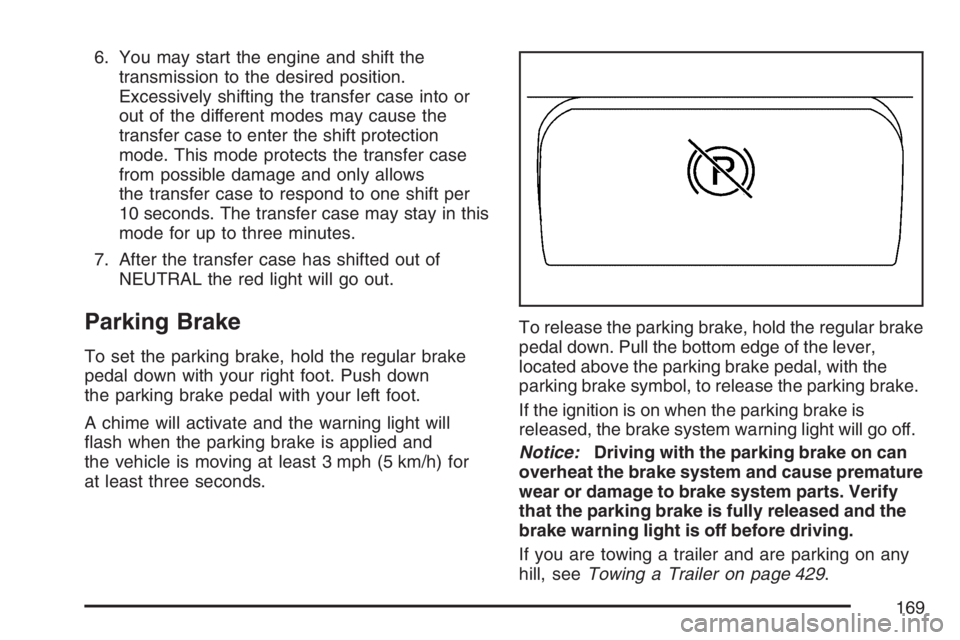
Parking Brake
To set the parking brake, hold the regular brake
pedal down with your right foot. Push down
the parking brake pedal with your left foot.
A chime will activate and the warning light will
�ash when the parking brake is applied and
the vehicle is moving at least 3 mph (5 km/h) for
at least three seconds.To release the parking brake, hold the regular brake
pedal down. Pull the bottom edge of the lever,
located above the parking brake pedal, with the
parking brake symbol, to release the parking brake.
If the ignition is on when the parking brake is
released, the brake system warning light will go off.
Notice:Driving with the parking brake on can
overheat the brake system and cause premature
wear or damage to brake system parts. Verify
that the parking brake is fully released and the
brake warning light is off before driving.
If you are towing a trailer and are parking on any
hill, seeTowing a Trailer on page 429.
169
Page 176 of 674
{CAUTION:
Four-wheel drive vehicles with the transfer
case in NEUTRAL will allow the vehicle to
roll, even if your automatic transmission
shift lever is in PARK (P). So, be sure the
transfer case is in a drive gear — not in
NEUTRAL. Always set your parking brake.
Follow the proper steps to be sure your vehicle
will not move. SeeShifting Into Park (P)
(Automatic Transmission) on page 170.
If you are pulling a trailer, seeTowing a Trailer on
page 429.
Mirrors
Manual Rearview Mirror
Pull or push the tab under the inside rearview
mirror to adjust it to the night or daytime setting. In
the nighttime setting, the glare from headlamps
behind the vehicle will be less intense.
Automatic Dimming Rearview Mirror
with OnStar
®, Compass and
Temperature Display
Your vehicle may have this feature. When on, an
automatic dimming mirror automatically dims
to the proper level to minimize glare from lights
behind you after dark.
The mirror also includes a dual display in the
upper right corner of the mirror face. The compass
reading and the outside temperature will both
appear in the display at the same time.
P(On/Off):This is the on/off button.
Temperature and Compass Display
Press the on/off button, located to the far
left, brie�y to turn the compass/temperature
display on or off.
If the display reads CAL, you will need to calibrate
the compass. For more information on calibration,
see below.
176
Page 207 of 674
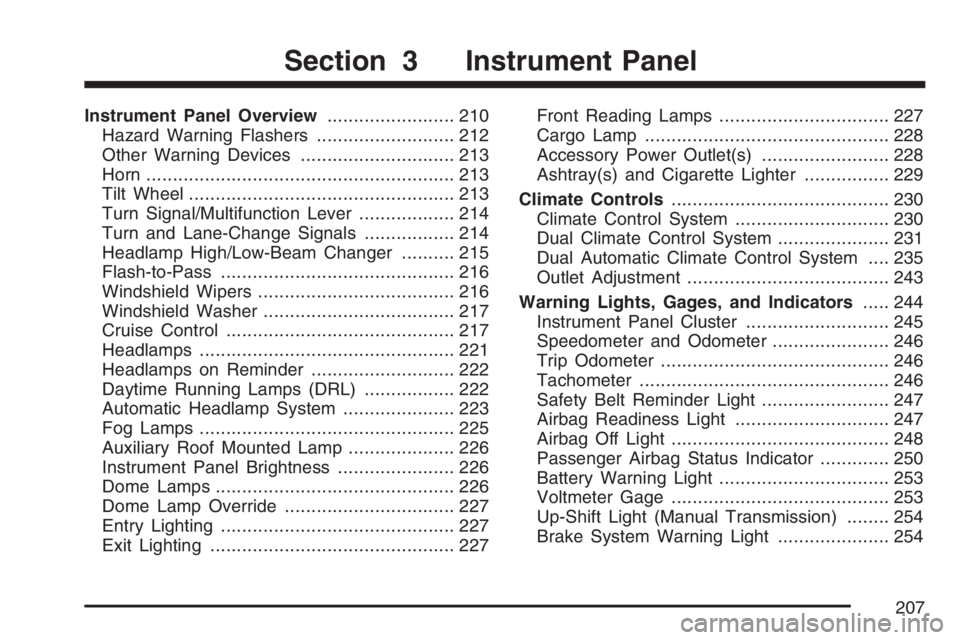
Instrument Panel Overview........................ 210
Hazard Warning Flashers.......................... 212
Other Warning Devices............................. 213
Horn.......................................................... 213
Tilt Wheel.................................................. 213
Turn Signal/Multifunction Lever.................. 214
Turn and Lane-Change Signals................. 214
Headlamp High/Low-Beam Changer.......... 215
Flash-to-Pass............................................ 216
Windshield Wipers..................................... 216
Windshield Washer.................................... 217
Cruise Control........................................... 217
Headlamps................................................ 221
Headlamps on Reminder........................... 222
Daytime Running Lamps (DRL)................. 222
Automatic Headlamp System..................... 223
Fog Lamps................................................ 225
Auxiliary Roof Mounted Lamp.................... 226
Instrument Panel Brightness...................... 226
Dome Lamps............................................. 226
Dome Lamp Override................................ 227
Entry Lighting............................................ 227
Exit Lighting.............................................. 227Front Reading Lamps................................ 227
Cargo Lamp.............................................. 228
Accessory Power Outlet(s)........................ 228
Ashtray(s) and Cigarette Lighter................ 229
Climate Controls......................................... 230
Climate Control System............................. 230
Dual Climate Control System..................... 231
Dual Automatic Climate Control System.... 235
Outlet Adjustment...................................... 243
Warning Lights, Gages, and Indicators..... 244
Instrument Panel Cluster........................... 245
Speedometer and Odometer...................... 246
Trip Odometer........................................... 246
Tachometer............................................... 246
Safety Belt Reminder Light........................ 247
Airbag Readiness Light............................. 247
Airbag Off Light......................................... 248
Passenger Airbag Status Indicator............. 250
Battery Warning Light................................ 253
Voltmeter Gage......................................... 253
Up-Shift Light (Manual Transmission)........ 254
Brake System Warning Light..................... 254
Section 3 Instrument Panel
207
Page 208 of 674
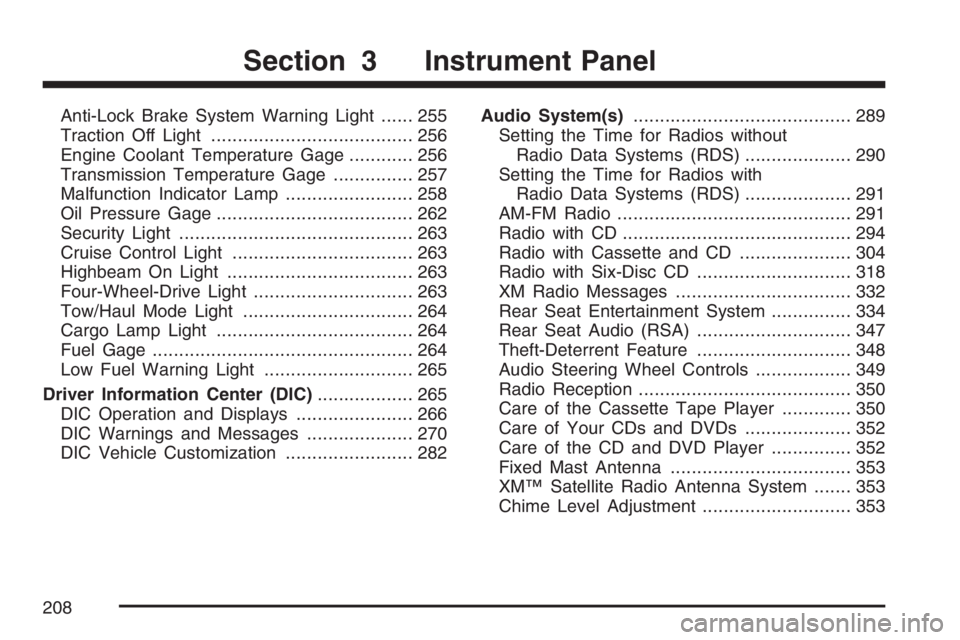
Anti-Lock Brake System Warning Light...... 255
Traction Off Light...................................... 256
Engine Coolant Temperature Gage............ 256
Transmission Temperature Gage............... 257
Malfunction Indicator Lamp........................ 258
Oil Pressure Gage..................................... 262
Security Light............................................ 263
Cruise Control Light.................................. 263
Highbeam On Light................................... 263
Four-Wheel-Drive Light.............................. 263
Tow/Haul Mode Light................................ 264
Cargo Lamp Light..................................... 264
Fuel Gage................................................. 264
Low Fuel Warning Light............................ 265
Driver Information Center (DIC).................. 265
DIC Operation and Displays...................... 266
DIC Warnings and Messages.................... 270
DIC Vehicle Customization........................ 282Audio System(s)......................................... 289
Setting the Time for Radios without
Radio Data Systems (RDS).................... 290
Setting the Time for Radios with
Radio Data Systems (RDS).................... 291
AM-FM Radio............................................ 291
Radio with CD........................................... 294
Radio with Cassette and CD..................... 304
Radio with Six-Disc CD............................. 318
XM Radio Messages................................. 332
Rear Seat Entertainment System............... 334
Rear Seat Audio (RSA)............................. 347
Theft-Deterrent Feature............................. 348
Audio Steering Wheel Controls.................. 349
Radio Reception........................................ 350
Care of the Cassette Tape Player............. 350
Care of Your CDs and DVDs.................... 352
Care of the CD and DVD Player............... 352
Fixed Mast Antenna.................................. 353
XM™ Satellite Radio Antenna System....... 353
Chime Level Adjustment............................ 353
Section 3 Instrument Panel
208