GMC SIERRA DENALI 2003 Owners Manual
Manufacturer: GMC, Model Year: 2003, Model line: SIERRA DENALI, Model: GMC SIERRA DENALI 2003Pages: 428, PDF Size: 20.35 MB
Page 171 of 428
Fuel Information Button
Use the fuel information button to scroll through the
range, average fuel economy, instant fuel economy and
the GM
Oil Life SystemTM.
If your vehicle is not equipped with the DIC steering
wheel control buttons you will not be able to display the
fuel information.
Fuel Range
Press the fuel information button until RANGE appears
to display the remaining distance you can drive
without refueling. It’s based on fuel economy and the
fuel remaining in the tank. The display will show
LOW if
the fuel level is low.
The fuel economy data used to determine fuel range is
an average of recent driving conditions. As your
driving conditions change, this data is gradually updated.
Fuel range cannot be reset.
Average Fuel Economy
Press the fuel information button until AVG appears in
the display. Average fuel economy is how many
miles per gallon your vehicle is getting based on current
and past driving conditions.
Press and hold the select button while AVG.ECON is
displayed to reset the average fuel economy. Average
fuel economy will then
be calculated starting from
that point.
If the average fuel economy is not reset, it
will be continually updated each time you drive.
Instant Fuel Economy
Press the fuel information button until INST appears in
the display. Instant fuel economy is how many miles
per gallon your vehicle is at the particular moment
in time. The instant fuel economy cannot be reset.
GM Oil Life SystemTM
Press the fuel information button until ENGINE OIL LIFE
appears in the display. The GM
Oil Life SystemTM
shows an estimate of the oil’s remaining useful life. It
will show
100% when the system is reset after an
oil change. It will alert you
to change your oil on a
schedule consistent with your driving conditions.
Always reset the engine oil life after and oil change.
To
reset the Oil Life System press and hold the select
button while ENGINE
OIL LIFE is displayed.
The DIC does not replace the need to maintain your
vehicle as recommended in the Maintenance Schedule
in this manual. Also, the oil change reminder will not
detect dusty conditions or engine malfunctions that may
affect the oil. Also, the oil change reminder does not
measure how much
oil you have in your engine. So, be
sure to check your oil level often. See
Engine Oil on
page 5- 13.
3-46
Page 172 of 428
Personalization Button
You can program certain features to a preferred setting
for up to two people. Press the personalization button
to scroll through the following personalization features.
All of the personalization options may not be available
on your vehicle. only the options available will be
displayed on your DIC.
If your vehicle is not equipped with the DIC steering
wheel buttons you will not have any of these
personalization options except for DISPLAY LANGUAGE. See DISPLAY LANGUAGE later in this
section for more information.
ALARM WARNING TYPE
AUTOMATIC LOCKING
0 AUTOMATIC UNLOCKING
SEAT POSITION RECALL
PERIMETER LIGHTING
REMOTE LOCK FEEDBACK
REMOTE UNLOCK FEEDBACK
HEADLAMPS ON AT EXIT
CURB VIEW ASSIST
EASY EXIT SEAT
DISPLAY UNITS (E/M)
DISPLAY LANGUAGE The driver’s
preferences are recalled by pressing the
unlock button on the remote keyless entry transmitter or
by pressing the appropriate memory button
1 or 2
located on the driver’s door.
Alarm Warning Type
Press the personalization button until ALARM
WARNING TYPE appears in the display. To select your
personalization for alarm warning type, press the
select button while ALARM WARNING TYPE is
displayed on the DIC. Pressing the select button will
scroll through the following choices:
ALARM WARNING: BOTH
(default): The headlamps
will flash and the horn will chirp when the alarm is
active.
ALARM WARNING:
OFF: There will be no alarm
warning on activation.
ALARM WARNING: HORN: The horn will chirp when
the alarm is active.
ALARM WARNING: LAMPS: The headlamps will flash
when the alarm is active.
Choose one of the four options and press the
personalization button while it is displayed on the DIC to
select it and move on to the next feature. For more
information on alarm warning type, see
Content
Theft-Deterrent
on page 2- 13.
3-47
Page 173 of 428
Automatic Locking
Press the personalization button until AUTOMATIC
LOCKING appears in the display. To select your
personalization for automatic locking, press the select
button while AUTOMATIC LOCKING is displayed on the
DIC. Pressing the select button will scroll through the
following choices:
LOCK DOORS OUT
OF PARK (default): The doors
will lock when the vehicle is shifted out of PARK (P).
LOCK DOORS MANUALLY: The doors will not
be locked automatically.
LOCK DOORS WITH SPEED: The doors will lock
when the vehicle speed is above
8 mph (13 km/h) for
three seconds.
Choose one of the three options and press the
personalization button while it is displayed on the DIC to
select it and move on to the next feature. For more
information on automatic door locks see
Programmable
Automatic Doors Locks.
Automatic Unlocking
Press the personalization button until AUTOMATIC
UNLOCKING appears in the display. To select
your personalization for automatic unlocking, press the
select button while AUTOMATIC UNLOCKING is
displayed on the DIC. Pressing the select button will
scroll through the following choices:
UNLOCK ALL IN PARK (default): All of the doors will
unlock when the vehicle is shifted into PARK (P).
UNLOCK ALL AT KEY OUT:
All of the doors will
unlock when the key is taken out of the ignition.
UNLOCK DOORS MANUALLY: The doors will not be
unlocked automatically.
UNLOCK DRIVER IN PARK: The driver’s door will be
unlocked when the vehicle is shifted in PARK (P).
Choose one
of the four options and press the
personalization button while it is displayed on the DIC to
select it and move on to the next feature. For more
information on automatic door locks see
Programmable
Automatic Door Locks.
3-48
Page 174 of 428
Seat Position Recall Perimeter Lighting
Press the personalization button until SEAT POSITION
RECALL appears on the display. To select your
personalization for seat position recall, press the select
button while SEAT POSITION RECALL is displayed
on the DIC. Pressing the select button will scroll through
the following choices:
SEAT POSITION RECALL
OFF (default): The memory
seat position you saved will only be recalled when the
memory button
1 or 2 is pressed on the driver’s
door panel.
SEAT POSITION RECALL AT KEY IN: The memory
seat position you saved will be recalled when you
put the key in the ignition.
SEAT POSITION RECALL ON REMOTE: The memory
seat position you saved will be recalled when you
unlock the vehicle with the remote keyless entry
transmitter.
Choose one of the three options and press the
personalization button while it is displayed on the DIC to
select it and move on to the next feature. For more
information on seat position recall see
Memory Seat on
page 2-42.
Press the personalization button until PERIMETER
LIGHTING appears in the display. To select your
personalization for perimeter lighting, press the select
button while PERIMETER LIGHTING is displayed on the
DIC. Pressing the select button will scroll through the
following choices:
PERIMETER LIGHTING ON
(default): The headlamps
and back-up lamps will come on for
40 seconds, if it
is dark enough outside, when you unlock the vehicle
with the remote keyless entry transmitter.
PERIMETER LIGHTING
OFF: The perimeter lights will
not come on when you unlock the vehicle with the
remote keyless entry transmitter.
Choose on
of the two options and press the
personalization button while it is displayed on the DIC to
select it and move on to the next feature.
3-49
Page 175 of 428
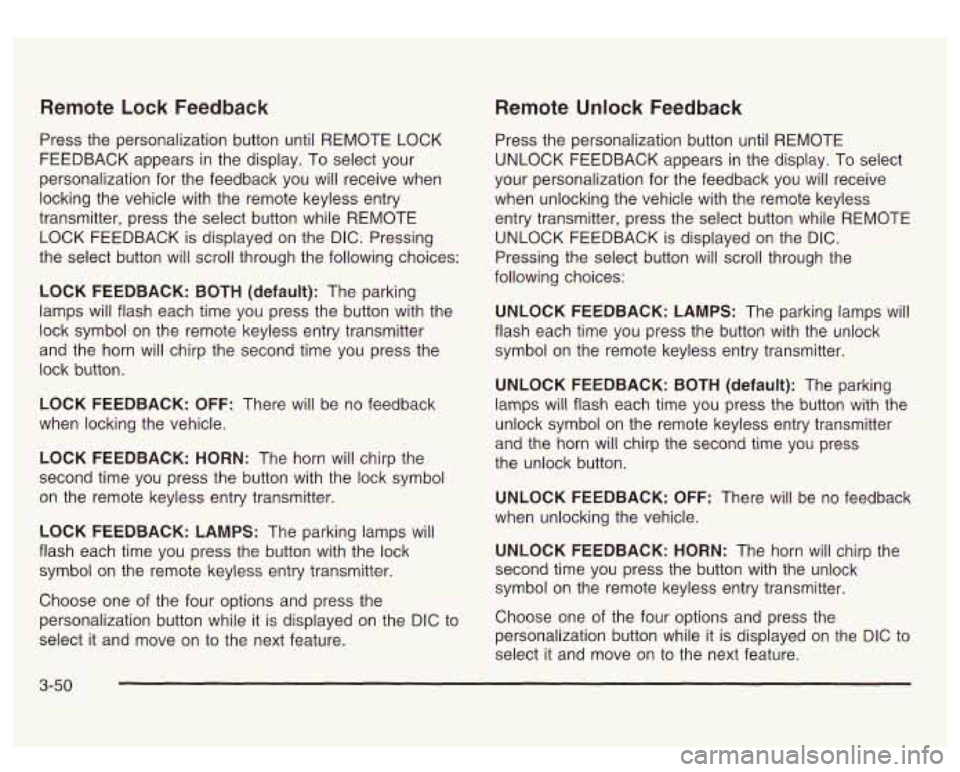
Remote Lock Feedback
Press the personalization button until REMOTE LOCK
FEEDBACK appears in the display. To select your
personalization for the feedback you will receive when
locking the vehicle with the remote keyless entry
transmitter, press the select button while REMOTE
LOCK FEEDBACK is displayed on the DIC. Pressing
the select button will scroll through the following choices:
LOCK FEEDBACK:
BOTH (default): The parking
lamps will flash each time you press the button with the
lock symbol on the remote keyless entry transmitter
and the horn will chirp the second time you press the
lock button.
LOCK FEEDBACK: OFF: There will be no feedback
when locking the vehicle.
LOCK FEEDBACK: HORN: The horn will chirp the
second time you press the button with the lock symbol
on the remote keyless entry transmitter.
LOCK FEEDBACK: LAMPS: The parking lamps will
flash each time you press the button with the lock
symbol on the remote keyless entry transmitter.
Choose one of the four options and press the
personalization button while it is displayed on the DIC to
select it and move
on to the next feature.
Remote Unlock Feedback
Press the personalization button until REMOTE
UNLOCK FEEDBACK appears in the display. To select
your personalization for the feedback you will receive
when unlocking the vehicle with the remote keyless
entry transmitter, press the select button while REMOTE
UNLOCK FEEDBACK is displayed on the
DIC.
Pressing the select button will scroll through the
following choices:
UNLOCK FEEDBACK: LAMPS: The parking lamps will
flash each time you press the button with the unlock
symbol on the remote keyless entry transmitter.
UNLOCK FEEDBACK: BOTH (default): The parking
lamps will flash each time you press the button with the
unlock symbol on the remote keyless entry transmitter
and the horn will chirp the second time you press
the unlock button.
UNLOCK FEEDBACK: OFF: There will be no feedback
when unlocking the vehicle.
UNLOCK FEEDBACK: HORN: The horn will chirp the
second time you press the button with the unlock
symbol on the remote keyless entry transmitter.
Choose one of the four options and press the
personalization button while it
is displayed on the DIC to
select it and move on to the next feature.
3-50
Page 176 of 428
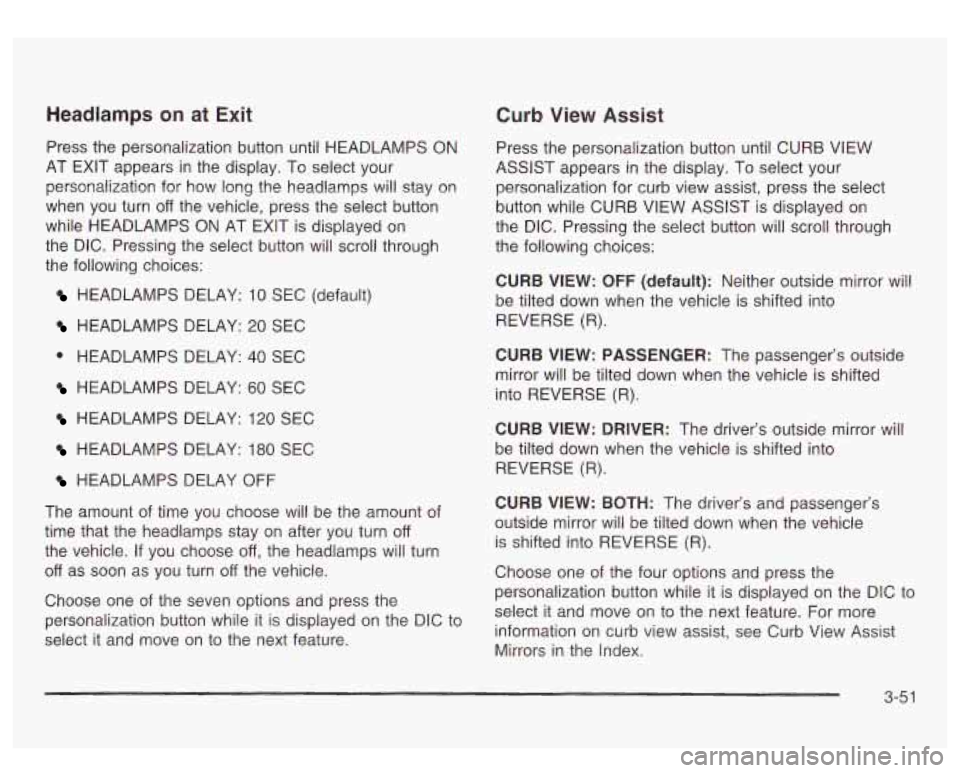
Headlamps on at Exit Curb View Assist
Press the personalization button until HEADLAMPS ON
AT EXIT appears in the display. To select your
personalization for how long the headlamps will stay on
when you turn
off the vehicle, press the select button
while HEADLAMPS
ON AT EXIT is displayed on
the DIC. Pressing the select button will scroll through
the following choices:
HEADLAMPS DELAY: 10 SEC (default)
HEADLAMPS DELAY: 20 SEC
0 HEADLAMPS DELAY: 40 SEC
HEADLAMPS DELAY: 60 SEC
HEADLAMPS DELAY: 120 SEC
HEADLAMPS BELAY: 180 SEC
HEADLAMPS DELAY OFF
The amount of time you choose will be the amount of
time that the headlamps stay on after you turn
off
the vehicle. If you choose off, the headlamps will turn
off as soon as you turn off the vehicle.
Choose one of the seven options and press the
personalization button while it
is displayed on the DIC to
select it and move on to the next feature. Press the personalization button until CURB
VIEW
ASSIST appears
in the display. To select your
personalization for curb view assist, press the select
button while CURB VIEW ASSIST is displayed on
the DIC. Pressing the select button will scroll through
the following choices:
CURB VIEW:
OFF (default): Neither outside mirror will
be tilted down when the vehicle is shifted into
REVERSE (R).
CURB VIEW: PASSENGER: The passenger’s outside
mirror will be tilted down when the vehicle is shifted
into REVERSE (R).
CURB VIEW: DRIVER: The driver’s outside mirror will
be tilted down when the vehicle is shifted into
REVERSE (R).
CURB VIEW: BOTH: The driver’s and passenger’s
outside mirror will be tilted down when the vehicle
is shifted into REVERSE
(R).
Choose one of the four options and press the
personalization button while it is displayed on the DIC to
select it and move on to the next feature. For more
information on curb view assist, see Curb View Assist
Mirrors in the index.
3-5 1
Page 177 of 428
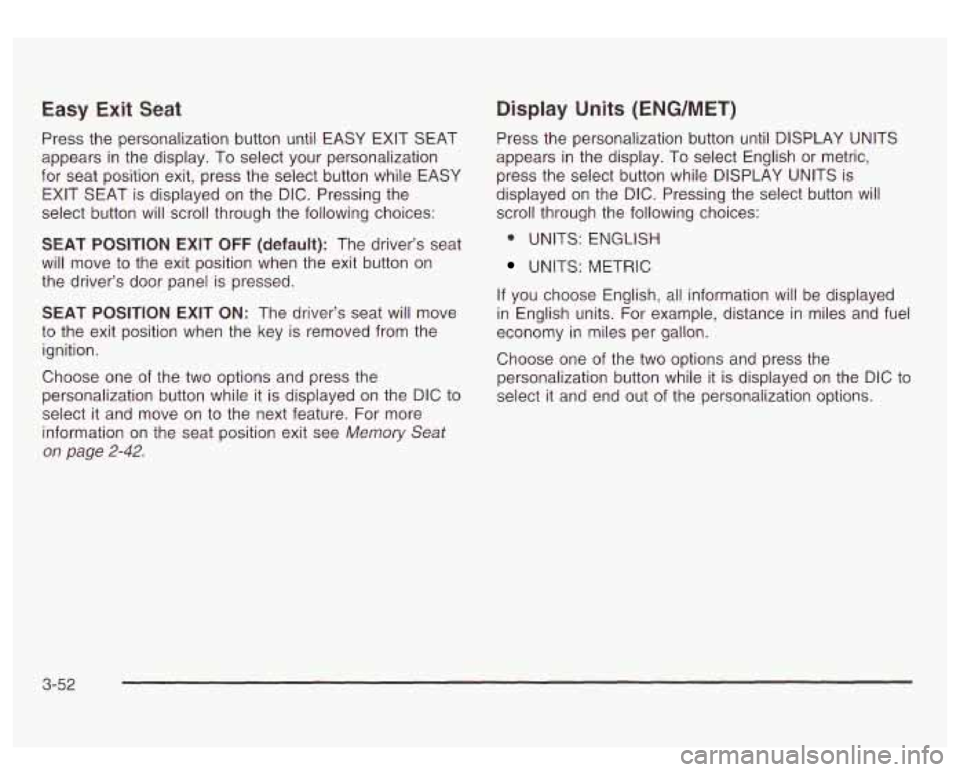
Easy Exit Seat
Press the personalization button until EASY EXIT SEAT
appears in the display. To select your personalization
for seat position exit, press the select button while EASY
EXIT SEAT is displayed on the
DIC. Pressing the
select button will scroll through the following choices:
SEAT POSITION EXIT OFF (default): The driver’s seat
will move
to the exit position when the exit button on
the driver’s door panel is pressed.
SEAT
POSITION EXIT ON: The driver’s seat will move
to the exit position when the key is removed from the
ignition.
Choose one of the two options and press the
personalization button while
it is displayed on the DIC to
select it and move on
to the next feature. For more
information on the seat position exit see
Memory Seat
on page 2-42.
Display Units (ENG/MET)
Press the personalization button until DISPLAY UNITS
appears in the display. To select English or metric,
press the select button while DISPLAY UNITS is
displayed on the
DIC. Pressing the select button will
scroll through the following choices:
* UNITS: ENGLISH
UNITS: METRIC
If you choose English, all information will be displayed
in English units. For example, distance in miles and fuel
economy in miles per gallon.
Choose one of the two options and press the
personalization button while it is displayed on the
DIC to
select it and end out of the personalization options.
3-52
Page 178 of 428
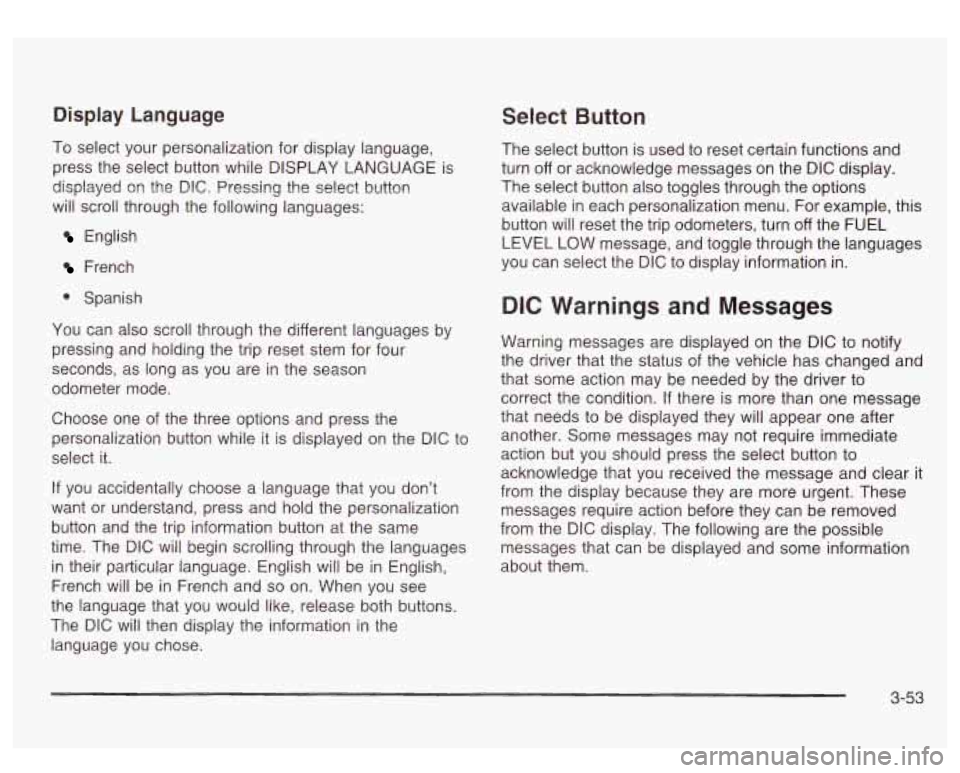
Display Language Select Button
To select your personalization for display language,
press the select button while DISPLAY LANGUAGE is
displayed on the DIC. Pressing the select button
will scroll through the following languages:
English
French
0 Spanish
You can also scroll through the different languages by
pressing and holding the trip reset stem for four
seconds, as long as you are in the season
odometer mode.
Choose one of the three options and press the
personalization button while it
is displayed on the DIC to
select it.
If you accidentally choose a language that you don’t
want or understand, press and hold the personalization
button and the trip information button at the same
time. The DIC will begin scrolling through the languages
in their particular language. English will be in English,
French
will be in French and so on. When you see
the language that you would like, release both buttons.
The
DIC will then display the information in the
language you chose. The
select button is used to reset certain functions and
turn
off or acknowledge messages on the DIC display.
The select button also toggles through the options
available in each personalization menu. For example, this
button will reset the trip odometers, turn
off the FUEL
LEVEL LOW message, and toggle through the languages
you can select the DIC
to display information in.
DIC Warnings and Messages
Warning messages are displayed on the DIC to notify
the driver that the status of the vehicle has changed and
that some action may be needed by the driver to
correct the condition. If there is more than one message
that needs to be displayed they will appear one after
another. Some messages may not require immediate
action but you should press the select button to
acknowledge that you received the message and clear it
from the display because they are more urgent. These
messages require action before they can be removed
from the DIC display. The following are the possible
messages that can be displayed and some information
about them.
3-53
Page 179 of 428
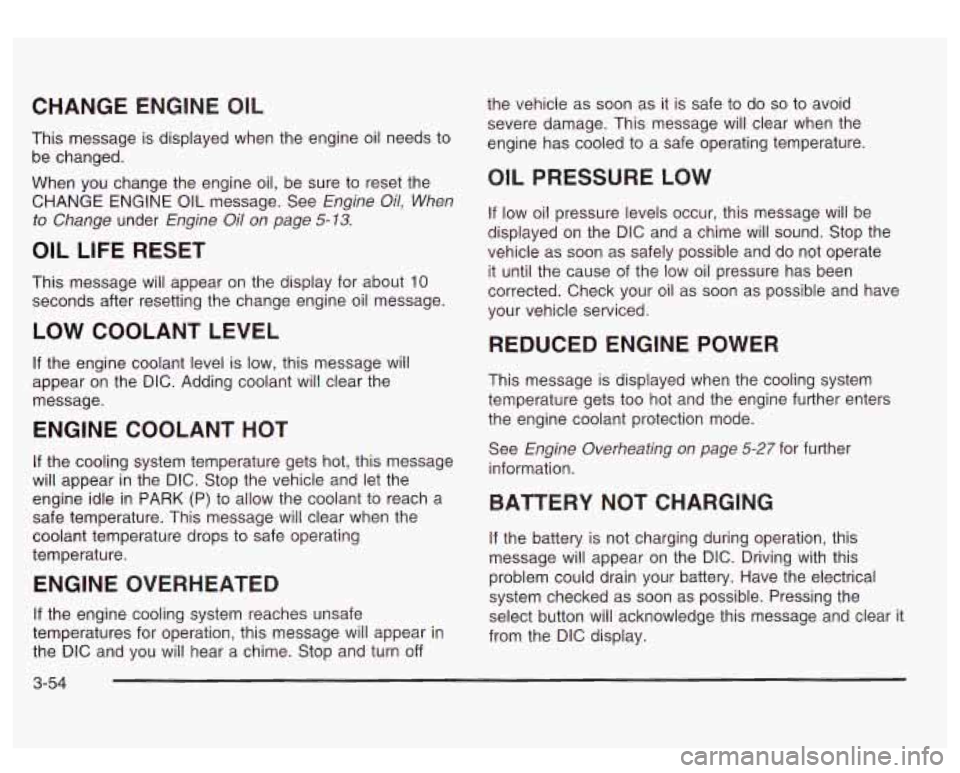
CHANGE ENGINE OIL
This message is displayed when the engine oil needs to
be changed.
When you change the engine oil, be sure to reset the
CHANGE ENGINE
OIL message. See Engine Oil, When
to Change
under Engine Oil on page 5-13.
OIL LIFE RESET
This message will appear on the display for about 10
seconds after resetting the change engine oil message.
LOW COOLANT LEVEL
If the engine coolant level is low, this message will
appear on the DIC. Adding coolant will clear the
message.
ENGINE COOLANT HOT
If the cooling system temperature gets hot, this message
will appear in the DIC. Stop the vehicle and let the
engine idle in PARK (P) to allow the coolant to reach a
safe temperature. This message will clear when the
coolant temperature drops to safe operating
temperature.
ENGINE OVERHEATED
If the engine cooling system reaches unsafe
temperatures for operation, this message will appear in
the DIC and you will hear a chime. Stop and turn
off
3-54
the vehicle as soon as it is safe to do so to avoid
severe damage. This message will clear when the
engine has cooled to a safe operating temperature.
OIL PRESSURE LOW
If low oil pressure levels occur, this message will be
displayed on the DIC and a chime will sound. Stop the
vehicle as soon as safely possible and do not operate
it until the cause of the low oil pressure has been
corrected. Check your oil as soon as possible and have
your vehicle serviced.
REDUCED ENGINE POWER
This message is displayed when the cooling system
temperature gets too hot and the engine further enters
the engine coolant protection mode.
See
Engine Overheating on page 5-27 for further
information.
BATTERY NOT CHARGING
if the battery is not charging during operation, this
message will appear on the DIC. Driving with this
problem could drain your battery. Have the electrical
system checked as soon as possible. Pressing the
select button will acknowledge this message and clear it
from the DIC display.
Page 180 of 428
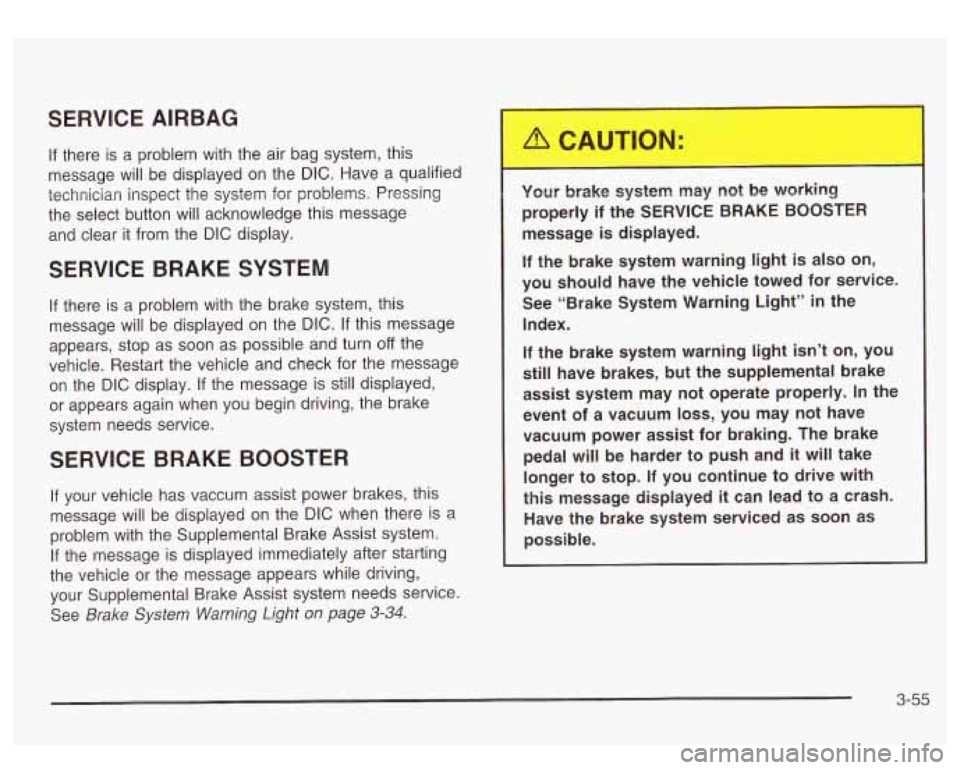
SERVICE AIRBAG
If there is a problem with the air bag system, this
message will be displayed on the
DIC. Have a qualified
technician inspect the system for problems. Pressing
the select button will acknowledge this message
and clear it from the
DIC display.
SERVICE BRAKE SYSTEM
If there is a problem with the brake system, this
message will be displayed on the
DIC. If this message
appears, stop as soon as possible and turn
off the
vehicle. Restart the vehicle and check for the message
on the
DIC display. If the message is still displayed,
or appears again when you begin driving, the brake
system needs service.
SERVICE BRAKE BOOSTER
If your vehicle has vaccum assist power brakes, this
message will be displayed on the
DIC when there is a
problem with the Supplemental Brake Assist system.
If the message is displayed immediately after starting
the vehicle or the message appears while driving,
your Supplemental Brake Assist system needs service.
See
Brake System Warning Light on page 3-34.
Your brake system may not be working
properly if the SERVICE BRAKE BOOSTER
message is displayed.
If the brake system warning light is also on,
you should have the vehicle towed for service. See “Brake System Warning Light”
in the
Index.
If the brake system warning light
isn’t on, you
still have brakes, but the supplemental brake
assist system may not operate properly.
In the
event of a vacuum
loss, you may not have
vacuum power assist for braking. The brake pedal will
be harder to push and it will take
longer to stop.
If you continue to drive with
this message displayed it can lead to a crash.
Have the brake system serviced as soon as
possible.
3-55