instrument panel GMC SIERRA DENALI 2003 User Guide
[x] Cancel search | Manufacturer: GMC, Model Year: 2003, Model line: SIERRA DENALI, Model: GMC SIERRA DENALI 2003Pages: 428, PDF Size: 20.35 MB
Page 70 of 428
When an air bag inflates, there is dust in the
air. This dust could cause breathing problems
for people with
a history of asthma or other
breathing trouble.
To avoid this, everyone in
the vehicle should get out as soon as it is safe
to do
so. If you have breathing problems but
can’t get out of the vehicle after an air bag
inflates, then get fresh air by opening a
window or
a door. If you experience breathing
problems following an air bag deployment, you
should seek medical attention.
In many crashes severe enough to inflate the air bag,
windshields are broken by vehicle deformation.
Additional windshield breakage may also occur from the
right front passenger air bag.
Air bags are designed to inflate only once. After
they inflate, you’ll need some new parts for your
air bag system.
If you don’t get them, the air
bag system won’t be there to help protect you in
another crash.
A new system will include air
bag modules and possibly other parts. The service
manual for your vehicle covers the need to
replace other parts.
Your vehicle is equipped with electronic frontal
sensors which help the sensing system distinguish
between a moderate and a more severe frontal
impact. Your vehicle is also equipped with a crash
sensing and diagnostic module, which records
information about the frontal air bag system. The
module records information about the readiness of
the system and when the system commands
are bag inflation. It records the status of the driver’s
safety belt usage in a crash in which the air bag
deploys or a crash in which the air bag nearly
deploys. The module also records speed, engine
RPM, brake and throttle data.
Let only qualified technicians work on your air bag
systems. Improper service can mean that an air
bag system won’t work properly. See your dealer for
service.
Notice: If you damage the covering for the driver’s
or the right front passenger’s air bag, the bag
may not work properly.
You may have to replace the
air bag module in the steering wheel or both the
air bag module and the instrument panel for
the right front passenger’s air bag.
Do not open or
break the air bag coverings.
1-63
Page 71 of 428
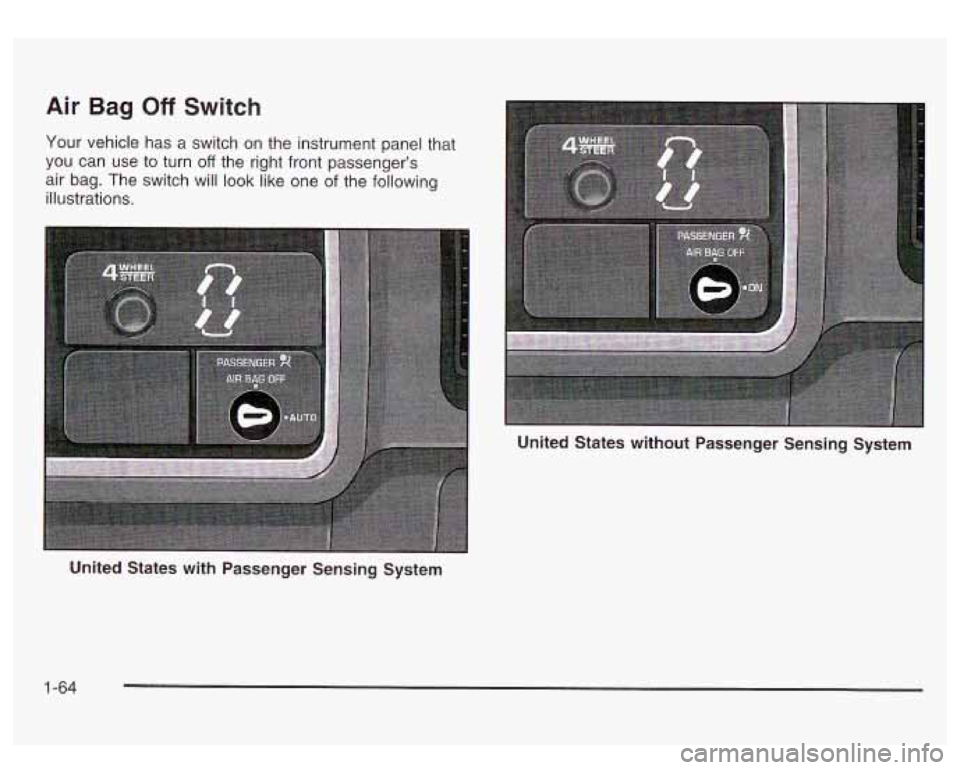
Air Bag Off Switch
Your vehicle has a switch on the instrument panel that
you can use to turn
off the right front passenger’s
air bag. The switch will look like one of the following
illustrations.
United States with Passenger Sensing System United States without Passenger Sensing System
1-64
Page 76 of 428
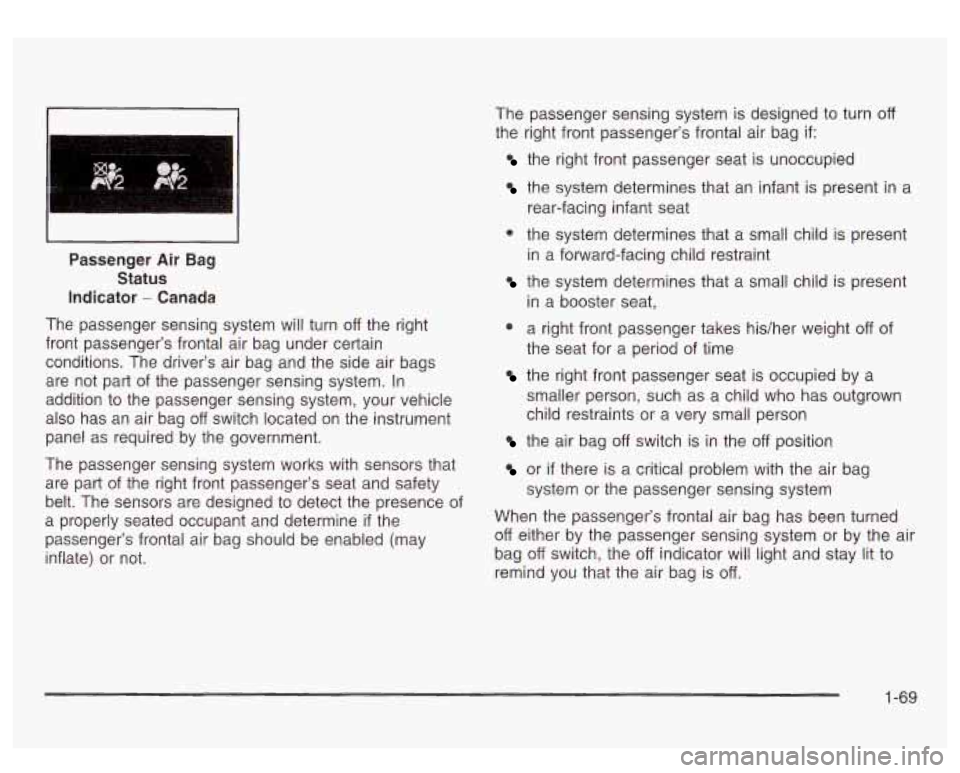
Passenger Air Bag
Status
Indicator
- Canada
The passenger sensing system will turn
off the right
front passenger’s frontal air bag under certain
conditions. The driver’s air bag and the side air bags
are not part of the passenger sensing system. In
addition to the passenger sensing system, your vehicle
also has an air bag
off switch located on the instrument
panel as required by the government.
The passenger sensing system works with sensors that
are part of the right front passenger’s seat and safety
belt. The sensors are designed to detect the presence of
a properly seated occupant and determine
if the
passenger’s frontal air bag should be enabled (may
inflate) or not. The passenger
sensing system is designed to turn
oft
the right front passenger’s frontal air bag if:
the right front passenger seat is unoccupied
the system determines that an infant is present in a
rear-facing infant seat
J the system determines that a small child is present
in a forward-facing child restraint
the system determines that a small child is present
in a booster seat,
0 a right front passenger takes hidher weight off of
the seat for a period of time
the right front passenger seat is occupied by a
smaller person, such as a child who has outgrown
child restraints or a very small person
the air bag off switch is in the off position
or if there is a critical problem with the air bag
system or the passenger sensing system
When the passenger’s frontal air bag has been turned
off either by the passenger sensing system or by the air
bag
off switch, the off indicator will light and stay lit to
remind you that the air bag is
off.
1-69
Page 78 of 428
Aftermarket equipment, such as seat covers, can affect
how well the passenger sensing system operates.
You may want to consider not using seat covers or other
aftermarket equipment
if your vehicle has the passenger
sensing system.
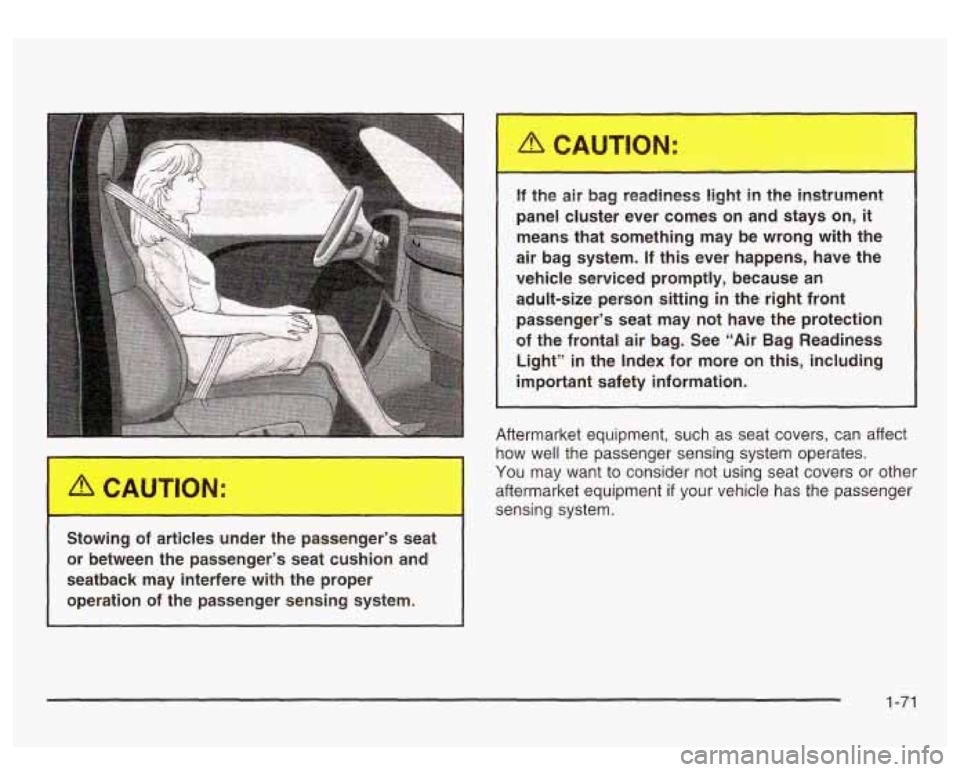
Stowing of articles under the passenger’s seat or between the passenger’s seat cushion and
seatback may interfere with the proper operation of the passenger sensing system.
I I
If the air bag readiness light in the instrument
panel cluster ever comes on and stays on,
it
means that something may be wrong with the
air bag system. If
this ever happens, have the
vehicle serviced promptly, because an adult-size person sitting
in the right front
passenger’s seat may not have the protection
of the frontal air bag. See “Air Bag Readiness
Light”
in the Index for more on this, including
important safety information.
Page 99 of 428
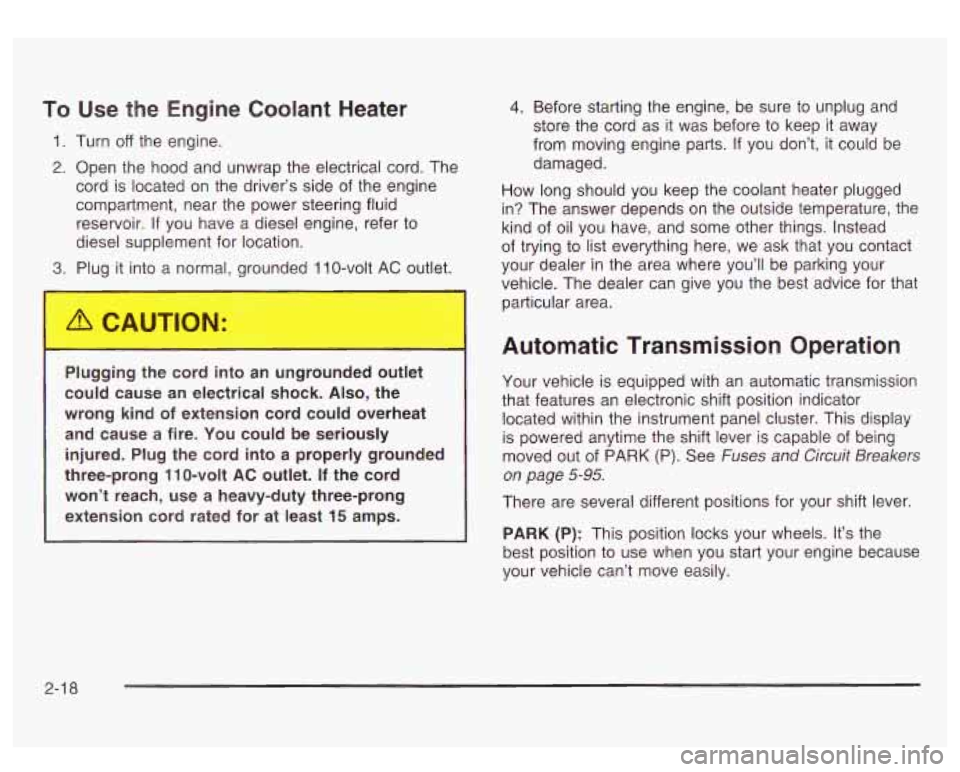
To Use the Engine Coolant Heater
1. Turn off the engine.
2. Open the hood and unwrap the electrical cord. The
cord is located on the driver’s side of the engine
compartment, near the power steering fluid
reservoir. If you have a diesel engine, refer to
diesel supplement for location.
3. Plug it into a normal, grounded 11 0-volt AC outlet.
Plugging the cord into an ungrounded outlet
could cause an electrical shock. Also, the
wrong kind of extension cord could overheat
and cause a fire. You could
be seriously
injured. Plug the cord into a properly grounded
three-prong
11 0-volt AC outlet. If the cord
won’t reach, use a heavy-duty three-prong
extension cord rated for at least
15 amps.
4. Before starting the engine, be sure to unplug ana
store the cord as it was before to keep it away
from moving engine parts.
If you don’t, it could be
damaged.
How long should you keep the coolant heater plugged
in? The answer depends on the outside temperature, the
kind of oil you have, and some other things. Instead
of trying to list everything here, we ask that you contact
your dealer in the area where you’ll be parking your
vehicle. The dealer can give you the best advice for that
particular area.
Automatic Transmission Operation
Your vehicle is equipped with an automatic transmission
that features an electronic shift position indicator
located within the instrument panel cluster. This display
is powered anytime the shift lever
is capable of being
moved out
of PARK (P). See Fuses and Circuit Breakers
on page
5-95.
There are several different positions for your shift lever.
PARK
(P): This position locks your wheels. It’s the
best position to use when you start your engine because
your vehicle can’t move easily.
2-1 8
Page 102 of 428
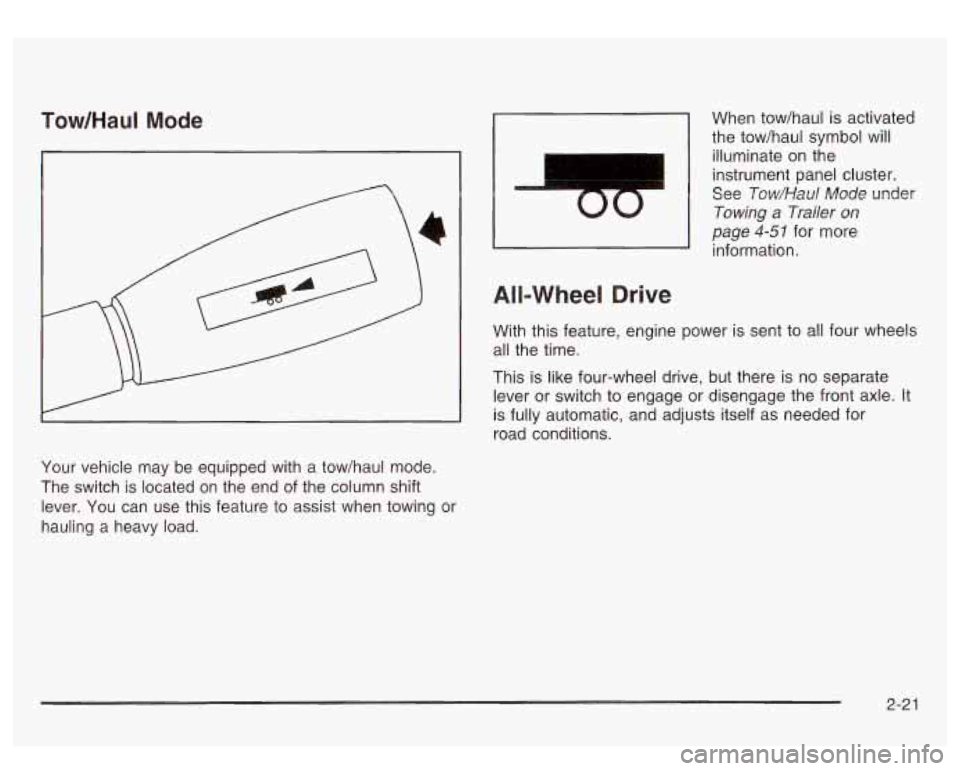
Tow/HauI Mode
Your vehicle may be equipped with a tow/haul mode.
The switch is located on the end of the column shift
lever. You can use this feature to assist when towing or
hauling a heavy load.
I
00
When tow/haul is activated
the tow/haul symbol will
illuminate
on the
instrument panel cluster.
See
Tow/Haul Mode under
Towing a Trailer on
page 4-51 for more
information.
All-Wheel Drive
With this feature, engine power is sent to all four wheels
all the time.
This is like four-wheel drive, but there is
no separate
lever or switch to engage or disengage the front axle. It
is fully automatic, and adjusts itself as needed for
road conditions.
2-2 1
Page 126 of 428
Section 3 Instrument Panel
I~s~Pu~~~IP Panel OWWV~~W ............................... 3.2
Hazard Warning Flashers
................................ 3.3
Other Warning Devices ................................... 3.4
Horn
............................................................. 3.4
Tilt Wheel
..................................................... 3.4
Turn SignaVMultifunction Lever
......................... 3.5
Exterior Lamps
............................................. 3.11
Interior Lamps
.............................................. 3.15
Accessory Power Outlets
............................... 3.16
Ashtrays and Cigarette Lighter
........................ 3.17
Climate Controls
............................................ 3.18
Dual Automatic Climate Control System
........... 3.18
Warning Lights, Gages and Indicators
............. 3.24
Instrument Panel Cluster
................................ 3.25
Speedometer and Odometer
........................... 3.26
Tachometer
................................................ -3-26
Safety Belt Reminder Light
............................. 3.26
Air Bag Readiness Light
................................ 3-27
Passenger Air Bag Status Indicator
................. 3.30
Battery Warning Light
.................................... 3.33
Brake System Warning Light
.......................... 3.34
Anti-Lock Brake System Warning Light
............. 3.35
Air
Bag
Off Light .......................................... 3-28
Voltmeter Gage
............................................ 3-33
Engine Coolant Temperature Gage
..... ..... 3.36 Transmission Temperature
Gage
..................... 3.36
Malfunction Indicator Lamp
............................. 3.38
Oil Pressure Gage
........................................ 3-40
Cruise Control Light
...................................... 3.41
Tow/Haul Mode Light
.................................... 3-41
Fuel Gage
................................................... 3.42
Driver Information Center (DIC)
....................... 3.43
DIC Operation and Displays
........................... 3.43
DIC Warnings and Messages
......................... 3.53
Audio System(s)
............................................. 3.61
Setting the Time
...................... .......... 3.6 1
Radio with Cassette and CD ..... .............. 3.62
Rear Seat Audio (RSA)
............................. 3.76
CD Changer
................................................ 3-78
Theft-Deterrent Feature
................................. -3-81
Audio Steering Wheel Controls
....................... 3.81
Understanding Radio Reception
...................... 3-82
Care of Your Cassette Tape Player
................ -3-83
Care of Your CDs
......................................... 3.84
Care of Your CD Player
................................ 3.84
Fixed Mast Antenna
...................................... 3.84
XMTM Satellite Radio Antenna System
............. 3.84
DAB Radio Antenna System
........................... 3.84
Low Fuel Warning Light
................................. 3-42
Page 128 of 428
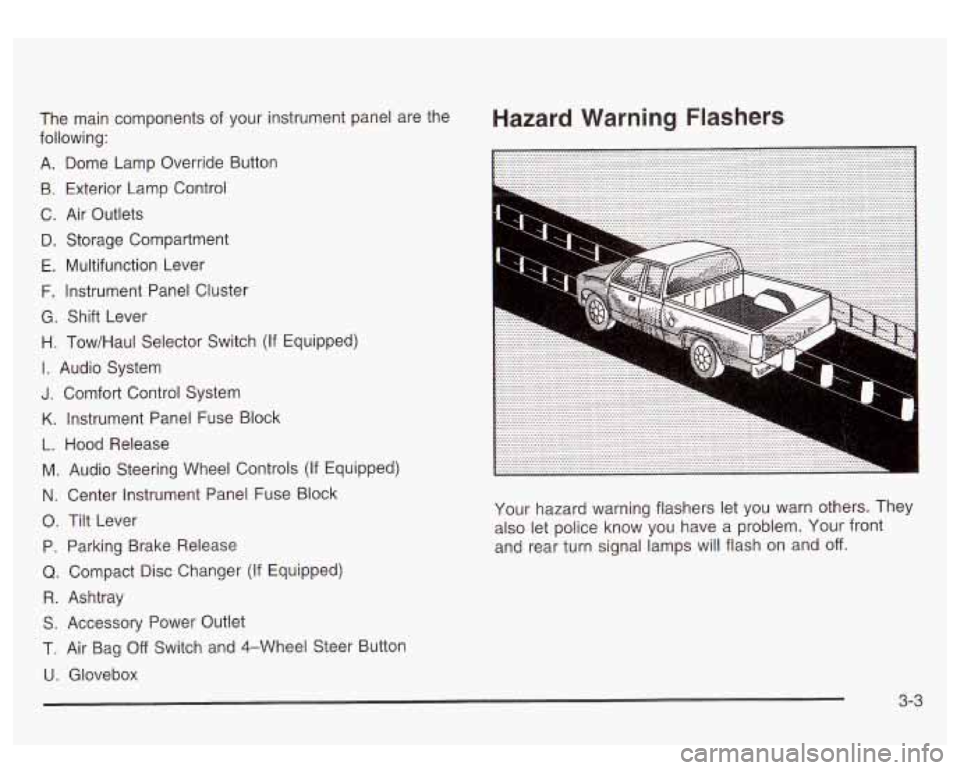
Hazard Warning Flashers The main components of your instrument panel are the
following:
A. Dome Lamp Override Button
9. Exterior Lamp Control
C. Air Outlets
D. Storage Compartment
E. Multifunction Lever
F. Instrument Panel Cluster
G. Shift Lever
H. Tow/Haul Selector Switch (If Equipped)
I. Audio System
J. Comfort Control System
K. Instrument Panel Fuse Block
L. Hood Release
M. Audio Steering Wheel Controls
(If Equipped)
N. Center Instrument Panel Fuse Block
0. Tilt Lever
P. Parking Brake Release
Q. Compact Disc Changer (If Equipped)
R. Ashtray
S. Accessory Power Outlet
1. Air Bag Off Switch and 4-Wheel Steer Button
U. Glovebox Your hazard
warning flashers let you warn others. They
also let police know you have a problem. Your front
and rear turn signal lamps will flash on and
off.
3-3
Page 130 of 428
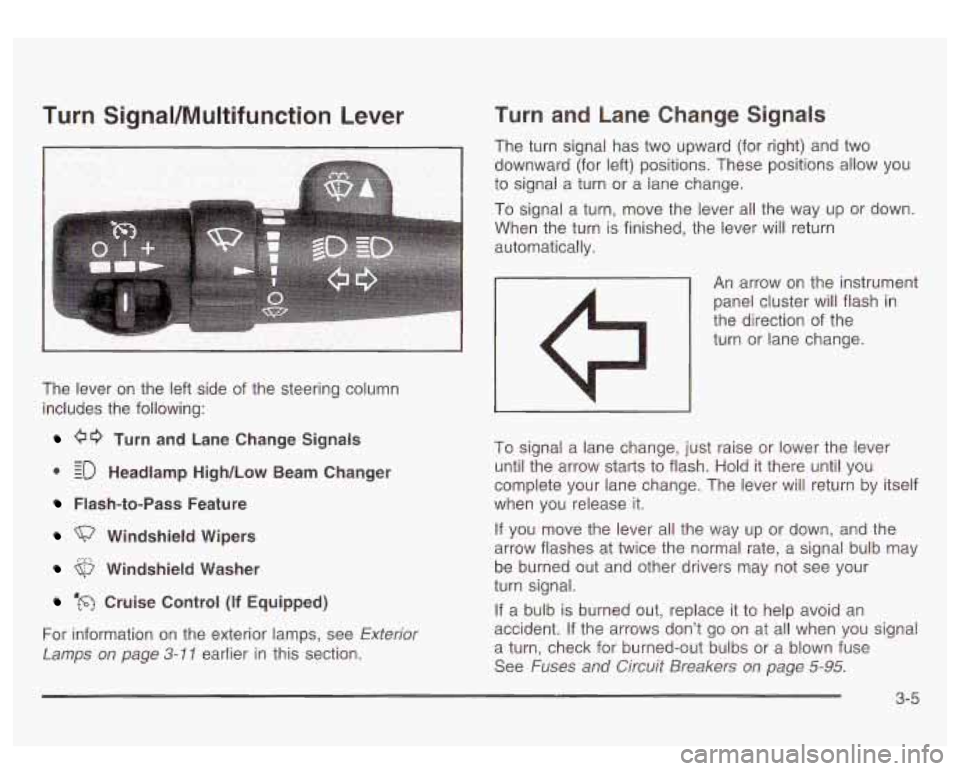
Turn SignaVMultifunction Lever
The lever on the left side of the steering column
includes the following:
00 Turn and Lane Change Signals
0 EO Headlamp High/Low Beam Changer
- -
Flash-to-Pass Feature
Windshield Wipers
Windshield Washer
‘m Cruise Control (if Equipped)
For information on the exterior lamps, see
Exterior
Lamps on page 3-11 earlier in this section.
Turn and Lane Change Signals
The turn signal has two upward (for right) and two
downward (for left) positions. These positions allow you
to signai a turn or a lane change.
To signal a turn, move the lever all the way up or down.
When the turn is finished, the lever will return
automatically.
An arrow on the instrument
panel cluster will flash
in
the direction of the
turn or lane change.
To signal a lane change, just raise or lower the lever
until the arrow starts to flash. Hold it there until you
complete your lane change. The lever will return by itself
when you release it.
If you move the lever all the way up or down, and the
arrow flashes at twice the normal rate, a signal bulb may
be burned out and other drivers may not see your
turn signal.
If a bulb
is burned out, replace it to help avoid an
accident. If the arrows don’t
go on at all when you signal
a turn, check for burned-out bulbs or a blown fuse
See
Fuses and Circuit Breakers on page 5-95.
3-5
Page 131 of 428
Turn Signal On Chime
If your turn signal is left on for more than 3/4 of a mile
(1.2 km), a chime will sound at each flash of the
turn signal. To turn
off the chime, move the turn signal
lever to the
off position.
Headlamp High/Low Beam Changer
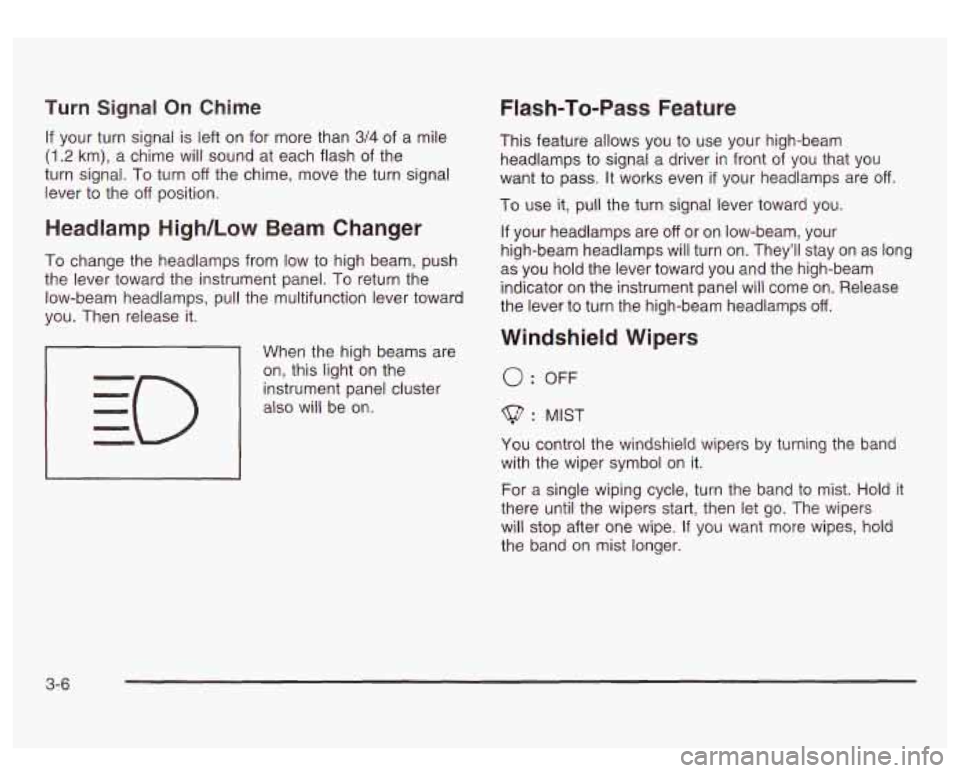
To change the headlamps from low to high beam, push
the lever toward the instrument panel.
To return the
low-beam headlamps, pull the multifunction lever toward
you. Then release it.
When the high beams are
on, this light on the
instrument panel cluster
also will be on.
I I
Flash-To-Pass Feature
This feature allows you to use your high-beam
headlamps to signal a driver in front
of you that you
want to pass. It works even
if your headlamps are off
To use it, pull the turn signal lever toward you.
If your headlamps are
off or on low-beam, your
high-beam headlamps will turn on. They’ll stay on as long
as you hold the lever toward you and the high-beam
indicator on the instrument panel will come on. Release
the lever
to turn the high-beam headlamps off.
Windshield Wipers
0: OFF
$? : MIST
You control the windshield wipers by turning the band
with the wiper symbol on it.
For a single wiping cycle, turn the band to mist.
Hold it
there until the wipers start, then let go. The wipers
will stop after one wipe.
If you want more wipes, hold
the band on mist longer.
3-6