parking brake GMC SIERRA DENALI 2003 User Guide
[x] Cancel search | Manufacturer: GMC, Model Year: 2003, Model line: SIERRA DENALI, Model: GMC SIERRA DENALI 2003Pages: 428, PDF Size: 20.35 MB
Page 159 of 428
You can only drive for a short time with the reading in
either warning zone.
If you must drive, turn off all
unnecessary accessories.
Readings in either warning zone indicate a possible
problem in the electrical system. Have the vehicle
serviced as soon as possible.
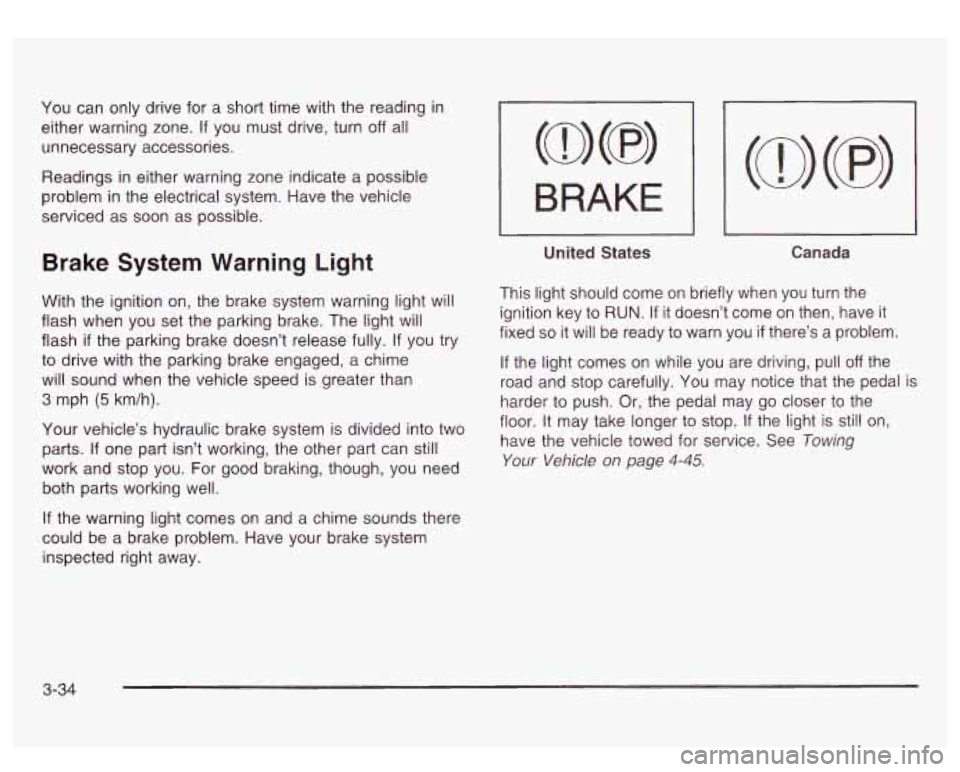
Brake System Warning Light
With the ignition on, the brake system warning light will
flash when you set the parking brake. The light will
flash
if the parking brake doesn’t release fully. If you try
to drive with the parking brake engaged, a chime
will sound when the vehicle speed is greater than
3 mph (5 km/h).
Your vehicle’s hydraulic brake system is divided into two
parts.
If one part isn’t working, the other part can still
work and stop you. For good braking, though, you need
both parts working well.
If the warning light comes on and a chime sounds there
could be a brake problem. Have your brake system
inspected right away.
I BRAKE I
-
United States Canada
This light should come on briefly when you turn the
ignition key
to RUN. If it doesn’t come on then, have it
fixed
so it will be ready to warn you if there’s a problem.
If the light comes on while you are driving, pull off the
road and stop carefully. You may notice that the pedal is
harder
to push. Or, the pedal may go closer to the
floor. It may take longer
to stop. If the light is still on,
have the vehicle towed for service. See Towing
Your Vehicle on page 4-45.
3-34
Page 162 of 428
See Driver Information Center (DIC) on page 3-43 for
further information.
If the transmission fluid reaches temperatures of
approximately 275°F
(1 35°C) or greater, the Driver
Information Center wiil display a
TRANS HOT IDLE
ENG warning message. Pull the vehicle off the roadway
when it
is safe to do so. Set the parking brake, place
the transmission in PARK
(P) and allow the engine
to idle until the transmission temperature falls below
260°F (1 27°C). If the transmission continues to operate
above
265°F (13O"C), contact your nearest dealer or
the
GM Roadside Assistance Center. See Roadside
Assistance Program
on page 7-5.
Notices If you keep driving your vehicle with the
transmission temperature gage above the normal
operating range, you can damage the transmission.
This could lead to costly repairs that may not be
covered under your warranty. The
following situations can cause the transmission to
operate at higher temperatures:
0 Towing a trailer
0 Hot outside air temperatures
0 Hauling a large or heavy load
0 Low transmission fluid level
High transmission fluid level
0 Restricted air flow to the radiator and the auxiliary
transmission oil cooler
(if equipped).
A temporary solution to hotter transmission operating
temperatures may be to let the transmission cool down.
If the transmission is operated at higher temperatures
on a frequent basis, see
Scheduled Maintenance
on page
6-5 for the proper transmission maintenance
intervals.
3-37
Page 232 of 428
Q: What should I do if my vehicle stalls, or is
A: if this happens, there are some things you should
about to stall, and
I can’t
make it up the hill?
e
9
e
do and there are some things you must not do.
First, here’s what you should do:
Push the brake pedal to stop the vehicle and keep
if from rolling backwards. Also, apply the parking
brake.
If your engine is still running, shift the transmission
to REVERSE (R), release the parking brake, and
slowly back down the hill as straight as possible in
REVERSE (R).
As you are backing down the hill, put your left hand
on the steering wheel at the
12 o’clock position.
This way, you’ll be able to tell
if your wheels
are straight and maneuver as you back down. It’s
best that you back down the hill with our wheels
straight rather than in the left or tight direction.
Turning the wheel too far to the left
or right
will increase the possibility of a rollover. Here are
some things you
must not do if you stall, or
are about to stall, when going up a
hill.
9 Never attempt to prevent a stall by shifting into
NEUTRAL
(N) to “rev-up” the engine and regain
forward momentum. This won’t work. Your vehicle
will roll backwards very quickly and you could
go out of control.
Instead, apply the regular brake to stop the vehicle.
Then apply the parking brake. Shift to
REVERSE (R), release the parking brake, and
slowly back straight down.
9 Never attempt to turn around if you are about to
stall when going up a hill. If the hill is steep
enough to stall your vehicle, it’s steep enough to
cause you to roll over
if you turn around. If you can’t
make it up the hill, you must back straight down
the hill.
4-23
Page 233 of 428
Q: Suppose, after stalling, I try to back down the hill
A: Set the parking brake, put your transmission in
PARK (P) and turn
off the engine. Leave the
vehicle and go get some help. Exit
on the uphill
side and stay clear of the path the vehicle would
take
if it rolled downhill.
and decide
I just can’t
do it. What should I do?
Driving Downhill
When off-roading takes you downhill, you’ll want to
consider a number of things:
How steep is the downhill? Will I be able to maintain
vehicle control?
What’s the surface like? Smooth? Rough? Slippery?
Hard-packed dirt? Gravel?
0 Are there hidden surface obstacles? Ruts? Logs?
What’s at the bottom of the hill? Is there a hidden
Boulders?
creek bank or even a river bottom with large
rocks?
If you decide you can go down a hill safely, then try to
keep your vehicle headed straight down, and use a
low gear. This way, engine drag can help your brakes
and they won’t hate to do all the work. Descend slowly,
keeping your vehicle under control at all times. Heavy
braking when going down a
h can
cause your brakes to overheat and fade. This
could cause
loss of control and a serious
accident. Apply the brakes lightly when
descending a hill and use
a low gear to keep
vehicle speed under control.
Q: Are there some things I should not do when
A: Yes! These are important because if you ignore
driving
down a hill?
0
them you could lose control and have a serious
accident.
When driving downhill, avoid turns that take you
across the incline
of the hill. A hill that’s not too
steep to drive down may be too steep to drive
across. You could roll over
if you don’t drive straight
down.
Never go downhill with the transmission in
NEUTRAL (N).
This is called “free-wheeling.” Your brakes will have
to do all the work and could overheat and fade.
4-24
Page 234 of 428
Q: Am I likely to stall when going downhill?
A: It’s much more likely to happen going uphill. But if it
* Stop your vehicle by applying the regular brakes.
happens
going downhill, here’s what to do.
Apply the parking brake.
Shift to PARK (P) and, while still braking, restart the
Shift back to a low gear, release the parking brake,
engine.
and
drive straight down.
0 If the engine won’t start, get out and get help.
Driving Across an Incline
Sooner or later, an off-road trail will probably go across
the incline of a hill. If this happens, you have to
decide whether to try to drive across the incline. Here
are some things to consider:
A hill that can be driven straight up or down may be
too steep to drive across. When you go straight up or
down a hill, the length of the wheel bas (the distance
from the front wheels to the rear wheels) reduces the
likelihood the vehicle will tumble end over end. But
when you drive across an incline, the much more
narrow track width (the distance between the left and
right wheels) may not prevent the vehicle from tilting
and rolling over. Also, driving across an incline puts
more wight on the downhill wheels. This could cause
a downhill slide or a rollover.
0
0
Surface conditions can be a problem when you drive
across a hill. Loose gravel, muddy spots, or even wet
grass can cause your tires to slip sideways, downhill.
If the vehicle slips sideways, it can hit something that
will trip it (a rock,
a rut, etc.) and roll over.
Hidden obstacles can make the steepness of the
incline even worse.
If you drive across a rock with the
uphill wheels, or
if the downhill wheels drop into a rut
or depression, your vehicle can tilt even more.
For reasons like these, you need to decide carefully
whether to try to drive across an incline. Just because the
trail goes across the incline doesn’t mean you hat to drive
it. The last vehicle to try it might have rolled over.
Driving across an incline that’s too steep will
make your vehicle roll over. You could be
seriously injured or killed.
If you have any
doubt about the steepness
of the incline, don’t
drive across it. Find another route instead.
4-25
Page 267 of 428
Driving On Grades
Reduce speed and shift to a lower gear before you start
down a long or steep downgrade.
If you don’t shift
down, you might have to use your brakes
so much that
they would get hot and no longer work well.
You can tow in DRIVE
(5). You may want to shift the
transmission to THIRD
(3) or, if necessary, a lower gear
selection
if the transmission shifts too often (e.g.,
under heavy loads and/or hilly conditions).
You may also want to activate the tow/haul mode
if the
transmission shifts too often. See “Tow/Haul Mode”
earlier in this section.
When towing at high altitude on steep uphill grades,
consider the following: Engine coolant will boil at a lower
temperature than at normal altitudes.
If you turn your
engine
off immediately after towing at high altitude
on steep uphill grades, your vehicle may show signs
similar
to engine overheating. To avoid this, let the
engine run while parked (preferably on level ground)
with the automatic transmission in PARK (P) for a
few minutes before turning the engine
off. If you do get
the overheat warning, see
Engine Overheating on
page
5-27.
Parking on Hills
m
You really should not park your vehicle, with a
trailer attached, on a hill.
If something goes
wrong, your rig could start to move. People
can be injured, and both your vehicle and the
trailer can be damaged.
But
if you ever have to park your rig on a hill, here’s
how to do it:
1. Apply your regular brakes, but don’t shift into
PARK
(P) yet.
2. Have someone place chocks under the trailer
wheels.
3. When the wheel chocks are in place, release the
regular brakes until the chocks absorb the load.
4. Reapply the regular brakes. Then apply your
parking brake and shift into PARK (P).
5. Release the regular brakes.
4-58
Page 268 of 428
When You Are Ready to Leave After
Parking on a
Hill
1. Apply your regular brakes and hold the pedal down
while you:
0 start your engine,
shift into a gear, and
0 release the parking brake.
2. Let up on the brake pedal.
3. Drive slowly until the trailer is clear of the chocks.
4. Stop and have someone pick up and store the
chocks.
Maintenance When Trailer Towing
Your vehicle will need service more often when you’re
pulling a trailer. See the Maintenance Schedule for more
on this. Things that are especially important in trailer
operation are automatic transmission fluid (don’t overfill),
engine
oil, axle lubricant, belt, cooling system and
brake system. Each of these is covered in this manual,
and the Index will help you find them quickly. If
you’re trailering, it’s a good idea to review these sections
before you start your trip.
Check periodically to see that all hitch nuts and bolts
are tight.
4-59
Page 291 of 428
Get the vehicle warmed up by driving about 15 miles
(24 km) when outside temperatures are above
50°F
(1 OOC). If it's colder than 50°F (lO°C), drive the
vehicle
in THIRD (3) until the engine temperature
gage moves and then remains steady for 10 minutes.
A cold fluid check can be made after the vehicle has been
sitting for eight hours or more with the engine
off, but this
is used only as a reference. Let the engine run at idle for
five minutes
if outside temperatures are 50°F (1 0°C) or
more.
If it's colder than 50°F (1 OOC), you may have to idle
the engine longer. Should the fluid level be low during this
cold check, you
must check the fluid hot before adding
fluid. Checking the fluid hot will give you a more accurate
reading of the fluid level.
Checking the Fluid Level
Prepare your vehicle as follows:
Park your vehicle on a level place. Keep the engine
running.
With the parking brake applied, place the shift lever
in PARK (P).
With your foot on the brake pedal, move the shift
lever through each gear range, pausing for about
three seconds in each range. Then, position the shift
lever in PARK
(P).
Let the engine run at idle for three minutes or more. Then, without
shutting
off the engine, follow these steps:
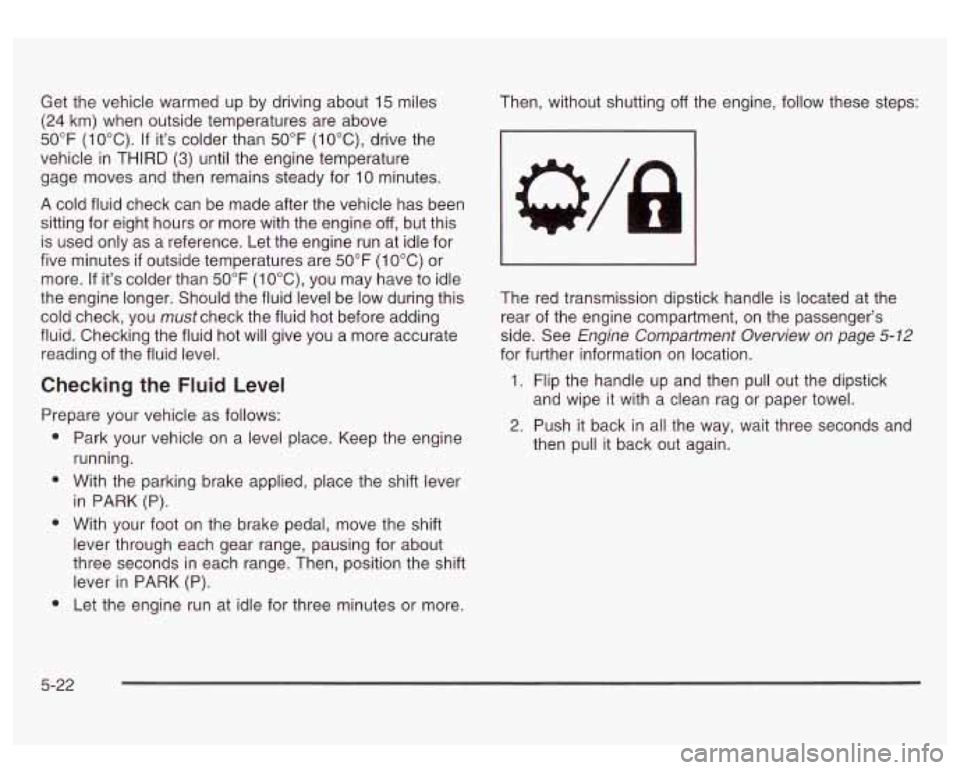
The red transmission dipstick handle is located at the
rear of the engine compartment, on the passenger's
side. See
Engine Compartment Overview on page 5-12
for further information on location.
1. Flip the handle up and then pull out the dipstick
and wipe it with a clean rag or paper towel.
3. Push it back in all the way, wait three seconds and
then pull it back out again.
5-22
Page 313 of 428
Notice: If the other system isn’t a 12-volt system
with a negative ground, both vehicles can be
damaged.
2. Get the vehicles close enough so the jumper cables
can reach, but be sure the vehicles aren’t touching
each other. If they are, it could cause a ground
connection you don’t want. You wouldn’t be able to
start your vehicle, and the bad grounding could
damage the electrical systems.
To avoid the possibility of the vehicles rolling, set
the parking brake firmly on both vehicles involved
in the jump start procedure. Put the automatic
transmission in PARK
(P) before setting the parking
brake.
If you have a four-wheel-drive vehicle, be
sure the transfer case is in a drive gear not in
NEUTRAL.
Notice: If you leave your radio on, it could be badly
damaged. The repairs wouldn’t be covered by
your warranty.
3.
4.
Turn off the ignition on both vehicles. Unplug
unnecessary accessories plugged into the cigarette
lighter or in the accessory power outlets. Turn
off
the radio and all the lamps that aren’t needed.
This will avoid sparks and help save both batteries.
And it could save your radio!
Open the hoods and locate the positive
(+) and
negative
(-) terminal locations of the other vehicle.
Your vehicle has a remote positive
(+) jump starting
terminal and a remote negative
(-) jump starting
terminal. You should always use these remote
terminals instead of the terminals on the battery.
The remote positive
(+) terminal is located behind
a red plastic cover near the engine accessory
drive bracket.
To uncover the remote positive (+)
terminal, open the red plastic cover.
The remote negative
(-) terminal is located on the
engine drive bracket on all
V8 and diesel
engines, and on the thermostat housing on the
8.1L engine. On
V8 engines it is marked ”GND.”
See
Engine Compartment Overview on page 5-12
for more information on location.
5-44
Page 338 of 428
A rear blowout, particularly on a curve, acts much like a Changing a Flat Tire
skid and may require the same correction you’d use
in a skid. In any rear blowout, remove your foot from the
If a tire goes flat, avoid further tire and wheel damage
accelerator pedal. Get the vehicle under control by by driving slowly
to a level place. Turn on your
steering
the way you want the vehicle to go. it may be hazard warning flashers.
very bumpy and noisy, but you can still steer. Gently
brake
to a stop - well off the road if possible.
If a tire goes flat, the next part shows how
to use your
jacking equipment to change a flat tire safely.
C..-nging a tire can cause
an injury. The
vehicle can slip
off the jack and roll over you
or other people. You and they could be badly
injured. Find a level place to change your tire.
To help prevent the vehicle from moving:
1. Set the parking brake firmly.
2. Put the shift lever in PARK (P).
3. Turn off the engine.
4. Put the wheel blocks at the front and rear
of the tire farthest away from the one
being changed. That
would be the tire on
the other side of the vehicle, at the
opposite end.
5-69