seats GMC SIERRA DENALI 2003 User Guide
[x] Cancel search | Manufacturer: GMC, Model Year: 2003, Model line: SIERRA DENALI, Model: GMC SIERRA DENALI 2003Pages: 428, PDF Size: 20.35 MB
Page 44 of 428
I
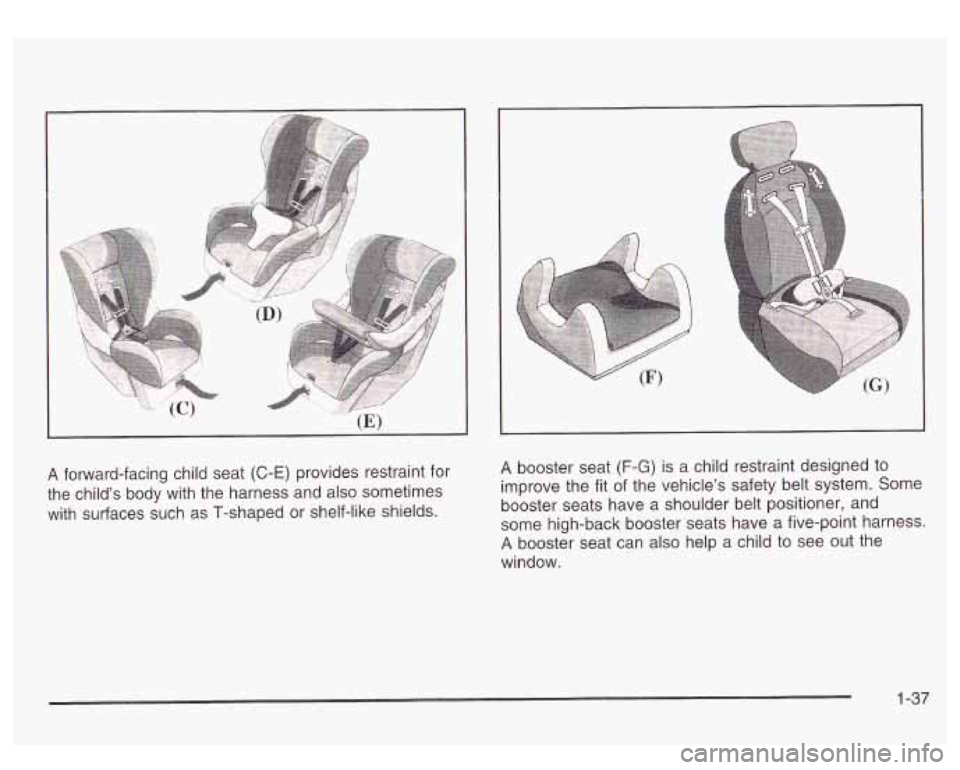
A forward-facing child seat (C-E) provides restraint for
the child’s body with the harness and also sometimes
with surfaces such as T-shaped or shelf-like shields.
I
I
A booster seat (F-G) is a child restraint desiqned to
improve the fit of the vehicle’s safety belt system. Some
booster seats have a shoulder belt positioner, and
some high-back booster seats have a five-point harness.
A booster seat can also help a child to see out the
window.
1-37
Page 59 of 428
The passenger sensing system is designed to turn off
the right front passenger’s frontal air bag when a
rear facing child restraint is in the right front seat. In
addition to the passenger sensing system, you may use
the AIR BAG
OFF switch located on the instrument
panel to turn the air bag
off. Never put a rear facing child
restraint in the right front passenger seat unless the
air bag is
off. Here’s why:
A child in a rear-facing child restraint can be
seriously injured or killed if the right front
passenger’s air bag inflates. This is because
the back of the rear facing child restraint
would be very close to the inflating air bag. Be
sure the air bag
is off before using a
rear-facing child restraint
in the right front seat
position.
CAUTION: (Continued)
’ Even though the passenger sensing system is
~ designed to turn off the passenger’s frontal air
~ bag if the system detects a rear-facing child
restraint, no system is fail-safe, and no one
can guarantee that an air bag
will not deploy
under some unusual circumstance, even
though
it is turned off. General Motors
therefore recommends that rear-facing child restraints be secured in the rear seat whenever
possible, even if the air bag is
off.
You’ll be using the lap-shoulder belt. See Top Strap on
page
1-40 if the child restraint has one. Be sure to
follow the instructions that came with the child restraint.
Secure the child in the child restraint when and as
the instructions say.
1. Your vehicle has a right front passenger’s air bag. If
you are using a rear-facing child restraint in this seat,
make sure the air bag is turned
off. See Air Bag Off
Switch on page 1-64 and Passenger Sensing
System
on page 1-68. Always move the seat as far
back as it will
go before securing the child restraint in
this seat. See ‘Seats” in the Index.
1-52
Page 68 of 428
When Should an Air Bag Inflate?
An air bag is designed to inflate in a moderate to severe
frontal, or near-frontal crash. The air bag will inflate
only
if the impact speed is above the system’s designed
“threshold level.”
In addition, your vehicle has “dual stage” frontal air
bags, which adjust the amount of restraint according to
crash severity. For moderate frontal impacts, these
air bags inflate at a level less than full deployment. For
more severe frontal impacts, full deployment occurs.
If the front of your vehicle goes straight into a wall that
doesn’t move or deform, the threshold level for the
reduced deployment is about
10 to 16 mph
(16 to 25 km/h), and the threshold level for a full
deployment is about
20 to 25 mph (32 to 40 km/h). The
threshold level can vary, however, with specific
vehicle design,
so that it can be somewhat above or
below this range.
If your vehicle strikes something that will move or
deform, such as a parked car, the threshold level will be
higher. The air bag is not designed to inflate in
rollovers, rear impacts, or in many side impacts because
inflation would not help the occupant.
In any particular crash, no one can say whether an air
bag should have inflated simply because of the damage
to a vehicle or because of what the repair costs were. Inflation
is determined by the angle of the impact and
how quickly the vehicle slows down in frontal or
near-frontal impacts.
The air bag system
is designed to work properly under
a wide range
of conditions, including off-road usage.
Observe safe driving speeds, especially on rough
terrain.
As always, wear your safety belt. See “Off-Road
Driving” in the Index for more tips on off-road driving.
Seat Position Sensors
Vehicle’s with dual stage air bags are also equipped
with special sensors which enable the sensing system to
monitor the position of both the driver and passenger
front seats. The seat position sensor provides
information which is used to determine
if the air bags
should deploy at a reduced level or at full depoyment.
What Makes an Air Bag Inflate?
In an impact of sufficient severity, the air bag sensing
system detects that the vehicle is in a crash. The
sensing system triggers a release of gas from the
inflator, which inflates the air bag. The inflator, air bag,
and related hardware are all part of the air bag
modules inside the steering wheel and in the instrument
panel in front of the right front passenger.
1-61
Page 112 of 428
Outside Power Mirrors
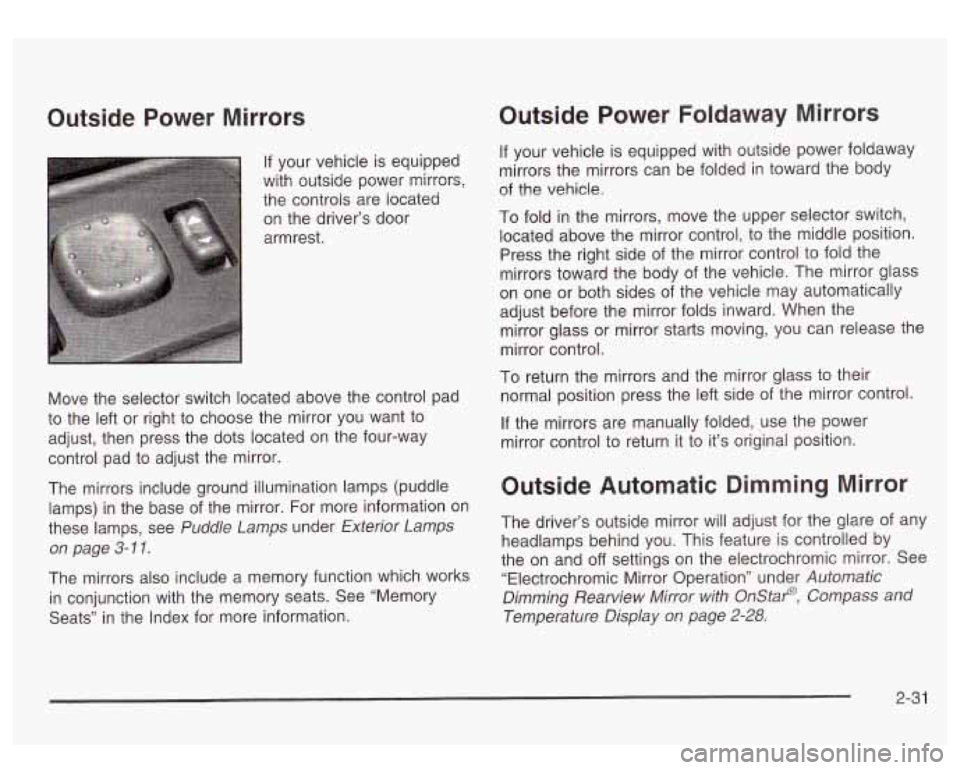
If your vehicle is equipped
with outside power mirrors,
the controls are located
on the driver’s door
armrest.
Move the selector switch located above the control pad
to the left or right to choose the mirror you want to
adjust, then press the dots located on the four-way
control pad to adjust the mirror.
The mirrors include ground illumination lamps (puddle
lamps) in the base of the mirror. For more information on
these lamps, see
Puddle Lamps under Exterior Lamps
on page 3-1
1.
The mirrors also include a memory function which works
in conjunction with the memory seats. See “Memory
Seats” in the Index for more information.
Outside Power Foldaway Mirrors
If your vehicle is equipped with outside power foldaway
mirrors the mirrors can be folded in toward the body
of the vehicle.
To fold
in the mirrors, move the upper selector switch,
located above the mirror control, to the middle position.
Press the right side of the mirror control to fold the
mirrors toward the body
of the vehicle. The mirror glass
on one or both sides of the vehicle may automatically
adjust before the mirror folds inward. When the
mirror glass or mirror starts moving, you can release the
mirror control.
To return the mirrors and the mirror glass to their
normal position press the left side of the mirror control.
If the mirrors are manually folded, use the power
mirror control to return it to it’s original position.
Outside Automatic Dimming Mirror
The driver’s outside mirror will adjust for the glare of any
headlamps behind you. This feature is controlled by
the on and
off settings on the electrochromic mirror. See
“Electrochromic Mirror Operation” under
Automatic
Dimming Rearview Mirror with Onstat? Compass and
Temperature Display on page
2-28.
2-3 1
Page 120 of 428
Storage Areas
Glow Box
To open your glove box, pull the lever upward and pull
the door downward.
Cupholder(s)
Your vehicle may be equipped with cupholders for the
front and rear seat passengers, located in the center
console and on the rear of the center console storage
area.
To use the front cupholders press down on
the raised area
of the access door. Close the door by
pushing it all the way down until it locks back into place.
To access the rear cupholders, pull down on the door
located on the back of the console.
Center Console Storage Area
Your vehicle may be equipped with a console
compartment between the bucket seats.
To open it press the button on the side and swing the
console lid open.
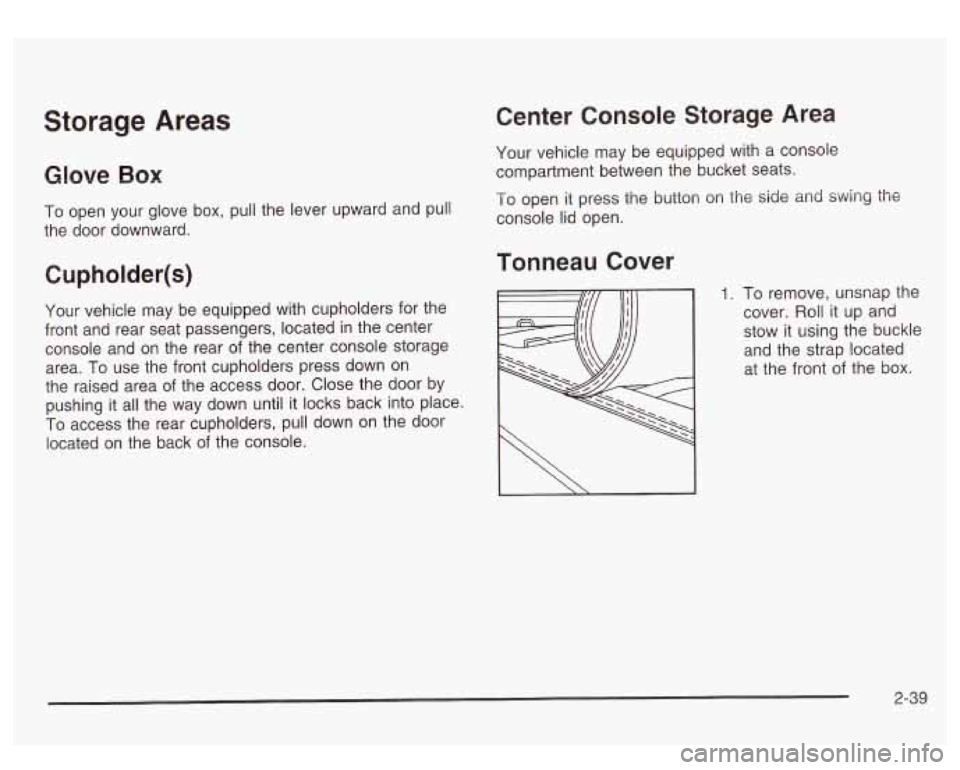
Tonneau Cover
1. To remove, unsnap the
cover. Roll it up and
stow it using the buckle
and the strap located
at the front
of the box.
I \ I
2-39
Page 143 of 428
Climate Controls
Dual Automatic Climate Control
System
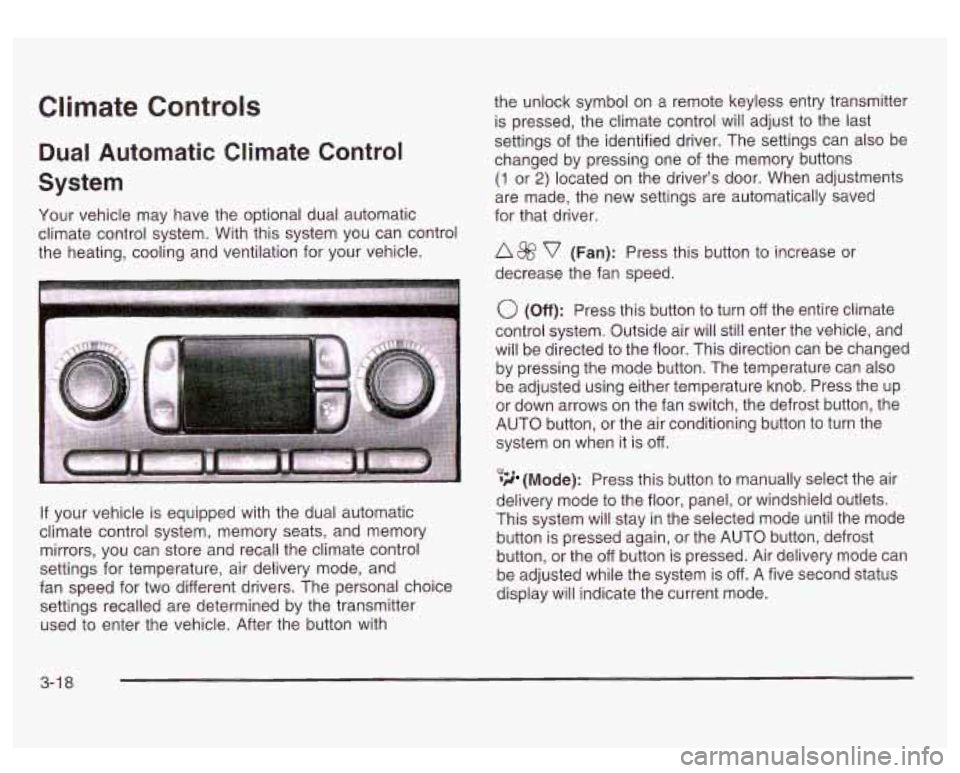
Your vehicle may have the optional dual automatic
climate control system. With this system you can control
the heating, cooling and ventilation for your vehicle.
If your vehicle is equipped with the dual automatic
climate control system, memory seats, and memory
mirrors, you can store and recall the climate control
settings for temperature, air delivery mode, and
fan speed for two different drivers. The personal choice
settings recalled are determined by the transmitter
used to enter the vehicle. After the button with the
unlock symbol on a remote keyless entry transmitter
is pressed, the climate control will adjust to the last
settings of the identified driver. The settings can also be
changed by pressing one of the memory buttons
(1 or 2) located on the driver’s door. When adjustments
are made, the new settings are automatically saved
for that driver.
A 8fj? v (Fan): Press this button to increase or
decrease the fan speed.
0 (Off): Press this button to turn off the entire climate
control system. Outside air will still enter the vehicle, and
will be directed to the floor. This direction can be changed
by pressing the mode button. The temperature can also
be adjusted using either temperature knob. Press the up
or down arrows on the fan switch, the defrost button, the
AUTO button, or the air conditioning button to turn the
system on when it is
off.
,% 4d (Mode): Press this button to manually select the air
delivery mode to the floor, panel, or windshield outlets.
This system will stay in the selected mode until the mode
button is pressed again, or the AUTO button, defrost
button, or the off button is pressed. Air delivery mode can
be adjusted while the system is off. A five second status
display will indicate the current mode.
3-1 8
Page 146 of 428
(ri (Floor): This mode directs most of the air to the
floor vents. Some air also comes out of the defroster and
side window vents. Use this mode to send air to the
rear of the vehicle. Keep the area under the front seats
free of objects that could obstruct airflow to the rear
of the vehicle. The recirculation button cannot be
selected in the floor mode.
(Recirculation): Press this button to turn the
recirculation mode on or
off. The recirculation mode is
used to limit the amount of outside air entering your
vehicle. This is helpful when you are trying to prevent
outside odors and/or dust from entering your vehicle, or
to help cool the air inside of your vehicle more quickly.
When this mode is on, inside air will recirculate
throughout your vehicle. When this button is pressed,
an indicator light in the button will also come on to
let you know that it is activated.
If you select recirculation while in defrost, defog, or
floor, the light on the button will flash and go out to let
you know this is not allowed. This is to prevent
windshield fogging.
If the weather is cold and damp, the system may cause
the windows to fog while using the recirculation
mode.
If the windows do start to fog, select defog or
front defrost mode
a NC (Air Conditioning): Press this button to
manually turn the air-conditioning system on or
off.
When the system is selected, or in AUTO mode
the system will automatically begin to cool and
dehumidify the air inside
of your vehicle.
If you select air conditioning off while in front defrost, or
defog mode the air conditioning
off symbol will flash
to let you know this is not allowed.
You may notice a slight change in engine performance
when the air-conditioning compressor shuts
off and
turns
on again. This is normal.
%k (Air Conditioning Off): When you turn the air
conditioning
off, this symbol will appear on the display.
When the air conditioning is selected or in AUTO
mode, the system will run the air conditioning
automatically.
3-2 1
Page 148 of 428
Outlet Adjustment Operation Tips
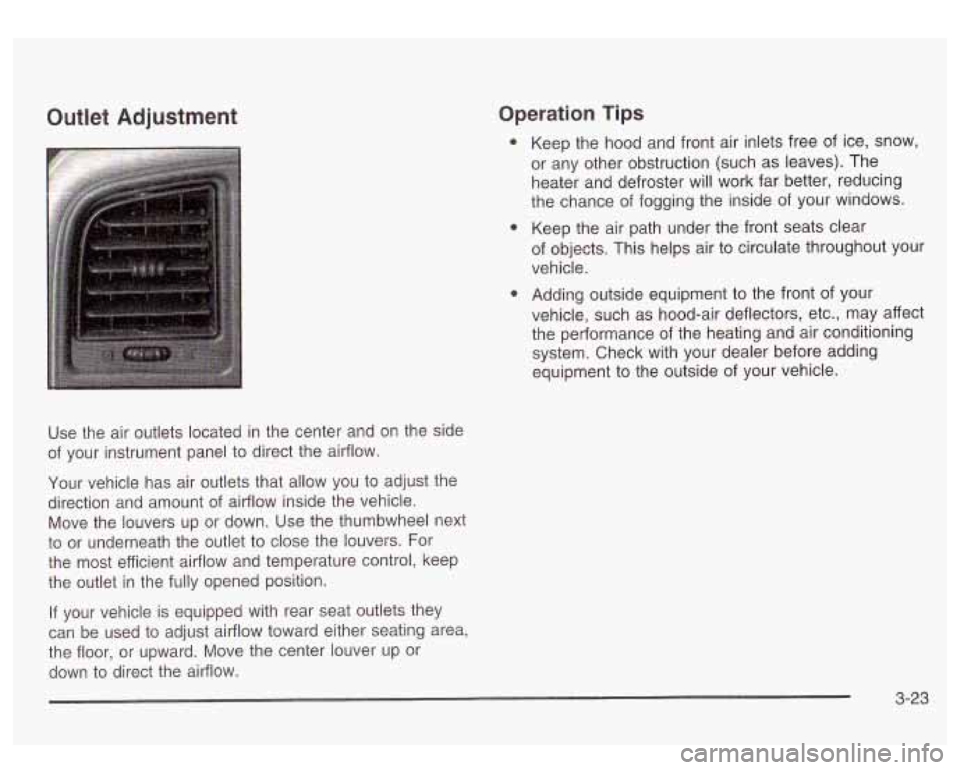
Use the air outlets located in the center and on the side
of your instrument panel to direct the airflow.
Your vehicle has air outlets that allow you to adjust the
direction and amount of airflow inside the vehicle.
Move the louvers up or down. Use the thumbwheel next
to or underneath the outlet to close the louvers. For
the most efficient airflow and temperature control, keep
the outlet in the fully opened position.
If your vehicle is equipped with rear seat outlets they
can be used
to adjust airflow toward either seating area,
the floor, or upward. Move the center louver up or
down
to direct the airflow. Keep
the hood and front air inlets free
of ice, snow,
or any other obstruction (such as leaves). The
heater and defroster will work far better, reducing
the chance of fogging the inside of your windows.
Keep the air path under the front seats clear
of objects. This helps air
to circulate throughout your
vehicle.
Adding outside equipment
to the front of your
vehicle, such as hood-air deflectors, etc., may affect
the performance
of the heating and air conditioning
system. Check with your dealer before adding
equipment
to the outside of your vehicle.
3-23
Page 256 of 428
Th.,,ds yo^ pur inside your vehicle can strike
and injure people in a sudden stop or turn, or
in a crash.
Put things in the trunk of your vehicle. In a
trunk, put them
as far forward as you can.
Try to spread the weight evenly.
Never stack heavier things, like suitcases,
inside the vehicle
so that some of them
are above the tops of the seats.
Don’t leave an unsecured child restraint in
your vehicle.
When you carry something inside the
vehicle, secure it whenever you can.
There’s also important loading information for off-road
driving in this manual. See “Loading Your Vehicle
for Off-Road Driving“ under
Operating Your
All- Wheel-Drive Vehicle Off Paved Roads on page 4- 16.
Payload
Payload capacity is the maximum load capacity that your
vehicle can carry. Be sure to include the weight of the
occupants as part of your load.
If you added any accessories or
equipment after your vehicle left the
factory, remember to subtract the weight of these things
from the payload. Your dealer can help you with this.
Remember not to exceed the Gross Axle Weight Rating
(GAWR) of the front or rear axle.
Two-Tiered Loading
By positioning four 2’’ x 6’’ wooden planks across the
width of the pickup box, you can create an upper
load platform. The planks must be inserted in the pickup
box depressions. The length of the planks must allow
for at least a
3/4 inch (2 cm) bearing surface on
each end of the plank.
When using this upper load platform, be sure the load is
securely tied down to prevent it from shifting. The
load’s center of gravity should be positioned in a zone
over the rear axle. The zone is located in the area
between the front of each wheel well and the rear of
each wheel well. The center of gravity height must not
extend above the top of the pickup box flareboard.
Any load that extends beyond the vehicle’s taillamp area
must be properly marked according to local laws and
regulations.
Remember not to exceed the Gross Axle Weight Rating
(GAWR) of the front or rear axle.
4-47
Page 351 of 428
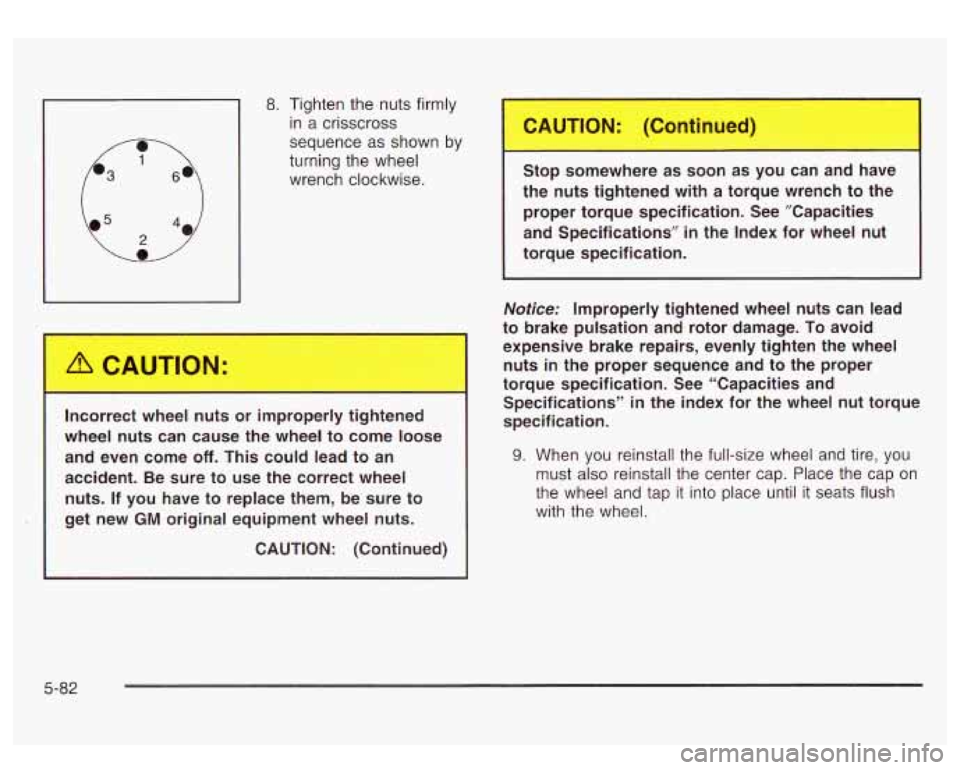
1 in a crisscross
8.
Tighten the nuts firmly
sequence as shown by
turning the wheel
wrench clockwise.
Incorrect wheel
nuts or improperly tightened
wheel nuts can cause the wheel to come loose and even come
off. This could lead to an
accident. Be sure to use the correct wheel
nuts. If you have to replace them, be sure to
get new
GM original equipment wheel nuts.
CAUTION: (Continued) Stop somewhere
as soon as you can and have
the nuts tightened with a torque wrench to the
proper torque specification. See ”Capacities
and Specifications” in the Index for wheel nut
torque specification.
Notice: Improperly tightened wheel nuts can lead
to brake pulsation and rotor damage. To avoid
expensive brake repairs, evenly tighten the wheel
nuts in the proper sequence and to the proper
torque specification. See “Capacities and
Specifications”
in the index for the wheel nut torque
specification.
9. When you reinstall the full-size wheel and tire, you
must
also reinstall the center cap. Place the cap on
the wheel and tap it into place until it seats flush
with the wheel.
5-82