steering GMC SIERRA DENALI 2003 Owners Manual
[x] Cancel search | Manufacturer: GMC, Model Year: 2003, Model line: SIERRA DENALI, Model: GMC SIERRA DENALI 2003Pages: 428, PDF Size: 20.35 MB
Page 66 of 428
r
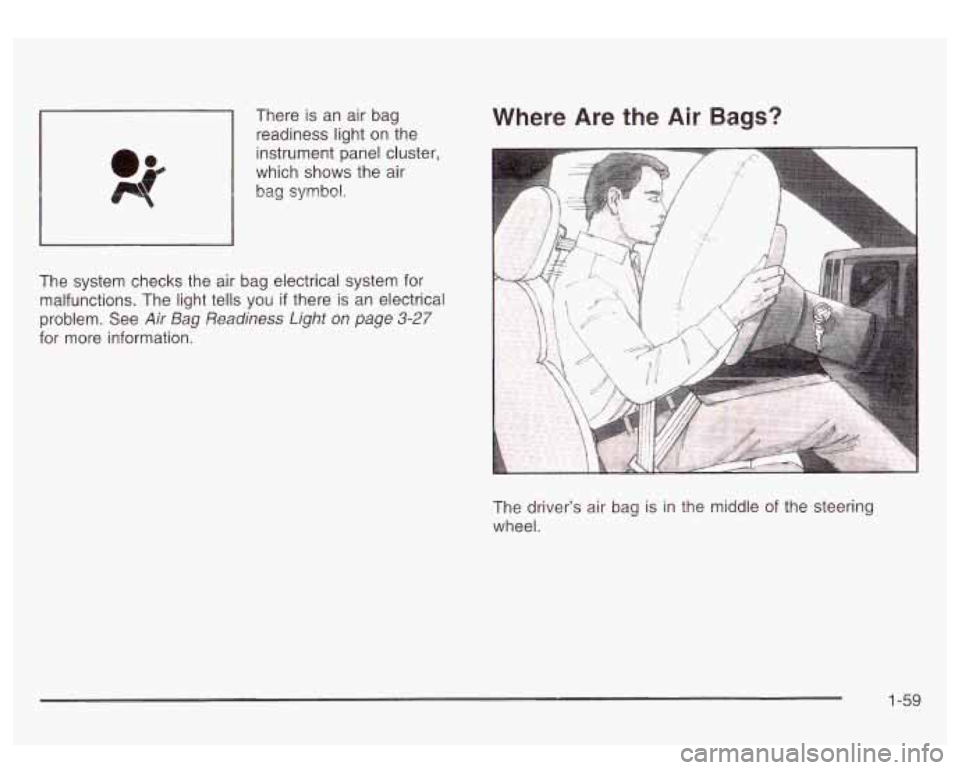
There is an air bag
readiness light on the
instrument panel cluster,
which shows the air
bag
symbol.
Where Are the Air Bags?
The system checks the air bag electrical system for
malfunctions. The light tells you
if there is an electrical
problem. See
Air Bag Readiness Light on page 3-27
for more information.
The driver’s air bag is in the middle of the steering
wheel.
1-59
Page 67 of 428
If something is between an occupant and an
air bag, the bag might not inflate properly or
it
might force the object into that person causing
severe injury or even death. The path of an
inflating air bag must be kept clear. Don’t put
anything between an occupant and an air bag,
and don’t attach or put anything on the
steering wheel hub or on or near any other air
bag covering.
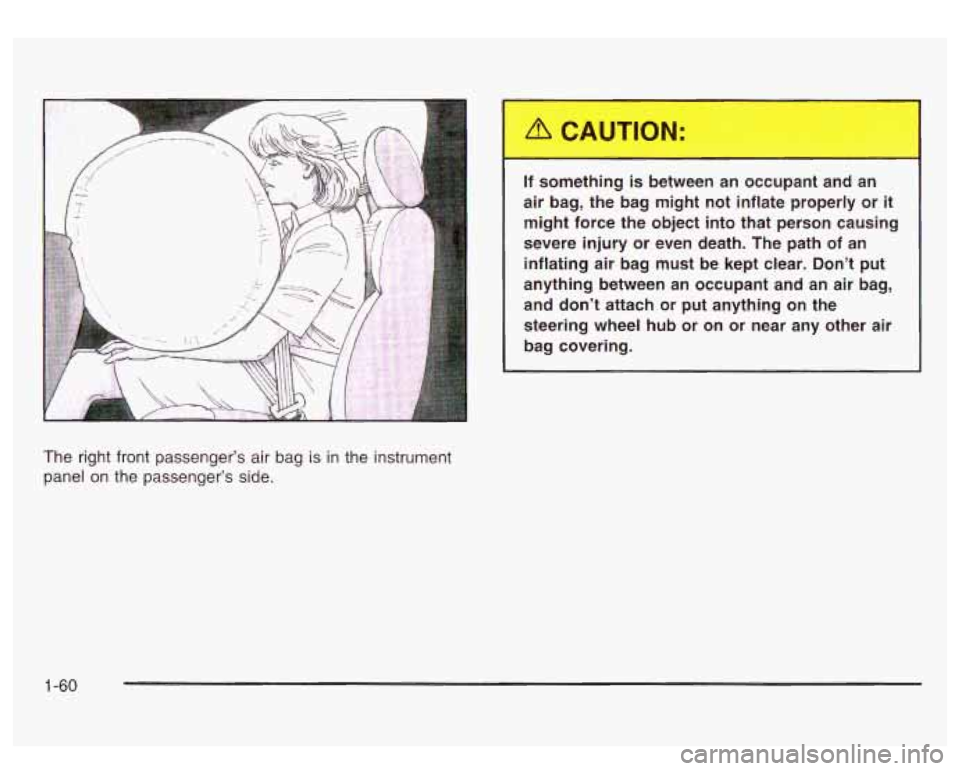
The right front passenger’s air bag is in the instrument
panel
on the passenger’s side.
1-60
Page 68 of 428
When Should an Air Bag Inflate?
An air bag is designed to inflate in a moderate to severe
frontal, or near-frontal crash. The air bag will inflate
only
if the impact speed is above the system’s designed
“threshold level.”
In addition, your vehicle has “dual stage” frontal air
bags, which adjust the amount of restraint according to
crash severity. For moderate frontal impacts, these
air bags inflate at a level less than full deployment. For
more severe frontal impacts, full deployment occurs.
If the front of your vehicle goes straight into a wall that
doesn’t move or deform, the threshold level for the
reduced deployment is about
10 to 16 mph
(16 to 25 km/h), and the threshold level for a full
deployment is about
20 to 25 mph (32 to 40 km/h). The
threshold level can vary, however, with specific
vehicle design,
so that it can be somewhat above or
below this range.
If your vehicle strikes something that will move or
deform, such as a parked car, the threshold level will be
higher. The air bag is not designed to inflate in
rollovers, rear impacts, or in many side impacts because
inflation would not help the occupant.
In any particular crash, no one can say whether an air
bag should have inflated simply because of the damage
to a vehicle or because of what the repair costs were. Inflation
is determined by the angle of the impact and
how quickly the vehicle slows down in frontal or
near-frontal impacts.
The air bag system
is designed to work properly under
a wide range
of conditions, including off-road usage.
Observe safe driving speeds, especially on rough
terrain.
As always, wear your safety belt. See “Off-Road
Driving” in the Index for more tips on off-road driving.
Seat Position Sensors
Vehicle’s with dual stage air bags are also equipped
with special sensors which enable the sensing system to
monitor the position of both the driver and passenger
front seats. The seat position sensor provides
information which is used to determine
if the air bags
should deploy at a reduced level or at full depoyment.
What Makes an Air Bag Inflate?
In an impact of sufficient severity, the air bag sensing
system detects that the vehicle is in a crash. The
sensing system triggers a release of gas from the
inflator, which inflates the air bag. The inflator, air bag,
and related hardware are all part of the air bag
modules inside the steering wheel and in the instrument
panel in front of the right front passenger.
1-61
Page 69 of 428
How Does an Air Bag Restrain?
In moderate to severe frontal or near-frontal collisions,
even belted occupants can contact the steering wheel or
the instrument panel. Air bags supplement the
protection provided by safety belts. Air bags distribute
the force of the impact more evenly over the occupant’s
upper body, stopping the occupant more gradually.
But air bags would not help you in many types of
collisions, including rollovers, rear impacts and many
side impacts, primarily because an occupant’s motion is
not toward those air bags. Air bags should never be
regarded as anything more than a supplement to safety
belts, and then only in moderate to severe frontal or
near-frontal collisions.
What Will You See After an Air Bag
Inflates?
After an air bag inflates, it quickly deflates, so quickly
that some people may not even realize the air bag
inflated. Some components of the air bag module
- the
steering wheel hub for the driver’s air bag, or the
instrument panel for the right front passenger’s
bag
- will be hot for a short time. The parts of the bag
that come into contact with you may be warm, but
not too hot to touch. There will be some smoke and dust
coming from the vents in the deflated air bags. Air
bag inflation doesn’t prevent the driver from seeing or
being able to steer the vehicle, nor does it stop
people from leaving the vehicle.
1-62
Page 70 of 428
When an air bag inflates, there is dust in the
air. This dust could cause breathing problems
for people with
a history of asthma or other
breathing trouble.
To avoid this, everyone in
the vehicle should get out as soon as it is safe
to do
so. If you have breathing problems but
can’t get out of the vehicle after an air bag
inflates, then get fresh air by opening a
window or
a door. If you experience breathing
problems following an air bag deployment, you
should seek medical attention.
In many crashes severe enough to inflate the air bag,
windshields are broken by vehicle deformation.
Additional windshield breakage may also occur from the
right front passenger air bag.
Air bags are designed to inflate only once. After
they inflate, you’ll need some new parts for your
air bag system.
If you don’t get them, the air
bag system won’t be there to help protect you in
another crash.
A new system will include air
bag modules and possibly other parts. The service
manual for your vehicle covers the need to
replace other parts.
Your vehicle is equipped with electronic frontal
sensors which help the sensing system distinguish
between a moderate and a more severe frontal
impact. Your vehicle is also equipped with a crash
sensing and diagnostic module, which records
information about the frontal air bag system. The
module records information about the readiness of
the system and when the system commands
are bag inflation. It records the status of the driver’s
safety belt usage in a crash in which the air bag
deploys or a crash in which the air bag nearly
deploys. The module also records speed, engine
RPM, brake and throttle data.
Let only qualified technicians work on your air bag
systems. Improper service can mean that an air
bag system won’t work properly. See your dealer for
service.
Notice: If you damage the covering for the driver’s
or the right front passenger’s air bag, the bag
may not work properly.
You may have to replace the
air bag module in the steering wheel or both the
air bag module and the instrument panel for
the right front passenger’s air bag.
Do not open or
break the air bag coverings.
1-63
Page 99 of 428
To Use the Engine Coolant Heater
1. Turn off the engine.
2. Open the hood and unwrap the electrical cord. The
cord is located on the driver’s side of the engine
compartment, near the power steering fluid
reservoir. If you have a diesel engine, refer to
diesel supplement for location.
3. Plug it into a normal, grounded 11 0-volt AC outlet.
Plugging the cord into an ungrounded outlet
could cause an electrical shock. Also, the
wrong kind of extension cord could overheat
and cause a fire. You could
be seriously
injured. Plug the cord into a properly grounded
three-prong
11 0-volt AC outlet. If the cord
won’t reach, use a heavy-duty three-prong
extension cord rated for at least
15 amps.
4. Before starting the engine, be sure to unplug ana
store the cord as it was before to keep it away
from moving engine parts.
If you don’t, it could be
damaged.
How long should you keep the coolant heater plugged
in? The answer depends on the outside temperature, the
kind of oil you have, and some other things. Instead
of trying to list everything here, we ask that you contact
your dealer in the area where you’ll be parking your
vehicle. The dealer can give you the best advice for that
particular area.
Automatic Transmission Operation
Your vehicle is equipped with an automatic transmission
that features an electronic shift position indicator
located within the instrument panel cluster. This display
is powered anytime the shift lever
is capable of being
moved out
of PARK (P). See Fuses and Circuit Breakers
on page
5-95.
There are several different positions for your shift lever.
PARK
(P): This position locks your wheels. It’s the
best position to use when you start your engine because
your vehicle can’t move easily.
2-1 8
Page 115 of 428
Onstar* Personal Calling
With Onstar@ Personal Calling, you have a safer way to
stay connected while driving. It’s a hands-free wireless
phone that’s integrated into your vehicle. You can place
calls nationwide using voice-activated dialing with no
contracts, no roaming charges and no access fees.
To
find out more about Onstar@ Personal Calling, refer
to the Onstar@ owner’s guide in your vehicle’s glove
box,
or call Onstar@ at 1-888-4-ONSTAR
(1 -888-466-7827).
Onstar* Virtual Advisor
With Onstar@ Virtual Advisor you can listen to your
favorite news, entertainment and information topics,
such as traffic and weather reports, stock quotes
and sports scores. You listen to your e-mail through
your vehicle’s speakers, and reply with your hands on
the wheel and your eyes on the road.
A completed Subscription Service Agreement is required
prior to delivery of Onstar@ services and prepaid
calling minutes are also required for Onstar@ Personal
Calling and Onstar@ Virtual Advisor use. Terms and
conditions of the Subscription Service Agreement can be
found at www.onstar.com.
Onstar* Steering Wheel Controls
: If your vehicle is
equipped with the steering
wheel control buttons
you can use them
to interact with the Onstar@
system.
See the Onstar@ manual provided with your vehicle for
more information.
2-34
Page 126 of 428
Section 3 Instrument Panel
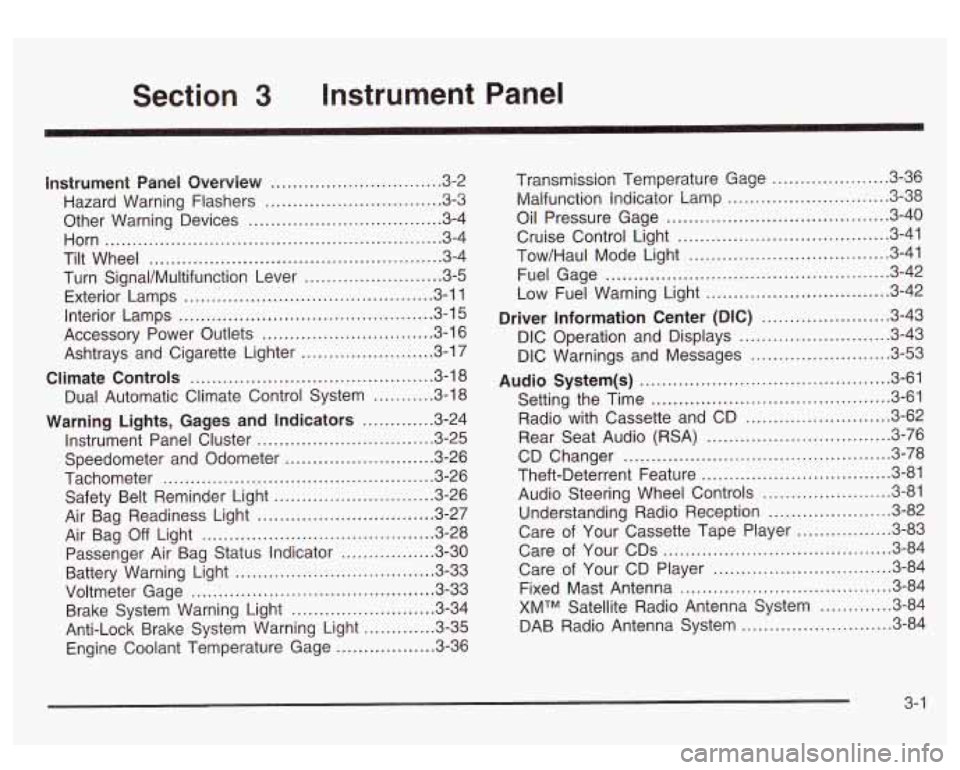
I~s~Pu~~~IP Panel OWWV~~W ............................... 3.2
Hazard Warning Flashers
................................ 3.3
Other Warning Devices ................................... 3.4
Horn
............................................................. 3.4
Tilt Wheel
..................................................... 3.4
Turn SignaVMultifunction Lever
......................... 3.5
Exterior Lamps
............................................. 3.11
Interior Lamps
.............................................. 3.15
Accessory Power Outlets
............................... 3.16
Ashtrays and Cigarette Lighter
........................ 3.17
Climate Controls
............................................ 3.18
Dual Automatic Climate Control System
........... 3.18
Warning Lights, Gages and Indicators
............. 3.24
Instrument Panel Cluster
................................ 3.25
Speedometer and Odometer
........................... 3.26
Tachometer
................................................ -3-26
Safety Belt Reminder Light
............................. 3.26
Air Bag Readiness Light
................................ 3-27
Passenger Air Bag Status Indicator
................. 3.30
Battery Warning Light
.................................... 3.33
Brake System Warning Light
.......................... 3.34
Anti-Lock Brake System Warning Light
............. 3.35
Air
Bag
Off Light .......................................... 3-28
Voltmeter Gage
............................................ 3-33
Engine Coolant Temperature Gage
..... ..... 3.36 Transmission Temperature
Gage
..................... 3.36
Malfunction Indicator Lamp
............................. 3.38
Oil Pressure Gage
........................................ 3-40
Cruise Control Light
...................................... 3.41
Tow/Haul Mode Light
.................................... 3-41
Fuel Gage
................................................... 3.42
Driver Information Center (DIC)
....................... 3.43
DIC Operation and Displays
........................... 3.43
DIC Warnings and Messages
......................... 3.53
Audio System(s)
............................................. 3.61
Setting the Time
...................... .......... 3.6 1
Radio with Cassette and CD ..... .............. 3.62
Rear Seat Audio (RSA)
............................. 3.76
CD Changer
................................................ 3-78
Theft-Deterrent Feature
................................. -3-81
Audio Steering Wheel Controls
....................... 3.81
Understanding Radio Reception
...................... 3-82
Care of Your Cassette Tape Player
................ -3-83
Care of Your CDs
......................................... 3.84
Care of Your CD Player
................................ 3.84
Fixed Mast Antenna
...................................... 3.84
XMTM Satellite Radio Antenna System
............. 3.84
DAB Radio Antenna System
........................... 3.84
Low Fuel Warning Light
................................. 3-42
Page 128 of 428
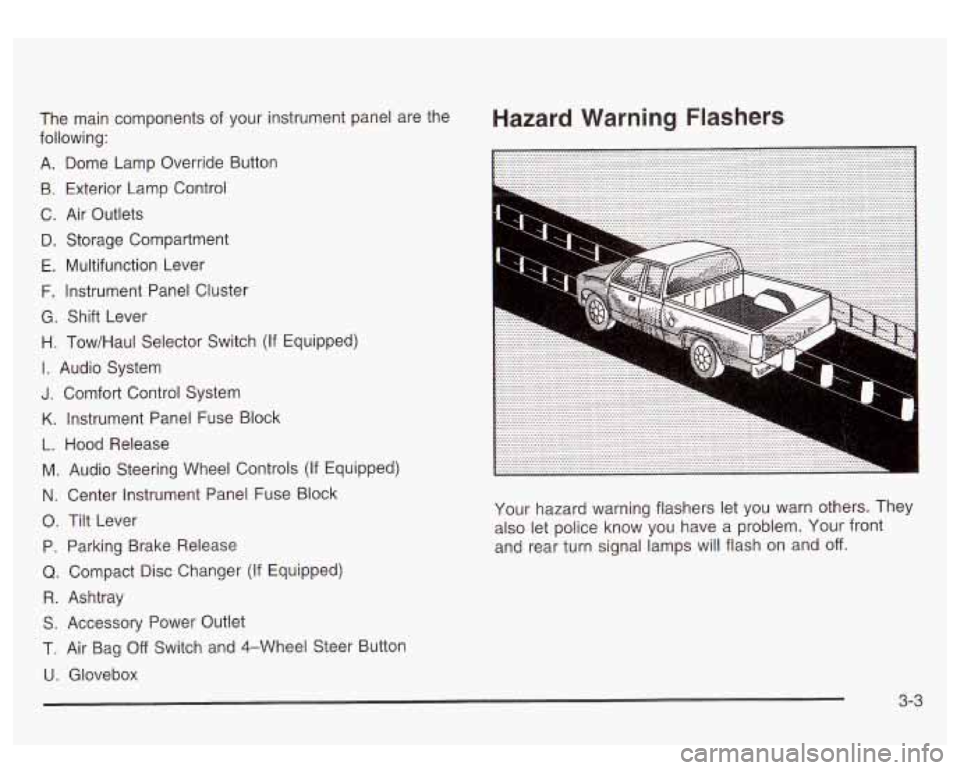
Hazard Warning Flashers The main components of your instrument panel are the
following:
A. Dome Lamp Override Button
9. Exterior Lamp Control
C. Air Outlets
D. Storage Compartment
E. Multifunction Lever
F. Instrument Panel Cluster
G. Shift Lever
H. Tow/Haul Selector Switch (If Equipped)
I. Audio System
J. Comfort Control System
K. Instrument Panel Fuse Block
L. Hood Release
M. Audio Steering Wheel Controls
(If Equipped)
N. Center Instrument Panel Fuse Block
0. Tilt Lever
P. Parking Brake Release
Q. Compact Disc Changer (If Equipped)
R. Ashtray
S. Accessory Power Outlet
1. Air Bag Off Switch and 4-Wheel Steer Button
U. Glovebox Your hazard
warning flashers let you warn others. They
also let police know you have a problem. Your front
and rear turn signal lamps will flash on and
off.
3-3
Page 129 of 428
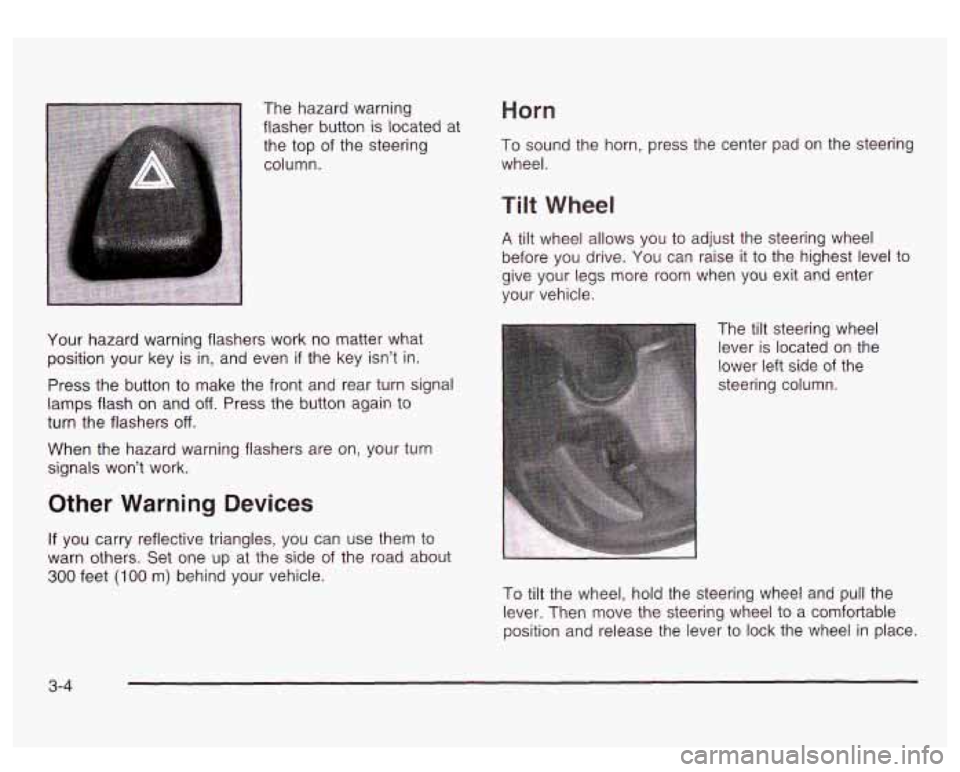
The hazard warning
flasher button is located at
the top
of the steering
column.
Horn
To sound the horn, press the center pad on the steerin?
wheel.
Your hazard warning flashers work no matter what
position your key is in, and even
if the key isn’t in.
Press the button to make the front and rear turn signal
lamps flash on and
off. Press the button again to
turn the flashers
off.
When the hazard warning flashers are on, your turn
signals won’t work.
Other Warning Devices
If you carry reflective triangles, you can use them to
warn others. Set one up at the side
of the road about
300 feet (100 m) behind your vehicle.
Tilt Wheel
A tilt wheel allows you to adjust the steering wheel
before you drive. You can raise
it to the highest level to
give your legs more room when you exit and enter
your vehicle.
The tilt steering wheel
lever is located on the
lower left side
of the
steering column.
To tilt the wheel, hold the steering wheel and pull the
lever. Then move the steering wheel to a comfortable
position and release the lever to lock the wheel in place.
3-4