turn signal GMC SIERRA DENALI 2005 Owner's Manual
[x] Cancel search | Manufacturer: GMC, Model Year: 2005, Model line: SIERRA DENALI, Model: GMC SIERRA DENALI 2005Pages: 428, PDF Size: 2.5 MB
Page 206 of 428
Radio Reception
AM
The range for most AM stations is greater than for FM,
especially at night. The longer range can cause
station frequencies to interfere with each other. Static
can occur on AM stations caused by things like
storms and power lines. Try reducing the treble to
reduce this noise.
FM Stereo
FM stereo will give the best sound, but FM signals will
reach only about 10 to 40 miles (16 to 65 km). Tall
buildings or hills can interfere with FM signals, causing
the sound to fade in and out.
XM™ Satellite Radio Service
XM™ Satellite Radio Service gives digital radio
reception from coast to coast. Just as with FM, tall
buildings or hills can interfere with satellite radio signals,
causing the sound to fade in and out. The radio may
display NO SIGNAL to indicate interference.
Care of Your Cassette Tape Player
A tape player that is not cleaned regularly can cause
reduced sound quality, ruined cassettes, or a damaged
mechanism. Cassette tapes should be stored in their
cases away from contaminants, direct sunlight, and
extreme heat. If they are not, they may not operate
properly or may cause failure of the tape player.
The tape player should be cleaned regularly after every
50 hours of use. The radio may display CLN to
indicate that the tape player has been used for 50 hours
without resetting the tape clean timer. If this message
appears on the display, the cassette tape player
needs to be cleaned. It will still play tapes, but it should
be cleaned as soon as possible to prevent damage
to the tapes and player. If there is a reduction in sound
quality, try a known good cassette to see if the tape
or the tape player is at fault. If this other cassette has no
improvement in sound quality, clean the tape player.
For best results, use a scrubbing action, non-abrasive
cleaning cassette with pads which scrub the tape
head as the hubs of the cleaner cassette turn. The
recommended cleaning cassette is available through
your dealer.
3-92
Page 219 of 428
Do not get too close to the vehicle you want to pass
while you are awaiting an opportunity. For one thing,
following too closely reduces your area of vision,
especially if you are following a larger vehicle. Also,
you will not have adequate space if the vehicle
ahead suddenly slows or stops. Keep back a
reasonable distance.
When it looks like a chance to pass is coming up,
start to accelerate but stay in the right lane and do
not get too close. Time your move so you will be
increasing speed as the time comes to move into the
other lane. If the way is clear to pass, you will have a
running start that more than makes up for the
distance you would lose by dropping back. And if
something happens to cause you to cancel your
pass, you need only slow down and drop back again
and wait for another opportunity.
If other vehicles are lined up to pass a slow vehicle,
wait your turn. But take care that someone is not
trying to pass you as you pull out to pass the slow
vehicle. Remember to glance over your shoulder and
check the blind spot.
Check your mirrors, glance over your shoulder and
start your left lane change signal before moving out
of the right lane to pass. When you are far enough
ahead of the passed vehicle to see its front in your
inside mirror, activate your right lane change signal
and move back into the right lane. Remember that if
your right outside mirror is convex, the vehicle you
just passed may seem to be farther away from you
than it really is.
Try not to pass more than one vehicle at a time on
two-lane roads. Reconsider before passing the next
vehicle.
Do not overtake a slowly moving vehicle too rapidly.
Even though the brake lamps are not ashing, it may
be slowing down or starting to turn.
If you are being passed, make it easy for the
following driver to get ahead of you. Perhaps you can
ease a little to the right.
4-11
Page 225 of 428
Surface Obstacles:Unseen or hidden obstacles can
be hazardous. A rock, log, hole, rut or bump can startle
you if you are not prepared for them. Often these
obstacles are hidden by grass, bushes, snow or even
the rise and fall of the terrain itself. Here are some
things to consider:
Is the path ahead clear?
Will the surface texture change abruptly up ahead?
Does the travel take you uphill or downhill?
(There is more discussion of these subjects later.)
Will you have to stop suddenly or change direction
quickly?
When you drive over obstacles or rough terrain, keep a
rm grip on the steering wheel. Ruts, troughs or
other surface features can jerk the wheel out of your
hands if you are not prepared.
When you drive over bumps, rocks, or other obstacles,
your wheels can leave the ground. If this happens,
even with one or two wheels, you cannot control the
vehicle as well or at all.Because you will be on an unpaved surface, it is
especially important to avoid sudden acceleration,
sudden turns or sudden braking.
In a way, off-road driving requires a different kind of
alertness from driving on paved roads and highways.
There are no road signs, posted speed limits or
signal lights. You have to use your own good judgment
about what is safe and what is not.
Drinking and driving can be very dangerous on any
road. And this is certainly true for off-road driving. At the
very time you need special alertness and driving
skills, your reexes, perceptions and judgment can be
affected by even a small amount of alcohol. You
could have a serious — or even fatal — accident if you
drink and drive or ride with a driver who has been
drinking. SeeDrunken Driving on page 4-2.
4-17
Page 236 of 428
Driving in Rain and on Wet Roads
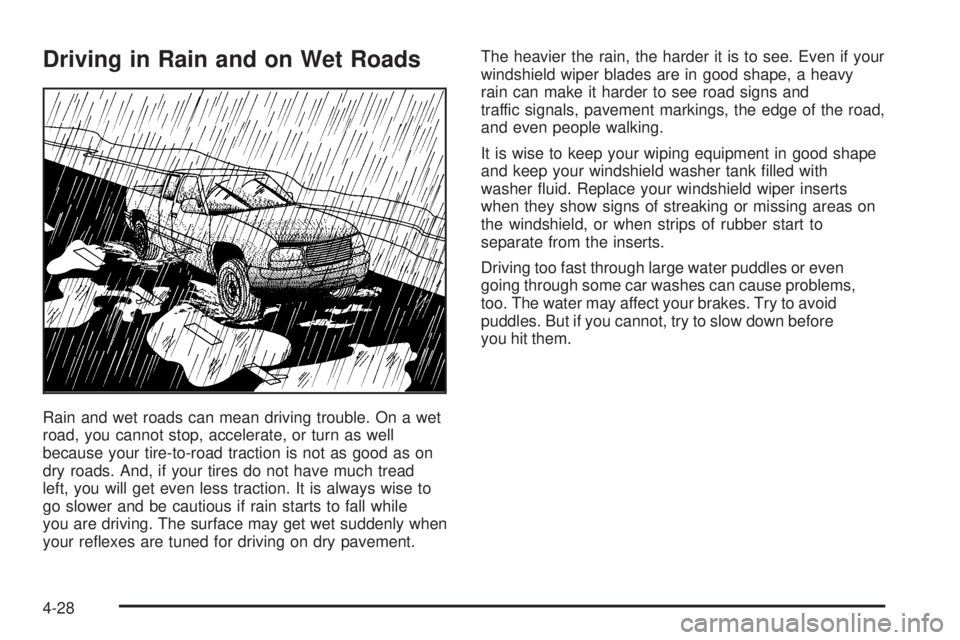
Rain and wet roads can mean driving trouble. On a wet
road, you cannot stop, accelerate, or turn as well
because your tire-to-road traction is not as good as on
dry roads. And, if your tires do not have much tread
left, you will get even less traction. It is always wise to
go slower and be cautious if rain starts to fall while
you are driving. The surface may get wet suddenly when
your reexes are tuned for driving on dry pavement.The heavier the rain, the harder it is to see. Even if your
windshield wiper blades are in good shape, a heavy
rain can make it harder to see road signs and
traffic signals, pavement markings, the edge of the road,
and even people walking.
It is wise to keep your wiping equipment in good shape
and keep your windshield washer tank lled with
washer uid. Replace your windshield wiper inserts
when they show signs of streaking or missing areas on
the windshield, or when strips of rubber start to
separate from the inserts.
Driving too fast through large water puddles or even
going through some car washes can cause problems,
too. The water may affect your brakes. Try to avoid
puddles. But if you cannot, try to slow down before
you hit them.
4-28
Page 239 of 428
City Driving
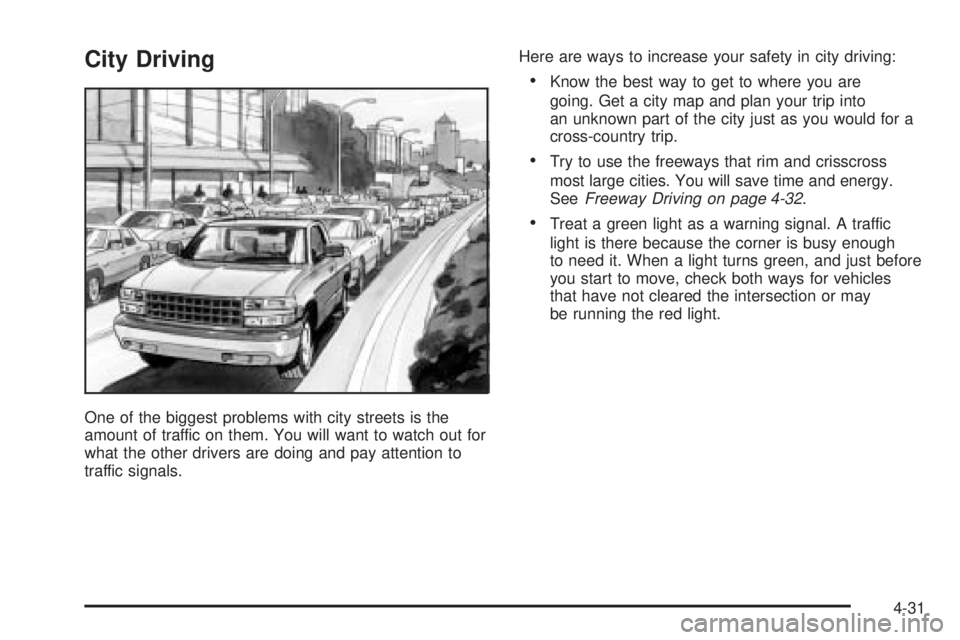
One of the biggest problems with city streets is the
amount of traffic on them. You will want to watch out for
what the other drivers are doing and pay attention to
traffic signals.Here are ways to increase your safety in city driving:
Know the best way to get to where you are
going. Get a city map and plan your trip into
an unknown part of the city just as you would for a
cross-country trip.
Try to use the freeways that rim and crisscross
most large cities. You will save time and energy.
SeeFreeway Driving on page 4-32.
Treat a green light as a warning signal. A traffic
light is there because the corner is busy enough
to need it. When a light turns green, and just before
you start to move, check both ways for vehicles
that have not cleared the intersection or may
be running the red light.
4-31
Page 240 of 428

Freeway Driving
Mile for mile, freeways — also called thruways, parkways,
expressways, turnpikes, or superhighways — are the
safest of all roads. But they have their own special rules.
The most important advice on freeway driving is: Keep
up with traffic and keep to the right. Drive at the
same speed most of the other drivers are driving.
Too-fast or too-slow driving breaks a smooth traffic ow.
Treat the left lane on a freeway as a passing lane.At the entrance, there is usually a ramp that leads to the
freeway. If you have a clear view of the freeway as you
drive along the entrance ramp, you should begin to check
traffic. Try to determine where you expect to blend with
the ow. Try to merge into the gap at close to the
prevailing speed. Switch on your turn signal, check your
mirrors, and glance over your shoulder as often as
necessary. Try to blend smoothly with the traffic ow.
Once you are on the freeway, adjust your speed to the
posted limit or to the prevailing rate if it is slower.
Stay in the right lane unless you want to pass.
Before changing lanes, check your mirrors. Then use
your turn signal.
Just before you leave the lane, glance quickly over your
shoulder to make sure there is not another vehicle in
your blind spot.
Once you are moving on the freeway, make certain you
allow a reasonable following distance. Expect to
move slightly slower at night.
When you want to leave the freeway, move to the
proper lane well in advance. If you miss your exit, do
not, under any circumstances, stop and back up. Drive
on to the next exit.
The exit ramp can be curved, sometimes quite sharply.
The exit speed is usually posted.
4-32
Page 268 of 428
Making Turns
Notice:Making very sharp turns while trailering
could cause the trailer to come in contact with the
vehicle. Your vehicle could be damaged. Avoid
making very sharp turns while trailering.
When you’re turning with a trailer, make wider turns
than normal. Do this so your trailer won’t strike
soft shoulders, curbs, road signs, trees or other objects.
Avoid jerky or sudden maneuvers. Signal well in
advance.
Turn Signals When Towing a Trailer
The arrows on your instrument panel will ash whenever
you signal a turn or lane change. Properly hooked up,
the trailer lamps will also ash, telling other drivers
you’re about to turn, change lanes or stop.
When towing a trailer, the arrows on your instrument
panel will ash for turns even if the bulbs on the trailer
are burned out. Thus, you may think drivers behind
you are seeing your signal when they are not. It’s
important to check occasionally to be sure the trailer
bulbs are still working.
Driving On Grades
Reduce speed and shift to a lower gearbeforeyou start
down a long or steep downgrade. If you don’t shift
down, you might have to use your brakes so much that
they would get hot and no longer work well.
You can tow in DRIVE (D). You may want to shift the
transmission to THIRD (3) or, if necessary, a lower gear
selection if the transmission shifts too often (e.g., under
heavy loads and/or hilly conditions).
You may also want to activate the tow/haul mode if the
transmission shifts too often. See “Tow/Haul Mode”
earlier in this section.
When towing at high altitude on steep uphill grades,
consider the following: Engine coolant will boil at a lower
temperature than at normal altitudes. If you turn your
engine off immediately after towing at high altitude
on steep uphill grades, your vehicle may show signs
similar to engine overheating. To avoid this, let the
engine run while parked (preferably on level ground)
with the automatic transmission in PARK (P) for a
few minutes before turning the engine off. If you do get
the overheat warning, seeEngine Overheating on
page 5-26.
4-60
Page 270 of 428
Trailer Wiring Harness
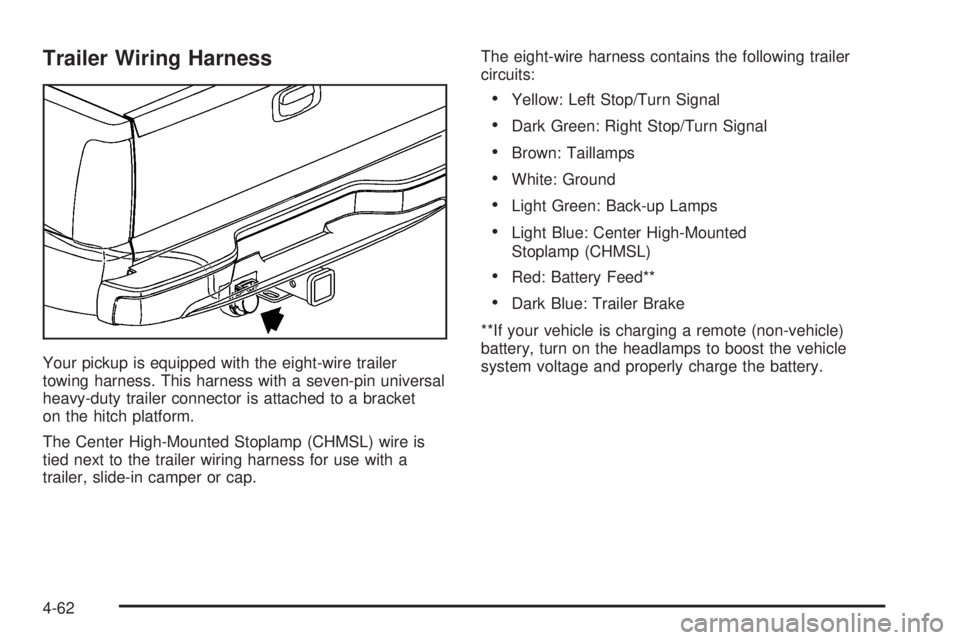
Your pickup is equipped with the eight-wire trailer
towing harness. This harness with a seven-pin universal
heavy-duty trailer connector is attached to a bracket
on the hitch platform.
The Center High-Mounted Stoplamp (CHMSL) wire is
tied next to the trailer wiring harness for use with a
trailer, slide-in camper or cap.The eight-wire harness contains the following trailer
circuits:
Yellow: Left Stop/Turn Signal
Dark Green: Right Stop/Turn Signal
Brown: Taillamps
White: Ground
Light Green: Back-up Lamps
Light Blue: Center High-Mounted
Stoplamp (CHMSL)
Red: Battery Feed**
Dark Blue: Trailer Brake
**If your vehicle is charging a remote (non-vehicle)
battery, turn on the headlamps to boost the vehicle
system voltage and properly charge the battery.
4-62
Page 273 of 428
Service............................................................5-3
Doing Your Own Service Work.........................5-4
Adding Equipment to the Outside of Your
Vehicle......................................................5-5
Fuel................................................................5-5
Gasoline Octane............................................5-5
Gasoline Specications....................................5-5
California Fuel...............................................5-6
Additives.......................................................5-6
Fuels in Foreign Countries...............................5-7
Filling Your Tank............................................5-7
Filling a Portable Fuel Container.......................5-9
Checking Things Under the Hood....................5-10
Hood Release..............................................5-10
Engine Compartment Overview.......................5-12
Engine Oil...................................................5-14
Engine Oil Life System..................................5-17
Engine Air Cleaner/Filter................................5-19
Automatic Transmission Fluid.........................5-21
Engine Coolant.............................................5-24
Coolant Surge Tank Pressure Cap..................5-26
Engine Overheating.......................................5-26
Overheated Engine Protection Operating Mode . . .5-28
Cooling System............................................5-29
Engine Fan Noise.........................................5-34
Power Steering Fluid.....................................5-34Windshield Washer Fluid................................5-36
Brakes........................................................5-37
Battery........................................................5-40
Jump Starting...............................................5-41
All-Wheel Drive..............................................5-46
Rear Axle.......................................................5-47
Front Axle......................................................5-48
Bulb Replacement..........................................5-49
Halogen Bulbs..............................................5-49
Headlamps..................................................5-49
Front Turn Signal, Sidemarker and Daytime
Running Lamps.........................................5-50
Center High-Mounted Stoplamp (CHMSL) and
Cargo Lamp.............................................5-51
Taillamps.....................................................5-53
Replacement Bulbs.......................................5-54
Windshield Wiper Blade Replacement..............5-55
Tires..............................................................5-56
Tire Sidewall Labelling...................................5-57
Tire Terminology and Denitions.....................5-60
Ination - Tire Pressure.................................5-62
Tire Inspection and Rotation...........................5-63
When It Is Time for New Tires.......................5-65
Buying New Tires.........................................5-66
Uniform Tire Quality Grading..........................5-67
Section 5 Service and Appearance Care
5-1
Page 322 of 428

A. Low-Beam Headlamp
B. High-Beam Headlamp
2. Pull the headlamp assembly out.
3. Unplug the electrical connector.
4. Turn the old bulb counterclockwise and remove it
from the headlamp assembly.
5. Put the new bulb into the assembly and turn it
clockwise until it is tight. Use care not to touch
the bulb with your ngers or hands.
6. Plug in the electrical connector.
7. Put the headlamp assembly back into the vehicle.
Install and tighten the two pins.
Front Turn Signal, Sidemarker and
Daytime Running Lamps
A. Sidemarker Lamp
B. Retainer Clip
C. Front Turn Signal Lamp
D. Daytime Running Lamp (DRL)
To replace a front turn signal, sidemarker or DRL bulb,
do the following:
1. Remove the headlamp assembly as described
previously. SeeHeadlamps on page 5-49for
more information.
5-50