ABS GMC SIERRA DENALI 2010 Owners Manual
[x] Cancel search | Manufacturer: GMC, Model Year: 2010, Model line: SIERRA DENALI, Model: GMC SIERRA DENALI 2010Pages: 550, PDF Size: 4.17 MB
Page 5 of 550
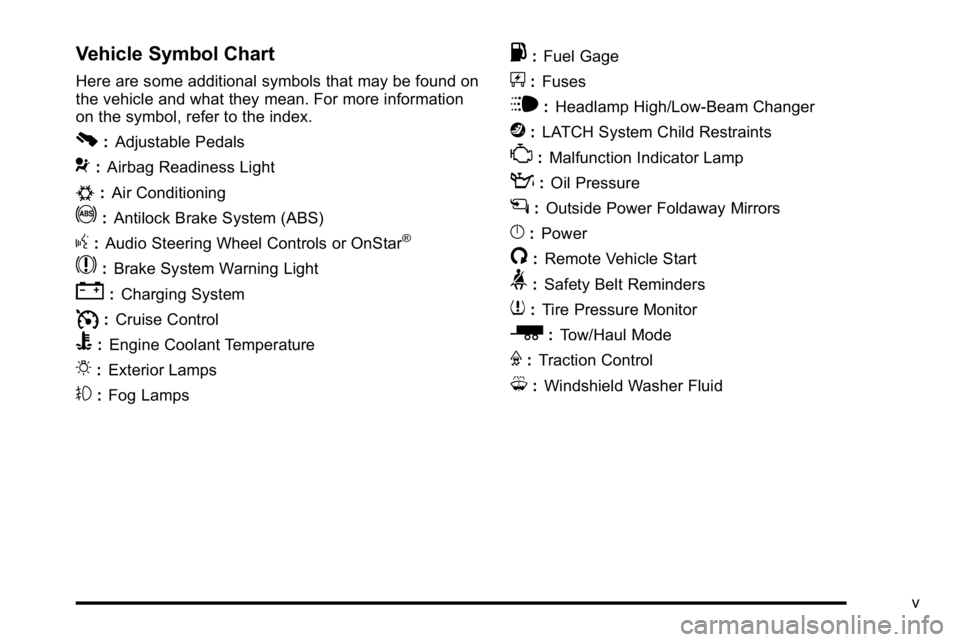
Vehicle Symbol Chart
Here are some additional symbols that may be found on
the vehicle and what they mean. For more information
on the symbol, refer to the index.
0:Adjustable Pedals
9:Airbag Readiness Light
#:Air Conditioning
!:Antilock Brake System (ABS)
g:Audio Steering Wheel Controls or OnStar®
$: Brake System Warning Light
":Charging System
I:Cruise Control
B: Engine Coolant Temperature
O:Exterior Lamps
#:Fog Lamps
.: Fuel Gage
+:Fuses
i: Headlamp High/Low-Beam Changer
j:LATCH System Child Restraints
*: Malfunction Indicator Lamp
::Oil Pressure
g:Outside Power Foldaway Mirrors
}:Power
/:Remote Vehicle Start
>:Safety Belt Reminders
7:Tire Pressure Monitor
_: Tow/Haul Mode
F:Traction Control
M:Windshield Washer Fluid
v
Page 24 of 550
Vehicle Features
Radio(s)
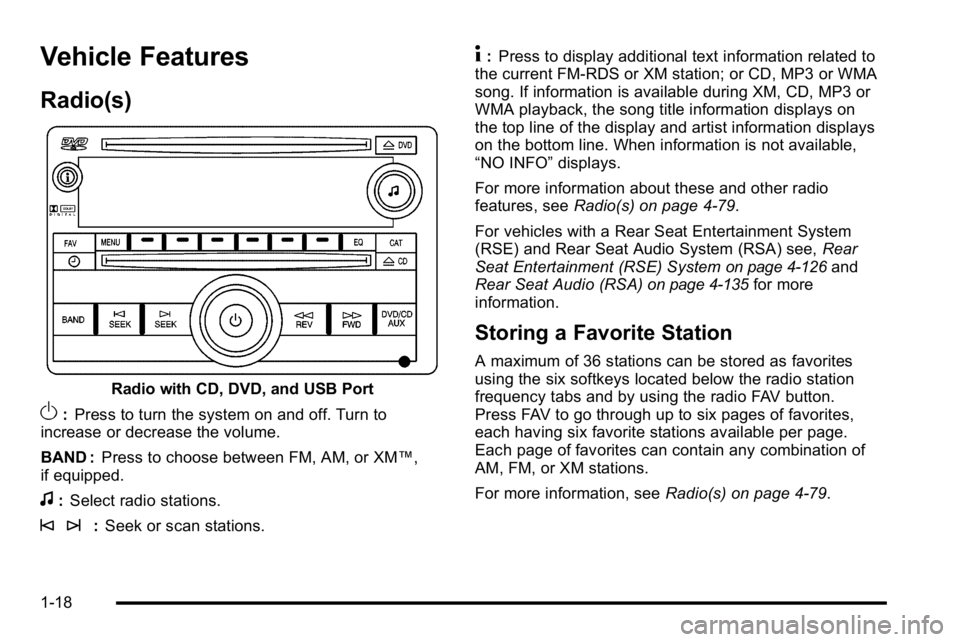
Radio with CD, DVD, and USB Port
O:Press to turn the system on and off. Turn to
increase or decrease the volume.
BAND : Press to choose between FM, AM, or XM™,
if equipped.
f: Select radio stations.
© ¨: Seek or scan stations.
4:Press to display additional text information related to
the current FM-RDS or XM station; or CD, MP3 or WMA
song. If information is available during XM, CD, MP3 or
WMA playback, the song title information displays on
the top line of the display and artist information displays
on the bottom line. When information is not available,
“NO INFO” displays.
For more information about these and other radio
features, see Radio(s) on page 4‑79.
For vehicles with a Rear Seat Entertainment System
(RSE) and Rear Seat Audio System (RSA) see, Rear
Seat Entertainment (RSE) System
on page 4‑126and
Rear Seat Audio (RSA)on page 4‑135for more
information.
Storing a Favorite Station
A maximum of 36 stations can be stored as favorites
using the six softkeys located below the radio station
frequency tabs and by using the radio FAV button.
Press FAV to go through up to six pages of favorites,
each having six favorite stations available per page.
Each page of favorites can contain any combination of
AM, FM, or XM stations.
For more information, see Radio(s) on page 4‑79.
1-18
Page 173 of 550
Section 4 Instrument Panel
Instrument Panel Overview. . . . . . . . . . . . . . . . . . . . . . . .4-3
Hazard Warning Flashers . . . . . . . . . . . . . . . . . . . . . . . 4-3
Horn . . . . . . . . . . . . . . . . . . . . . . . . . . . . . . . . . . . . . . . . . . . . 4-3
Tilt Wheel . . . . . . . . . . . . . . . . . . . . . . . . . . . . . . . . . . . . . . . 4-3
Turn Signal/Multifunction Lever . . . . . . . . . . . . . . . . . . 4-4
Turn and Lane-Change Signals . . . . . . . . . . . . . . . . . 4-4
Headlamp High/Low-Beam Changer . . . . . . . . . . . . 4-5
Flash-to-Pass . . . . . . . . . . . . . . . . . . . . . . . . . . . . . . . . . . . 4-5
Windshield Wipers . . . . . . . . . . . . . . . . . . . . . . . . . . . . . . 4-6
Windshield Washer . . . . . . . . . . . . . . . . . . . . . . . . . . . . . 4-6
Cruise Control . . . . . . . . . . . . . . . . . . . . . . . . . . . . . . . . . . 4-7
Exterior Lamps . . . . . . . . . . . . . . . . . . . . . . . . . . . . . . . . 4-10
Headlamps on Reminder . . . . . . . . . . . . . . . . . . . . . . . 4-11
Daytime Running Lamps (DRL) . . . . . . . . . . . . . . . . 4-11
Automatic Headlamp System . . . . . . . . . . . . . . . . . . 4-12
Puddle Lamps . . . . . . . . . . . . . . . . . . . . . . . . . . . . . . . . . 4-13
Fog Lamps . . . . . . . . . . . . . . . . . . . . . . . . . . . . . . . . . . . . 4-13
Instrument Panel Brightness . . . . . . . . . . . . . . . . . . . 4-13
Dome Lamps . . . . . . . . . . . . . . . . . . . . . . . . . . . . . . . . . . 4-13
Dome Lamp Override . . . . . . . . . . . . . . . . . . . . . . . . . . 4-14
Entry Lighting . . . . . . . . . . . . . . . . . . . . . . . . . . . . . . . . . . 4-14
Exit Lighting . . . . . . . . . . . . . . . . . . . . . . . . . . . . . . . . . . . 4-14
Reading Lamps . . . . . . . . . . . . . . . . . . . . . . . . . . . . . . . . 4-14
Cargo Lamp . . . . . . . . . . . . . . . . . . . . . . . . . . . . . . . . . . . 4-14
Electric Power Management . . . . . . . . . . . . . . . . . . . 4-15 Battery Run-Down Protection . . . . . . . . . . . . . . . . . . 4-15
Accessory Power Outlet(s) . . . . . . . . . . . . . . . . . . . . . 4-16
Ashtray(s) and Cigarette Lighter . . . . . . . . . . . . . . . 4-17
Climate Controls . . . . . . . . . . . . . . . . . . . . . . . . . . . . . . . . . . 4-17
Climate Control System (With Air
Conditioning) . . . . . . . . . . . . . . . . . . . . . . . . . . . . . . . . 4-17
Climate Control System (With Heater Only) . . . . 4-20
Dual Automatic Climate Control System . . . . . . . 4-21
Outlet Adjustment . . . . . . . . . . . . . . . . . . . . . . . . . . . . . . 4-27
Warning Lights, Gages, and Indicators . . . . . . . . . .4-27
Instrument Panel Cluster . . . . . . . . . . . . . . . . . . . . . . . 4-28
Speedometer and Odometer . . . . . . . . . . . . . . . . . . . 4-29
Trip Odometer . . . . . . . . . . . . . . . . . . . . . . . . . . . . . . . . . 4-29
Tachometer . . . . . . . . . . . . . . . . . . . . . . . . . . . . . . . . . . . . 4-29
Safety Belt Reminders . . . . . . . . . . . . . . . . . . . . . . . . . 4-30
Airbag Readiness Light . . . . . . . . . . . . . . . . . . . . . . . . 4-31
Passenger Airbag Status Indicator . . . . . . . . . . . . . 4-32
Charging System Light . . . . . . . . . . . . . . . . . . . . . . . . 4-33
Voltmeter Gage . . . . . . . . . . . . . . . . . . . . . . . . . . . . . . . . 4-33
Brake System Warning Light . . . . . . . . . . . . . . . . . . . 4-34
Antilock Brake System (ABS) Warning Light . . . 4-36
StabiliTrak
®Indicator Light . . . . . . . . . . . . . . . . . . . . . 4-36
Engine Coolant Temperature Gage . . . . . . . . . . . . 4-37
Tire Pressure Light . . . . . . . . . . . . . . . . . . . . . . . . . . . . 4-37
4-1
Page 208 of 550
Antilock Brake System (ABS)
Warning Light
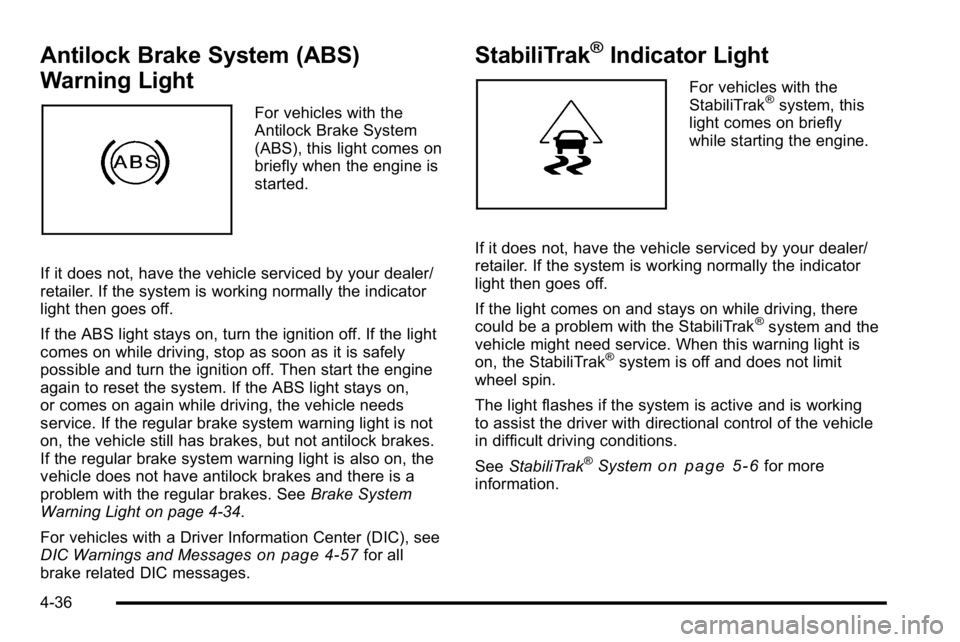
For vehicles with the
Antilock Brake System
(ABS), this light comes on
briefly when the engine is
started.
If it does not, have the vehicle serviced by your dealer/
retailer. If the system is working normally the indicator
light then goes off.
If the ABS light stays on, turn the ignition off. If the light
comes on while driving, stop as soon as it is safely
possible and turn the ignition off. Then start the engine
again to reset the system. If the ABS light stays on,
or comes on again while driving, the vehicle needs
service. If the regular brake system warning light is not
on, the vehicle still has brakes, but not antilock brakes.
If the regular brake system warning light is also on, the
vehicle does not have antilock brakes and there is a
problem with the regular brakes. See Brake System
Warning Light on page 4‑34.
For vehicles with a Driver Information Center (DIC), see
DIC Warnings and Messages
on page 4‑57for all
brake related DIC messages.
StabiliTrak®Indicator Light
For vehicles with the
StabiliTrak®system, this
light comes on briefly
while starting the engine.
If it does not, have the vehicle serviced by your dealer/
retailer. If the system is working normally the indicator
light then goes off.
If the light comes on and stays on while driving, there
could be a problem with the StabiliTrak
®system and the
vehicle might need service. When this warning light is
on, the StabiliTrak
®system is off and does not limit
wheel spin.
The light flashes if the system is active and is working
to assist the driver with directional control of the vehicle
in difficult driving conditions.
See StabiliTrak
®Systemon page 5‑6for more
information.
4-36
Page 249 of 550
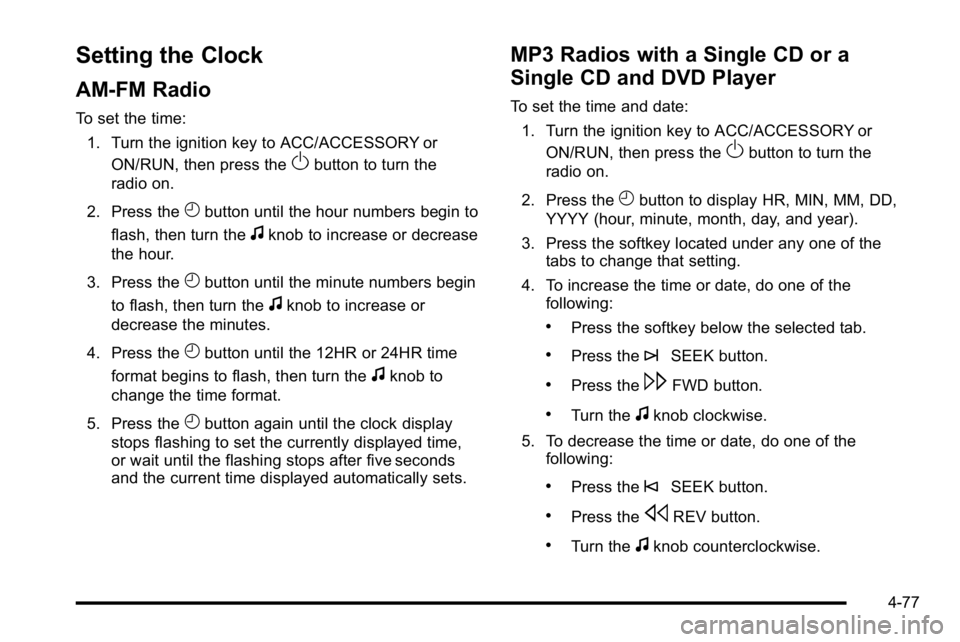
Setting the Clock
AM-FM Radio
To set the time:1. Turn the ignition key to ACC/ACCESSORY or ON/RUN, then press the
Obutton to turn the
radio on.
2. Press the
Hbutton until the hour numbers begin to
flash, then turn the
fknob to increase or decrease
the hour.
3. Press the
Hbutton until the minute numbers begin
to flash, then turn the
fknob to increase or
decrease the minutes.
4. Press the
Hbutton until the 12HR or 24HR time
format begins to flash, then turn the
fknob to
change the time format.
5. Press the
Hbutton again until the clock display
stops flashing to set the currently displayed time,
or wait until the flashing stops after five seconds
and the current time displayed automatically sets.
MP3 Radios with a Single CD or a
Single CD and DVD Player
To set the time and date:
1. Turn the ignition key to ACC/ACCESSORY or ON/RUN, then press the
Obutton to turn the
radio on.
2. Press the
Hbutton to display HR, MIN, MM, DD,
YYYY (hour, minute, month, day, and year).
3. Press the softkey located under any one of the tabs to change that setting.
4. To increase the time or date, do one of the following:
.Press the softkey below the selected tab.
.Press the¨SEEK button.
.Press the\FWD button.
.Turn thefknob clockwise.
5. To decrease the time or date, do one of the following:
.Press the©SEEK button.
.Press thesREV button.
.Turn thefknob counterclockwise.
4-77
Page 250 of 550
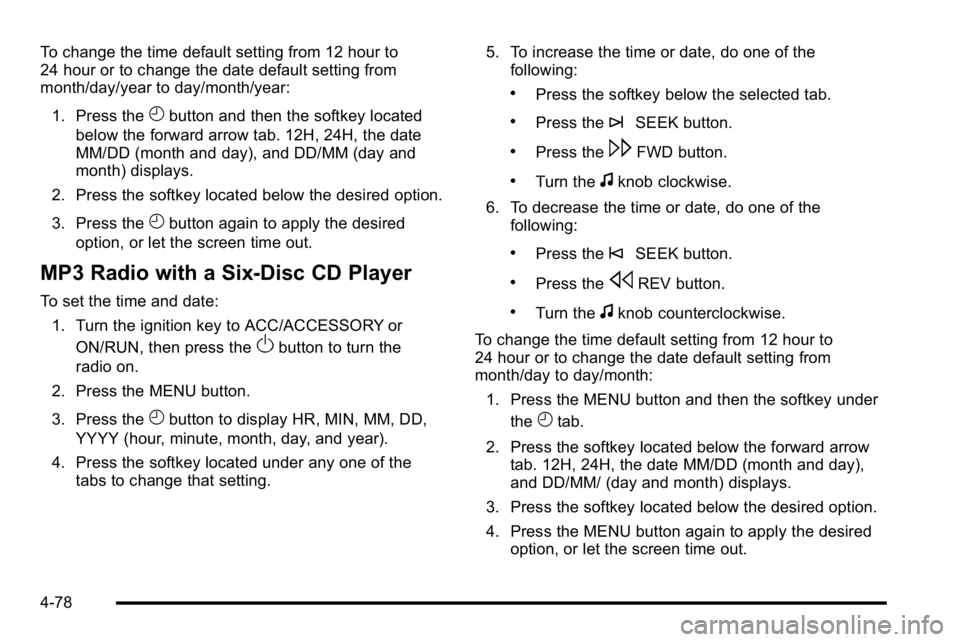
To change the time default setting from 12 hour to
24 hour or to change the date default setting from
month/day/year to day/month/year:1. Press the
Hbutton and then the softkey located
below the forward arrow tab. 12H, 24H, the date
MM/DD (month and day), and DD/MM (day and
month) displays.
2. Press the softkey located below the desired option.
3. Press the
Hbutton again to apply the desired
option, or let the screen time out.
MP3 Radio with a Six-Disc CD Player
To set the time and date:
1. Turn the ignition key to ACC/ACCESSORY or ON/RUN, then press the
Obutton to turn the
radio on.
2. Press the MENU button.
3. Press the
Hbutton to display HR, MIN, MM, DD,
YYYY (hour, minute, month, day, and year).
4. Press the softkey located under any one of the tabs to change that setting. 5. To increase the time or date, do one of the
following:
.Press the softkey below the selected tab.
.Press the¨SEEK button.
.Press the\FWD button.
.Turn thefknob clockwise.
6. To decrease the time or date, do one of the following:
.Press the©SEEK button.
.Press thesREV button.
.Turn thefknob counterclockwise.
To change the time default setting from 12 hour to
24 hour or to change the date default setting from
month/day to day/month: 1. Press the MENU button and then the softkey under the
Htab.
2. Press the softkey located below the forward arrow tab. 12H, 24H, the date MM/DD (month and day),
and DD/MM/ (day and month) displays.
3. Press the softkey located below the desired option.
4. Press the MENU button again to apply the desired option, or let the screen time out.
4-78
Page 254 of 550
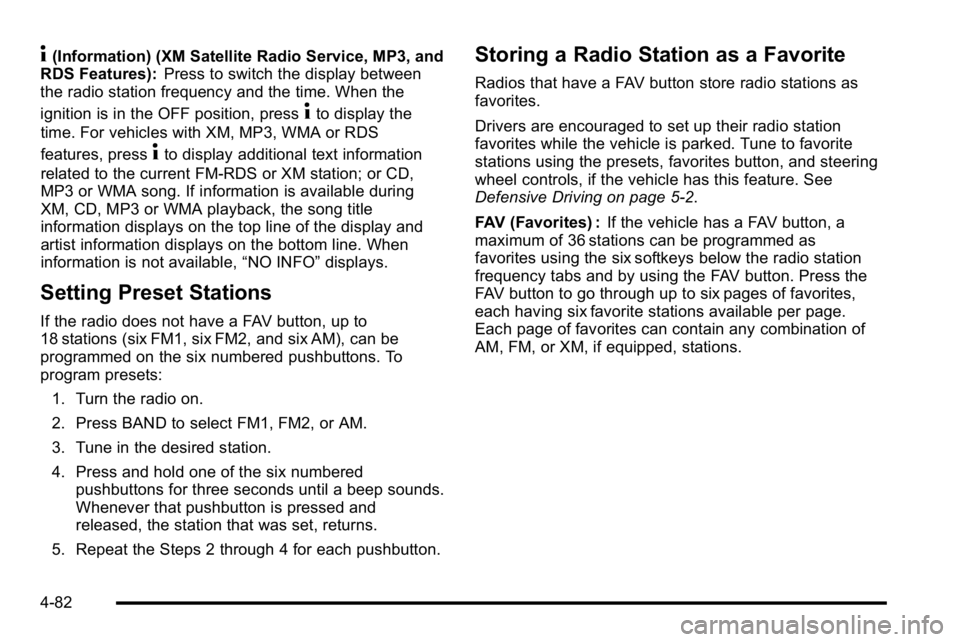
4(Information) (XM Satellite Radio Service, MP3, and
RDS Features): Press to switch the display between
the radio station frequency and the time. When the
ignition is in the OFF position, press
4to display the
time. For vehicles with XM, MP3, WMA or RDS
features, press
4to display additional text information
related to the current FM-RDS or XM station; or CD,
MP3 or WMA song. If information is available during
XM, CD, MP3 or WMA playback, the song title
information displays on the top line of the display and
artist information displays on the bottom line. When
information is not available, “NO INFO”displays.
Setting Preset Stations
If the radio does not have a FAV button, up to
18 stations (six FM1, six FM2, and six AM), can be
programmed on the six numbered pushbuttons. To
program presets:
1. Turn the radio on.
2. Press BAND to select FM1, FM2, or AM.
3. Tune in the desired station.
4. Press and hold one of the six numbered pushbuttons for three seconds until a beep sounds.
Whenever that pushbutton is pressed and
released, the station that was set, returns.
5. Repeat the Steps 2 through 4 for each pushbutton.
Storing a Radio Station as a Favorite
Radios that have a FAV button store radio stations as
favorites.
Drivers are encouraged to set up their radio station
favorites while the vehicle is parked. Tune to favorite
stations using the presets, favorites button, and steering
wheel controls, if the vehicle has this feature. See
Defensive Driving on page 5‑2.
FAV (Favorites) : If the vehicle has a FAV button, a
maximum of 36 stations can be programmed as
favorites using the six softkeys below the radio station
frequency tabs and by using the FAV button. Press the
FAV button to go through up to six pages of favorites,
each having six favorite stations available per page.
Each page of favorites can contain any combination of
AM, FM, or XM, if equipped, stations.
4-82
Page 255 of 550
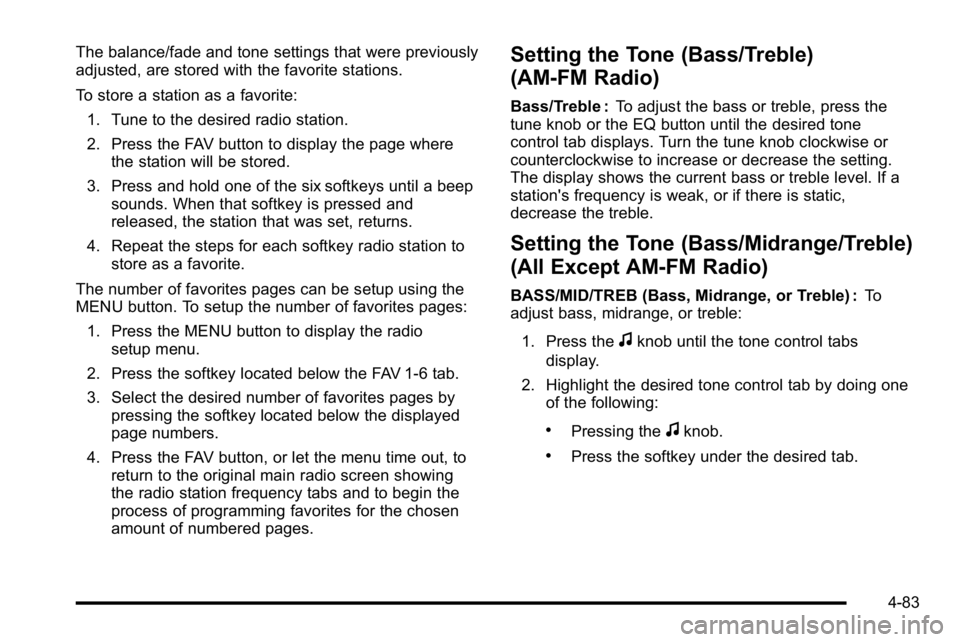
The balance/fade and tone settings that were previously
adjusted, are stored with the favorite stations.
To store a station as a favorite:1. Tune to the desired radio station.
2. Press the FAV button to display the page where the station will be stored.
3. Press and hold one of the six softkeys until a beep sounds. When that softkey is pressed and
released, the station that was set, returns.
4. Repeat the steps for each softkey radio station to store as a favorite.
The number of favorites pages can be setup using the
MENU button. To setup the number of favorites pages: 1. Press the MENU button to display the radio setup menu.
2. Press the softkey located below the FAV 1-6 tab.
3. Select the desired number of favorites pages by pressing the softkey located below the displayed
page numbers.
4. Press the FAV button, or let the menu time out, to return to the original main radio screen showing
the radio station frequency tabs and to begin the
process of programming favorites for the chosen
amount of numbered pages.Setting the Tone (Bass/Treble)
(AM-FM Radio)
Bass/Treble : To adjust the bass or treble, press the
tune knob or the EQ button until the desired tone
control tab displays. Turn the tune knob clockwise or
counterclockwise to increase or decrease the setting.
The display shows the current bass or treble level. If a
station's frequency is weak, or if there is static,
decrease the treble.
Setting the Tone (Bass/Midrange/Treble)
(All Except AM-FM Radio)
BASS/MID/TREB (Bass, Midrange, or Treble) : To
adjust bass, midrange, or treble:
1. Press the
fknob until the tone control tabs
display.
2. Highlight the desired tone control tab by doing one of the following:
.Pressing thefknob.
.Press the softkey under the desired tab.
4-83
Page 256 of 550
3. Adjust the setting by doing one of the following:
.Turn thefknob clockwise or counterclockwise.
.Press the¨SEEK, or©SEEK button.
.Press the\FWD, orsREV button.
If a station's frequency is weak or if there is static,
decrease the treble.
To quickly adjust bass, midrange, or treble to the middle
position, press the softkey positioned under the BASS,
MID, or TREB tab for more than two seconds. A beep
sounds and the level adjusts to the middle position.
To quickly adjust all tone and speaker controls to the
middle position, press the
fknob for more than
two seconds until a beep sounds.
EQ (Equalization) : Press this button to choose bass
and treble equalization settings designed for different
types of music. The choices are pop, rock, country, talk,
jazz, and classical. Selecting MANUAL or changing
bass or treble, returns the EQ to the manual bass and
treble settings.
Unique EQ settings can be saved for each source.
If the radio has a Bose
®audio system, the EQ settings
are either MANUAL or TALK.
Adjusting the Speakers (Balance/Fade)
BAL/FADE (Balance/Fade) : To adjust balance or fade
on radios without a
`button, press thefknob until
the speaker control tabs display. Continue pressing to
highlight the desired tab, or press the softkey under the
desired tab. Turn the
fknob clockwise or
counterclockwise to adjust the highlighted setting,
or adjust the highlighted setting by pressing either
SEEK arrow,
\FWD, orsREV button until the
desired levels are obtained.
To quickly adjust balance or fade to the middle position,
press the softkey positioned under the BAL or FADE tab
for more than two seconds. A beep sounds and the
level adjusts to the middle position.
To quickly adjust all speaker and tone controls to the
middle position, press the
fknob for more than
two seconds.
If the Rear Seat Audio (RSA) is turned on, the radio
disables FADE and mutes the rear speakers.
`(Balance/Fade): To adjust the balance or fade for
radios with a
`button, press this button or the tune
knob until the desired speaker control tab displays. Turn
the tune knob clockwise or counterclockwise to adjust
the setting.
The setting can also be adjusted by pressing the seek
arrows.
4-84
Page 257 of 550
Finding a Category (CAT) Station
CAT (Category) :The CAT button is used to find XM
stations when the radio is in the XM mode. To find XM
channels within a desired category:
1. Press the BAND button until the XM frequency displays. Press the CAT button to display the
category tabs. Continue pressing the CAT button
until the desired category name displays.
.Radios with CD and DVD can also navigate the
category list by pressing the
\FWD or the
sREV button.
2. Press either of the two buttons below the desired category tab to immediately tune to the first XM
station associated with that category.
3. Turn the
fknob, press the buttons below the right
or left arrows displayed, or press either SEEK
arrow to go to the previous or to the next XM
station within the selected category.
4. To exit the category search mode, press the FAV button or BAND button to display the favorites
again. Undesired XM categories can be removed through the
setup menu. To remove an undesired category:
1. Press the MENU button to display the radio setup menu.
2. Press the softkey located below the XM CAT tab.
3. Turn the
fknob to display the category to be
removed.
4. Press the softkey located under the Remove tab until the category name along with the word
Removed displays.
5. Repeat the steps to remove more categories.
Removed categories can be restored by pressing the
softkey under the Add tab when a removed category is
displayed or by pressing the softkey under the Restore
All tab.
Categories cannot be removed or added while the
vehicle is moving faster than 5 mph (8 km/h).
4-85