wheel bolts GMC SIERRA DENALI 2010 Owners Manual
[x] Cancel search | Manufacturer: GMC, Model Year: 2010, Model line: SIERRA DENALI, Model: GMC SIERRA DENALI 2010Pages: 550, PDF Size: 4.17 MB
Page 325 of 550

Before You Go Off-Roading
.Have all necessary maintenance and service
work done.
.Make sure there is enough fuel, that fluid levels are
where they should be, and that the spare tire is
fully inflated.
.Be sure to read all the information about
all-wheel-drive vehicles in this manual.
.Make sure all underbody shields, if the vehicle has
them, are properly attached.
.Know the local laws that apply to off-roading where
you will be driving or check with law enforcement
people in the area.
.Be sure to get the necessary permission if you will
be on private land.
If you think you will need some more ground clearance
at the front of your vehicle, you can remove the front
fascia lower air dam. The air dam is held in place by
two bolts and 10 snaps accessible from underneath the
front fascia. To remove the air dam:
1. Remove the two outboard air dam bolts.
2. With a flat‐blade tool, disengage the snaps.
3. After the bolts are removed and the snaps are disengaged, push forward on the air dam until it
is free.
Notice: Operating your vehicle for extended periods
without the front fascia lower air dam installed can
cause improper air flow to the engine. Always be
sure to replace the front fascia air dam when you
are finished off-road driving.
After off-roading , be sure to reinstall the air dam:
1. Line up the snaps and push the air dam rearward to engage the snaps.
2. Install the two outboard bolts.
5-13
Page 458 of 550

Wheel Alignment and Tire Balance
The tires and wheels on your vehicle were aligned and
balanced carefully at the factory to give you the longest
tire life and best overall performance. Adjustments to
wheel alignment and tire balancing will not be
necessary on a regular basis. However, if you notice
unusual tire wear or your vehicle pulling to one side or
the other, the alignment might need to be checked.
If you notice your vehicle vibrating when driving on a
smooth road, the tires and wheels might need to be
rebalanced. See your dealer/retailer for proper
diagnosis.
Wheel Replacement
Replace any wheel that is bent, cracked, or badly
rusted or corroded. If wheel nuts keep coming loose,
the wheel, wheel bolts, and wheel nuts should be
replaced. If the wheel leaks air, replace it (except some
aluminum wheels, which can sometimes be repaired).
See your dealer/retailer if any of these conditions exist.
Your dealer/retailer will know the kind of wheel
you need.
Each new wheel should have the same load-carrying
capacity, diameter, width, offset, and be mounted the
same way as the one it replaces.If you need to replace any of your wheels, wheel bolts,
wheel nuts, or Tire Pressure Monitor System (TPMS)
sensors, replace them only with new GM original
equipment parts. This way, you will be sure to have the
right wheel, wheel bolts, wheel nuts, and TPMS sensors
for your vehicle.
{WARNING:
Using the wrong replacement wheels, wheel bolts,
or wheel nuts on your vehicle can be dangerous.
It could affect the braking and handling of your
vehicle, make your tires lose air and make you
lose control. You could have a collision in which
you or others could be injured. Always use the
correct wheel, wheel bolts, and wheel nuts for
replacement.
Notice: The wrong wheel can also cause problems
with bearing life, brake cooling, speedometer or
odometer calibration, headlamp aim, bumper height,
vehicle ground clearance, and tire or tire chain
clearance to the body and chassis.
See Changing a Flat Tire
on page 6‑86for more
information.
6-84
Page 469 of 550

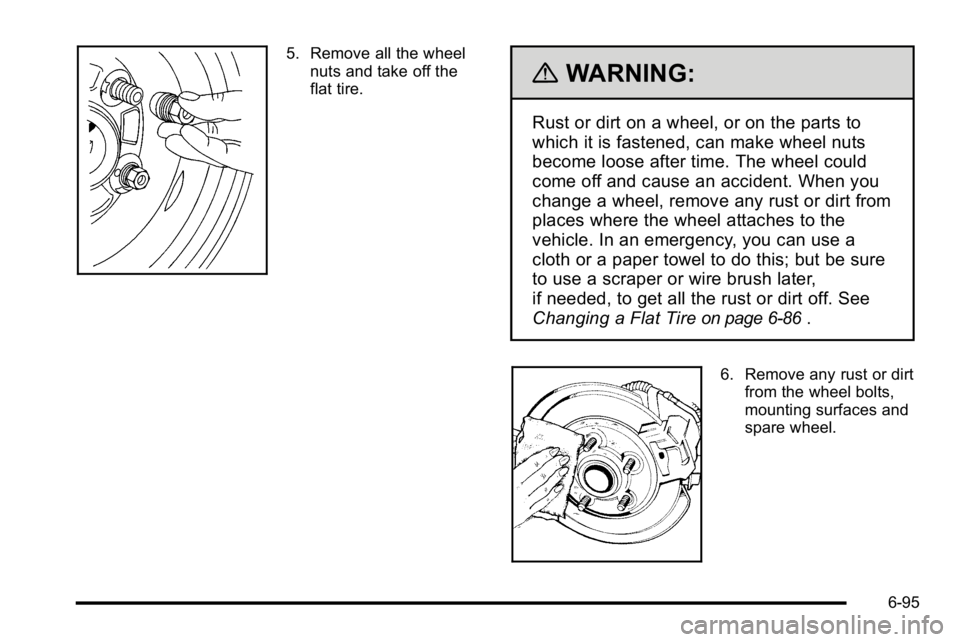
5. Remove all the wheelnuts and take off the
flat tire.
{WARNING:
Rust or dirt on a wheel, or on the parts to
which it is fastened, can make wheel nuts
become loose after time. The wheel could
come off and cause an accident. When you
change a wheel, remove any rust or dirt from
places where the wheel attaches to the
vehicle. In an emergency, you can use a
cloth or a paper towel to do this; but be sure
to use a scraper or wire brush later,
if needed, to get all the rust or dirt off. See
Changing a Flat Tire
on page 6‑86.
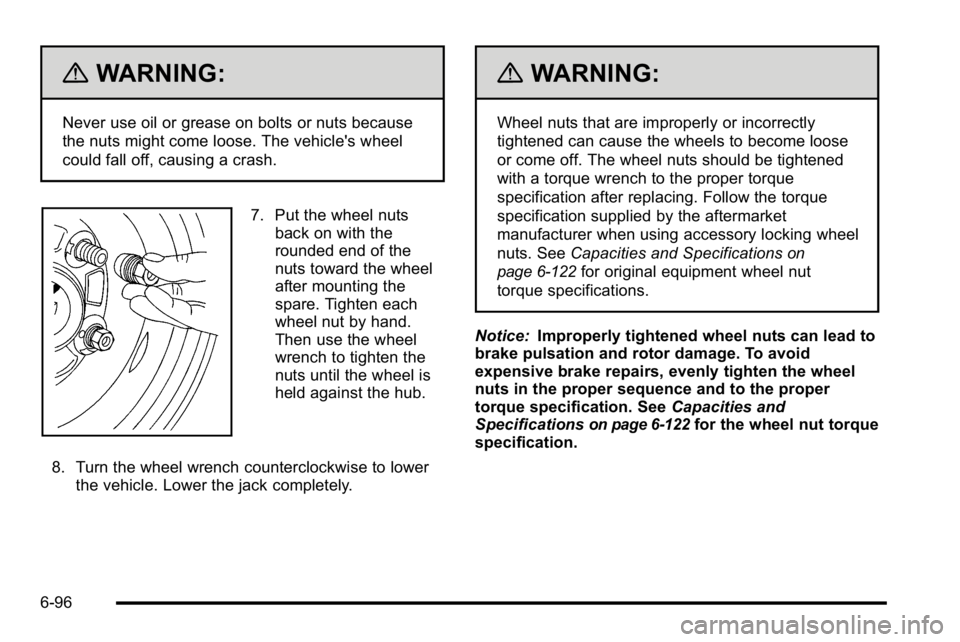
6. Remove any rust or dirtfrom the wheel bolts,
mounting surfaces and
spare wheel.
6-95
Page 470 of 550

{WARNING:
Never use oil or grease on bolts or nuts because
the nuts might come loose. The vehicle's wheel
could fall off, causing a crash.
7. Put the wheel nutsback on with the
rounded end of the
nuts toward the wheel
after mounting the
spare. Tighten each
wheel nut by hand.
Then use the wheel
wrench to tighten the
nuts until the wheel is
held against the hub.
8. Turn the wheel wrench counterclockwise to lower the vehicle. Lower the jack completely.
{WARNING:
Wheel nuts that are improperly or incorrectly
tightened can cause the wheels to become loose
or come off. The wheel nuts should be tightened
with a torque wrench to the proper torque
specification after replacing. Follow the torque
specification supplied by the aftermarket
manufacturer when using accessory locking wheel
nuts. See Capacities and Specifications
on
page 6‑122
for original equipment wheel nut
torque specifications.
Notice: Improperly tightened wheel nuts can lead to
brake pulsation and rotor damage. To avoid
expensive brake repairs, evenly tighten the wheel
nuts in the proper sequence and to the proper
torque specification. See Capacities and
Specifications
on page 6‑122for the wheel nut torque
specification.
6-96