hood release GMC TERRAIN 2018 Owner's Manual
[x] Cancel search | Manufacturer: GMC, Model Year: 2018, Model line: TERRAIN, Model: GMC TERRAIN 2018Pages: 408, PDF Size: 5.95 MB
Page 8 of 408

GMC Terrain/Terrain Denali Owner Manual (GMNA-Localizing-U.S./Canada/
Mexico-10664916) - 2018 - crc - 9/15/17
In Brief 7
1.Air Vents 0165.
2. Turn Signal Lever. See Turn
and Lane-Change Signals
0 155.
IntelliBeam System Button (If
Equipped). See Exterior Lamp
Controls 0151.
3. Instrument Cluster 0119.
Driver Information Center (DIC)
Display. See Driver Information
Center (DIC) 0136.
4. Windshield Wiper/Washer
0111.
5. Infotainment 0159.
6. Light Sensor. See Automatic
Headlamp System 0154.
7. Hazard Warning Flashers
0154.
8. Climate Control Systems 0160
(If Equipped).
Dual Automatic Climate Control
System 0162 (If Equipped).
9. Front Shift Console. See Automatic Transmission 0204.
10. Power Outlets 0114. 11.
Assistance Systems for
Parking or Backing 0223 (If
Equipped).
12. Heated and Ventilated Front
Seats 063 (If Equipped).
13. Wireless Charging 0115 (If
Equipped).
14. Driver Mode Control 0216 (If
Equipped).
15. Lane Keep Assist (LKA) 0234
(If Equipped).
Hill Descent Control (HDC)
0 216 (If Equipped).
16. USB Port. See the infotainment manual.
Auxiliary Jack. See the
infotainment manual.
17. ENGINE START/STOP Button. SeeIgnition Positions 0186.
18. Steering Wheel Controls. See the infotainment manual.
19. Horn 0111.
20. Steering Wheel Adjustment
0111 (Out of View). 21. Hood Release. See
Hood
0 262.
22. Cruise Control 0220.
Heated Steering Wheel 0111
(If Equipped).
Forward Collision Alert (FCA)
System 0228 (If Equipped).
23. Data Link Connector (DLC) (Out of View). See Malfunction
Indicator Lamp (Check Engine
Light) 0127.
24. Electric Parking Brake 0210.
25. Exterior Lamp Controls 0151.
Instrument Panel Illumination
Control 0156.
Fog Lamps 0155 (If
Equipped).
Page 37 of 408

GMC Terrain/Terrain Denali Owner Manual (GMNA-Localizing-U.S./Canada/
Mexico-10664916) - 2018 - crc - 9/15/17
36 Keys, Doors, and Windows
Other conditions can affect the
performance of the transmitter. See
Remote Keyless Entry (RKE)
System029.
Do not use remote start if the
vehicle is low on fuel.
Starting the Engine Using Remote
Start
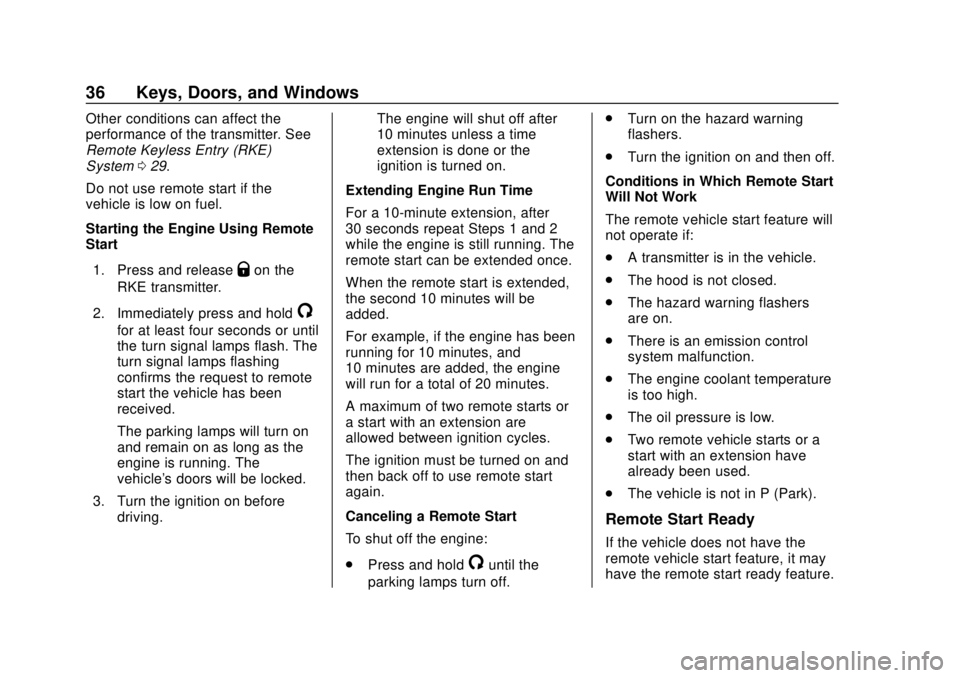
1. Press and release
Qon the
RKE transmitter.
2. Immediately press and hold
/
for at least four seconds or until
the turn signal lamps flash. The
turn signal lamps flashing
confirms the request to remote
start the vehicle has been
received.
The parking lamps will turn on
and remain on as long as the
engine is running. The
vehicle's doors will be locked.
3. Turn the ignition on before driving. The engine will shut off after
10 minutes unless a time
extension is done or the
ignition is turned on.
Extending Engine Run Time
For a 10-minute extension, after
30 seconds repeat Steps 1 and 2
while the engine is still running. The
remote start can be extended once.
When the remote start is extended,
the second 10 minutes will be
added.
For example, if the engine has been
running for 10 minutes, and
10 minutes are added, the engine
will run for a total of 20 minutes.
A maximum of two remote starts or
a start with an extension are
allowed between ignition cycles.
The ignition must be turned on and
then back off to use remote start
again.
Canceling a Remote Start
To shut off the engine:
. Press and hold
/until the
parking lamps turn off. .
Turn on the hazard warning
flashers.
. Turn the ignition on and then off.
Conditions in Which Remote Start
Will Not Work
The remote vehicle start feature will
not operate if:
. A transmitter is in the vehicle.
. The hood is not closed.
. The hazard warning flashers
are on.
. There is an emission control
system malfunction.
. The engine coolant temperature
is too high.
. The oil pressure is low.
. Two remote vehicle starts or a
start with an extension have
already been used.
. The vehicle is not in P (Park).
Remote Start Ready
If the vehicle does not have the
remote vehicle start feature, it may
have the remote start ready feature.
Page 263 of 408

GMC Terrain/Terrain Denali Owner Manual (GMNA-Localizing-U.S./Canada/
Mexico-10664916) - 2018 - crc - 9/15/17
262 Vehicle Care
Keep a record with all parts receipts
and list the mileage and the date of
any service work performed. See
Maintenance Records0364.
Caution
Even small amounts of
contamination can cause damage
to vehicle systems. Do not allow
contaminants to contact the fluids,
reservoir caps, or dipsticks.
Hood
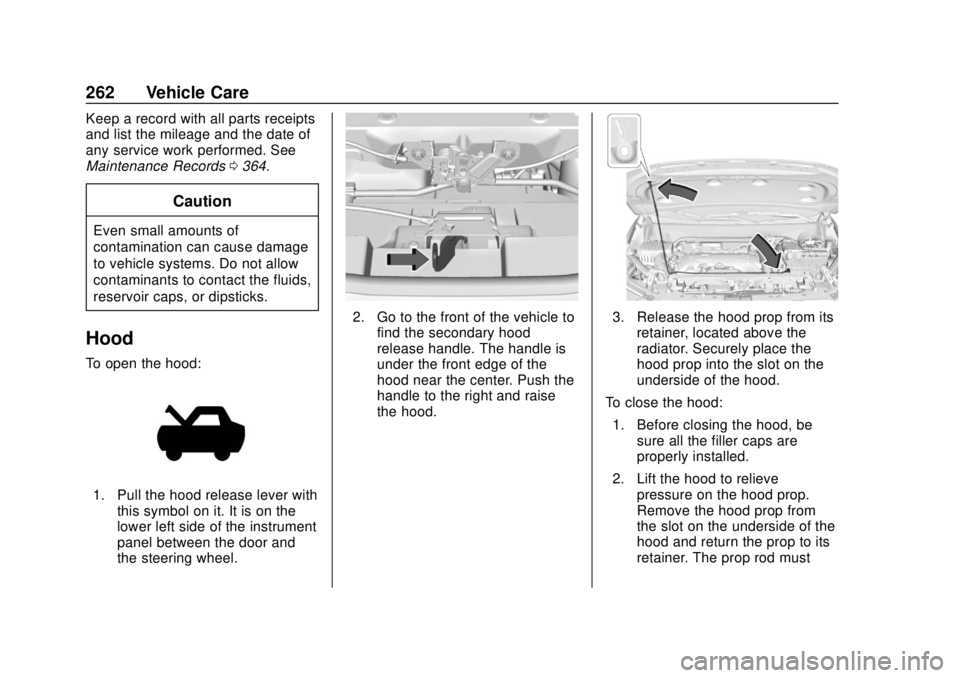
To open the hood:
1. Pull the hood release lever with
this symbol on it. It is on the
lower left side of the instrument
panel between the door and
the steering wheel.
2. Go to the front of the vehicle tofind the secondary hood
release handle. The handle is
under the front edge of the
hood near the center. Push the
handle to the right and raise
the hood.3. Release the hood prop from itsretainer, located above the
radiator. Securely place the
hood prop into the slot on the
underside of the hood.
To close the hood:
1. Before closing the hood, be sure all the filler caps are
properly installed.
2. Lift the hood to relieve pressure on the hood prop.
Remove the hood prop from
the slot on the underside of the
hood and return the prop to its
retainer. The prop rod must
Page 264 of 408

GMC Terrain/Terrain Denali Owner Manual (GMNA-Localizing-U.S./Canada/
Mexico-10664916) - 2018 - crc - 9/15/17
Vehicle Care 263
click into place when returning
it to the retainer to prevent
hood damage.
3. Lower the hood so that it is 30 cm (12 in) above the vehicle
and release it so it fully latches.
4. Check to make sure the hood is closed. If not, repeat
Steps 1–3 in the “To open the
hood” section and then
proceed with repeating
Steps 1–4 in this section.
Page 288 of 408

GMC Terrain/Terrain Denali Owner Manual (GMNA-Localizing-U.S./Canada/
Mexico-10664916) - 2018 - crc - 9/15/17
Vehicle Care 287
3. With the latch open, pull thewiper blade down toward the
windshield far enough to
release it from the J-hooked
end of the wiper arm.
4. Remove the wiper blade.
5. Reverse Steps 1–3 for wiper blade replacement.
Rear Wiper Blade Replacement
The rear wiper blade and wiper arm
have a cover for protection.
To remove the cover:
1. Slide a plastic tool under thecover and push upward to
unsnap.
2. Slide the cover toward the wiper blade tip to unhook it
from the blade assembly.
3. Remove the cover. 4. After wiper blade replacement,
ensure that the cover hook
slides into the slot in the blade
assembly.
5. Snap the cover down to secure.
To replace the wiper blade: 1. Lift the wiper arm away from the windshield.
2. Push the release lever (2) to
disengage the hook and push
the wiper arm (1) out of the
blade assembly (3).
3. Push the new blade assembly securely on the wiper arm until
the release lever clicks into
place.
Windshield Replacement
Driver Assistance Systems
If the windshield needs to be
replaced and the vehicle is
equipped with a front camera sensor
for the Driver Assistance Systems, a
GM replacement windshield is
recommended. The replacement
windshield must be installed
according to GM specifications for
proper alignment. If it is not, these
systems may not work properly, they
may display messages, or they may
not work at all. See your dealer for
proper windshield replacement.
Gas Strut(s)
This vehicle is equipped with gas
strut(s) to provide assistance in
lifting and holding open the hood/
trunk/liftgate system in full open
position.
Page 341 of 408

GMC Terrain/Terrain Denali Owner Manual (GMNA-Localizing-U.S./Canada/
Mexico-10664916) - 2018 - crc - 9/15/17
340 Vehicle Care
using a platform trailer with all four
wheels off the ground. Some
vehicles may be dolly towed. See
the following information on dolly
towing.
Dolly Towing (All-Wheel-Drive
Vehicles)
All-wheel-drive vehicles cannot be
towed with two wheels on the
ground. To properly tow these
vehicles, they should be placed on
a platform trailer with all four wheels
off of the ground.
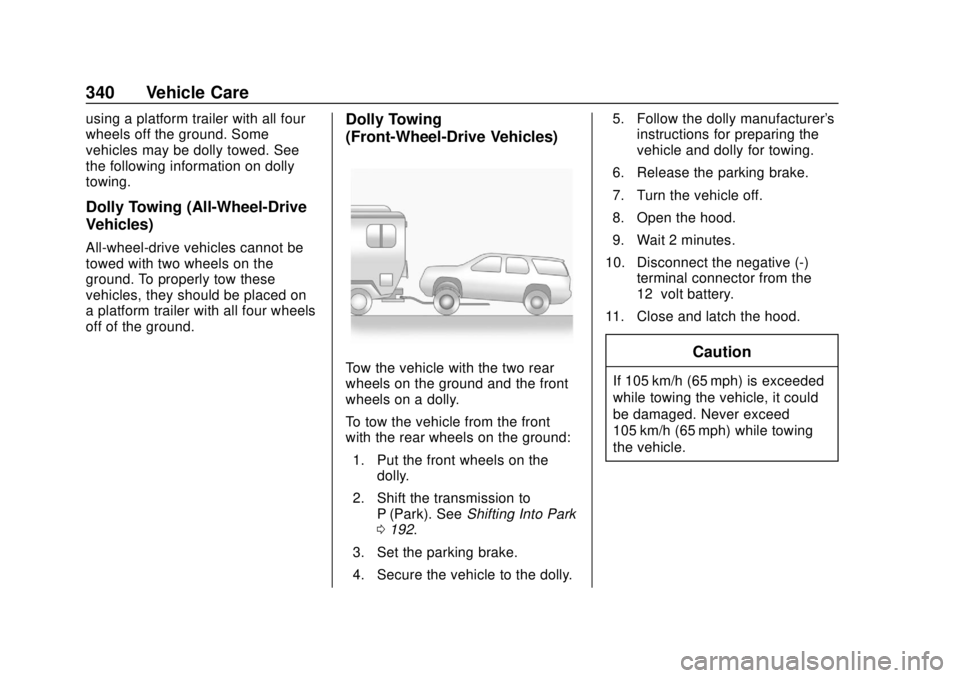
Dolly Towing
(Front-Wheel-Drive Vehicles)
Tow the vehicle with the two rear
wheels on the ground and the front
wheels on a dolly.
To tow the vehicle from the front
with the rear wheels on the ground:1. Put the front wheels on the dolly.
2. Shift the transmission to P (Park). See Shifting Into Park
0 192.
3. Set the parking brake.
4. Secure the vehicle to the dolly. 5. Follow the dolly manufacturer's
instructions for preparing the
vehicle and dolly for towing.
6. Release the parking brake.
7. Turn the vehicle off.
8. Open the hood.
9. Wait 2 minutes.
10. Disconnect the negative (-) terminal connector from the
12–volt battery.
11. Close and latch the hood.Caution
If 105 km/h (65 mph) is exceeded
while towing the vehicle, it could
be damaged. Never exceed
105 km/h (65 mph) while towing
the vehicle.
Page 362 of 408

GMC Terrain/Terrain Denali Owner Manual (GMNA-Localizing-U.S./Canada/
Mexico-10664916) - 2018 - crc - 9/15/17
Service and Maintenance 361
Recommended Fluids, Lubricants, and Parts
Recommended Fluids and Lubricants
UsageFluid/Lubricant
Automatic Transmission DEXRON-VI Automatic Transmission Fluid.
Diesel Exhaust Aftertreatment System Diesel Exhaust Fluid (GM Part No. 19286291, in Canada 88865751) or diesel exhaust fluid that meets ISO 22241-1 or displays the API Diesel
Exhaust Fluid Certification Mark.
Engine Coolant 50/50 mixture of clean, drinkable water and use only DEX-COOL Coolant.
See Cooling System 0276.
Engine Oil (Diesel) Engine oil meeting the dexos2 specification of the proper SAE viscosity
grade. ACDelco dexos2 is recommended. See Engine Oil0269.
Engine Oil (Gasoline) Engine oil meeting the dexos1 specification of the proper SAE viscosity grade. ACDelco dexos1 full synthetic is recommended. See Engine Oil
0 269.
Hood and Door Hinges Multi-Purpose Lubricant, Superlube (GM Part No. 12346241, in Canada 10953474).
Hood Latch Assembly, Secondary Latch, Pivots, Spring Anchor, and
Release Pawl Lubriplate Lubricant Aerosol (GM Part No. 89021668, in
Canada 89021674) or lubricant meeting requirements of NLGI #2,
Category LB or GC-LB.
Hydraulic Brake System DOT 3 Hydraulic Brake Fluid (GM Part No. 19353126, in Canada 19299819).
Transfer Case (All-Wheel Drive) Transfer Case Fluid (GM Part No. 88900401, in Canada 89021678).