CD player GMC YUKON 2004 Owner's Guide
[x] Cancel search | Manufacturer: GMC, Model Year: 2004, Model line: YUKON, Model: GMC YUKON 2004Pages: 554, PDF Size: 5.21 MB
Page 298 of 554
For best results, use a scrubbing action, non-abrasive
cleaning cassette with pads which scrub the tape
head as the hubs of the cleaner cassette turn. The
recommended cleaning cassette is available through
your dealer.
When cleaning the cassette tape player with the
recommended non-abrasive cleaning cassette, it is
possible that the cassette may eject, because the cut
tape detection feature on your radio may recognize it as
a broken tape, in error. To prevent the cleaning
cassette from being ejected, use the following steps:
1. Turn the ignition on.
2. Turn the radio off.
3. Press and hold the TAPE DISC button for �ve
seconds. READY will appear on the display and
the cassette symbol will �ash for �ve seconds.
4. Insert the scrubbing action cleaning cassette.
5. Eject the cleaning cassette after the manufacturer’s
recommended cleaning time.
When the cleaning cassette has been ejected, the cut
tape detection feature is active again.
You may also choose a non-scrubbing action, wet-type
cleaner which uses a cassette with a fabric belt to
clean the tape head. This type of cleaning cassette will
not eject on its own. A non-scrubbing action cleanermay not clean as thoroughly as the scrubbing type
cleaner. The use of a non-scrubbing action, dry-type
cleaning cassette is not recommended.
After you clean the player, press and hold the eject
button for �ve seconds to reset the CLEAN indicator.
The radio will display --- or CLEANED to show the
indicator was reset.
Cassettes are subject to wear and the sound quality
may degrade over time. Always make sure the cassette
tape is in good condition before you have your tape
player serviced.
Care of Your CDs and DVDs
Handle discs carefully. Store them in their original cases
or other protective cases and away from direct sunlight
and dust. If the surface of a disc is soiled, dampen
a clean, soft cloth in a mild, neutral detergent solution
and clean it, wiping from the center to the edge.
Be sure never to touch the side without writing when
handling discs. Pick up discs by grasping the outer
edges or the edge of the hole and the outer edge.
3-138
Page 299 of 554
Care of Your CD and DVD Player
The use of CD lens cleaner discs is not advised, due to
the risk of contaminating the lens of the CD optics
with lubricants internal to the CD mechanism.
Cleaning the Video Screen
Pour some isopropyl or rubbing alcohol on a clean cloth
and gently wipe the video screen. Do not spray
directly onto the screen and do not press too hard or
too long on the video screen.
Fixed Mast Antenna
The �xed mast antenna can withstand most car washes
without being damaged. If the mast should ever
become slightly bent, you can straighten it out by hand.
If the mast is badly bent, as it might be by vandals,
you should replace it.
Check occasionally to be sure the mast is still tightened
to the cowl. If tightening is required, tighten by hand,
then with a wrench one quarter turn.
XM™ Satellite Radio Antenna
System (48 Contiguous US States)
Your XM™ Satellite Radio antenna is located on the roof
of your vehicle. Keep this antenna clear of snow and
ice build up for clear radio reception.
The performance of your XM™ system may be affected
if your sunroof is open.
Loading items onto the roof of your vehicle can interfere
with the performance of your XM™ system. Make
sure that the XM™ satellite antenna is not obstructed.
Chime Level Adjustment
The radio is the vehicle chime producer. To change the
volume level, press and hold pushbutton 6 with the
ignition on and the radio power off. The chime volume
level will change from the normal level to loud, and LOUD
will appear on the display. To change back to the default
or normal setting, press and hold pushbutton 6 again.
The chime level will change from the loud level to normal,
and NORMAL will appear on the display. Each time the
chime volume is changed, three chimes will sound as an
example of the new volume selected. Removing the radio
and not replacing it with a factory radio or chime module
will disable vehicle chimes.
3-139
Page 537 of 554
A
Accessory Power Outlets.................................3-21
Adding Washer Fluid.......................................5-40
Additional Program Information........................... 7-9
Additives, Fuel................................................. 5-6
Add-On Electrical Equipment...........................5-113
Adjustable Throttle and Brake Pedal..................2-23
Adjusting the Speakers
(Balance/Fade)..................3-80, 3-84, 3-96, 3-111
After Off-Road Driving.....................................4-36
Air Bag
Passenger Status Indicator...........................3-43
Readiness Light..........................................3-43
Air Bag Systems.....................................1-72, 1-78
Adding Equipment to Your Air Bag-Equipped
Vehicle...................................................1-86
How Does an Air Bag Restrain?....................1-79
Passenger Sensing System...........................1-82
Servicing Your Air Bag-Equipped Vehicle.........1-86
What Makes an Air Bag In�ate?....................1-79
What Will You See After an Air Bag
In�ates?..................................................1-80
When Should an Air Bag In�ate?...................1-77
Where Are the Air Bags?..............................1-75
Air Cleaner/Filter, Engine.................................5-21
Air Conditioning..............................................3-31
Airbag Sensing and Diagnostic Module (SDM).......7-10
All Overseas Locations...................................... 7-5
All-Wheel Drive...............................................5-51All-Wheel Drive with Stabilitrak
®........................2-33
AM .............................................................3-137
AM-FM Radio.................................................3-78
Antenna, Fixed Mast......................................3-139
Antenna, XM™ Satellite Radio Antenna
System.....................................................3-139
Anti-lock Brake System..................................... 4-7
Anti-Lock Brake, System Warning Light..............3-47
Appearance Care..........................................5-103
Care of Safety Belts...................................5-106
Chemical Paint Spotting..............................5-110
Cleaning the Inside of Your Vehicle..............5-104
Cleaning the Outside of Your Vehicle............5-107
Finish Damage..........................................5-109
Sheet Metal Damage..................................5-109
Underbody Maintenance.............................5-109
Vehicle Care/Appearance Materials...............5-110
Weatherstrips............................................5-106
Approaching a Hill..........................................4-28
Ashtrays........................................................3-21
Audio Output................................................3-131
Audio System(s).............................................3-77
AM-FM Radio.............................................3-78
Audio Steering Wheel Controls....................3-136
Care of Your Cassette Tape Player...............3-137
Care of Your CD and DVD Player................3-139
Care of Your CDs and DVDs.......................3-138
Chime Level Adjustment.............................3-139
Fixed Mast Antenna...................................3-139
Radio with Cassette and CD.........................3-92
1
Page 539 of 554
Bulb Replacement (cont.)
Replacement Bulbs......................................5-61
Roof Marker Lamps.....................................5-58
Side Identi�cation Marker Lamps...................5-57
Taillamps....................................................5-60
Buying New Tires...........................................5-78
C
California Fuel.................................................. 5-5
Canada........................................................... 7-4
Canadian Owners................................................ ii
Canadian Roadside Assistance........................... 7-7
Capacities and Speci�cations..........................5-122
Car Washes for QUADRASTEER™ Equipped
Vehicles.....................................................4-18
Carbon Monoxide...................4-46, 4-63, 2-13, 2-42
Care of
Safety Belts..............................................5-106
Your Cassette Tape Player..........................3-137
Your CD and DVD Player...........................3-139
Your CDs and DVDs..................................3-138
Cargo Cover..................................................2-62
Cargo Tie Downs............................................2-62
Cassette Tape Messages...............................3-104
CD Adapter Kits............................................3-104
CD Messages.............................3-92, 3-107, 3-122
Center Console Storage Area...........................2-60
Center Instrument Panel Fuse Block................5-116Center Passenger Position, Safety Belts.............1-37
Chains, Tires..................................................5-82
CHANGE ENGINE OIL....................................3-71
Check
Engine Light...............................................3-51
Check Engine Light.........................................3-51
CHECK OIL LEVEL.........................................3-71
CHECK TIRE PRESSURE...............................3-71
CHECK WASHER FLUID.................................3-71
Checking Brake Fluid......................................5-42
Checking Coolant............................................5-27
Checking Engine Oil........................................5-16
Checking Things Under the Hood......................5-10
Checking Your Restraint Systems......................1-87
Chemical Paint Spotting.................................5-110
Child Restraints
Child Restraint Systems...............................1-51
Infants and Young Children...........................1-48
Lower Anchorages and Top Tethers for
Children (LATCH System)..........................1-60
Older Children.............................................1-45
Securing a Child Restraint Designed for the
LATCH System........................................1-62
Securing a Child Restraint in a Center Rear
Seat Position...........................................1-65
Securing a Child Restraint in a Rear Outside
Seat Position...........................................1-62
Securing a Child Restraint in the Center Front
Seat Position...........................................1-67
3
Page 541 of 554
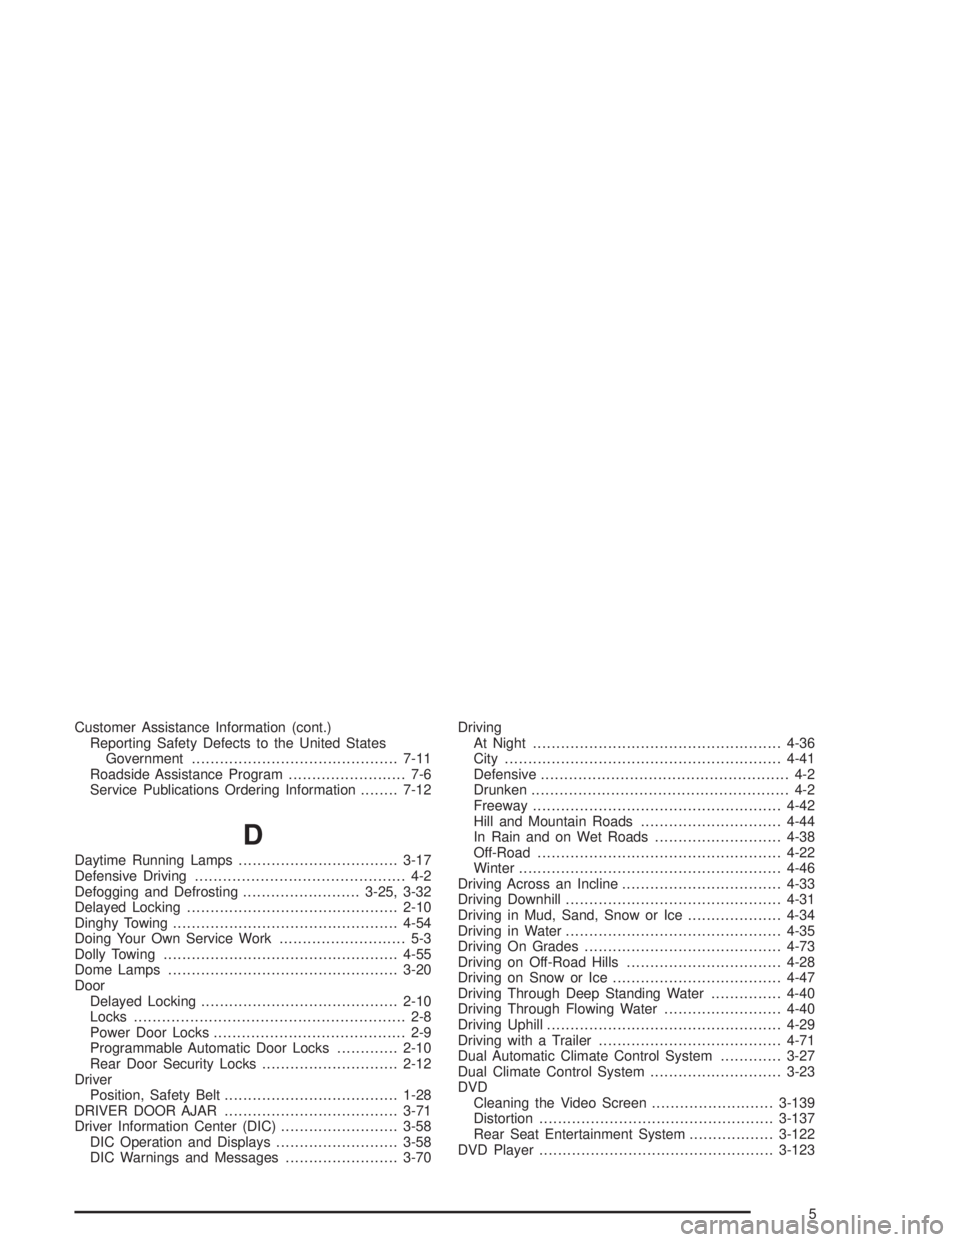
Customer Assistance Information (cont.)
Reporting Safety Defects to the United States
Government............................................7-11
Roadside Assistance Program......................... 7-6
Service Publications Ordering Information........7-12
D
Daytime Running Lamps..................................3-17
Defensive Driving............................................. 4-2
Defogging and Defrosting.........................3-25, 3-32
Delayed Locking.............................................2-10
Dinghy Towing................................................4-54
Doing Your Own Service Work........................... 5-3
Dolly Towing..................................................4-55
Dome Lamps.................................................3-20
Door
Delayed Locking..........................................2-10
Locks.......................................................... 2-8
Power Door Locks......................................... 2-9
Programmable Automatic Door Locks.............2-10
Rear Door Security Locks.............................2-12
Driver
Position, Safety Belt.....................................1-28
DRIVER DOOR AJAR.....................................3-71
Driver Information Center (DIC).........................3-58
DIC Operation and Displays..........................3-58
DIC Warnings and Messages........................3-70Driving
At Night.....................................................4-36
City...........................................................4-41
Defensive..................................................... 4-2
Drunken....................................................... 4-2
Freeway.....................................................4-42
Hill and Mountain Roads..............................4-44
In Rain and on Wet Roads...........................4-38
Off-Road....................................................4-22
Winter........................................................4-46
Driving Across an Incline..................................4-33
Driving Downhill..............................................4-31
Driving in Mud, Sand, Snow or Ice....................4-34
Driving in Water..............................................4-35
Driving On Grades..........................................4-73
Driving on Off-Road Hills.................................4-28
Driving on Snow or Ice....................................4-47
Driving Through Deep Standing Water...............4-40
Driving Through Flowing Water.........................4-40
Driving Uphill..................................................4-29
Driving with a Trailer.......................................4-71
Dual Automatic Climate Control System.............3-27
Dual Climate Control System............................3-23
DVD
Cleaning the Video Screen..........................3-139
Distortion..................................................3-137
Rear Seat Entertainment System..................3-122
DVD Player..................................................3-123
5
Page 548 of 554
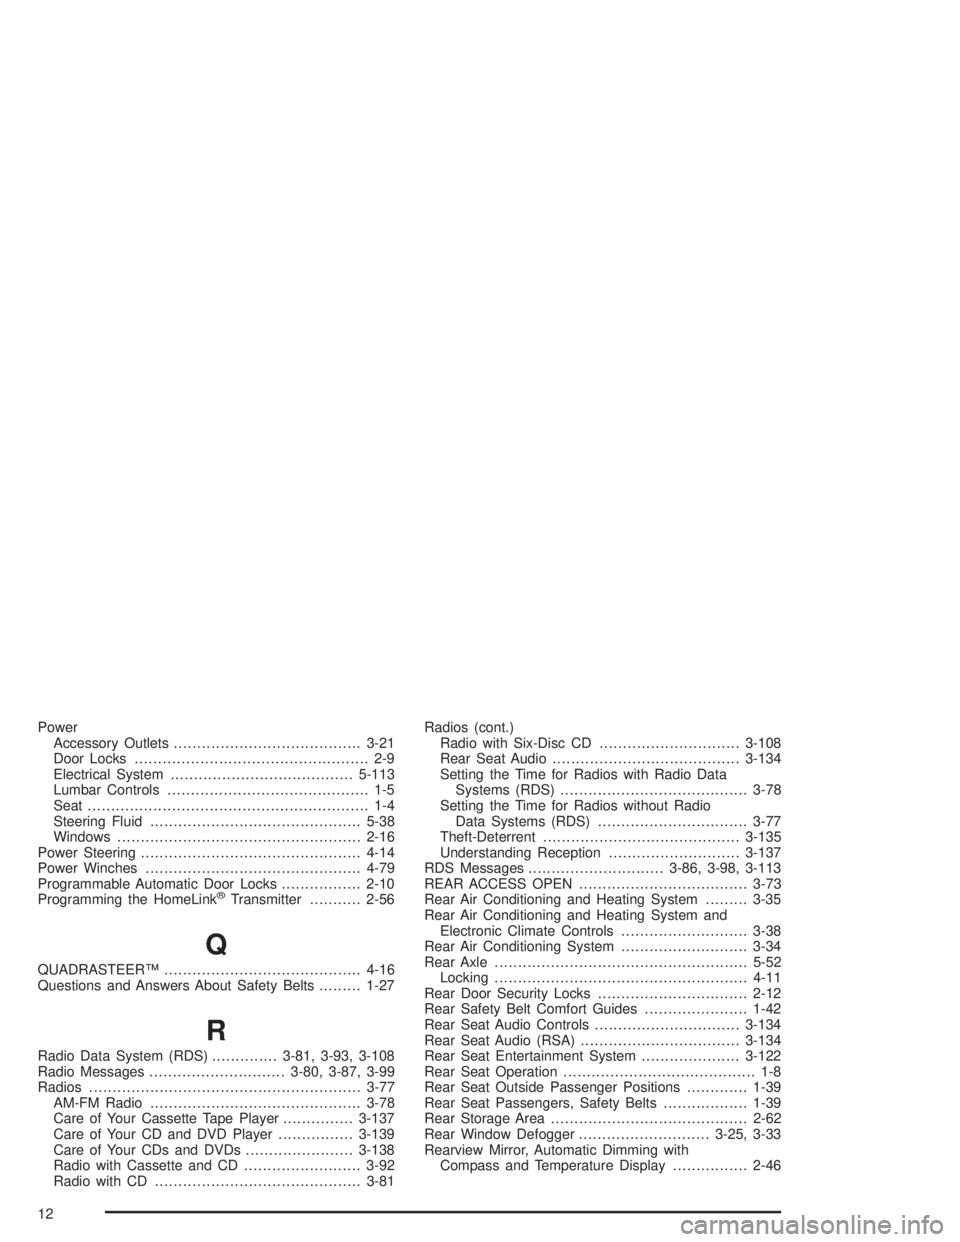
Power
Accessory Outlets........................................3-21
Door Locks.................................................. 2-9
Electrical System.......................................5-113
Lumbar Controls........................................... 1-5
Seat............................................................ 1-4
Steering Fluid.............................................5-38
Windows....................................................2-16
Power Steering...............................................4-14
Power Winches..............................................4-79
Programmable Automatic Door Locks.................2-10
Programming the HomeLink
®Transmitter...........2-56
Q
QUADRASTEER™..........................................4-16
Questions and Answers About Safety Belts.........1-27
R
Radio Data System (RDS)..............3-81, 3-93, 3-108
Radio Messages.............................3-80, 3-87, 3-99
Radios..........................................................3-77
AM-FM Radio.............................................3-78
Care of Your Cassette Tape Player...............3-137
Care of Your CD and DVD Player................3-139
Care of Your CDs and DVDs.......................3-138
Radio with Cassette and CD.........................3-92
Radio with CD............................................3-81Radios (cont.)
Radio with Six-Disc CD..............................3-108
Rear Seat Audio........................................3-134
Setting the Time for Radios with Radio Data
Systems (RDS)........................................3-78
Setting the Time for Radios without Radio
Data Systems (RDS)................................3-77
Theft-Deterrent..........................................3-135
Understanding Reception............................3-137
RDS Messages.............................3-86, 3-98, 3-113
REAR ACCESS OPEN....................................3-73
Rear Air Conditioning and Heating System.........3-35
Rear Air Conditioning and Heating System and
Electronic Climate Controls...........................3-38
Rear Air Conditioning System...........................3-34
Rear Axle......................................................5-52
Locking......................................................4-11
Rear Door Security Locks................................2-12
Rear Safety Belt Comfort Guides......................1-42
Rear Seat Audio Controls...............................3-134
Rear Seat Audio (RSA)..................................3-134
Rear Seat Entertainment System.....................3-122
Rear Seat Operation......................................... 1-8
Rear Seat Outside Passenger Positions.............1-39
Rear Seat Passengers, Safety Belts..................1-39
Rear Storage Area..........................................2-62
Rear Window Defogger............................3-25, 3-33
Rearview Mirror, Automatic Dimming with
Compass and Temperature Display................2-46
12