ECO mode GMC YUKON 2006 Get To Know Guide
[x] Cancel search | Manufacturer: GMC, Model Year: 2006, Model line: YUKON, Model: GMC YUKON 2006Pages: 20, PDF Size: 0.73 MB
Page 5 of 20
5
Automatic Climate Control
System (if equipped)When on, the automatic interior dimming
rearview mirror automatically dims to the
proper level to minimize glare from lights
behind you when it’s dark outside.
Turn the self�dimming function
on or off
• Press and hold for approximately
eight seconds.
Use the OnStar system
• Press to connect to an OnStar®
Advisor.
• Press to answer or end a call
from the OnStar
®Center or Personal
Calling.
•Press in an emergency to connect
to an OnStar
®Advisor who can con�
tact the nearest emergency services
provider.
Turn the outside temperature displaysand compass readings on or off
• Press .
Display temperature
• Press and hold for four seconds
(until the display blinks) to toggle
between °C and °F.Once the desired
°C or °F is displayed, release the
button. Wait four seconds and the
temperature will be displayed.
See Section 2 of your Owner Manual.
Adjust settings for automatic
operation
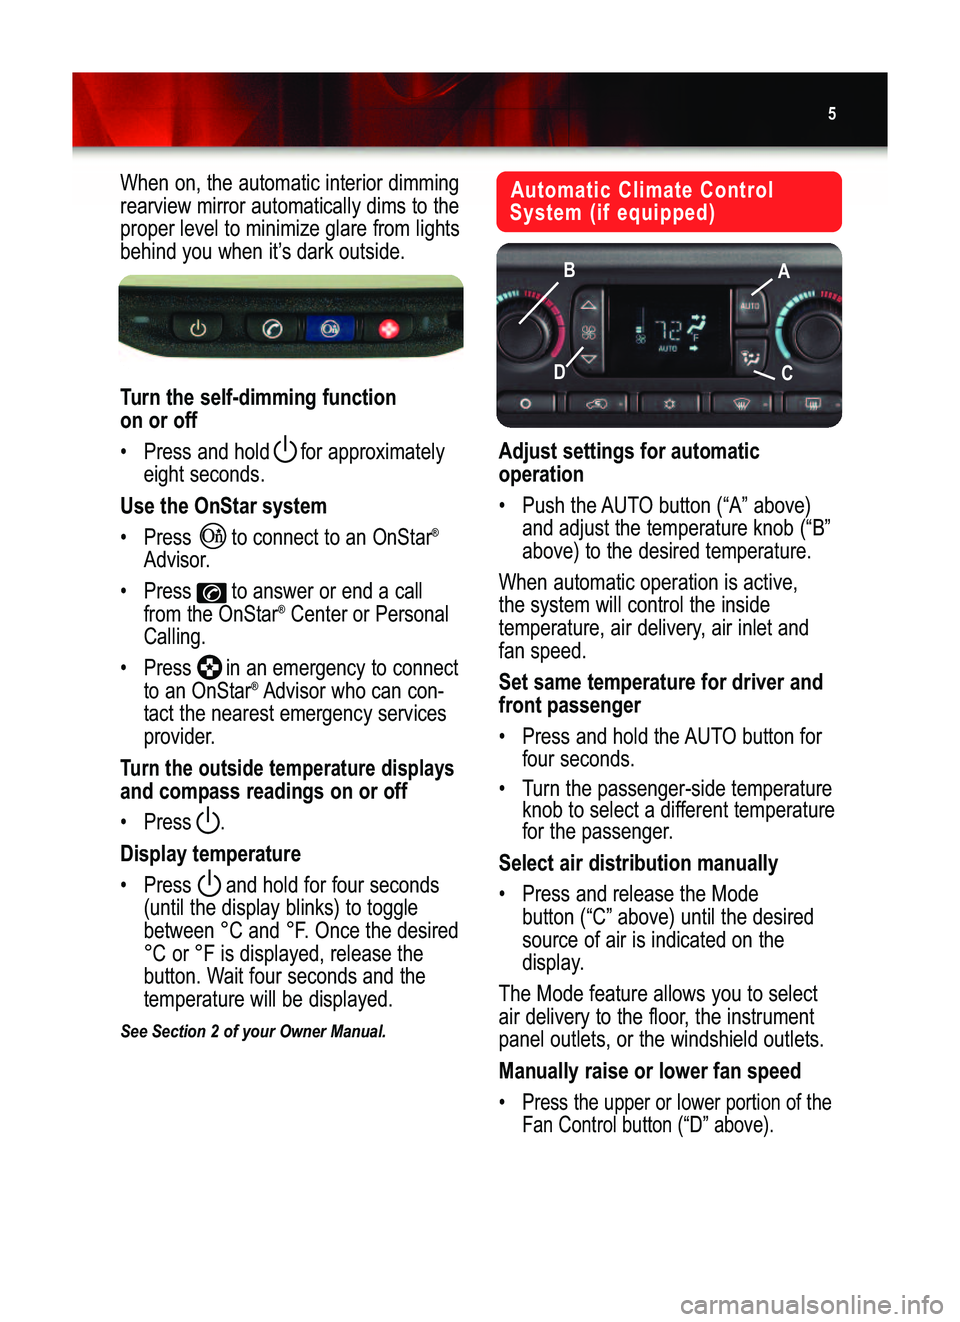
• Push the AUTO button (“A” above)
and adjust the temperature knob (“B”
above) to the desired temperature.
When automatic operation is active,
the system will control the inside
temperature, air delivery, air inlet and
fan speed.
Set same temperature for driver and
front passenger
• Press and hold the AUTO button for
four seconds.
• Turn the passenger�side temperature
knob to select a different temperature
for the passenger.
Select air distribution manually
• Press and release the Mode
button (“C” above) until the desired
source of air is indicated on the
display.
The Mode feature allows you to select
air delivery to the floor, the instrument
panel outlets, or the windshield outlets.
Manually raise or lower fan speed
•Press the upper or lower portion of the
Fan Control button (“D” above).
A B
C
D
Yukon�YukonDenali 06 Beta3 5/19/05 10:03 AM Page 5
Page 7 of 20
7
Entertainment Systems —
Radio/CD
Set the time on radios
withouta
Radio Data System (RDS)
• Press and hold the HR or MIN arrow
for two seconds.
• Press the HR (down) arrow until the
correct hour appears on the display.
•Press and hold the MIN (up) arrow
until the correct minute appears on
the display.
Set the time on radios withaRadio
Data System (RDS)
Your radio may have a button marked
“H” or “HR” to represent hours and an
“M” or “MIN” to represent minutes.
• Press and hold the hour button until
the correct hour appears on the
display.
• Press and hold the minute button
until the correct minute appears on
the display.
Program radio station presets
• Turn the radio on.
•Press BAND to select the band
(AM/FM1/FM2/XM1/XM2).
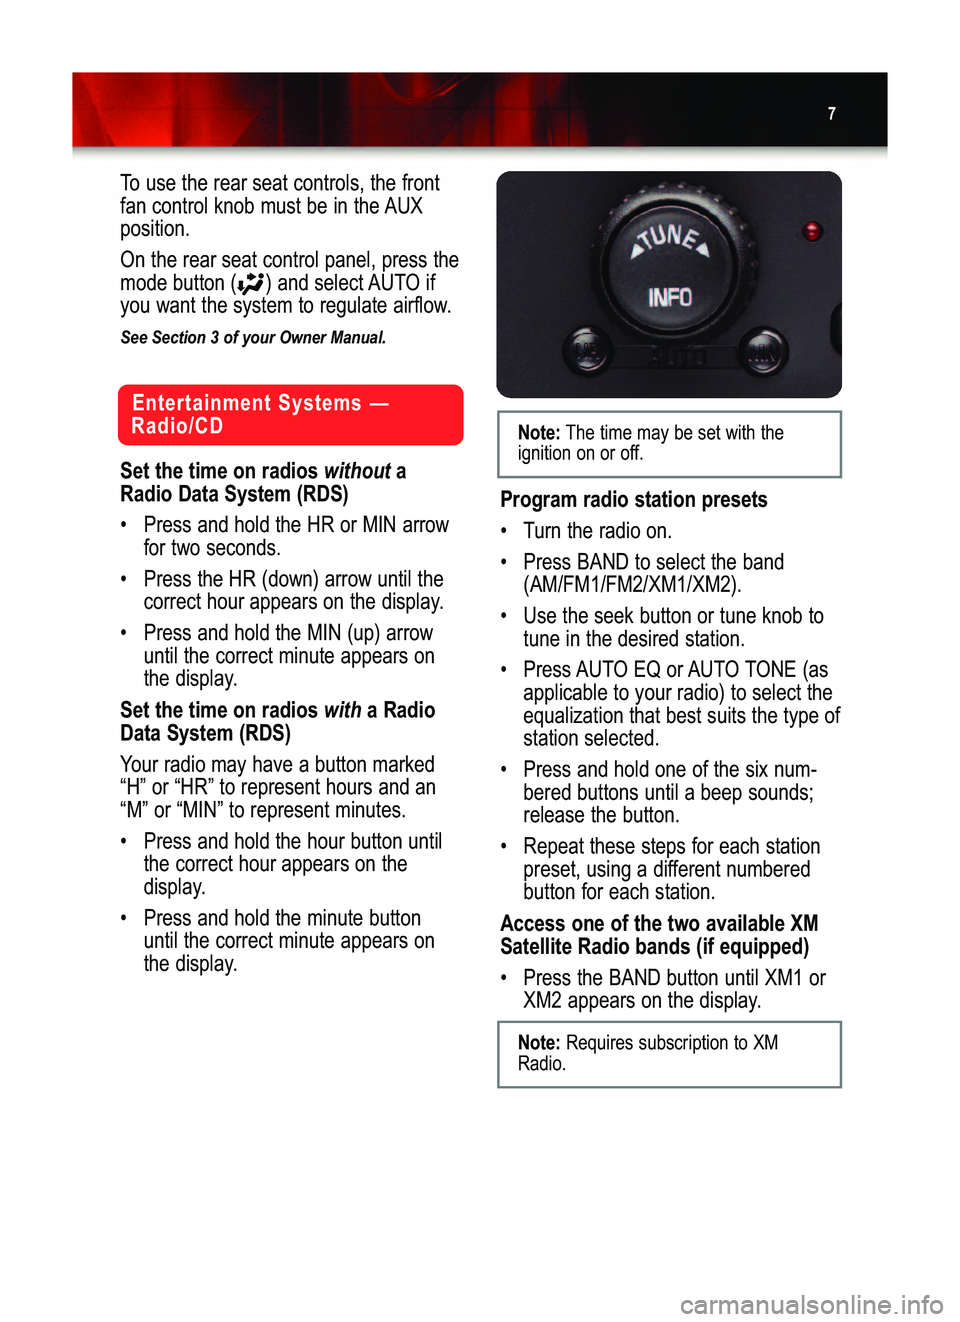
•Use the seek button or tune knob to
tune in the desired station.
• Press AUTO EQ or AUTO TONE (as
applicable to your radio) to select the
equalization that best suits the type of
station selected.
• Press and hold one of the six num�
bered buttons until a beep sounds;
release the button.
•Repeat these steps for each station
preset, using a different numbered
button for each station.
Access one of the two available XM
Satellite Radio bands (if equipped)
• Press the BAND button until XM1 or
XM2 appears on the display.
Note:The time may be set with the
ignition on or off.
Note:Requires subscription to XM
Radio.
To use the rear seat controls, the front
fan control knob must be in the AUX
position.
On the rear seat control panel, press the
mode button ( ) and select AUTO if
you want the system to regulate airflow.
See Section 3 of your Owner Manual.
Yukon�YukonDenali 06 Beta3 5/19/05 10:03 AM Page 7
Page 8 of 20
Getting to Know YourYukon/Yukon Denali8
Six�Disc CD Changer
(Denali models only)
Quick Load
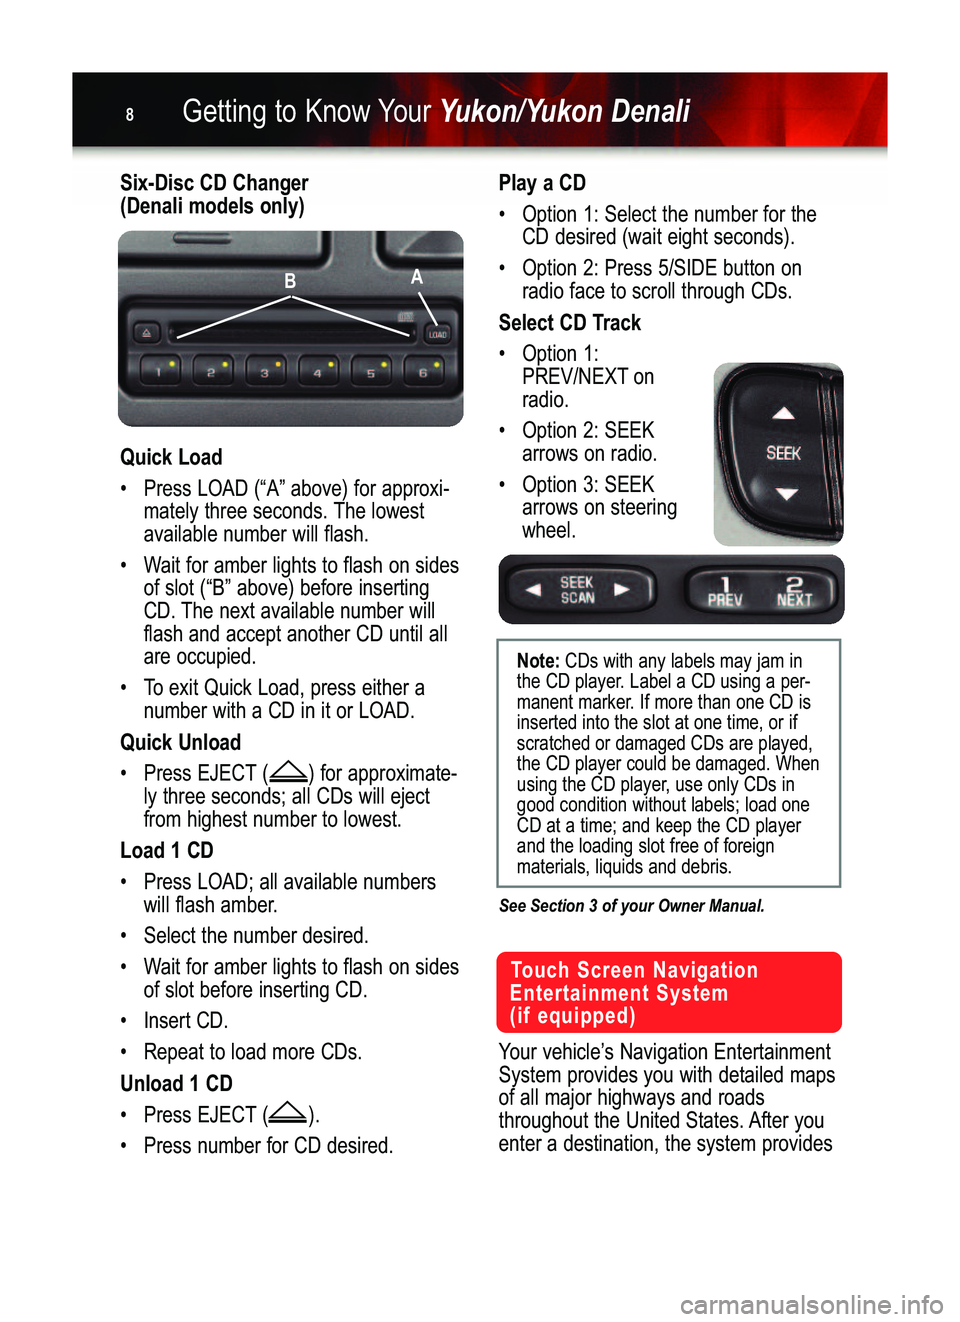
• Press LOAD (“A” above) for approxi�
mately three seconds. The lowest
available number will flash.
• Wait for amber lights to flash on sides
of slot (“B” above) before inserting
CD. The next available number will
flash and accept another CD until all
are occupied.
• To exit Quick Load, press either a
number with a CD in it or LOAD.
Quick Unload
• Press EJECT ( ) for approximate�
ly three seconds; all CDs will eject
from highest number to lowest.
Load 1 CD
• Press LOAD; all available numbers
will flash amber.
• Select the number desired.
• Wait for amber lights to flash on sides
of slot before inserting CD.
• Insert CD.
• Repeat to load more CDs.
Unload 1 CD
• Press EJECT ( ).
• Press number for CD desired.
Play a CD
• Option 1: Select the number for the
CD desired (wait eight seconds).
• Option 2: Press 5/SIDE button on
radio face to scroll through CDs.
Select CD Track
• Option 1:
PREV/NEXT on
radio.
• Option 2: SEEK
arrows on radio.
• Option 3: SEEK
arrows on steering
wheel.
See Section 3 of your Owner Manual.
A
B
Touch Screen Navigation
Entertainment System
(if equipped)
Your vehicle’s Navigation Entertainment
System provides you with detailed maps
of all major highways and roads
throughout the United States. After you
enter a destination, the system provides
Note:CDs with any labels may jam in
the CD player.Label a CD using a per�
manent marker. If more than one CD is
inserted into the slot at one time, or if
scratched or damaged CDs are played,
the CD player could be damaged. When
using the CD player, use only CDs in
good condition without labels; load one
CD at a time; and keep the CD player
and the loading slot free of foreign
materials, liquids and debris.
Yukon�YukonDenali 06 Beta3 5/19/05 10:03 AM Page 8
Page 15 of 20
15
•Headlamp Delay: 3 Min
•Headlamp Delay: Off
Perimeter Lights
(The headlamps and back�up lamps will
come on for 40 seconds, if it is dark
enough, when unlocking the vehicle with
the Remote Keyless Entry transmitter.)
•Perimeter Lights: On
•Perimeter Lights: Off
Easy Exit Seat
(The driver’s seat moves to the exit
position when the key is removed from
the ignition.)
•Easy Exit Seat: Off
•Easy Exit Seat: On
Curb View
(The outside rearview mirror(s) tilt down
when the vehicle is shifted into
Reverse.)
•Curb View: Off
•Curb View: Passenger
•Curb View: Driver
•Curb View: Both
Alarm Warning
(The feedback received when the alarm
is active.)
•Alarm Warning: Both
•Alarm Warning: Off
•Alarm Warning: Horn
•Alarm Warning: Lamps
Language
(The Driver Information Center display
language.)
•Language: English
•Language: Français (French)
•Language: Español (Spanish)
Display Units
(The units in which all information will be
displayed.)
•Display Units: English
•Display Units: Metric
See Section 3 of your Owner Manual.
Odometer/Trip Settings
(if equipped)
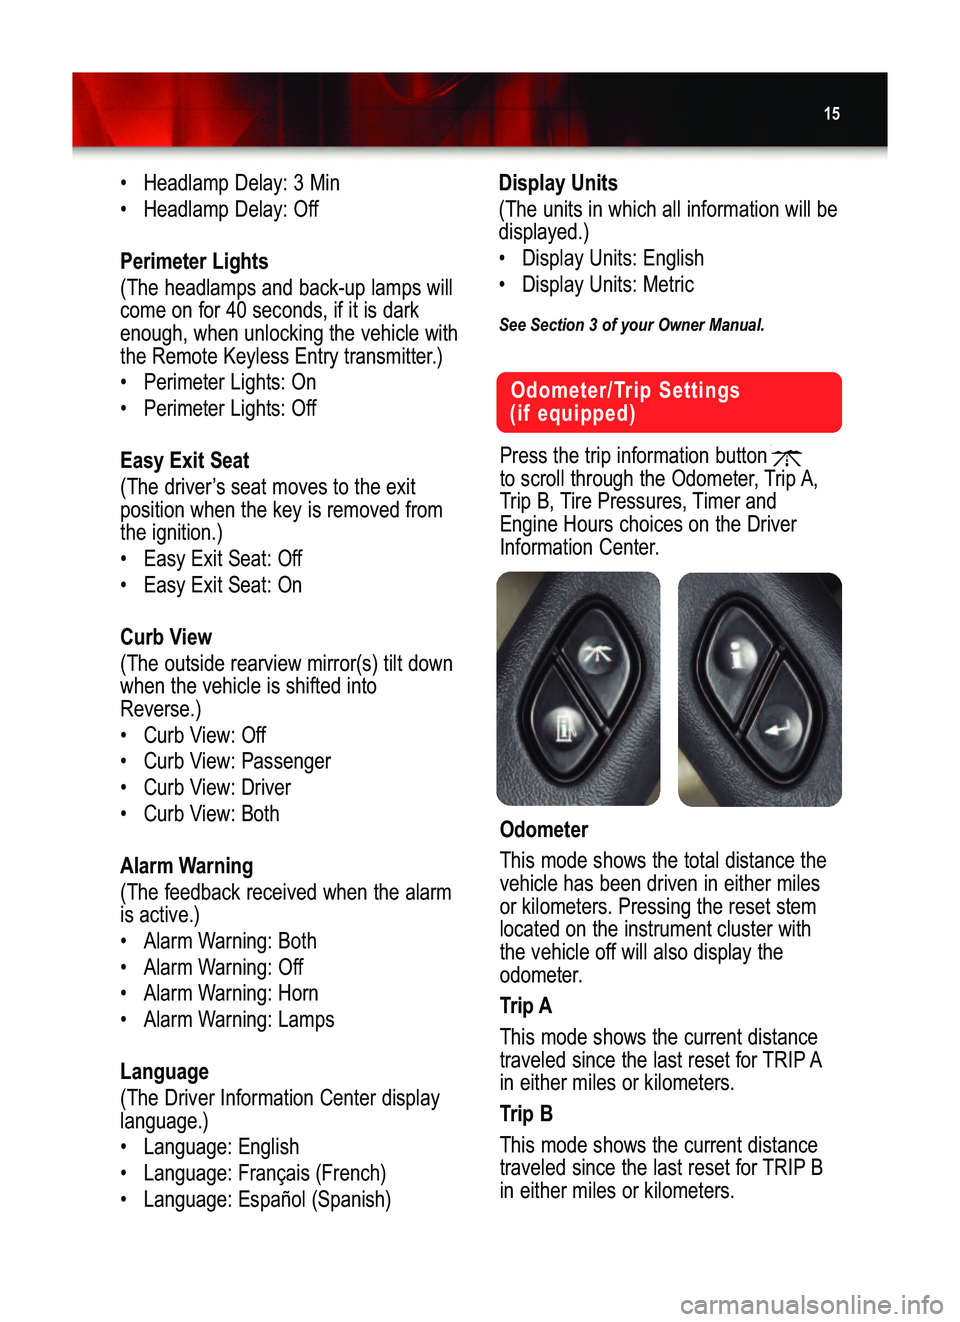
Press the trip information button
to scroll through the Odometer,Trip A,
Trip B, Tire Pressures, Timer and
Engine Hours choices on the Driver
Information Center.
Odometer
This mode shows the total distance the
vehicle has been driven in either miles
or kilometers. Pressing the reset stem
located on the instrument cluster with
the vehicle off will also display the
odometer.
Trip A
This mode shows the current distance
traveled since the last reset for TRIP A
in either miles or kilometers.
Trip B
This mode shows the current distance
traveled since the last reset for TRIP B
in either miles or kilometers.
Yukon�YukonDenali 06 Beta3 5/19/05 10:04 AM Page 15
Page 16 of 20
Getting to Know YourYukon/Yukon Denali16
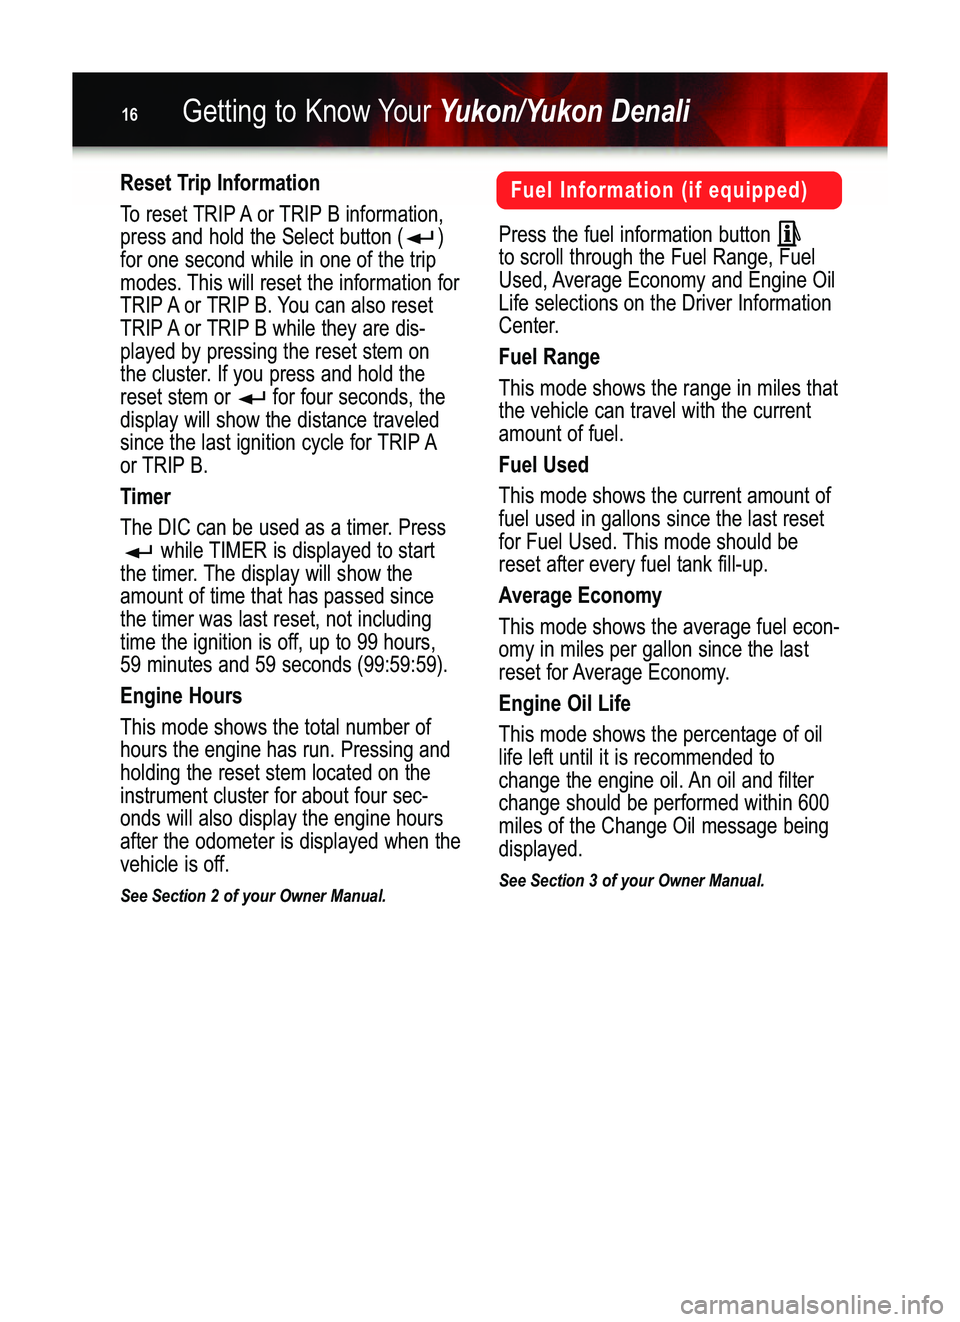
Fuel Information (if equipped)
Press the fuel information button
to scroll through the Fuel Range, Fuel
Used, Average Economy and Engine Oil
Life selections on the Driver Information
Center.
Fuel Range
This mode shows the range in miles that
the vehicle can travel with the current
amount of fuel.
Fuel Used
This mode shows the current amount of
fuel used in gallons since the last reset
for Fuel Used. This mode should be
reset after every fuel tank fill�up.
Average Economy
This mode shows the average fuel econ�
omy in miles per gallon since the last
reset for Average Economy.
Engine Oil Life
This mode shows the percentage of oil
life left until it is recommended to
change the engine oil. An oil and filter
change should be performed within 600
miles of the Change Oil message being
displayed.
See Section 3 of your Owner Manual.
Reset Trip Information
To reset TRIP A or TRIP B information,
press and hold the Select button ( )
for one second while in one of the trip
modes. This will reset the information for
TRIP A or TRIP B. You can also reset
TRIP A or TRIP B while they are dis�
played by pressing the reset stem on
the cluster. If you press and hold the
reset stem or for four seconds, the
display will show the distance traveled
since the last ignition cycle for TRIP A
or TRIP B.
Timer
The DIC can be used as a timer. Press
while TIMER is displayed to start
the timer. The display will show the
amount of time that has passed since
the timer was last reset, not including
time the ignition is off, up to 99 hours,
59 minutes and 59 seconds (99:59:59).
Engine Hours
This mode shows the total number of
hours the engine has run. Pressing and
holding the reset stem located on the
instrument cluster for about four sec�
onds will also display the engine hours
after the odometer is displayed when the
vehicle is off.
See Section 2 of your Owner Manual.
Yukon�YukonDenali 06 Beta3 5/19/05 10:04 AM Page 16
Page 17 of 20
17
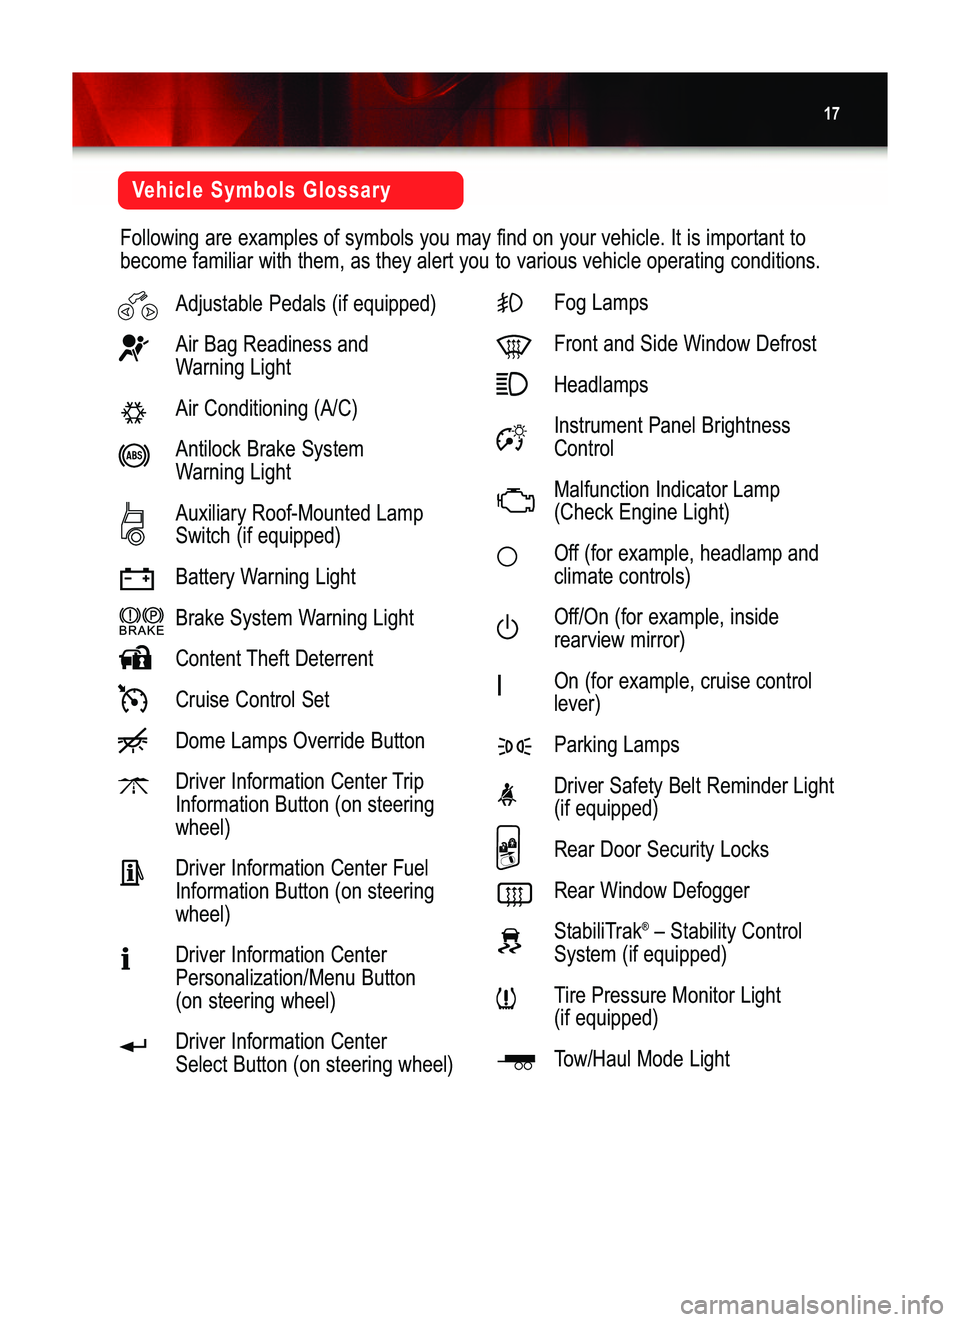
Vehicle Symbols Glossary
Following are examples of symbols you may find on your vehicle. It is important to
become familiar with them, as they alert you to various vehicle operating conditions.
Adjustable Pedals (if equipped)
Air Bag Readiness and
Warning Light
Air Conditioning (A/C)
Antilock Brake System
Warning Light
Auxiliary Roof�Mounted Lamp
Switch (if equipped)
Battery Warning Light
Brake System Warning Light
Content Theft Deterrent
Cruise Control Set
Dome Lamps Override Button
Driver Information Center Trip
Information Button (on steering
wheel)
Driver Information Center Fuel
Information Button (on steering
wheel)
Driver Information Center
Personalization/Menu Button
(on steering wheel)
Driver Information Center
Select Button (on steering wheel)Fog Lamps
Front and Side Window Defrost
Headlamps
Instrument Panel Brightness
Control
Malfunction Indicator Lamp
(Check Engine Light)
Off (for example, headlamp and
climate controls)
Off/On (for example, inside
rearview mirror)
On (for example, cruise control
lever)
Parking Lamps
Driver Safety Belt Reminder Light
(if equipped)
Rear Door Security Locks
Rear Window Defogger
StabiliTrak
®–Stability Control
System (if equipped)
Tire Pressure Monitor Light
(if equipped)
Tow/Haul Mode Light
Yukon�YukonDenali 06 Beta3 5/19/05 10:04 AM Page 17
Page 20 of 20
Getting to Know YourYukon/Yukon Denali20
06DENALIGTK A
Roadside Assistance
My GMLink
1�800�GMC�8782
TTY: 1�888�889�2438
As the proud owner of a GMC Yukon or
Yukon Denali, you are automatically
enrolled in the GMC Roadside
Assistance program. This value�added
service is intended to provide you with
peace of mind as you drive in the city or
travel the open road.
GMC’s Roadside Assistance toll�free
number is staffed by a team of techni�
cally trained advisors, who are available
24 hours a day,365 days a year. We
take the anxiety out of uncertain situa�
tions by providing minor repair informa�
tion over the phone or making arrange�
ments to tow your vehicle to the nearest
GMC dealer.
We will provide the following services for
3 years/36,000 miles (60,000 km), at no
expense to you:
•Fuel delivery
• Lockout service (identification
required)
• Tow to nearest dealership for
warranty service
• Flat tire assistance
• Jump starts
For prompt and efficient assistance
when calling, please provide the follow�
ing information to the advisor:
The GMC Owner Center at My GMLink
is a complimentary service for GMC
owners, a one�stop resource to enhance
your GMC ownership experience.
Exclusive member benefits include
online service reminders, vehicle main�
tenance tips, online owner manual, spe�
cial privileges and more. Sign up today
at www.mygmlink.com • Location of the vehicle
• Telephone number and your location
• Vehicle model, year and color
• Vehicle mileage
• Vehicle Identification Number (VIN)
• Vehicle license plate number
GMC reserves the right to limit services
or reimbursement to an owner or driver
when, in GMC’s judgment, the claims
become excessive in frequency or type
of occurrence.
Roadside Assistance and OnStar Press the blue OnStar button and the
vehicle will send your current GPS loca�
tion to an OnStar Advisor who will speak
to you, assess your condition, contact
Roadside Assistance and relay your
exact location so you will get the help
you need.
Certain restrictions, precautions and safety procedures apply to your vehicle. Please read your Owner
Manual for complete instructions. All information contained herein is based on information available at the
time of printing and is subject to change without notice. Copyright 2005 by GM Corp. All rights reserved.
Yukon�YukonDenali 06 Beta3 5/19/05 10:04 AM Page 20