light GMC YUKON 2006 User Guide
[x] Cancel search | Manufacturer: GMC, Model Year: 2006, Model line: YUKON, Model: GMC YUKON 2006Pages: 540, PDF Size: 3.14 MB
Page 90 of 540
The passenger sensing system is designed to turn off
the right front passenger’s frontal airbag if:
the right front passenger seat is unoccupied
the system determines that an infant is present in
a rear-facing infant seat
the system determines that a small child is present
in a forward-facing child restraint
the system determines that a small child is present
in a booster seat
a right front passenger takes his/her weight off of
the seat for a period of time
the right front passenger seat is occupied by a
smaller person, such as a child who has outgrown
child restraints
or if there is a critical problem with the airbag
system or the passenger sensing system.
When the passenger sensing system has turned off
the passenger’s frontal airbag, the off indicator will light
and stay lit to remind you that the airbag is off.
If a child restraint has been installed and the on indicator
is lit, turn the vehicle off. Remove the child restraint
from the vehicle and reinstall the child restraint following
the child restraint manufacturer’s directions and refer
toSecuring a Child Restraint in the Right Front
Seat Position on page 1-70.If after reinstalling the child restraint and restarting
the vehicle, the on indicator is still lit, check to make
sure that the vehicle’s seatback is not pressing the
child restraint into the seat cushion. If this happens,
slightly recline the vehicle’s seatback and adjust the
seat cushion if possible. Also make sure the child
restraint is not trapped under the vehicle head restraint.
If this happens, adjust the head restraint.
If the on indicator is still lit, secure the child in the child
restraint in a rear seat position in the vehicle and check
with your dealer.
The passenger sensing system is designed to enable
(may in�ate) the right front passenger’s frontal airbag
anytime the system senses that a person of adult size is
sitting properly in the right front passenger’s seat. When
the passenger sensing system has allowed the airbag
to be enabled, the on indicator will light and stay lit to
remind you that the airbag is active.
For some children who have outgrown child restraints
and for very small adults, the passenger sensing system
may or may not turn off the right front passenger’s
frontal airbag, depending upon the person’s seating
posture and body build. Everyone in your vehicle who
has outgrown child restraints should wear a safety
belt properly — whether or not there is an airbag for
that person.
1-84
Page 91 of 540
If a person of adult-size is sitting in the right front
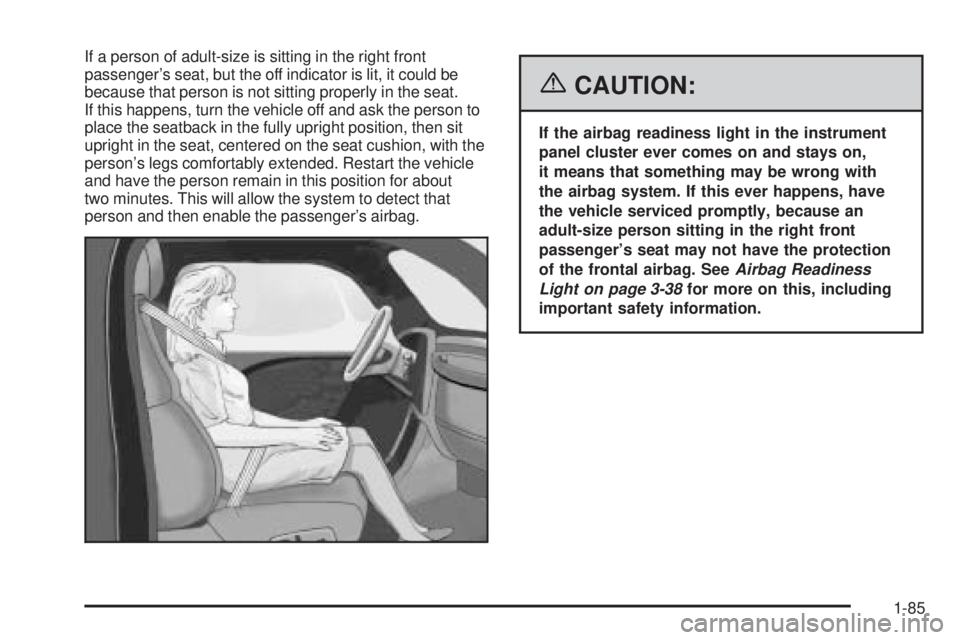
passenger’s seat, but the off indicator is lit, it could be
because that person is not sitting properly in the seat.
If this happens, turn the vehicle off and ask the person to
place the seatback in the fully upright position, then sit
upright in the seat, centered on the seat cushion, with the
person’s legs comfortably extended. Restart the vehicle
and have the person remain in this position for about
two minutes. This will allow the system to detect that
person and then enable the passenger’s airbag.
{CAUTION:
If the airbag readiness light in the instrument
panel cluster ever comes on and stays on,
it means that something may be wrong with
the airbag system. If this ever happens, have
the vehicle serviced promptly, because an
adult-size person sitting in the right front
passenger’s seat may not have the protection
of the frontal airbag. SeeAirbag Readiness
Light on page 3-38for more on this, including
important safety information.
1-85
Page 94 of 540
Restraint System Check
Checking the Restraint Systems
Now and then, make sure the safety belt reminder light
and all your belts, buckles, latch plates, retractors
and anchorages are working properly. Look for any other
loose or damaged safety belt system parts. If you see
anything that might keep a safety belt system from
doing its job, have it repaired.
Torn or frayed safety belts may not protect you in
a crash. They can rip apart under impact forces.
If a belt is torn or frayed, get a new one right away.Also look for any opened or broken airbag covers, and
have them repaired or replaced. (The airbag system
does not need regular maintenance.)
Notice:If you damage the covering for the driver’s
or the right front passenger’s frontal airbag, or
an airbag covering (if equipped) on a seatback, the
airbag may not work properly. You may have to
replace the airbag module in the steering wheel,
both the airbag module and the instrument panel for
the right front passenger’s frontal airbag, or both
the airbag module and the seatback for seating
positions with a side impact airbag (if equipped).
Do not open or break the airbag coverings.
1-88
Page 112 of 540

Express-Down Windows
The driver and front passenger windows have an
express-down feature that allows the windows to be
lowered without holding the switch. Press down fully
on the window switch, then release, to activate the
express-down mode. The express-down mode can
be canceled at any time by pulling up on the switch.
To open the window in small amounts, press the
switch to the �rst position until the window is at the
desired level.
Window Lockout
o
(Window Lockout):The window lockout switch
is located in front of the power window switches on
the driver’s door armrest. This feature prevents
all passenger windows from operating, except from
the driver’s position. To engage the lockout feature
press the switch, and an indicator light will illuminate.
To disengage the feature, press the switch again
and the indicator light will go off.
Sun Visors
Sun Visors with Slide Rod
Your vehicle may have this feature.
Pull the sun visor down to block glare. Detach the
sun visor from the center mount and slide it along the
rod from side-to-side to cover the driver or passenger
side of the front window. Swing the sun visor to the side
to cover the side window. It can be moved along the
rod from side-to-side in this position also.
Sun Visors with Fixed Rod and
Pull-out Extension
Your vehicle may have this feature.
Pull the sun visor down to block glare. Pull the sun visor
extender out for additional coverage. Detach the sun
visor from the center mount and swing it to the side to
cover the side window.
Lighted Visor Vanity Mirror
Your vehicle has lighted visor vanity mirrors on both the
driver’s and passenger’s sun visors. Pull the sun visor
down and lift the mirror cover to turn the lamps on.
2-16
Page 113 of 540
Theft-Deterrent Systems
Vehicle theft is big business, especially in some cities.
Although your vehicle has a number of theft-deterrent
features, we know that nothing we put on it can make
it impossible to steal.
Content Theft-Deterrent
Your vehicle may be equipped with a content
theft-deterrent alarm system.
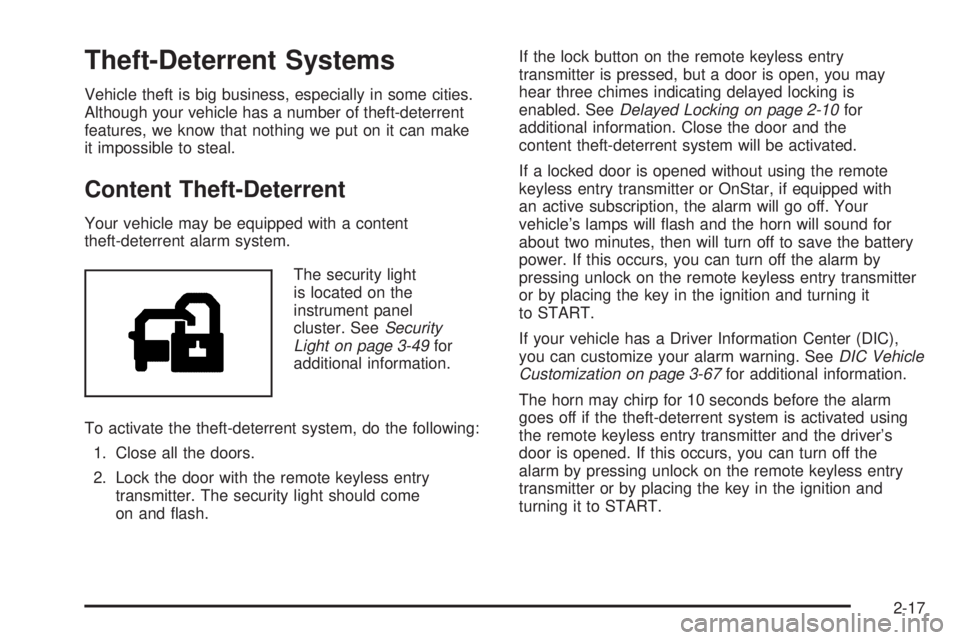
The security light
is located on the
instrument panel
cluster. SeeSecurity
Light on page 3-49for
additional information.
To activate the theft-deterrent system, do the following:
1. Close all the doors.
2. Lock the door with the remote keyless entry
transmitter. The security light should come
on and �ash.If the lock button on the remote keyless entry
transmitter is pressed, but a door is open, you may
hear three chimes indicating delayed locking is
enabled. SeeDelayed Locking on page 2-10for
additional information. Close the door and the
content theft-deterrent system will be activated.
If a locked door is opened without using the remote
keyless entry transmitter or OnStar, if equipped with
an active subscription, the alarm will go off. Your
vehicle’s lamps will �ash and the horn will sound for
about two minutes, then will turn off to save the battery
power. If this occurs, you can turn off the alarm by
pressing unlock on the remote keyless entry transmitter
or by placing the key in the ignition and turning it
to START.
If your vehicle has a Driver Information Center (DIC),
you can customize your alarm warning. SeeDIC Vehicle
Customization on page 3-67for additional information.
The horn may chirp for 10 seconds before the alarm
goes off if the theft-deterrent system is activated using
the remote keyless entry transmitter and the driver’s
door is opened. If this occurs, you can turn off the
alarm by pressing unlock on the remote keyless entry
transmitter or by placing the key in the ignition and
turning it to START.
2-17
Page 114 of 540
Here is how to avoid setting off the alarm by accident:
If you do not want to activate the theft-deterrent
system, the vehicle should be locked with the
door key after the doors are closed.
Always unlock a door with the remote keyless
entry transmitter.
If you set off the alarm by accident, turn off the alarm
by pressing unlock on the remote keyless entry
transmitter or by placing the key in the ignition and
turning it to START.
Testing the Alarm
The alarm can be tested by following these steps:
1. From inside the vehicle, activate the system by
locking the doors with the remote keyless entry
transmitter.
2. Wait for the security light to go out.
3. Unlock the door with the manual door lock and
open the door. This should set off the alarm.
4. Turn off the alarm by pressing unlock on the remote
keyless entry transmitter or by placing the key in
the ignition and turning it to START.
If the alarm does not sound when it should,
but the vehicle’s headlamps �ash, check to see
if the horn works. The horn fuse may be blown.To replace the fuse, seeInstrument Panel Fuse
Block on page 5-107andUnderhood Fuse Block
on page 5-109.
If the alarm does not sound or the vehicle’s headlamps
do not �ash, see your dealer for service.
Passlock®
Your vehicle is equipped with the Passlock®
theft-deterrent system.
Passlock
®is a passive theft-deterrent system. Passlock®
enables fuel if the ignition lock cylinder is turned with
a valid key. If a correct key is not used or the ignition
lock cylinder is tampered with, fuel is disabled.
If the engine stalls and the security light �ashes, wait
until the light stops �ashing before trying to restart
the engine. Remember to release the key from START
as soon as the engine starts.
If the engine is running and the security light comes on,
you will be able to restart the engine if you turn the engine
off. However, your Passlock
®system is not working
properly and must be serviced by your dealer. Your
vehicle is not protected by Passlock
®at this time. You
may also want to check the fuse. SeeFuses and Circuit
Breakers on page 5-106. See your dealer for service.
In an emergency, call the GM Roadside Assistance
Center. SeeRoadside Assistance Program on page 7-6.
2-18
Page 121 of 540
SECOND (2):This position gives you more power
but lower fuel economy. You can use SECOND (2) on
hills. It can help control your speed as you go down
steep mountain roads, but then you would also want
to use your brakes off and on.
If you manually select SECOND (2) in a light duty
automatic transmission, the transmission will drive in
second gear. You may use this feature for reducing the
speed of the rear wheels when you are trying to start
your vehicle from a stop on slippery road surfaces.
FIRST (1):This position gives you even more
power (but lower fuel economy) than SECOND (2).
You can use it on very steep hills, or in deep snow or
mud. If the shift lever is put in FIRST (1) while the
vehicle is moving forward, the transmission will not shift
into �rst gear until the vehicle is going slowly enough.
Notice:Spinning the tires or holding the vehicle in
one place on a hill using only the accelerator pedal
may damage the transmission. If you are stuck,
do not spin the tires. When stopping on a hill, use
the brakes to hold the vehicle in place.
On cold days, approximately 32°F (0°C) or colder,
your transmission is designed to shift differently until
the engine reaches normal operating temperature.
This is intended to improve heater performance.Tow/Haul Mode
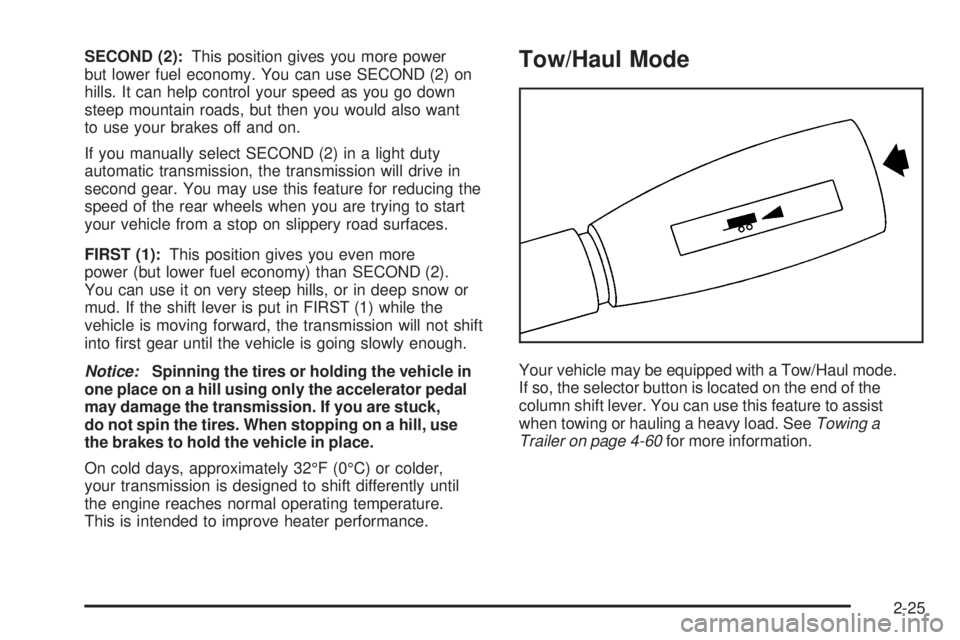
Your vehicle may be equipped with a Tow/Haul mode.
If so, the selector button is located on the end of the
column shift lever. You can use this feature to assist
when towing or hauling a heavy load. SeeTowing a
Trailer on page 4-60for more information.
2-25
Page 122 of 540
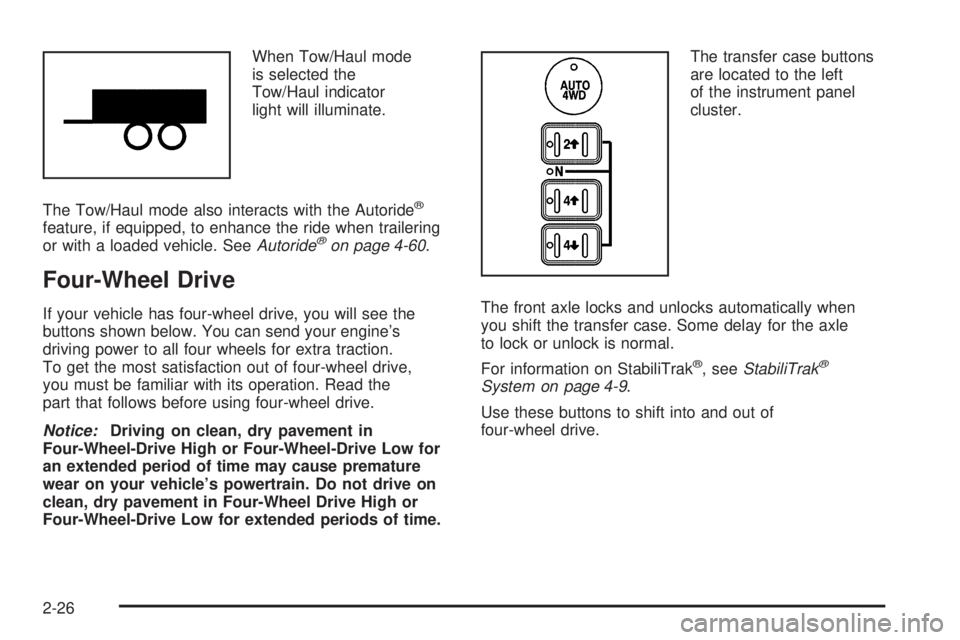
When Tow/Haul mode
is selected the
Tow/Haul indicator
light will illuminate.
The Tow/Haul mode also interacts with the Autoride
®
feature, if equipped, to enhance the ride when trailering
or with a loaded vehicle. SeeAutoride®on page 4-60.
Four-Wheel Drive
If your vehicle has four-wheel drive, you will see the
buttons shown below. You can send your engine’s
driving power to all four wheels for extra traction.
To get the most satisfaction out of four-wheel drive,
you must be familiar with its operation. Read the
part that follows before using four-wheel drive.
Notice:Driving on clean, dry pavement in
Four-Wheel-Drive High or Four-Wheel-Drive Low for
an extended period of time may cause premature
wear on your vehicle’s powertrain. Do not drive on
clean, dry pavement in Four-Wheel Drive High or
Four-Wheel-Drive Low for extended periods of time.The transfer case buttons
are located to the left
of the instrument panel
cluster.
The front axle locks and unlocks automatically when
you shift the transfer case. Some delay for the axle
to lock or unlock is normal.
For information on StabiliTrak
®, seeStabiliTrak®
System on page 4-9.
Use these buttons to shift into and out of
four-wheel drive.
2-26
Page 123 of 540
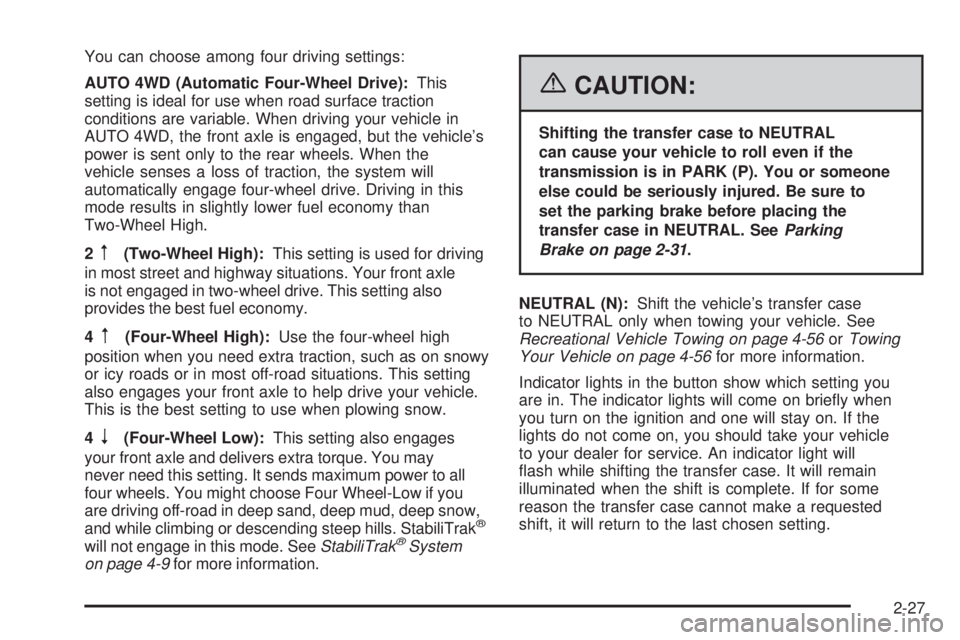
You can choose among four driving settings:
AUTO 4WD (Automatic Four-Wheel Drive):This
setting is ideal for use when road surface traction
conditions are variable. When driving your vehicle in
AUTO 4WD, the front axle is engaged, but the vehicle’s
power is sent only to the rear wheels. When the
vehicle senses a loss of traction, the system will
automatically engage four-wheel drive. Driving in this
mode results in slightly lower fuel economy than
Two-Wheel High.
2
m(Two-Wheel High):This setting is used for driving
in most street and highway situations. Your front axle
is not engaged in two-wheel drive. This setting also
provides the best fuel economy.
4
m(Four-Wheel High):Use the four-wheel high
position when you need extra traction, such as on snowy
or icy roads or in most off-road situations. This setting
also engages your front axle to help drive your vehicle.
This is the best setting to use when plowing snow.
4
n(Four-Wheel Low):This setting also engages
your front axle and delivers extra torque. You may
never need this setting. It sends maximum power to all
four wheels. You might choose Four Wheel-Low if you
are driving off-road in deep sand, deep mud, deep snow,
and while climbing or descending steep hills. StabiliTrak
®
will not engage in this mode. SeeStabiliTrak®System
on page 4-9for more information.
{CAUTION:
Shifting the transfer case to NEUTRAL
can cause your vehicle to roll even if the
transmission is in PARK (P). You or someone
else could be seriously injured. Be sure to
set the parking brake before placing the
transfer case in NEUTRAL. SeeParking
Brake on page 2-31.
NEUTRAL (N):Shift the vehicle’s transfer case
to NEUTRAL only when towing your vehicle. See
Recreational Vehicle Towing on page 4-56orTowing
Your Vehicle on page 4-56for more information.
Indicator lights in the button show which setting you
are in. The indicator lights will come on brie�y when
you turn on the ignition and one will stay on. If the
lights do not come on, you should take your vehicle
to your dealer for service. An indicator light will
�ash while shifting the transfer case. It will remain
illuminated when the shift is complete. If for some
reason the transfer case cannot make a requested
shift, it will return to the last chosen setting.
2-27
Page 124 of 540
If the SERVICE 4WD message stays on, you should
take your vehicle to your dealer for service. See “Service
4WD message” underDIC Warnings and Messages
on page 3-56.
Shifting Into Four-Wheel High or
AUTO 4WD (Automatic Four-Wheel Drive)
Press and release the Four-Wheel High or AUTO
4WD button. This can be done at any speed, except
when shifting from Four-Wheel Low, and the indicator
light will �ash while shifting. It will remain on when
the shift is completed.
Shifting Into Two-Wheel High
Press and release the Two-Wheel High button.
This can be done at any speed, except when
shifting from Four-Wheel Low.
Shifting Into Four-Wheel Low
To shift to the Four-Wheel Low position, the ignition
must be in RUN and the vehicle must be stopped
or moving less than 3 mph (5 km/h) with the
transmission in NEUTRAL (N). The preferred
method for shifting into four-wheel low is to have
your vehicle moving 1 to 2 mph (1.6 to 3.2 km/h).Press and release the Four-Wheel Low button.
You must wait for the four-wheel low indicator light
to stop �ashing and remain on before shifting your
transmission in gear.
Notice:Shifting the transmission into gear before
the Four-Wheel Low indicator light has stopped
�ashing could damage the transfer case. To
help avoid damaging your vehicle, always wait for
the Four-Wheel Low indicator light to stop �ashing
before shifting the transmission into gear.
It is typical for your vehicle to exhibit signi�cant
engagement noise and bump when shifting between
Four-Wheel Low and Four-Wheel High ranges or from
NEUTRAL with the engine running.
If the Four-Wheel Low button is pressed when your
vehicle is in gear and/or moving, the Four-Wheel Low
indicator light will �ash for 30 seconds and not complete
the shift unless your vehicle is moving less than
3 mph (5 km/h) and the transmission is in NEUTRAL (N).
After 30 seconds the transfer case will shift to
Four-Wheel High mode.
2-28