window GMC YUKON 2020 Infotainment System Manual
[x] Cancel search | Manufacturer: GMC, Model Year: 2020, Model line: YUKON, Model: GMC YUKON 2020Pages: 116, PDF Size: 1.32 MB
Page 12 of 116

GMC Infotainment System (U.S./Canada 2.6) (GMNA-Localizing-U.S./Canada-
13583174) - 2020 - CRC - 4/15/19
Introduction 11
held and moved along the display to
the new location. This can be done
up, down, right, or left.
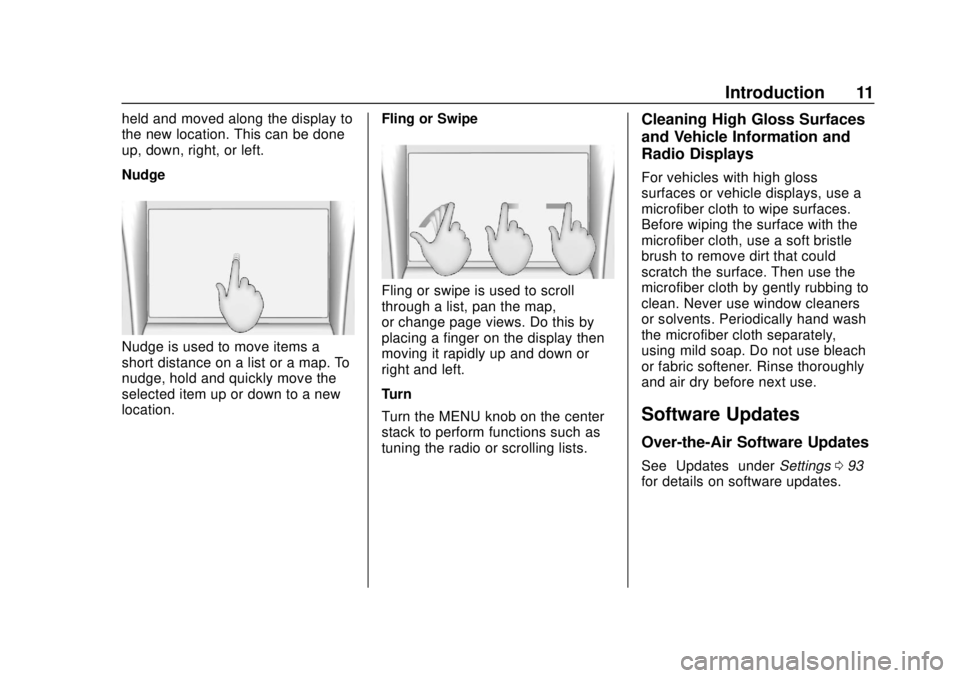
Nudge
Nudge is used to move items a
short distance on a list or a map. To
nudge, hold and quickly move the
selected item up or down to a new
location.Fling or Swipe
Fling or swipe is used to scroll
through a list, pan the map,
or change page views. Do this by
placing a finger on the display then
moving it rapidly up and down or
right and left.
Turn
Turn the MENU knob on the center
stack to perform functions such as
tuning the radio or scrolling lists.
Cleaning High Gloss Surfaces
and Vehicle Information and
Radio Displays
For vehicles with high gloss
surfaces or vehicle displays, use a
microfiber cloth to wipe surfaces.
Before wiping the surface with the
microfiber cloth, use a soft bristle
brush to remove dirt that could
scratch the surface. Then use the
microfiber cloth by gently rubbing to
clean. Never use window cleaners
or solvents. Periodically hand wash
the microfiber cloth separately,
using mild soap. Do not use bleach
or fabric softener. Rinse thoroughly
and air dry before next use.
Software Updates
Over-the-Air Software Updates
See
“Updates” underSettings 093
for details on software updates.
Page 15 of 116

GMC Infotainment System (U.S./Canada 2.6) (GMNA-Localizing-U.S./Canada-
13583174) - 2020 - CRC - 4/15/19
14 Radio
Direct Tune
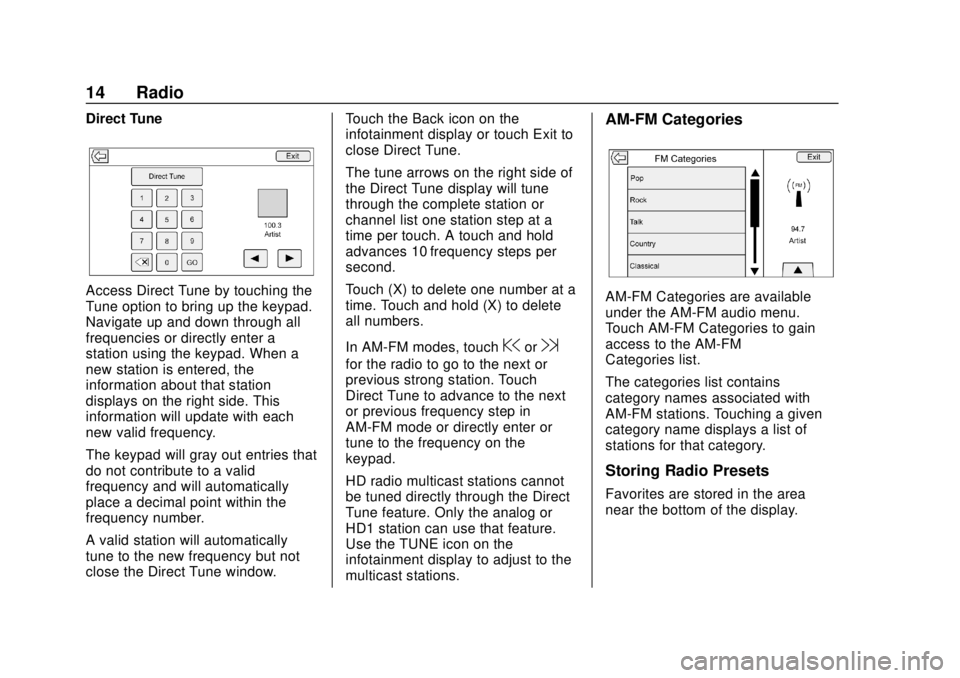
Access Direct Tune by touching the
Tune option to bring up the keypad.
Navigate up and down through all
frequencies or directly enter a
station using the keypad. When a
new station is entered, the
information about that station
displays on the right side. This
information will update with each
new valid frequency.
The keypad will gray out entries that
do not contribute to a valid
frequency and will automatically
place a decimal point within the
frequency number.
A valid station will automatically
tune to the new frequency but not
close the Direct Tune window.Touch the Back icon on the
infotainment display or touch Exit to
close Direct Tune.
The tune arrows on the right side of
the Direct Tune display will tune
through the complete station or
channel list one station step at a
time per touch. A touch and hold
advances 10 frequency steps per
second.
Touch (X) to delete one number at a
time. Touch and hold (X) to delete
all numbers.
In AM-FM modes, touch
@or9
for the radio to go to the next or
previous strong station. Touch
Direct Tune to advance to the next
or previous frequency step in
AM-FM mode or directly enter or
tune to the frequency on the
keypad.
HD radio multicast stations cannot
be tuned directly through the Direct
Tune feature. Only the analog or
HD1 station can use that feature.
Use the TUNE icon on the
infotainment display to adjust to the
multicast stations.
AM-FM Categories
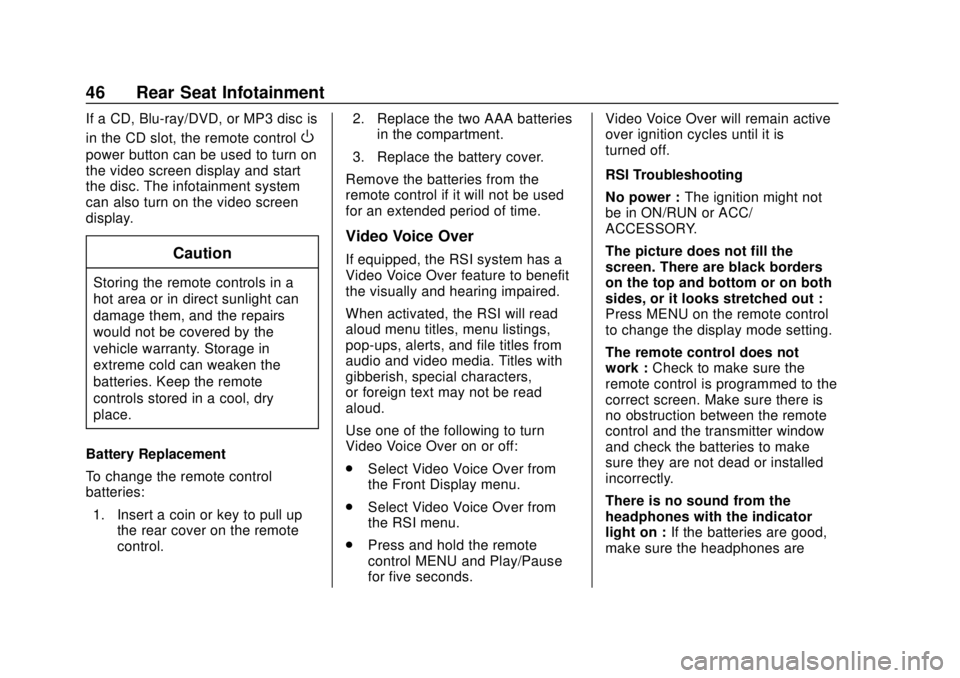
AM-FM Categories are available
under the AM-FM audio menu.
Touch AM-FM Categories to gain
access to the AM-FM
Categories list.
The categories list contains
category names associated with
AM-FM stations. Touching a given
category name displays a list of
stations for that category.
Storing Radio Presets
Favorites are stored in the area
near the bottom of the display.
Page 46 of 116

GMC Infotainment System (U.S./Canada 2.6) (GMNA-Localizing-U.S./Canada-
13583174) - 2020 - CRC - 4/15/19
Rear Seat Infotainment 45
7. SCREEN 2.For single overhead
screens:
Press to change the source
displayed on the overhead
screen to SCREEN 2
selected source. Only one
video can be played on the
screen at a time. Audio for
both sources will continue
on the headphones. Once
pressed, all remote control
commands will correspond
to SCREEN 2.
. For dual overhead screens:
Press to select the optional
third row overhead screen.
Once pressed, all remote
control commands will
correspond to SCREEN 2.
8.
o(Previous/Reverse/
Decrease)
. Radio and CD: Press to go
to the previous station or
track.
. Press to go to the
previous menu. .
Press to decrease the
brightness of the RSI
screen.
9.
w(Up Arrow)
. Press to scroll up a list.
10.
r/ENTER
. Press to select the
highlighted choice in
any menu.
. Press and hold for
quick play.
11.
p(Next/Forward/Increase)
. Radio and CD: Press to go
to the next station or track.
. Press to go to the
next menu.
. Press to increase the
brightness of the RSI
screen.
12.
x(Down Arrow)
. Press to go down a list. 13.
0(Back)
. Press to go back to the
previous menu.
. Press and hold to go back
to the now playing screen.
14. MENU .Press to go to the menu of
the now playing screen.
15. RADIO .Press to scroll through the
radio sources including AM,
FM, and SXM (if equipped).
To use the remote control, aim it at
the receiver window at the forward
overhead screen and press firmly.
Direct sunlight or very bright light
could affect the ability of the RSI
receiver to receive signals from the
remote control. Check the batteries
if the remote control does not seem
to be working. See “Battery
Replacement” following. Objects
blocking the line of sight could also
affect the function of the remote
control.
Page 47 of 116

GMC Infotainment System (U.S./Canada 2.6) (GMNA-Localizing-U.S./Canada-
13583174) - 2020 - CRC - 4/15/19
46 Rear Seat Infotainment
If a CD, Blu-ray/DVD, or MP3 disc is
in the CD slot, the remote control
O
power button can be used to turn on
the video screen display and start
the disc. The infotainment system
can also turn on the video screen
display.
Caution
Storing the remote controls in a
hot area or in direct sunlight can
damage them, and the repairs
would not be covered by the
vehicle warranty. Storage in
extreme cold can weaken the
batteries. Keep the remote
controls stored in a cool, dry
place.
Battery Replacement
To change the remote control
batteries: 1. Insert a coin or key to pull up the rear cover on the remote
control. 2. Replace the two AAA batteries
in the compartment.
3. Replace the battery cover.
Remove the batteries from the
remote control if it will not be used
for an extended period of time.
Video Voice Over
If equipped, the RSI system has a
Video Voice Over feature to benefit
the visually and hearing impaired.
When activated, the RSI will read
aloud menu titles, menu listings,
pop-ups, alerts, and file titles from
audio and video media. Titles with
gibberish, special characters,
or foreign text may not be read
aloud.
Use one of the following to turn
Video Voice Over on or off:
. Select Video Voice Over from
the Front Display menu.
. Select Video Voice Over from
the RSI menu.
. Press and hold the remote
control MENU and Play/Pause
for five seconds. Video Voice Over will remain active
over ignition cycles until it is
turned off.
RSI Troubleshooting
No power :
The ignition might not
be in ON/RUN or ACC/
ACCESSORY.
The picture does not fill the
screen. There are black borders
on the top and bottom or on both
sides, or it looks stretched out :
Press MENU on the remote control
to change the display mode setting.
The remote control does not
work : Check to make sure the
remote control is programmed to the
correct screen. Make sure there is
no obstruction between the remote
control and the transmitter window
and check the batteries to make
sure they are not dead or installed
incorrectly.
There is no sound from the
headphones with the indicator
light on : If the batteries are good,
make sure the headphones are