warning GMC YUKON 2020 Workshop Manual
[x] Cancel search | Manufacturer: GMC, Model Year: 2020, Model line: YUKON, Model: GMC YUKON 2020Pages: 434, PDF Size: 6.45 MB
Page 106 of 434

GMC Yukon/Yukon XL/Denali Owner Manual (GMNA-Localizing-U.S./
Canada/Mexico-13566587) - 2020 - CRC - 4/15/19
Seats and Restraints 105
5. To tighten the belt, push downon the child restraint, pull the
shoulder portion of the belt to
tighten the lap portion of the
belt and feed the shoulder belt
back into the retractor. When
installing a forward-facing child
restraint, it may be helpful to
use your knee to push down on
the child restraint as you
tighten the belt.
Try to pull the belt out of the
retractor to make sure the
retractor is locked. If the
retractor is not locked, repeat
Steps 4 and 5. 6. If the child restraint has a top
tether, follow the child restraint
manufacturer ’s instructions
regarding the use of the top
tether. Refer to the instructions
that came with the child
restraint and see Lower
Anchors and Tethers for
Children (LATCH System) 093.
7. Before placing a child in the child restraint, make sure it is
securely held in place. To
check, grasp the child restraint
at the seat belt path and
attempt to move it side to side
and back and forth. When the
child restraint is properly
installed, there should be no
more than 2.5 cm (1 in) of
movement.
To remove the child restraint,
unbuckle the vehicle seat belt and
let it return to the stowed position.
If the top tether is attached to a top
tether anchor, disconnect it.
If the head restraint was removed
for a third row outboard seating
position, reinstall it before the
seating position is used. See “HeadRestraint Removal and
Reinstallation”
underLower Anchors
and Tethers for Children (LATCH
System) 093 for additional
information on reinstalling the head
restraint properly.
Securing Child Restraints
(With the Seat Belt in the
Center Front Seat)
{Warning
A child in a child restraint in the
center front seat can be badly
injured or killed by the frontal
airbags if they inflate. Never
secure a child restraint in the
center front seat. It is always
better to secure a child restraint in
a rear seat.
Do not use child restraints in the
center front seat position.
Page 107 of 434
GMC Yukon/Yukon XL/Denali Owner Manual (GMNA-Localizing-U.S./
Canada/Mexico-13566587) - 2020 - CRC - 4/15/19
106 Seats and Restraints
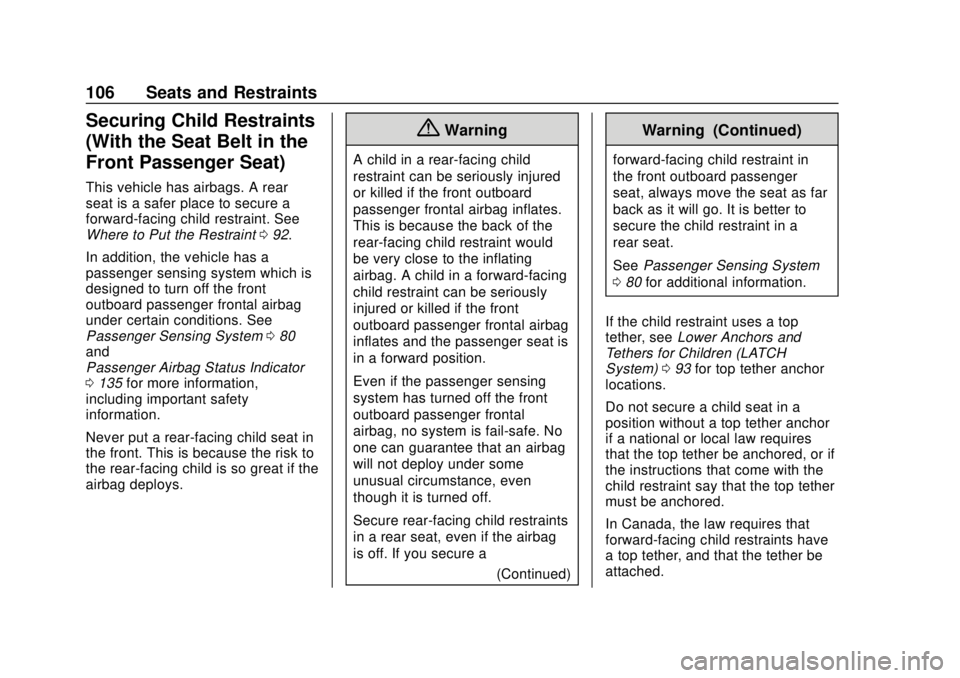
Securing Child Restraints
(With the Seat Belt in the
Front Passenger Seat)
This vehicle has airbags. A rear
seat is a safer place to secure a
forward-facing child restraint. See
Where to Put the Restraint092.
In addition, the vehicle has a
passenger sensing system which is
designed to turn off the front
outboard passenger frontal airbag
under certain conditions. See
Passenger Sensing System 080
and
Passenger Airbag Status Indicator
0 135 for more information,
including important safety
information.
Never put a rear-facing child seat in
the front. This is because the risk to
the rear-facing child is so great if the
airbag deploys.
{Warning
A child in a rear-facing child
restraint can be seriously injured
or killed if the front outboard
passenger frontal airbag inflates.
This is because the back of the
rear-facing child restraint would
be very close to the inflating
airbag. A child in a forward-facing
child restraint can be seriously
injured or killed if the front
outboard passenger frontal airbag
inflates and the passenger seat is
in a forward position.
Even if the passenger sensing
system has turned off the front
outboard passenger frontal
airbag, no system is fail-safe. No
one can guarantee that an airbag
will not deploy under some
unusual circumstance, even
though it is turned off.
Secure rear-facing child restraints
in a rear seat, even if the airbag
is off. If you secure a
(Continued)
Warning (Continued)
forward-facing child restraint in
the front outboard passenger
seat, always move the seat as far
back as it will go. It is better to
secure the child restraint in a
rear seat.
SeePassenger Sensing System
0 80 for additional information.
If the child restraint uses a top
tether, see Lower Anchors and
Tethers for Children (LATCH
System) 093 for top tether anchor
locations.
Do not secure a child seat in a
position without a top tether anchor
if a national or local law requires
that the top tether be anchored, or if
the instructions that come with the
child restraint say that the top tether
must be anchored.
In Canada, the law requires that
forward-facing child restraints have
a top tether, and that the tether be
attached.
Page 110 of 434

GMC Yukon/Yukon XL/Denali Owner Manual (GMNA-Localizing-U.S./
Canada/Mexico-13566587) - 2020 - CRC - 4/15/19
Storage 109
Storage
Storage Compartments
Storage Compartments . . . . . . . 109
Glove Box . . . . . . . . . . . . . . . . . . . . 109
Cupholders . . . . . . . . . . . . . . . . . . . 109
Sunglasses Storage . . . . . . . . . . 110
Armrest Storage . . . . . . . . . . . . . . 110
Rear Storage . . . . . . . . . . . . . . . . . 110
Center Console Storage . . . . . . 110
Floor Console Storage . . . . . . . . 111
Additional Storage Features
Cargo Tie-Downs . . . . . . . . . . . . . 112
Convenience Net . . . . . . . . . . . . . 112
Roof Rack System
Roof Rack System . . . . . . . . . . . . 112
Storage
Compartments
{Warning
Do not store heavy or sharp
objects in storage compartments.
In a crash, these objects may
cause the cover to open and
could result in injury.
Glove Box
Lift up the glove box handle to open
it. Use the key to lock and unlock
the glove box.
Cupholders
The cupholders are in front of the
center console storage area.
Press the button to open the door,
if equipped.
If the cupholder door is closed, it will
lock if the vehicle is in a crash. See
your dealer to have the door
unlocked.
If equipped, cupholders are in the
second and third row seat armrests.
Page 113 of 434

GMC Yukon/Yukon XL/Denali Owner Manual (GMNA-Localizing-U.S./
Canada/Mexico-13566587) - 2020 - CRC - 4/15/19
112 Storage
Additional Storage
Features
Cargo Tie-Downs
There are two cargo tie-downs in
the rear cargo area. These can be
used to strap cargo down and keep
it from moving inside the vehicle.
Convenience Net
Use the convenience net, located in
the rear, to store small loads as far
forward as possible. The net should
not be used to store heavy loads.
Roof Rack System
{Warning
If something is carried on top of
the vehicle that is longer or wider
than the roof rack—like paneling,
plywood, or a mattress —the
wind can catch it while the vehicle
is being driven. The item being
carried could be violently torn off,
and this could cause a collision
and damage the vehicle. Never
carry something longer or wider
than the roof rack on top of the
vehicle unless using a GM
certified accessory carrier.
If equipped, the roof rack can be
used to load items. For roof racks
that do not have crossrails included,
GM Certified crossrails can be
purchased as an accessory. See
your dealer for additional
information.
Caution
Loading cargo on the roof rack
that weighs more than 100 kg
(220 lb) or hangs over the rear or
sides of the vehicle may damage
the vehicle. Do not load cargo
exceeding 100 kg (220 lbs) and
always load cargo so that it rests
evenly between the crossrails and
does not block the vehicle lamps
or windows. Fasten the cargo
securely.
To prevent damage or loss of cargo
when driving, check to make sure
crossrails and cargo are securely
fastened. Loading cargo on the roof
rack will make the vehicle’ s center
of gravity higher. Avoid high speeds,
sudden starts, sharp turns, sudden
braking, or abrupt maneuvers,
otherwise it may result in loss of
control. If driving for a long distance,
on rough roads, or at high speeds,
occasionally stop the vehicle to
make sure the cargo remains in its
place.
Page 115 of 434
GMC Yukon/Yukon XL/Denali Owner Manual (GMNA-Localizing-U.S./
Canada/Mexico-13566587) - 2020 - CRC - 4/15/19
114 Instruments and Controls
Instruments and
Controls
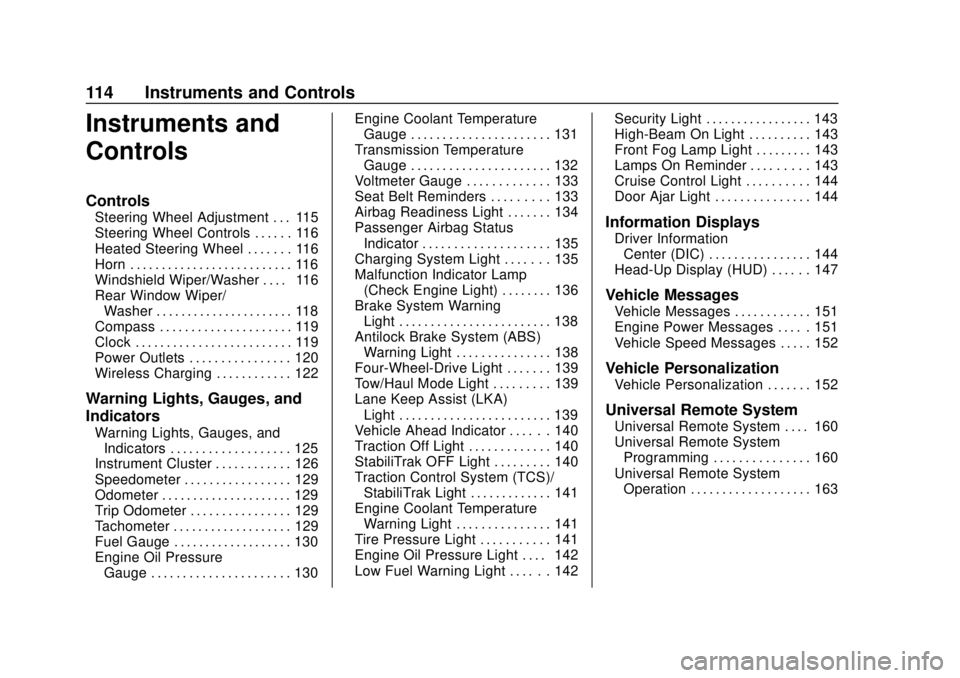
Controls
Steering Wheel Adjustment . . . 115
Steering Wheel Controls . . . . . . 116
Heated Steering Wheel . . . . . . . 116
Horn . . . . . . . . . . . . . . . . . . . . . . . . . . 116
Windshield Wiper/Washer . . . . 116
Rear Window Wiper/Washer . . . . . . . . . . . . . . . . . . . . . . 118
Compass . . . . . . . . . . . . . . . . . . . . . 119
Clock . . . . . . . . . . . . . . . . . . . . . . . . . 119
Power Outlets . . . . . . . . . . . . . . . . 120
Wireless Charging . . . . . . . . . . . . 122
Warning Lights, Gauges, and
Indicators
Warning Lights, Gauges, and Indicators . . . . . . . . . . . . . . . . . . . 125
Instrument Cluster . . . . . . . . . . . . 126
Speedometer . . . . . . . . . . . . . . . . . 129
Odometer . . . . . . . . . . . . . . . . . . . . . 129
Trip Odometer . . . . . . . . . . . . . . . . 129
Tachometer . . . . . . . . . . . . . . . . . . . 129
Fuel Gauge . . . . . . . . . . . . . . . . . . . 130
Engine Oil Pressure
Gauge . . . . . . . . . . . . . . . . . . . . . . 130 Engine Coolant Temperature
Gauge . . . . . . . . . . . . . . . . . . . . . . 131
Transmission Temperature Gauge . . . . . . . . . . . . . . . . . . . . . . 132
Voltmeter Gauge . . . . . . . . . . . . . 133
Seat Belt Reminders . . . . . . . . . 133
Airbag Readiness Light . . . . . . . 134
Passenger Airbag Status
Indicator . . . . . . . . . . . . . . . . . . . . 135
Charging System Light . . . . . . . 135
Malfunction Indicator Lamp (Check Engine Light) . . . . . . . . 136
Brake System Warning Light . . . . . . . . . . . . . . . . . . . . . . . . 138
Antilock Brake System (ABS) Warning Light . . . . . . . . . . . . . . . 138
Four-Wheel-Drive Light . . . . . . . 139
Tow/Haul Mode Light . . . . . . . . . 139
Lane Keep Assist (LKA) Light . . . . . . . . . . . . . . . . . . . . . . . . 139
Vehicle Ahead Indicator . . . . . . 140
Traction Off Light . . . . . . . . . . . . . 140
StabiliTrak OFF Light . . . . . . . . . 140
Traction Control System (TCS)/ StabiliTrak Light . . . . . . . . . . . . . 141
Engine Coolant Temperature Warning Light . . . . . . . . . . . . . . . 141
Tire Pressure Light . . . . . . . . . . . 141
Engine Oil Pressure Light . . . . 142
Low Fuel Warning Light . . . . . . 142 Security Light . . . . . . . . . . . . . . . . . 143
High-Beam On Light . . . . . . . . . . 143
Front Fog Lamp Light . . . . . . . . . 143
Lamps On Reminder . . . . . . . . . 143
Cruise Control Light . . . . . . . . . . 144
Door Ajar Light . . . . . . . . . . . . . . . 144
Information Displays
Driver Information
Center (DIC) . . . . . . . . . . . . . . . . 144
Head-Up Display (HUD) . . . . . . 147
Vehicle Messages
Vehicle Messages . . . . . . . . . . . . 151
Engine Power Messages . . . . . 151
Vehicle Speed Messages . . . . . 152
Vehicle Personalization
Vehicle Personalization . . . . . . . 152
Universal Remote System
Universal Remote System . . . . 160
Universal Remote System Programming . . . . . . . . . . . . . . . 160
Universal Remote System Operation . . . . . . . . . . . . . . . . . . . 163
Page 117 of 434
GMC Yukon/Yukon XL/Denali Owner Manual (GMNA-Localizing-U.S./
Canada/Mexico-13566587) - 2020 - CRC - 4/15/19
116 Instruments and Controls
Steering Wheel Controls
The infotainment system can be
operated by using the steering
wheel controls. See“Steering Wheel
Controls” in the infotainment
manual.
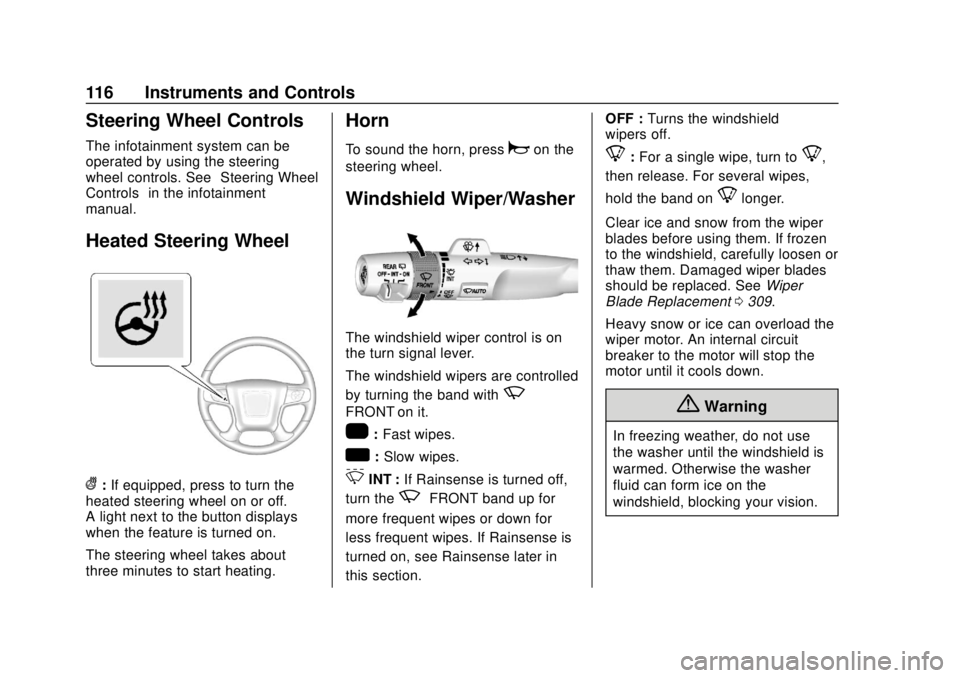
Heated Steering Wheel
(: If equipped, press to turn the
heated steering wheel on or off.
A light next to the button displays
when the feature is turned on.
The steering wheel takes about
three minutes to start heating.
Horn
To sound the horn, pressaon the
steering wheel.
Windshield Wiper/Washer
The windshield wiper control is on
the turn signal lever.
The windshield wipers are controlled
by turning the band with
z
FRONT on it.
1: Fast wipes.
w:Slow wipes.
3INT : If Rainsense is turned off,
turn the
zFRONT band up for
more frequent wipes or down for
less frequent wipes. If Rainsense is
turned on, see Rainsense later in
this section. OFF :
Turns the windshield
wipers off.
8: For a single wipe, turn to8,
then release. For several wipes,
hold the band on
8longer.
Clear ice and snow from the wiper
blades before using them. If frozen
to the windshield, carefully loosen or
thaw them. Damaged wiper blades
should be replaced. See Wiper
Blade Replacement 0309.
Heavy snow or ice can overload the
wiper motor. An internal circuit
breaker to the motor will stop the
motor until it cools down.
{Warning
In freezing weather, do not use
the washer until the windshield is
warmed. Otherwise the washer
fluid can form ice on the
windshield, blocking your vision.
Page 118 of 434
GMC Yukon/Yukon XL/Denali Owner Manual (GMNA-Localizing-U.S./
Canada/Mexico-13566587) - 2020 - CRC - 4/15/19
Instruments and Controls 117
{Warning
Before driving the vehicle, always
clear snow and ice from the hood,
windshield, roof, and rear of the
vehicle, including all lamps and
windows. Reduced visibility from
snow and ice buildup could lead
to a crash.
Wiper Parking
If the ignition is turned off while the
wipers are on
w,1, or3INT,
they will immediately stop.
If
zFRONT is then moved to
OFF before the driver door is
opened or within 10 minutes, the
wipers will restart and move to the
base of the windshield.
If the ignition is turned off while the
wipers are performing wipes due to
windshield washing or Rainsense,
the wipers continue to run until they
reach the base of the windshield.
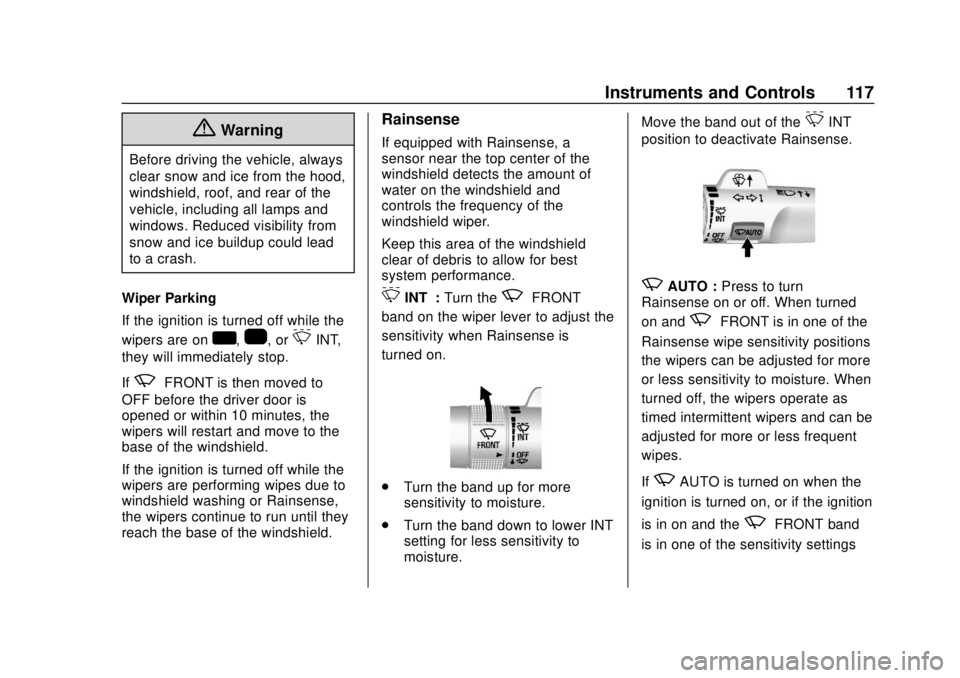
Rainsense
If equipped with Rainsense, a
sensor near the top center of the
windshield detects the amount of
water on the windshield and
controls the frequency of the
windshield wiper.
Keep this area of the windshield
clear of debris to allow for best
system performance.
3INT : Turn thezFRONT
band on the wiper lever to adjust the
sensitivity when Rainsense is
turned on.
. Turn the band up for more
sensitivity to moisture.
. Turn the band down to lower INT
setting for less sensitivity to
moisture. Move the band out of the
3INT
position to deactivate Rainsense.
zAUTO : Press to turn
Rainsense on or off. When turned
on and
zFRONT is in one of the
Rainsense wipe sensitivity positions
the wipers can be adjusted for more
or less sensitivity to moisture. When
turned off, the wipers operate as
timed intermittent wipers and can be
adjusted for more or less frequent
wipes.
If
zAUTO is turned on when the
ignition is turned on, or if the ignition
is in on and the
zFRONT band
is in one of the sensitivity settings
Page 122 of 434

GMC Yukon/Yukon XL/Denali Owner Manual (GMNA-Localizing-U.S./
Canada/Mexico-13566587) - 2020 - CRC - 4/15/19
Instruments and Controls 121
.One in the storage area on the
bench seat
. One on the rear of the center
armrest storage
. One in the third row seat area on
the driver side
. One in the rear cargo area on
the passenger side
Lift the cover to access and replace
when not in use.
The accessory power outlets are
powered as follows:
. The power outlet near the
cupholders for vehicles with a
center console or on the center
stack for vehicles with bench
seats, can be configured to
operate using Retained
Accessory Power (RAP) or
battery power modes. If these
power outlets are used while in
the battery power mode, this
could cause interference
between the Remote Keyless
Entry (RKE) transmitter and the
vehicle, and the vehicle may not start. See
Ignition Positions
(Keyless Access) 0202 or
Ignition Positions (Key Access)
0 204.
. The power outlets in the third
row seat area or in the rear
cargo area are powered at all
times. The power outlets inside
the storage area, on the rear of
the console, or on the bench
seat are only powered when the
ignition is on or in ACC/
ACCESSORY, or when RAP is
active.
{Warning
Power is always supplied to the
outlet, if configured accordingly.
Do not leave electrical equipment
plugged in when the vehicle is not
in use because the vehicle could
catch fire and cause injury or
death.
Caution
Leaving electrical equipment
plugged in for an extended period
of time while the ignition is off will
drain the battery. Always unplug
electrical equipment when not in
use and do not plug in equipment
that exceeds the maximum
15 amp rating.
Certain power accessory plugs may
not be compatible with the
accessory power outlet and could
overload vehicle or adapter fuses.
If a problem is experienced, see
your dealer.
When adding electrical equipment,
be sure to follow the proper
installation instructions included with
the equipment. See Add-On
Electrical Equipment 0280.
Page 123 of 434
GMC Yukon/Yukon XL/Denali Owner Manual (GMNA-Localizing-U.S./
Canada/Mexico-13566587) - 2020 - CRC - 4/15/19
122 Instruments and Controls
Caution
Hanging heavy equipment from
the power outlet can cause
damage not covered by the
vehicle warranty. The power
outlets are designed for
accessory power plugs only, such
as cell phone charge cords.
Power Outlet 110/120-Volt
Alternating Current
If equipped with this power outlet, it
can be used to plug in electrical
equipment that uses a maximum
limit of 150 watts.
For vehicles with a center console,
the 110/120-volt power outlet is on
the rear of the center console.
For vehicles with bench seats, the
110/120-volt power outlet is on the
center stack below the climate
controls.
An indicator light on the outlet turns
on to show it is in use. The light
comes on when the ignition is on,equipment requiring less than 150
watts is plugged into the outlet, and
no system fault is detected.
The indicator light does not come on
when the ignition is off or if the
equipment is not fully seated into
the outlet.
If equipment is connected using
more than 150 watts or a system
fault is detected, a protection circuit
shuts off the power supply and the
indicator light turns off. To reset the
circuit, unplug the item and plug it
back in or turn the ignition off and
then back to on. The power restarts
when equipment using 150 watts or
less is plugged into the outlet and a
system fault is not detected.
The power outlet is not designed for
the following, and may not work
properly if they are plugged in:
.
Equipment with high initial peak
wattage, such as
compressor-driven refrigerators
and electric power tools
. Other equipment requiring an
extremely stable power supply,
such as microcomputer-controlled
electric blankets and touch
sensor lamps
. Medical equipment
Wireless Charging
The vehicle may have wireless
charging on top of the center
console. See Center Console
Storage 0110. The system operates
at 145 kHz and wirelessly charges
one Qi compatible smartphone. The
power output of the system is
capable of charging at a rate up to
1 amp (5W), as requested by the
compatible smartphone. See Radio
Frequency Statement 0405.
{Warning
Wireless charging can affect the
operation of an implanted
pacemaker or other medical
devices. If you have one, it is
recommended to consult with
your doctor before using the
wireless charging system.
Page 124 of 434
GMC Yukon/Yukon XL/Denali Owner Manual (GMNA-Localizing-U.S./
Canada/Mexico-13566587) - 2020 - CRC - 4/15/19
Instruments and Controls 123
The vehicle must be on, in ACC/
ACCESSORY, or Retained
Accessory Power (RAP) must be
active. The wireless charging
feature may not correctly indicate
charging when the vehicle is in RAP.
SeeRetained Accessory Power
(RAP) 0209.
The operating temperature is −20 °C
(−4 °F) to 60 °C (140 °F) for the
charging system and 0 °C (32 °F) to
35 °C (95 °F) for the smartphone.
{Warning
Remove all objects from the
charging pad before charging
your compatible smartphone.
Objects, such as coins, keys,
rings, paper clips, or cards,
between the smartphone and
charging pad will become very
hot. On the rare occasion that the
charging system does not detect
an object, and the object gets
wedged between the smartphone
and charger, remove the
(Continued)
Warning (Continued)
smartphone and allow the object
to cool before removing it from
the charging pad, to prevent
burns.
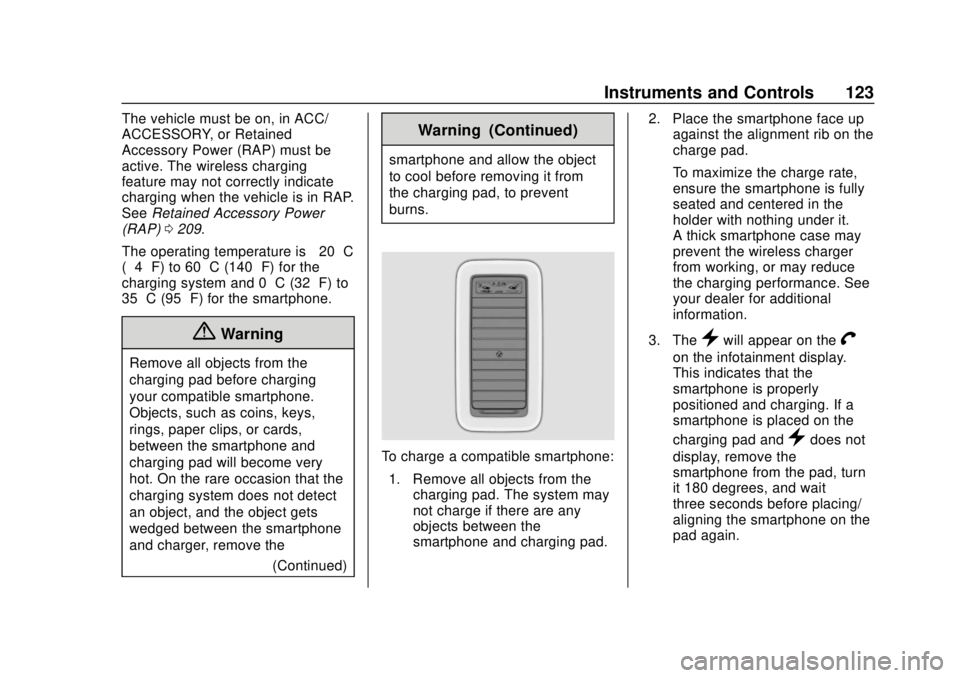
To charge a compatible smartphone:
1. Remove all objects from the charging pad. The system may
not charge if there are any
objects between the
smartphone and charging pad. 2. Place the smartphone face up
against the alignment rib on the
charge pad.
To maximize the charge rate,
ensure the smartphone is fully
seated and centered in the
holder with nothing under it.
A thick smartphone case may
prevent the wireless charger
from working, or may reduce
the charging performance. See
your dealer for additional
information.
3. The
}will appear on theV
on the infotainment display.
This indicates that the
smartphone is properly
positioned and charging. If a
smartphone is placed on the
charging pad and
}does not
display, remove the
smartphone from the pad, turn
it 180 degrees, and wait
three seconds before placing/
aligning the smartphone on the
pad again.