automatic transmission GMC YUKON DENALI 2003 Owners Manual
[x] Cancel search | Manufacturer: GMC, Model Year: 2003, Model line: YUKON DENALI, Model: GMC YUKON DENALI 2003Pages: 447, PDF Size: 21.97 MB
Page 96 of 447
Section 2 Features and Controls
Keys ............................................................... 2.3
Remote Keyless Entry System
......................... 2.4
Remote Keyless Entry System Operation
........... 2.5
Doors and Locks ............................................. 2.8
Door Locks
................................................. 2.8
Power Door Locks
.......... .... ............. 2.9
Delayed Locking
............................................. 2.9
Programmable Automatic
Door Locks
............................................... 2.10
Rear Door Security Locks
.............................. 2.12
Lockout Protection
........................................ 2.13
LiftgateILiftglass
..................................... 2.13
Windows ........................................................ 2.14
Power Windows
............................................ 2.15
Sun Visors
................................................... 2.15
Theft-Deterrent Systems .................................. 2.16
Content Theft-Deterrent
................................. 2.16
Passlock@
.................................................... 2.17
Starting and Operating Your Vehicle ................ 2.18
New Vehicle Break-In
.................................... 2-18
Starting Your Engine
..................................... 2.19
Engine Coolant Heater
.................................. 2.21
Automatic Transmission Operation
................... 2.22
Shifting Into Park (P)
................. , ........ 2.26
Shifting Out of Park (P)
..................... , ........ 2-28
Parking Over Things That Burn
....................... 2-29
Engine Exhaust
............................................ 2.29
Running Your Engine While You Are Parked
.... 2-30
Ignition Positions
.......................................... 2.18
Adjustable Throttle and Brake Pedal
............... -2-20
Parking Brake
.............................. ..... 2.25
2-
1
Page 105 of 447
Programmable Automatic
Door Locks
Your vehicle is equipped with an automatic locklunlock
feature which enables you
to program your vehicle’s
power door locks. You can program this feature through
the Driver Information Center (DIC), or by the following
method.
Programmable Locking Feature
The following is the list of available programming
options:
Mode 1: All doors lock when the transmission is shifted
into gear.
Mode 2: All doors lock when the vehicle speed is
greater than 8 mph (13 km/h).
Mode 3: No automatic door locking.
The automatic door locks were pre-programmed at the
factory to lock all the doors when the transmission
is shifted into gear. The following instructions detail how
to program your door locks differently than the factory
setting. Choose one of the three programming
options listed above before entering the program mode.
To enter the program mode, do the following:
2.
3.
Turn the key to RUN and LOCK twice. Then, with
the key in
LOCK, release the turn
signaVmultifunction lever. Once you do this, you will
hear the lock switch lock and unlock, the horn
will chirp twice, and a
30 second program timer will
begin. You are now ready to program the
automatic door locks.
Select one of the three programming options listed
previously, and press the lock side
of the power door
lock switch
to cycle through the lock options. You will
have
30 seconds to begin programming. If you
exceed the
30 second limit, the locks will
automatically lock and unlock and the horn will chirp
twice to indicate that you have left the program
mode.
If this occurs, repeat the procedure beginning
with Step
1 to re-enter the programming mode.
You can exit the program mode any time by turning the
ignition to
RUN (the locks will automatically lock and
unlock and the horn will chirp twice
to indicate that you
are leaving the program mode). If the locklunlock
switches are not pressed while in the programming
mode, the current auto IocWunlock setting will not
be modified.
See your dealer for more information.
I. Begin with the ignition off. Then pull the turn
signal/multifunction lever toward you and hold
it there while you perform the next step.
2-1 0
Page 106 of 447
Programmable Unlocking Feature
The following is the list of available programming
options:
Mode 1: Driver’s door unlocks when the transmission is
shifted into PARK
(P).
Mode 2: All doors unlock when the transmission is
shifted into PARK (P).
Mode 3: All doors unlock when the key is removed
from the ignition.
Mode 4: No automatic door unlock.
The automatic door locks were pre-programmed at the
factory
to unlock the driver’s door once the transmission
is shifted
to PARK (P). The following instructions detail
how
to program your door locks differently than the
factory setting. Choose one of the four programming
options listed above before entering the program mode.
To enter the program mode, do the following:
1. Begin with the ignition off. Then pull the turn
signaVmultifunction lever toward you and hold
it there while you perform the next step.
2.
3.
Turn the key to RUN and LOCK twice. Then, with the
key in LOCK, release the turn signaVmultifunction
lever. Once you do this, you will hear the lock switch
lock and unlock, the horn will chirp twice, and a
30-second
program iir-ner wiii begin.
You are now ready
to program the automatic door
locks. Select one of the four programming options
listed previously, and press the unlock side
of
the power door lock switch to cycle through the
unlocking options. You
will have 30 seconds
to begin programming. If you exceed the 30-secona
limit, the locks will automatically lock and unlock
and the horn will chirp twice
to indicate that
you have left the program mode.
If this occurs,
repeat the procedure beginning with Step
1
to re-enter the programming mode.
You can exit the program mode any time by turning the
ignition to
RUN. The locks will automatically lock and
unlock and the horn will chirp twice
to indicate that you
are leaving the program mode. If the IocWunlock
switches are not pressed while in the programming
mode, the current auto IocWunlock setting
will not be
modified.
See your dealer for more information.
2-1 1
Page 117 of 447
Automatic Transmission Operation
Your vehicle is equipped with an automatic transmission
and features an electronic shift position indicator
located within the instrument panel cluster.
There are several different positions for your shift lever.
PARK
(P): This position locks your drive wheels. It’s
the best position to use when you start your engine
because your -1icle
c ’t move easily.
It is aangerous to get out of your venlcle il
shift lever is not fully in PARK (P) with the
parking brake firmly set. Your vehicle can roll.
Don’t leave your vehicle when the engine is
running unless you have to.
If you have left the
engine running, the vehicle can move
suddenly. You or others could be injured.
CAUTION: (Continued)
o be sure your vehicle won’t move, even
when you’re on fairly level ground, always set
your parking brake and move the shift lever to PARK (P). See “Shifting Into Park (P)” in the
Index.
If you’re pulling a trailer, see “Towing a
Trailer” in the Index.
REVERSE (R): Use this gear to back up.
Notices Shifting to REVERSE (R) while your vehicle
is moving forward could damage your transmission.
Shift to REVERSE
(R) only after your vehicle is
stopped.
To rock your vehicle back and forth to get out of snow,
ice or sand without damaging your transmission,
see If
You Are Stuck: In Sand, Mud, Ice or Snow on
page 4-4 1.
NEUTRAL (N): In this position, your engine doesn’t
connect with the wheels. To restart when you’re already
moving, use NEUTRAL
(N) only.
2-22
Page 123 of 447
Torque Lock
If you are parking on a hill and you don’t shift your
vehicle into PARK (P) properly, the weight of the vehicle
may put
too much force on the parking pawl in the
transmission. You may find it difficult
to pull the shift
lever
out of PARK (P). This is called torque lock.
To prevent torque lock, set the parking brake and then
shift into PARK (P) properly before you leave the
driver’s seat. To find
out how, see Shifting lnto Park (P)
on page 2-26.
When you are ready to drive, move the shift lever out of
PARK (P) before you release the parking brake.
If torque lock does occur, you may need
to have another
vehicle push yours a little uphill
to take some of the
pressure from the parking pawl in the transmission,
so
you can pull the shift lever out of PARK (P).
Shifting Out of Park (P)
Your vehicle has an automatic transmission shift lock
control system. You have
to fully apply your regular
brakes before you can shift from PARK (P) when the
ignition is in RUN. See Automatic Transmission
Operation
on page 2-22.
If you cannot shift out of PARK (P), ease pressure on
the shift lever and push the shift lever all the way up into
PARK (P) as you maintain brake application. Then,
move the shift lever into the gear you want.
If you ever hold the brake pedal down but still can’t shift
out of PARK (P), try this:
1. Turn the key to LOCK.
2. Apply and hold the brake until the end of Step 4.
3. Shift the vehicle to NEUTRAL (N).
4. Start the vehicle and then shift to the drive gear
you want.
5. Have the system fixed as soon as you can.
2-28
Page 158 of 447
The DRL system will come on when the following
conditions are met:
0 The ignition is on,
the exterior lamps control is in AUTO,
the transmission is not in PARK (P), and
0 the light sensor determines it is daytime.
When the DRL are on, only your DRL lamps will be on
The taillamps, sidemarker and other lamps won’t be
on. The instrument panel won’t be
lit up either.
When it begins
to get dark, the automatic headlamp
system will switch from DRL
to the headlamps.
As with any vehicle, you should turn on the regular
headlamp system when you need it.
Puddle Lamps
Your vehicle is equipped with puddle lamps to help you
see the area near the base of the front doors when
it
is dark out. The puddle lamps will illuminate when a door
is opened or when you press the unlock button on the
keyless entry transmitter. The lamps will time out or turn
off once the engine is started.
Fog Lamps
Use the fog lamps for better vision in foggy or misty
conditions. Your parking lamps and/or low-beam
headlamps must be on for your fog lamps
to work.
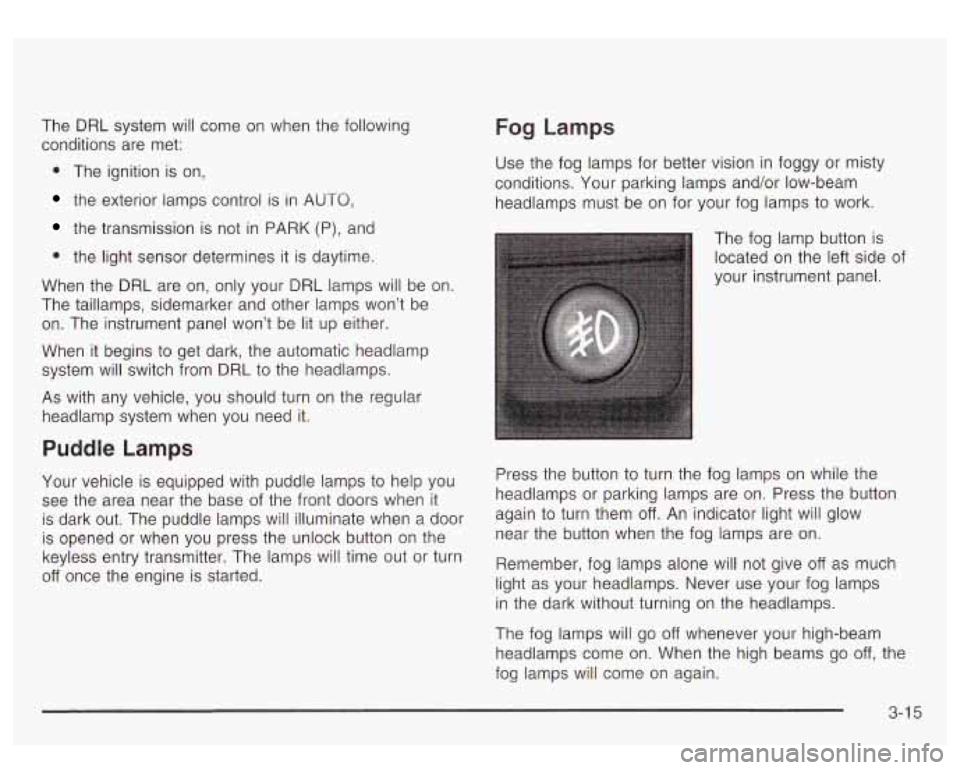
The fog lamp button
is
located on the left side of
your instrument panel.
Press the button
to turn the fog lamps on while the
headlamps or parking lamps are on. Press the button
again to turn them
off. An indicator light will glow
near the button when the fog lamps are on.
Remember, fog lamps alone will not give
off as much
light as your headlamps. Never use your fog lamps
in the dark without turning on the headlamps.
The fog lamps will go
off whenever your high-beam
headlamps come on. When the high beams go
off, the
fog lamps will come on again.
3-1 5
Page 244 of 447
The traction control system may activate on dry or
rough roads or under conditions such as heavy
acceleration while turning or abrupt upshifts/downshifts
of the transmission. When this happens you may
notice a reduction in acceleration, or may hear
a noise
or vibration. This is normal.
If your vehicle is in cruise control when the system
activates, the STABILITY SYS ACTIVE message will
appear on the Driver Information Center and the cruise
control will automatically disengage. When road
conditions allow you
to use cruise again, you may
re-engage the cruise control. See “Cruise Control” under
Turn SignaVMultifunction
Lever on page 3-7
Stabilitrak@may also turn off automatically if it
determines that a problem exists with the system. If the
problem does not clear itself after restarting the
vehicle, you should see your dealer for service.
Power Steering
If you lose power steering assist because the engine
stops or the system is not functioning, you can steer but
it will take much more effort.
Steering Tips
Driving on Curves
It’s important to take curves at a reasonable speed.
A
lot of the “driver lost control” accidents mentioned on
the news happen on curves. Here’s why:
Experienced driver or beginner, each of us is subject to
the same laws of physics when driving on curves.
The traction of the tires against the road surface makes
it possible for the vehicle
to change its path when
you turn the front wheels. If there’s no traction, inertia
will keep the vehicle going in the same direction.
If
you’ve ever tried to steer a vehicle on wet ice, you’ll
understand this.
The traction you can get
in a curve depends on the
condition of your tires and the road surface, the angle at
which the curve is banked, and your speed. While you’re
in a curve, speed is the one factor you can control.
Suppose you’re steering through a sharp curve. Then you
suddenly accelerate. Both control systems
- steering
and acceleration
- have to do their work where the tires
meet the road. Adding the sudden acceleration can
demand too much of those places. You can lose control.
What should you do
if this ever happens? Ease up on
the accelerator pedal, steer the vehicle the way
you want
it to go, and slow down.
4-1 1
Page 282 of 447
Tow/Haul Mode
The tow/haul feature assists when pulling a heavy trailer
or a large or heavy load. The purpose
of the tow/haul
mode
is to:
Reduce the frequency and improve the predictability
of transmission shifts when pulling a heavy trailer or
a large or heavy load.
Provide the same solid shift feel when pulling a
heavy trailer or a large or heavy load as when
the vehicle is unloaded.
Improve control of vehicle speed while requiring
less throttle pedal activity when pulling a heavy
trailer or a large or heavy load.
Your vehicle is provided with a button at the end of the
shift lever which when pressed enables tow/haul.
When the button is pressed, a light on the instrument
panel will illuminate
to indicate that tow/haul has
been selected. Tow/haul may be turned
off by pressing
the button again, at which time the indicator light on
the instrument panel will turn off. The vehicle will
automatically turn off tow/haul every time it is started. Tow/haul
is designed
to be most effective when the
vehicle and trailer combined weight is at least
75 percent
of the vehicle’s Gross Combination Weight Rating
(GCWR). See Weight
of the Trailer later in this section.
Tovdhaul is mcst useful wder the f~l!~~ing driving
conditions:
When pulling a heavy trailer or a large or heavy
0 When pulling a heavy trailer or a large or heavy
load through rolling terrain.
load
in stop and go traffic.
When pulling a heavy trailer or a large or heavy
load in busy parking
lots where improved low
speed control of the vehicle is desired.
Operating the vehicle in tow/haul when lightly loaded or
with no trailer at all will not cause damage. However,
there is no benefit
to the selection of tow/haul when the
vehicle is unloaded. Such a selection when unloaded may result in unpleasant engine and transmission driving
characteristics and reduced fuel economy. Tow/haul
is recommended only when pulling a heavy trailer or a
large or heavy load.
4-49
Page 287 of 447
Backing Up
Hold the bottom of the steering wheel with one hand.
Then,
to move the trailer to the left, just move that hand
to the left. To move the trailer to the right, move your
hand
to the right. Always back up slowly and, if possible,
have someone guide you.
Making Turns
Notice: Making very sharp turns while trailering
could
cause the trailer to come in contact with the
vehicle. Your vehicle could
be damaged. Avoid
making very sharp turns while trailering.
When you’re turning with a trailer, make wider turns
than normal.
Do this so your trailer won’t strike
soft shoulders, curbs, road signs, trees or other objects.
Avoid jerky or sudden maneuvers. Signal well in
advance.
Turn Signals When Towing a Trailer
The arrows on your instrument panel will flash whenever
you signal a turn or lane change. Properly hooked up,
the trailer lamps will also flash, telling other drivers
you’re about
to turn, change lanes or stop.
When towing a trailer, the arrows on your instrument panel will flash for turns even
if the bulbs on the trailer
are burned out. Thus, you may think drivers behind
4-54
you are seeing your signal when they are not. It’s
important to check occasionally to be sure the trailer
bulbs are still working.
Driving On Grades
Reduce speed and shift to a lower gear before you start
down a long or steep downgrade.
If you don’t shift
down, you might have to use your brakes
so much that
they would get hot and no longer work well.
You can tow in
DRIVE (D). You may want to shift the
transmission
to THIRD (3) or, if necessary, a lower gear
selection
if the transmission shifts too often
(e.g., under heavy loads and/or hilly conditions).
You may also want
to activate the tow/haul mode if the
transmission shifts
too often. See “Tow/Haul Mode”
under Towing a Trailer
on page 4-47.
When towing at high altitude on steep uphill grades,
consider the following: Engine coolant will boil at a lower
temperature than at normal altitudes.
If you turn your
engine
off immediately after towing at high altitude
on steep uphill grades, your vehicle may show signs
similar
to engine overheating. To avoid this, let the
engine run while parked (preferably on level ground)
with the automatic transmission in PARK (P) for a
few minutes before turning the engine
off. If you do get
the overheat warning, see Engine Overheating
on
page 5-25.
Page 288 of 447
Parking on Hills
You really should not park your vehicle, with a
trailer attached, on a hill.
If something goes
wrong, your rig could start to move. People
can be injured, and both your vehicle and the
trailer can be damaged.
But if you ever have to park your rig on a hill, here’s
how to do it:
1. Apply your regular brakes, but don’t shift into
2. Have someone place chocks under the trailer
3. When the wheel chocks are in place, release the
PARK
(P) yet.
wheels.
regular brakes until the chocks absorb the load.
4. Reapply the regular brakes. Then apply your
5. Release the regular brakes.
parking brake
and shift into PARK
(P).
When You Are Ready to Leave After
Parking on a Hill
1. Apply your regular brakes and hold the pedal down
while you:
start your engine,
shift into a gear, and
release the parking brake.
2. Let up on the brake pedal.
3. Drive slowly until the trailer is clear of the chocks.
4. Stop and have someone pick up and store the
chocks.
Maintenance When Trailer Towing
Your vehicle will need service more often when you’re
pulling a trailer. See the Maintenance Schedule for more
on this. Things that are especially important in trailer
operation are automatic transmission fluid (don’t overfill),
engine
oil, axle lubricant, belts, cooling system and
brake system. Each
of these is covered in this manual,
and the Index will help you find them quickly. If
you’re trailering, it’s a good idea to review these sections
before you start your trip.
Check periodically to see that all hitch nuts and bolts
are tight.
4-55