fuse GMC YUKON DENALI 2003 Owners Manual
[x] Cancel search | Manufacturer: GMC, Model Year: 2003, Model line: YUKON DENALI, Model: GMC YUKON DENALI 2003Pages: 447, PDF Size: 21.97 MB
Page 6 of 447
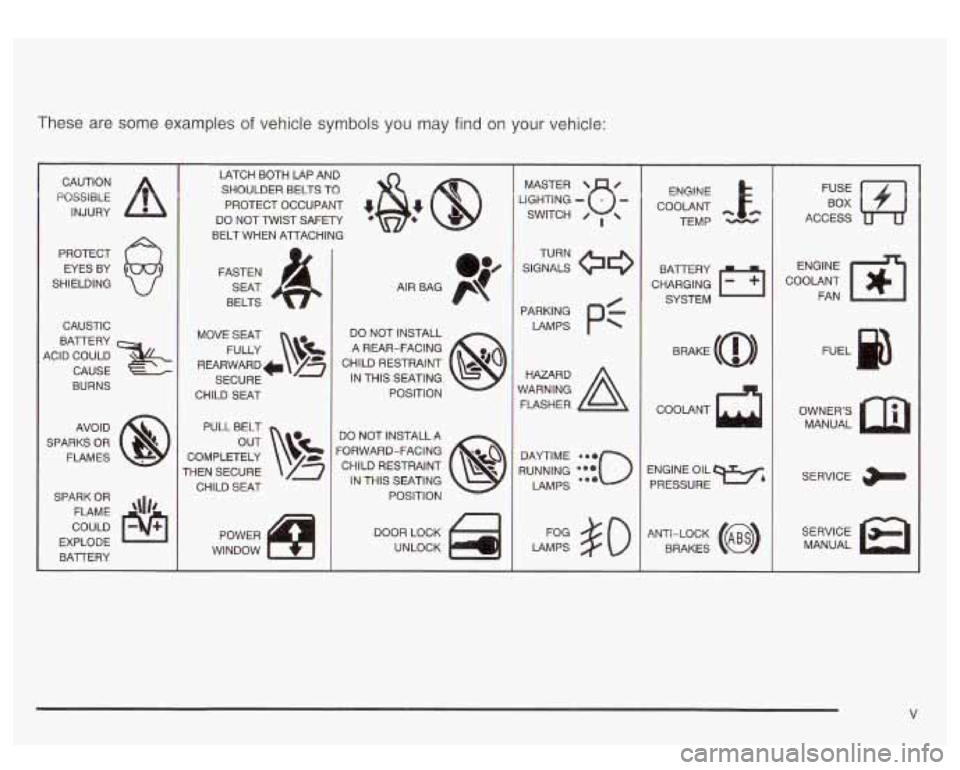
These are some examples of vehicle symbols you may find on your vehicle:
CAUTION
POSSIBLE
INJURY
PROTECT EYES BY
SHIELDING
CAUSTIC
BATTERY
ACID COULD CAUSE
BURNS
AVO ID
SPARKS
OR
FLAMES
SPARK
OR
FLAME '\I/'
COULD
EXPLODE BATTERY LATCH BOTH LAP AND
SHOULDER BELTS TO
PROTECT OCCUPANT
4
DO NOT TWIST SAFETY
BELT WHEN ATTACHING
FASTEN SEAT
BELTS
MOVE SEAT DO NOT INSTALL
A REAR-FACING
CHILD RESTRAINT
SECURE IN THIS SEATING
CHILD SEAT POSITION
FULLY
c REARWARD+ /3
PULL BELT DO NOT INSTALL A
COMPLETELY
THEN SECURE
CHILD SEAT FORWARD-FACING
CHILD RESTRAINT IN THIS SEATING
POSITION
POWER DOOR LOCK
WINDOW UNLOCK LIGHTING
- MASTER SWITCH u- 0 ,
LAMPS #O
ENGINE
COOLANT
-FA TEMP -
CHARGING Fl
BATTERY
SYSTEM
ENGINE OIL PRESSURE
9%77
ANTI-LOCK (@)
BRAKES
FUSE BOX
ACCESS
ENGINE
COOLANT FAN
OWNER'S MANUAL
SERVICE
SERVICE MANUAL
V
Page 112 of 447
Testing the Alarm Passlock@’
The alarm can be tested by following these steps:
1. From inside the vehicle, lower the driver’s window
and open the driver’s door.
2. Activate the system by locking the doors with the
power door lock switch while the door is open, or
with the remote keyless entry transmitter.
3. Get out of the vehicle, close the door and wait for
the security light
to go out.
4. Then reach in through the window, unlock the door
with the manual door lock and open the door. This
should set
off the alarm.
While the alarm is set, the power door unlock switch is
not operational.
If the alarm does not sound when it should but the
headlamps flash, check
to see if the horn works. The
horn fuse may be blown. To replace the fuse, see Fuses
and Circuit Breakers on page
5-87.
If the alarm does not sound or the headlamps do not
flash, the vehicle should be serviced by your dealer. Your
vehicle is equipped with the Passlock@
theft-deterrent system.
Passlock@ is a passive theft-deterrent system. Passlock@
enables fuel
if the ignition lock cylinder is turned with
a valid key. If a correct key is not used or the ignition
lock cylinder is tampered with, the fuel system is
disabled and the vehicle will not start.
During normal operation, the security light will turn
off
approximately five seconds after the key is turned
to RUN.
If the engine stalls and the security light flashes, wait
about
10 minutes until the light stops flashing before
trying
to restart the engine. Remember to release
the key from START as soon as the engine starts.
If the engine does not start after three tries, the vehicle
needs service.
If the engine is running and the security light comes on,
you will be able to restart the engine
if you turn the engine
off. However, your Passlock@system is not working
properly and must be serviced by your dealer. Your
vehicle is not protected by Passlock@at this time. You
may also want
to check the fuse. See Fuses and Circuit
Breakers
on page 5-87. See your dealer for service.
In an emergency, call the Roadside Assistance Center.
See Roadside Assistance Program
on page 7-5.
3-1 7
Page 150 of 447
Turn SignaVMultifunction Lever
The lever on the left side of the steering column
includes the following:
Turn and Lane Change Signals
Headlamp High/Low-Beam Changer
Flash-to-Pass
Windshield Wipers
Windshield Washer
Cruise Control
For information on the exterior lamps, see Exterior
Lamps
on page 3-13.
Turn and Lane Change Signals
The turn signal has two upward (for right) and two
downward (for left) positions. These positions allow you
to signal a turn or a lane change.
To signal a turn, move the lever all the way up or down.
When the turn is finished, the lever will return automatically.
To signal a lane change, just raise
or lower the lever
until the arrow starts to flash. Hold it there until you
complete your lane change. The lever will return by itself
when you release it.
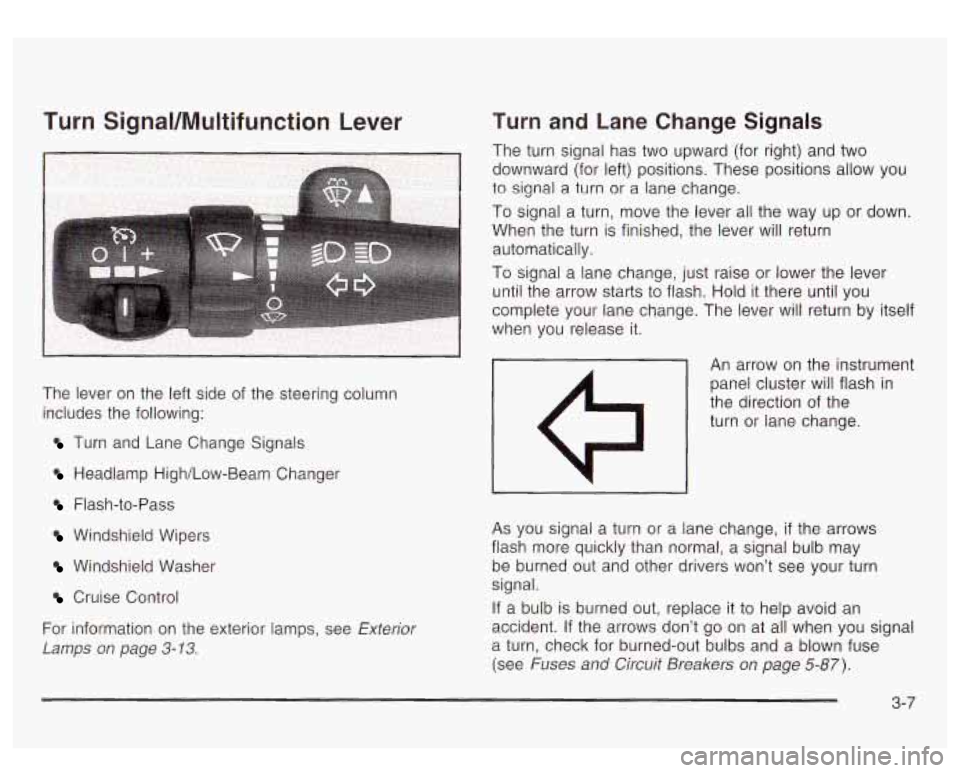
An arrow on the instrument
panel cluster will flash in
the direction of the
turn or lane change.
As you signal a turn or a lane change, if the arrows
flash more quickly than normal, a signal bulb may be burned out and other drivers won’t see your turn
signal.
If a bulb is burned out, replace it to help avoid an
accident. If the arrows don’t go on at all when you signal
a turn, check for burned-out bulbs and a blown fuse
(see Fuses
and Circuit Breakers on page 5-87).
3-7
Page 161 of 447
Notice: Adding some electrical equipment to your
vehicle can damage it or keep other things from
working as they should. This wouldn’t be covered by
your warranty. Check with your dealer before
adding electrical equipment, and never use anything
that exceeds the amperage rating.
Certain power accessory plugs may not be compatible
to the accessory power outlets and could result in
blown vehicle or adapter fuses.
If you experience a
problem, see your dealer for additional information on
the accessory power plugs.
Notice: Power outlets are designed for accessory
plugs only. Do not hang any type of accessory
or accessory bracket from the plug. Improper use of
the power outlet can cause damage not covered
by your warranty.
Ashtrays and Cigarette Lighter
The front ashtray and lighter are located in the center
console near the cupholders. Press
on the access door
to open it and use the ashtray and lighter.
Notice: Don’t put papers or other flammable
items into your ashtrays. Hot cigarettes or other
smoking materials could ignite them, causing
a damaging fire.
To remove the ashtray, pull
it from the center console.
Slide it back in and push down
to be sure it is secure.
To use the cigarette lighter, push
it in all the way, and let
go. When it’s ready,
it will pop back out by itself.
Notice: Don’t hold a cigarette lighter in with your
hand while
it is heating. If you do, it won’t be able to
back away from the heating element when it’s
ready. That can make it overheat, damaging the
lighter and the heating element.
3-1 8
Page 250 of 447
Environmental Concerns
e
e
e
Cargo on the load floor piled higher than
the seatbacks can be thrown forward during a sudden stop. You or your
passengers could be injured. Keep cargo
below the top of the seatbacks.
Unsecured cargo on the load floor can be
tossed about when driving over rough
terrain. You or your passengers can be struck by flying objects. Secure the cargo properly.
Heavy loads on the roof raise the vehicle’s
center of gravity, making
it more likely to
roll over. You can be seriously or fatally
injured if the vehicle rolls over. Put heavy
loads inside the cargo area, not on the
roof. Keep cargo in the cargo area as far
forward and low as possible.
You’ll find other important information in this manual.
See Loading
Your Vehicle on page 4-44 and Tires
on page 5-55.
Off-road driving can provide wholesome and satisfying
recreation. However, it also raises environmental
concerns. we recognize these concerns and urge every
off-roader to follow these basic rules for protecting
the environment:
e
e
e
e
e
Always use established trails, roads and areas that
have been specially set aside for public off-road
recreational driving; obey all posted regulations.
Avoid any driving practice that could damage the
environment
- shrubs, flowers, trees, grasses - or
disturb wildlife (this includes wheel-spinning, breaking down trees or unnecessary driving through
streams or over soft ground).
Always carry a litter bag
... make sure all refuse is
removed from any campsite before leaving.
Take extreme care with open fires (where permitted), camp stoves and lanterns.
Never park your vehicle over dry grass or other
combustible materials that could catch fire from the heat of the vehicle’s exhaust system.
4-1 7
Page 291 of 447
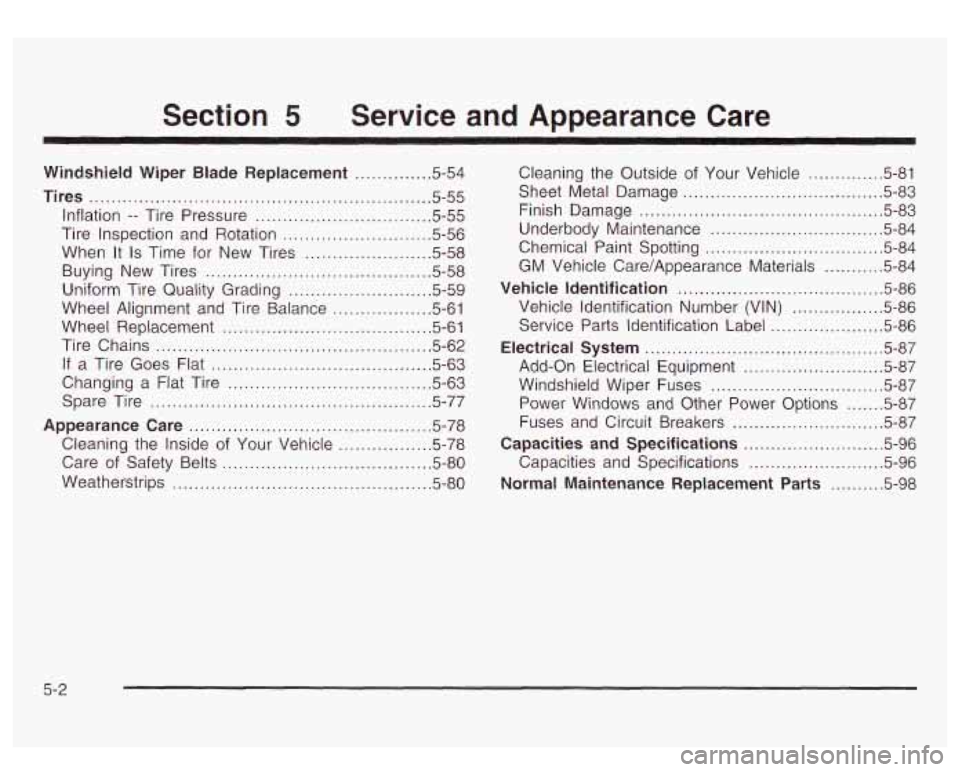
Section 5 Service and Appearance Care
Windshield Wiper Blade Replacement .............. 5.54
Tires .............................................................. 5.55
Inflation .. Tire Pressure ............................... 5-55
Tire Inspection and Rotation ........................... 5.56
When It
Is Time for New Tires ....................... 5-58
Buying New Tires
......................................... 5.58
Uniform Tire Quality Grading
.......................... 5.59
Wheel Alignment and Tire Balance
.................. 5-61
Wheel Replacement
...................................... 5.61
Tire Chains
.................................................. 5-62
If a Tire Goes Flat ........................................ 5.63
Spare Tire
................................................... 5.77
Appearance Care ............................................ 5.78
Cleaning the Inside of Your Vehicle
................. 5-78
Care of Safety Belts
...................................... 5.80
Weatherstrips
............................................... 5.80
Changing a Flat Tire
..................................... 5-63 Cleaning the Outside
of Your Vehicle
.............. 5-81
Sheet Metal Damage
.................................... 25-83
Finish Damage
............................................ 5-83
Underbody Maintenance
............................... 5-84
Chemical Paint Spotting
................................ 5-84
GM Vehicle Care/Appearance Materials
........... 5-84
Vehicle Identification .................................... ,.5-86
Service Parts Identification Label
..................... 5-86
Electrical System ............................................ 5-87
Add-on Electrical Equipment .......................... 5-87
Windshield Wiper Fuses
............................... 25-87
Power Windows
and Other Power Options ....... 5-87
Fuses and Circuit Breakers
............................ 5-87
Capacities and Specifications .......................... 5-96
Capacities and Specifications ......................... 5-96
Vehicle
Identification Number (VIN)
................ 5-86
Normal Maintenance Replacement Parts ...... 5-98
5-2
Page 293 of 447
You can be injured and your vehicle could be
damaged if you try to do service work on a
vehicle without knowing enough about
it.
Be sure you have sufficient knowledge,
experience, the proper replacement parts and tools before you attempt any vehicle
maintenance task.
Be sure to use the proper nuts, bolts and
other fasteners. “English” and “metric”
fasteners can be easily confused.
If you
use the wrong fasteners, parts can later
break or fall
off. You could be hurt.
1
Adding Equipment to the Outside of
Your
Vehicle
Things you might add to the outside of your vehicle can
affect the airflow around it. This may cause wind
noise and affect windshield washer performance.
Check with your dealer before adding equipment
to the
outside of
your vehicle.
5-4
Page 302 of 447
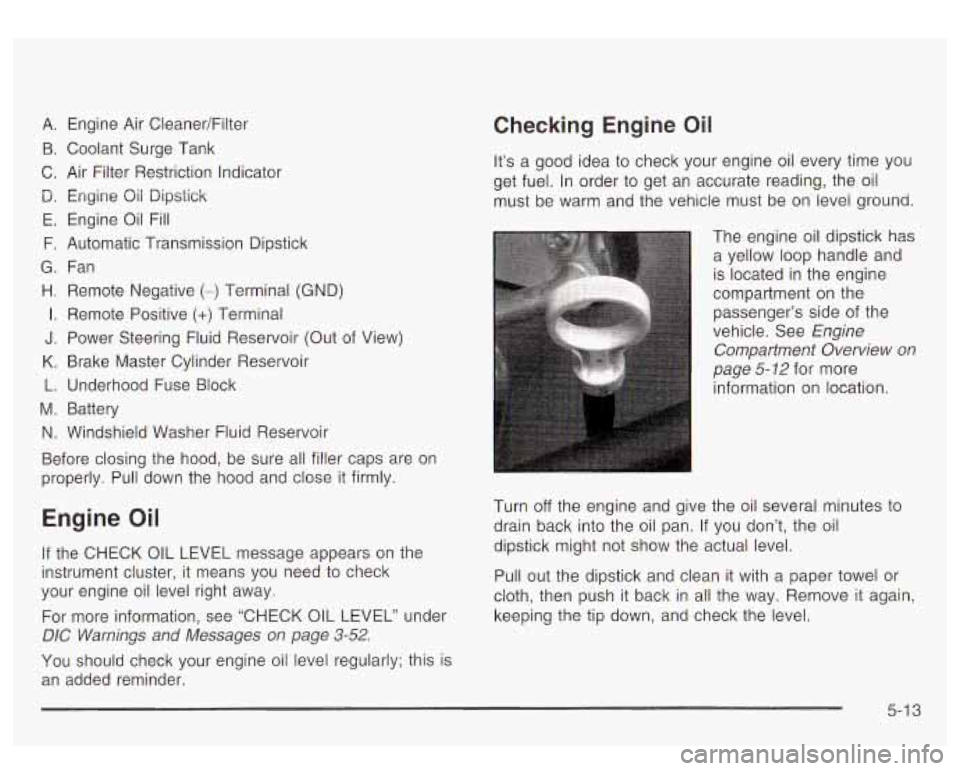
A. Engine Air CleanedFilter
B. Coolant Surge Tank
C. Air Filter Restriction Indicator
D. Engine Qii Dipstick
E. Engine Oil Fill
F. Automatic Transmission Dipstick
G. Fan
H. Remote Negative (-) Terminal (GND)
I. Remote Positive (+) Terminal
J. Power Steering Fluid Reservoir (Out of View)
K. Brake Master Cylinder Reservoir
L. Underhood Fuse Block
M. Battery
N. Windshield Washer Fluid Reservoir
Before closing the hood, be sure all filler caps are on
properly. Pull down the hood and close
it firmly.
Engine Oil
If the CHECK OIL LEVEL message appears on the
instrument cluster, it means you need to check
your engine oil level right away.
For more information, see “CHECK OIL LEVEL” under
DIC Warnings and Messages on page 3-52.
You should check your engine oil level regularly; this is
an added reminder.
Checking Engine Oil
It’s a good idea to check your engine oil every time you
get fuel. In order to get an accurate reading, the oil
must be warm and the vehicle must be on level ground.
The engine oil dipstick has a yellow loop handle and
is located in the engine
compartment on the
passenger’s side of the
vehicle. See Engine
Compartment Overview on
page
5- 12 for more
information on location.
Turn
off the engine and give the oil several minutes to
drain back into the oil pan. If you don’t, the oil
dipstick might not show the actual level.
Pull out the dipstick and clean it with a paper towel or
cloth, then push it back in all the way. Remove it again,
keeping the tip down, and check the level.
5-1 3
Page 376 of 447
Electrical System
Add-on Electrical Equipment
Notice: Don’t add anything electrical to your
vehicle unless you check with your dealer first.
Some electrical equipment can damage your vehicle
and the damage wouldn’t be covered by your
warranty. Some add-on electrical equipment can
keep other components from working as they
should.
Your vehicle has an air bag system. Before attempting
to add anything electrical to your vehicle, see
Servicing Your Air Bag-Equipped Vehicle on page
1-85.
Windshield Wiper Fuses
The windshield wiper motor is protected by an internal
circuit breaker and a fuse. If the motor overheats due to
heavy snow, etc., the wiper will stop until the motor
cools. If the overload is caused by some electrical
problem and not snow, etc., be sure to get it fixed.
Power Windows and Other Power
Options
Circuit breakers protect the power windows and other
power accessories. When the current load is too heavy,
the circuit breaker opens and closes, protecting the
circuit until the problem is fixed or goes away.
Fuses and Circuit Breakers
The wiring circuits in your vehicle are protected from
short circuits by a combination of fuses, circuit breakers
and fusible thermal links. This greatly reduces the
chance of fires caused by electrical problems.
Look at the silver-colored band inside the fuse. If the
band is broken or melted, replace the fuse. Be sure you
replace a bad fuse with a new one
of the identical
size and rating.
If you ever have a problem on the road and don’t have
a spare fuse, you can borrow one that has the same
amperage. Just pick some feature of your vehicle
that you can get along without
- like the radio or
cigarette lighter
- and use its fuse, if it is the correct
amperage. Replace it as soon as
you can.
5-87
Page 377 of 447
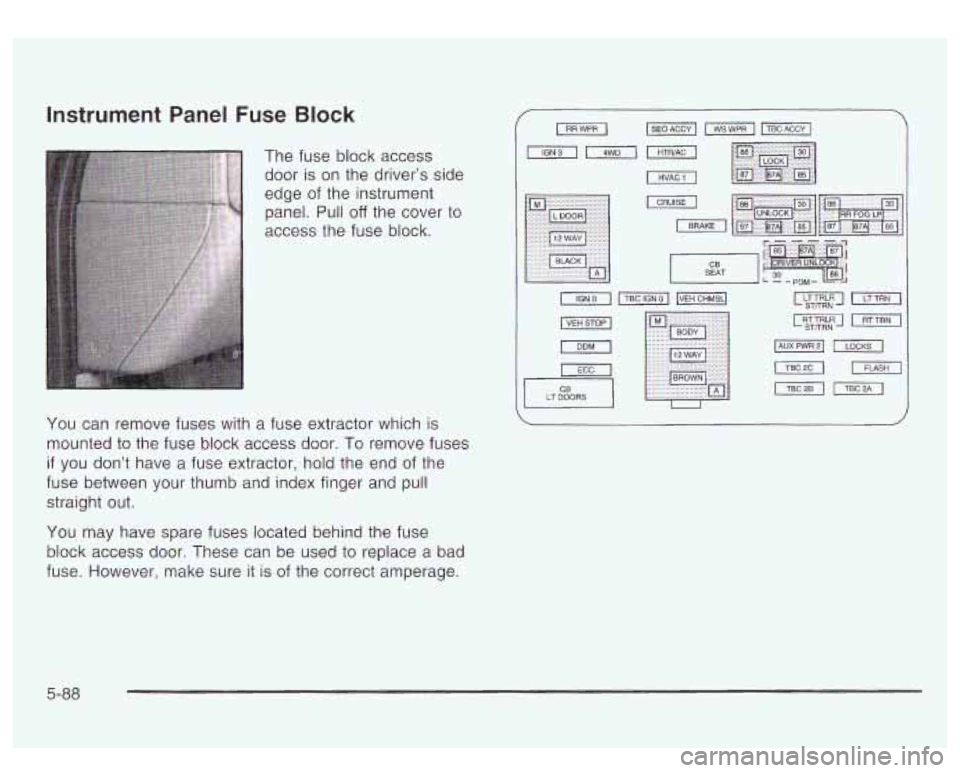
Instrument Panel Fuse Block
The fuse block access
door is on the driver’s side
edge of the instrument
panel. Pull
off the cover to
access the fuse block.
You can remove fuses with a fuse extractor which
is
mounted to the fuse block access door. To remove fuses
if you don’t have a fuse extractor, hold the end of the
fuse between your thumb and index finger and pull
straight out.
VJ
LT DOORS
I’ I U
You may have spare fuses located behind the fuse
block access door. These can be used
to replace a bad
fuse. However, make sure it
is of the correct amperage.
5-88