economy GMC YUKON DENALI 2007 Owners Manual
[x] Cancel search | Manufacturer: GMC, Model Year: 2007, Model line: YUKON DENALI, Model: GMC YUKON DENALI 2007Pages: 608, PDF Size: 2.92 MB
Page 144 of 608
Engine Coolant Heater
Your vehicle may have an engine coolant heater.
In very cold weather, 0°F (−18°C) or colder,
the engine coolant heater can help. You will get
easier starting and better fuel economy during
engine warm-up.
Usually, the coolant heater should be plugged
in a minimum of four hours prior to starting your
vehicle. At temperatures above 32°F (0°C), use of
the coolant heater is not required. Your vehicle
may also have an internal thermostat in the
plug end of the cord. This will prevent operation of
the engine coolant heater when the temperature
is at or above 0°F (−18°C) as noted on the cord.
To Use the Engine Coolant Heater
1. Turn off the engine.
2. Open the hood and unwrap the electrical
cord. The cord is located on the driver’s
side of the engine compartment, near
the power steering �uid reservoir.
3. Plug the cord into a normal, grounded
110-volt AC outlet.
{CAUTION:
Plugging the cord into an ungrounded
outlet could cause an electrical shock.
Also, the wrong kind of extension cord
could overheat and cause a �re. You
could be seriously injured. Plug the cord
into a properly grounded three-prong
110-volt AC outlet. If the cord will not
reach, use a heavy-duty three-prong
extension cord rated for at least 15 amps.
144
Page 148 of 608
DRIVE (D):This position is for normal driving. It
provides the best fuel economy for your vehicle.
If you need more power for passing, and you are:
Going less than about 35 mph (55 km/h), push
your accelerator pedal about halfway down.
Going about 35 mph (55 km/h) or more, push
the accelerator all the way down.
Drive (D) can be used when towing a trailer,
carrying a heavy load, driving on steep hills,
or for off-road driving. You may want to shift the
transmission to a lower gear selection if the
transmission shifts too often.
Downshifting the transmission in slippery road
conditions could result in skidding, see Skidding
underLoss of Control on page 357.
When temperatures are very cold, the
Hydra-Matic
®Automatic Transmission’s gear
shifting may be delayed providing more stable
shifts until the engine warms up. Shifts may
be more noticeable with a cold transmission.
This difference in shifting is normal.MANUAL MODE (M):This position lets drivers
select the range of gears appropriate for current
driving conditions. If your vehicle has this feature,
see “Driver Shift Control” later in this section.
Notice:Spinning the tires or holding the
vehicle in one place on a hill using only
the accelerator pedal may damage the
transmission. If you are stuck, do not spin
the tires. When stopping on a hill, use
the brakes to hold the vehicle in place.
Your vehicle has a shift stabilization feature that
adjusts the transmission shifting to the current
driving conditions in order to reduce rapid upshifts
and downshifts. This shift stabilization feature is
designed to determine, before making an upshift,
if the engine will be able to maintain vehicle
speed by analyzing things such as throttle position,
vehicle load, and hill grade. If the shift stabilization
feature determines that a current vehicle speed
cannot be maintained, the transmission does
not upshift and instead holds the current gear.
In some cases, this may appear to be a delayed
shift, however the transmission is operating
normally.
148
Page 237 of 608
Malfunction Indicator Lamp
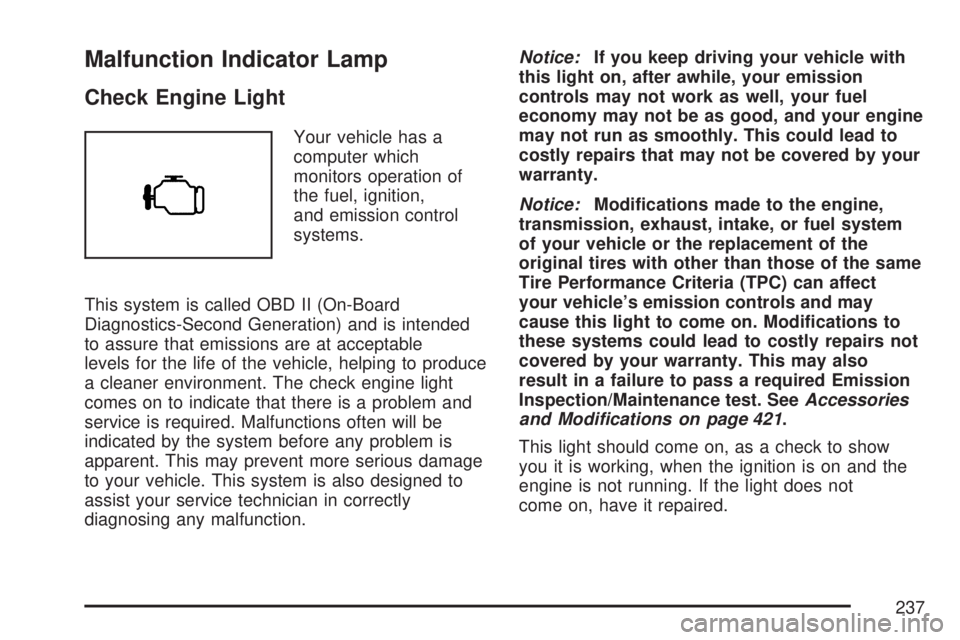
Check Engine Light
Your vehicle has a
computer which
monitors operation of
the fuel, ignition,
and emission control
systems.
This system is called OBD II (On-Board
Diagnostics-Second Generation) and is intended
to assure that emissions are at acceptable
levels for the life of the vehicle, helping to produce
a cleaner environment. The check engine light
comes on to indicate that there is a problem and
service is required. Malfunctions often will be
indicated by the system before any problem is
apparent. This may prevent more serious damage
to your vehicle. This system is also designed to
assist your service technician in correctly
diagnosing any malfunction.Notice:If you keep driving your vehicle with
this light on, after awhile, your emission
controls may not work as well, your fuel
economy may not be as good, and your engine
may not run as smoothly. This could lead to
costly repairs that may not be covered by your
warranty.
Notice:Modi�cations made to the engine,
transmission, exhaust, intake, or fuel system
of your vehicle or the replacement of the
original tires with other than those of the same
Tire Performance Criteria (TPC) can affect
your vehicle’s emission controls and may
cause this light to come on. Modi�cations to
these systems could lead to costly repairs not
covered by your warranty. This may also
result in a failure to pass a required Emission
Inspection/Maintenance test. SeeAccessories
and Modifications on page 421.
This light should come on, as a check to show
you it is working, when the ignition is on and the
engine is not running. If the light does not
come on, have it repaired.
237
Page 245 of 608
DIC Operation and Displays
(Using DIC Buttons)
The DIC has different displays which can be
accessed by pressing the DIC buttons located
on the instrument panel, next to the steering
wheel.
The DIC displays trip, fuel, and vehicle system
information, and warning messages if a system
problem is detected.
The DIC also allows some features to be
customized. SeeDIC Vehicle Customization (With
DIC Buttons) on page 262for more information.
You can also use the trip odometer reset stem
to view some of the DIC displays. See″DIC
Operation and Displays (Using Trip Odometer
Reset Stem)″later in this section.
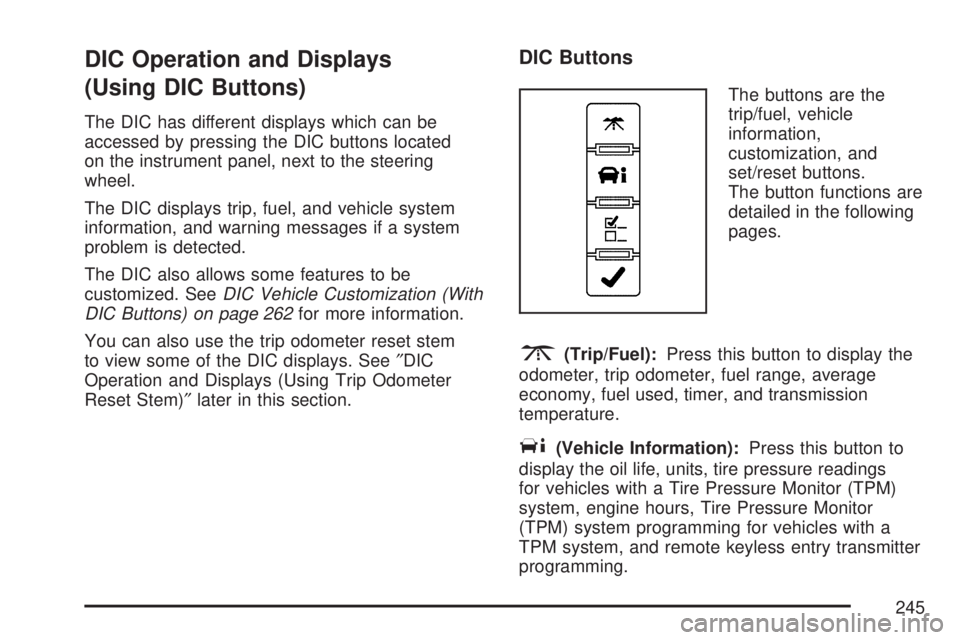
DIC Buttons
The buttons are the
trip/fuel, vehicle
information,
customization, and
set/reset buttons.
The button functions are
detailed in the following
pages.
3(Trip/Fuel):Press this button to display the
odometer, trip odometer, fuel range, average
economy, fuel used, timer, and transmission
temperature.
T(Vehicle Information):Press this button to
display the oil life, units, tire pressure readings
for vehicles with a Tire Pressure Monitor (TPM)
system, engine hours, Tire Pressure Monitor
(TPM) system programming for vehicles with a
TPM system, and remote keyless entry transmitter
programming.
245
Page 247 of 608
For example, if the vehicle was driven 5 miles
(8 km) before it is started again, and then
the retro-active reset feature is activated, the
display will show 5 miles (8 km). As the vehicle
begins moving, the display will then increase
to 5.1 miles (8.2 km), 5.2 miles (8.4 km), etc.
If the retro-active reset feature is activated after
the vehicle is started, but before it begins moving,
the display will show the number of miles (mi)
or kilometers (km) that were driven during the last
ignition cycle.
Fuel Range
Press the trip/fuel button until FUEL RANGE
displays. This display shows the approximate
number of remaining miles (mi) or kilometers (km)
the vehicle can be driven without refueling. The
display will show LOW if the fuel level is low.
The fuel range estimate is based on an average of
the vehicle’s fuel economy over recent driving
history and the amount of fuel remaining in the fuel
tank. This estimate will change if driving
conditions change.For example, if driving in traffic and making
frequent stops, this display may read one number,
but if the vehicle is driven on a freeway, the
number may change even though the same
amount of fuel is in the fuel tank. This is because
different driving conditions produce different
fuel economies. Generally, freeway driving
produces better fuel economy than city driving.
Fuel range cannot be reset.
Average Economy
Press the trip/fuel button until AVG ECONOMY
displays. This display shows the approximate
average miles per gallon (mpg) or liters per
100 kilometers (L/100 km). This number is
calculated based on the number of mpg (L/100 km)
recorded since the last time this menu item was
reset. To reset AVG ECONOMY, press and
hold the set/reset button.
Fuel Used
Press the trip/fuel button until FUEL USED
displays. This display shows the number of
gallons (gal) or liters (L) of fuel used since the last
reset of this menu item. To reset the fuel used
information, press and hold the set/reset button
while FUEL USED is displayed.
247
Page 400 of 608
Towing a Trailer
Do not tow a trailer during break-in. SeeNew
Vehicle Break-In on page 139for more information.
{CAUTION:
If you do not use the correct equipment
and drive properly, you can lose control
when you pull a trailer. For example, if the
trailer is too heavy, the brakes may not
work well — or even at all. You and your
passengers could be seriously injured.
Pull a trailer only if you have followed all
the steps in this section. Ask your dealer
for advice and information about towing a
trailer with your vehicle.Notice:Pulling a trailer improperly can
damage your vehicle and result in costly
repairs not covered by your warranty. To pull
a trailer correctly, follow the advice in this
part, and see your dealer for important
information about towing a trailer with your
vehicle.
To identify the trailering capacity for your vehicle,
you should read the information in “Weight of
the Trailer” that appears later in this section.
Trailering is different than just driving your vehicle
by itself. Trailering means changes in acceleration,
braking, handling, durability and fuel economy.
Successful, safe trailering takes correct equipment,
and it has to be used properly.
That’s the reason for this part. In it are many
time-tested, important trailering tips and safety
rules. Many of these are important for your safety
and that of your passengers. So please read
this section carefully before you pull a trailer.
400
Page 402 of 608
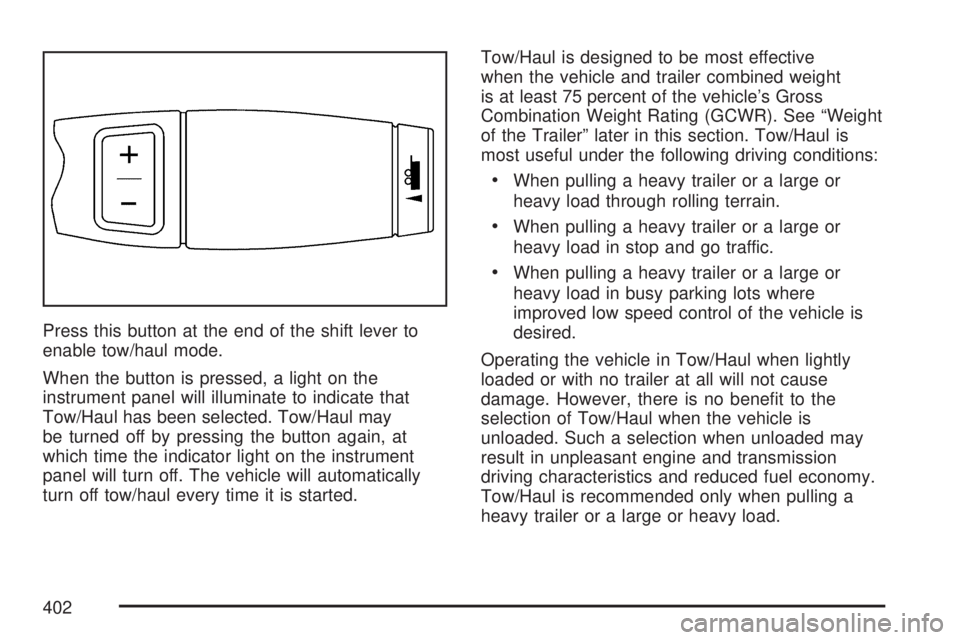
Press this button at the end of the shift lever to
enable tow/haul mode.
When the button is pressed, a light on the
instrument panel will illuminate to indicate that
Tow/Haul has been selected. Tow/Haul may
be turned off by pressing the button again, at
which time the indicator light on the instrument
panel will turn off. The vehicle will automatically
turn off tow/haul every time it is started.Tow/Haul is designed to be most effective
when the vehicle and trailer combined weight
is at least 75 percent of the vehicle’s Gross
Combination Weight Rating (GCWR). See “Weight
of the Trailer” later in this section. Tow/Haul is
most useful under the following driving conditions:
When pulling a heavy trailer or a large or
heavy load through rolling terrain.
When pulling a heavy trailer or a large or
heavy load in stop and go traffic.
When pulling a heavy trailer or a large or
heavy load in busy parking lots where
improved low speed control of the vehicle is
desired.
Operating the vehicle in Tow/Haul when lightly
loaded or with no trailer at all will not cause
damage. However, there is no bene�t to the
selection of Tow/Haul when the vehicle is
unloaded. Such a selection when unloaded may
result in unpleasant engine and transmission
driving characteristics and reduced fuel economy.
Tow/Haul is recommended only when pulling a
heavy trailer or a large or heavy load.
402
Page 488 of 608
In�ation - Tire Pressure
Tires need the correct amount of air pressure to
operate effectively.
Notice:Do not let anyone tell you that
under-in�ation or over-in�ation is all right.
It is not. If your tires do not have enough air
(under-in�ation), you can get the following:
Too much �exing
Too much heat
Tire overloading
Premature or irregular wear
Poor handling
Reduced fuel economy
If your tires have too much air (over-in�ation),
you can get the following:
Unusual wear
Poor handling
Rough ride
Needless damage from road hazardsA Tire and Loading Information label is attached
to the vehicle’s center pillar (B-pillar), below
the driver’s door lock post (striker). This label lists
your vehicle’s original equipment tires and their
recommended cold tire in�ation pressures.
The recommended cold tire in�ation pressure,
shown on the label, is the minimum amount of
air pressure needed to support your vehicle’s
maximum load carrying capacity.
For additional information regarding how much
weight your vehicle can carry, and an example
of the tire and loading information label, see
Loading Your Vehicle on page 392.
488
Page 582 of 608
Vehicle Data Collection and Event
Data Recorders
Your vehicle, like other modern motor vehicles, has
a number of sophisticated computer systems that
monitor and control several aspects of the vehicle’s
performance. Your vehicle uses on-board vehicle
computers to monitor emission control components
to optimize fuel economy, to monitor conditions for
airbag deployment and, if so equipped, to provide
anti-lock braking and to help the driver control
the vehicle in difficult driving situations. Some
information may be stored during regular operations
to facilitate repair of detected malfunctions; other
information is stored only in a crash event by
computer systems, such as those commonly called
event data recorders (EDR).In a crash event, computer systems, such as the
Airbag Sensing and Diagnostic Module (SDM)
in your vehicle may record information about the
condition of the vehicle and how it was operated,
such as data related to engine speed, brake
application, throttle position, vehicle speed, safety
belt usage, airbag readiness, airbag performance,
and the severity of a collision. If your vehicle is
equipped with StabiliTrak
®, steering performance,
including yaw rate, steering wheel angle, and
lateral acceleration, is also recorded. This
information has been used to improve vehicle
crash performance and may be used to improve
crash performance of future vehicles and
driving safety. Unlike the data recorders on many
airplanes, these on-board systems do not
record sounds, such as conversation of vehicle
occupants.
582