parking brake GMC YUKON HYBRID 2009 Owners Manual
[x] Cancel search | Manufacturer: GMC, Model Year: 2009, Model line: YUKON HYBRID, Model: GMC YUKON HYBRID 2009Pages: 94, PDF Size: 0.53 MB
Page 14 of 94
Automatic Transmission Operation
The vehicle has an electronic shift position indicator
within the instrument panel cluster.
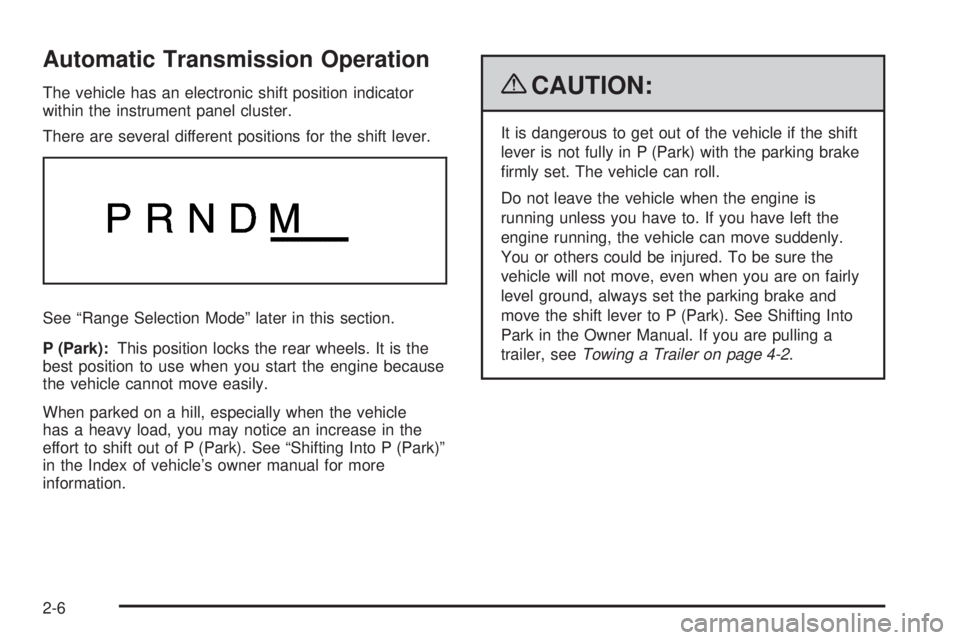
There are several different positions for the shift lever.
See “Range Selection Mode” later in this section.
P (Park):This position locks the rear wheels. It is the
best position to use when you start the engine because
the vehicle cannot move easily.
When parked on a hill, especially when the vehicle
has a heavy load, you may notice an increase in the
effort to shift out of P (Park). See “Shifting Into P (Park)”
in the Index of vehicle’s owner manual for more
information.{CAUTION:
It is dangerous to get out of the vehicle if the shift
lever is not fully in P (Park) with the parking brake
firmly set. The vehicle can roll.
Do not leave the vehicle when the engine is
running unless you have to. If you have left the
engine running, the vehicle can move suddenly.
You or others could be injured. To be sure the
vehicle will not move, even when you are on fairly
level ground, always set the parking brake and
move the shift lever to P (Park). See Shifting Into
Park in the Owner Manual. If you are pulling a
trailer, seeTowing a Trailer on page 4-2.
2-6
Page 24 of 94
Brake System Warning Light
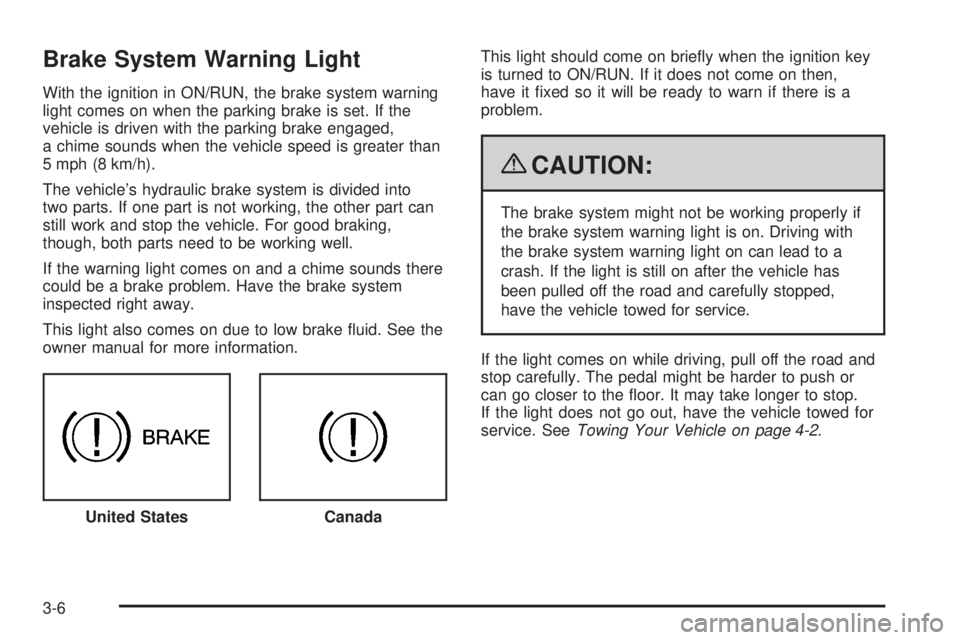
With the ignition in ON/RUN, the brake system warning
light comes on when the parking brake is set. If the
vehicle is driven with the parking brake engaged,
a chime sounds when the vehicle speed is greater than
5 mph (8 km/h).
The vehicle’s hydraulic brake system is divided into
two parts. If one part is not working, the other part can
still work and stop the vehicle. For good braking,
though, both parts need to be working well.
If the warning light comes on and a chime sounds there
could be a brake problem. Have the brake system
inspected right away.
This light also comes on due to low brake fluid. See the
owner manual for more information.This light should come on briefly when the ignition key
is turned to ON/RUN. If it does not come on then,
have it fixed so it will be ready to warn if there is a
problem.
{CAUTION:
The brake system might not be working properly if
the brake system warning light is on. Driving with
the brake system warning light on can lead to a
crash. If the light is still on after the vehicle has
been pulled off the road and carefully stopped,
have the vehicle towed for service.
If the light comes on while driving, pull off the road and
stop carefully. The pedal might be harder to push or
can go closer to the floor. It may take longer to stop.
If the light does not go out, have the vehicle towed for
service. SeeTowing Your Vehicle on page 4-2.
United States
Canada
3-6
Page 52 of 94
Jump Starting
If the vehicle’s 12-volt battery has run down, you may
want to use another vehicle and some jumper cables
to start your vehicle. Use the following steps to do
it safely.
{CAUTION:
Batteries can hurt you. They can be dangerous
because:
•They contain acid that can burn you.
•They contain gas that can explode or ignite.
•They contain enough electricity to burn you.
If you do not follow these steps exactly, some or
all of these things can hurt you.Notice:Ignoring these steps could result in costly
damage to the vehicle that would not be covered
by the warranty.
Trying to start the vehicle by pushing or pulling it
will not work, and it could damage the vehicle.
1. Check the other vehicle. It must have a 12-volt
battery with a negative ground system.
Notice:If the other vehicle’s system is not a 12-volt
system with a negative ground, both vehicles can
be damaged. Only use vehicles with 12-volt systems
with negative grounds to jump start your vehicle.
2. Get the vehicles close enough so the jumper cables
can reach, but be sure the vehicles are not touching
each other. It could cause a ground connection
you do not want. You would not be able to start your
vehicle, and the bad grounding could damage the
electrical systems.
To avoid the possibility of the vehicles rolling, set
the parking brake firmly on both vehicles involved
in the jump start procedure. Put the automatic
transmission in P (Park) or a manual transmission
in N (Neutral) before setting the parking brake.
If you have a four-wheel-drive vehicle, be sure the
transfer case is in a drive gear, not in N (Neutral).
5-16
Page 64 of 94
You have two minutes to match the first tire/wheel
position, and five minutes overall to match all four
tire/wheel positions. If it takes longer than two minutes,
to match the first tire and wheel, or more than
five minutes to match all four tire and wheel positions
the matching process stops and you need to start over.
The TPMS sensor matching process is outlined below:
1. Set the parking brake.
2. Turn the ignition switch to ON/RUN with the
engine off.
3. Press the Remote Keyless Entry (RKE) transmitter’s
LOCK and UNLOCK buttons at the same time for
approximately five seconds. The horn sounds twice
to signal the receiver is in relearn mode and TIRE
LEARNING ACTIVE message displays on the
DIC screen.
4. Start with the driver side front tire.
5. Remove the valve cap from the valve cap stem.
Activate the TPMS sensor by increasing or
decreasing the tire’s air pressure for five seconds,
or until a horn chirp sounds. The horn chirp,
which may take up to 30 seconds to sound,
confirms that the sensor identification code has
been matched to this tire and wheel position.6. Proceed to the passenger side front tire, and repeat
the procedure in Step 5.
7. Proceed to the passenger side rear tire, and repeat
the procedure in Step 5.
8. Proceed to the driver side rear tire, and repeat the
procedure in Step 5. The horn sounds two times to
indicate the sensor identification code has been
matched to the driver side rear tire, and the TPMS
sensor matching process is no longer active.
The TIRE LEARNING ACTIVE message on the
DIC display screen goes off.
9. Turn the ignition switch to LOCK/OFF.
10. Set all four tires to the recommended air pressure
level as indicated on the Tire and Loading
Information label.
11. Put the valve caps back on the valve stems.
5-28
Page 67 of 94
A rear blow out, particularly on a curve, acts much like
a skid and may require the same correction you
would use in a skid. In any rear blow out, remove your
foot from the accelerator pedal. Get the vehicle
under control by steering the way you want the vehicle
to go. It may be very bumpy and noisy, but you can
still steer. Gently brake to a stop, well off the road
if possible.
If a tire goes flat, avoid further tire and wheel damage
by driving slowly to a level place and stopping.
Then do this:
1. Turn on the hazard warning flashers.
2. Park your vehicle. Set the parking brake firmly
and put the shift lever in PARK (P).
3. Turn off the engine.
4. Inspect the flat tire.If the tire has been separated from the wheel or has
damaged sidewalls or large tears that allow rapid
air loss, call a tire repair facility. See “Roadside
Assistance Program” in the Index of the owner manual.
If the flat tire is due to a slow leak caused by a nail
or other similar road hazard, the tire inflator kit may be
used to repair the damaged tire temporarily. The kit
uses a liquid tire sealant to seal small punctures in the
tread area of the tire.
After repairing a tire with the tire inflator kit, take your
vehicle to an authorized retailer to have the tire
inspected and repaired as soon as possible. The tire
sealant is a temporary repair only. SeeTire Sealant and
Compressor Kit (Without Selector Switch) on page 5-32
orTire Sealant and Compressor Kit (With Selector
Switch) on page 5-42.
5-31