ECU GMC YUKON HYBRID 2010 Owners Manual
[x] Cancel search | Manufacturer: GMC, Model Year: 2010, Model line: YUKON HYBRID, Model: GMC YUKON HYBRID 2010Pages: 120, PDF Size: 1.03 MB
Page 31 of 120
Engine Coolant Heater
The engine coolant heater can provide easier starting
and better fuel economy during engine warm-up in cold
weather conditions at or below−18°C (0°F). Vehicles
with an engine heater should be plugged in at least
four hours before starting. An internal thermostat in
the plug-end of the cord may exist which will prevent
engine coolant heater operation at temperatures
above −18°C (0°F).
To Use the Engine Coolant Heater
1. Turn off the engine.
2. Open the hood and unwrap the electrical cord.
The cord is secured to a wiring harness between
the engine and the Hybrid Auxiliary Underhood
Fuse Block with a clip. Carefully remove the wire
tie which secures the electrical cord. Do not cut the
electrical cord.
3. Plug the cord into a normal, grounded 110-volt AC outlet.
{WARNING:
Plugging the cord into an ungrounded outlet could
cause an electrical shock. Also, the wrong kind of
extension cord could overheat and cause a fire.
You could be seriously injured. Plug the cord into
a properly grounded three-prong 110-volt AC
outlet. If the cord will not reach, use a heavy-duty
three-prong extension cord rated for at least
15 amps.
4. Before starting the engine, be sure to unplug and store the cord as it was before to keep it away from
moving engine parts. If you do not, it could be
damaged.
The length of time the heater should remain plugged in
depends on several factors. Ask a dealer/retailer in the
area where you will be parking the vehicle for the best
advice on this.
3-17
Page 50 of 120
Four-Wheel-Drive Vehicles (Except Denali)
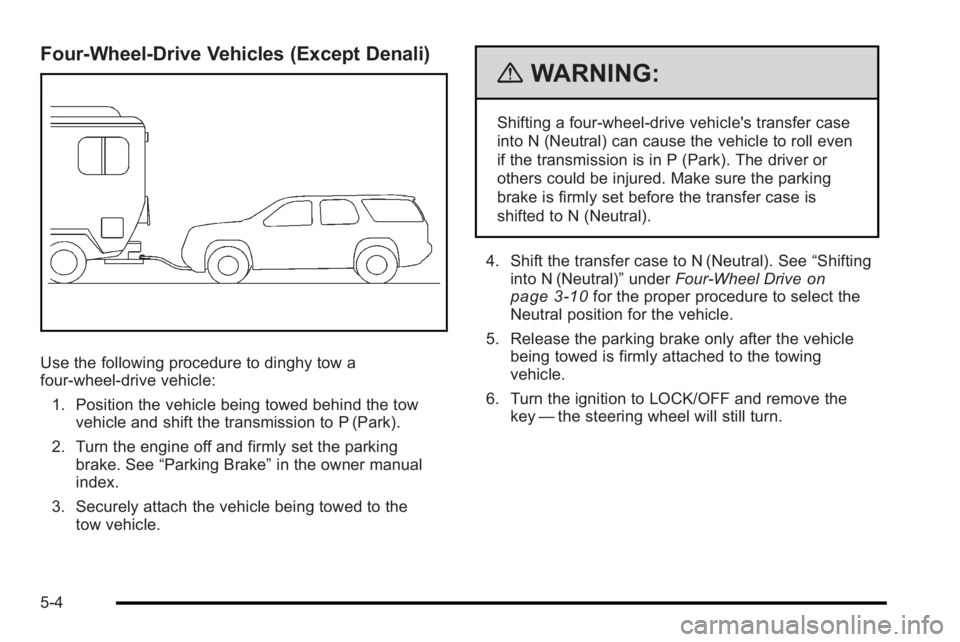
Use the following procedure to dinghy tow a
four-wheel-drive vehicle:1. Position the vehicle being towed behind the tow vehicle and shift the transmission to P (Park).
2. Turn the engine off and firmly set the parking brake. See “Parking Brake” in the owner manual
index.
3. Securely attach the vehicle being towed to the tow vehicle.
{WARNING:
Shifting a four-wheel-drive vehicle's transfer case
into N (Neutral) can cause the vehicle to roll even
if the transmission is in P (Park). The driver or
others could be injured. Make sure the parking
brake is firmly set before the transfer case is
shifted to N (Neutral).
4. Shift the transfer case to N (Neutral). See “Shifting
into N (Neutral)” underFour-Wheel Drive
on
page 3‑10for the proper procedure to select the
Neutral position for the vehicle.
5. Release the parking brake only after the vehicle being towed is firmly attached to the towing
vehicle.
6. Turn the ignition to LOCK/OFF and remove the key —the steering wheel will still turn.
5-4
Page 52 of 120
Four-Wheel-Drive Vehicles
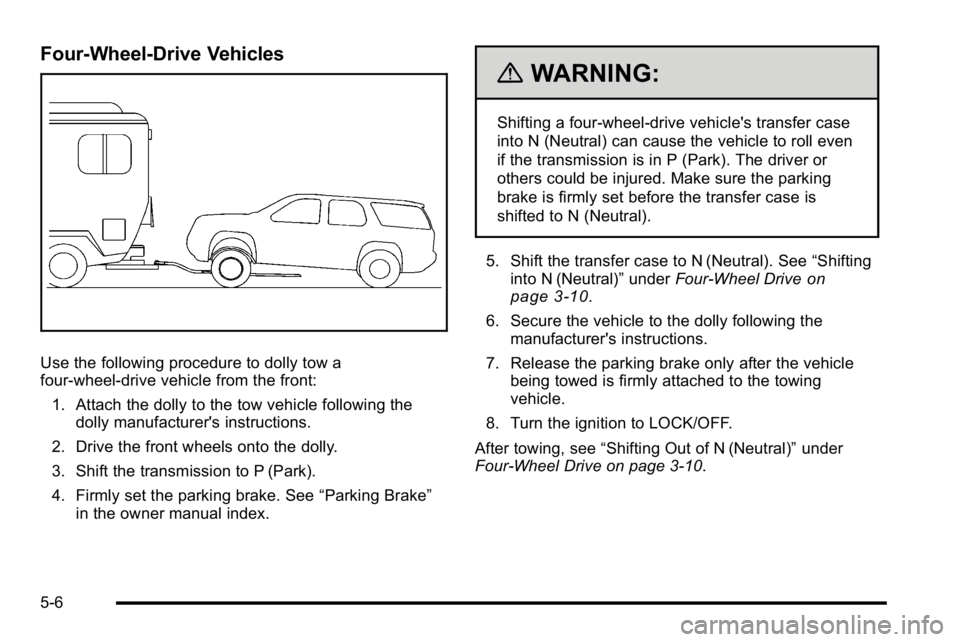
Use the following procedure to dolly tow a
four-wheel-drive vehicle from the front:1. Attach the dolly to the tow vehicle following the dolly manufacturer's instructions.
2. Drive the front wheels onto the dolly.
3. Shift the transmission to P (Park).
4. Firmly set the parking brake. See “Parking Brake”
in the owner manual index.
{WARNING:
Shifting a four-wheel-drive vehicle's transfer case
into N (Neutral) can cause the vehicle to roll even
if the transmission is in P (Park). The driver or
others could be injured. Make sure the parking
brake is firmly set before the transfer case is
shifted to N (Neutral).
5. Shift the transfer case to N (Neutral). See “Shifting
into N (Neutral)” underFour-Wheel Drive
on
page 3‑10.
6. Secure the vehicle to the dolly following the manufacturer's instructions.
7. Release the parking brake only after the vehicle being towed is firmly attached to the towing
vehicle.
8. Turn the ignition to LOCK/OFF.
After towing, see “Shifting Out of N (Neutral)” under
Four-Wheel Drive on page 3‑10.
5-6
Page 53 of 120
Rear Towing (Rear Wheels Off the
Ground)
Two‐Wheel‐Drive Vehicles
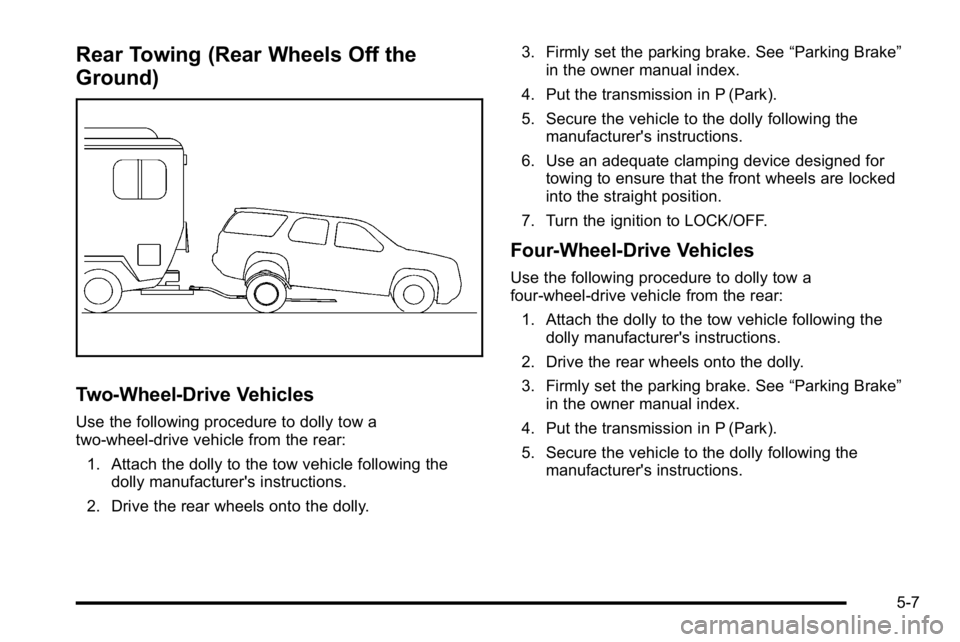
Use the following procedure to dolly tow a
two-wheel-drive vehicle from the rear:
1. Attach the dolly to the tow vehicle following the dolly manufacturer's instructions.
2. Drive the rear wheels onto the dolly. 3. Firmly set the parking brake. See
“Parking Brake”
in the owner manual index.
4. Put the transmission in P (Park).
5. Secure the vehicle to the dolly following the manufacturer's instructions.
6. Use an adequate clamping device designed for towing to ensure that the front wheels are locked
into the straight position.
7. Turn the ignition to LOCK/OFF.
Four‐Wheel‐Drive Vehicles
Use the following procedure to dolly tow a
four-wheel-drive vehicle from the rear: 1. Attach the dolly to the tow vehicle following the dolly manufacturer's instructions.
2. Drive the rear wheels onto the dolly.
3. Firmly set the parking brake. See “Parking Brake”
in the owner manual index.
4. Put the transmission in P (Park).
5. Secure the vehicle to the dolly following the manufacturer's instructions.
5-7
Page 65 of 120
The Drive Motor/Generator Control Module (DMCM)
coolant surge tank pressure cap must be fully installed
on the hybrid coolant surge tank.
Notice:If the pressure cap is not tightly installed,
coolant loss and possible damage to the Drive
Motor/Generator Control Module (DMCM) may occur.
Be sure the cap is properly and tightly secured.
Drive Motor/Generator Control
Module (DMCM) Cooling System
In addition to the regular cooling system, the vehicle
also has a cooling system for the DMCM system.
This system is serviced differently than the vehicle's
main cooling system. The DMCM cooling system
includes the DMCM coolant surge tank, DMCM surge
tank pressure cap, DMCM cooling pumps, hybrid
cooling radiator and the Drive Motor/Generator Control
Module (DMCM). The DMCM cooling system uses a
50/50 pre-mixed DEX-COOL™ coolant and deionized
water available at your dealer/retailer. See “Engine
Coolant” and“Cooling System” in the owner manual for
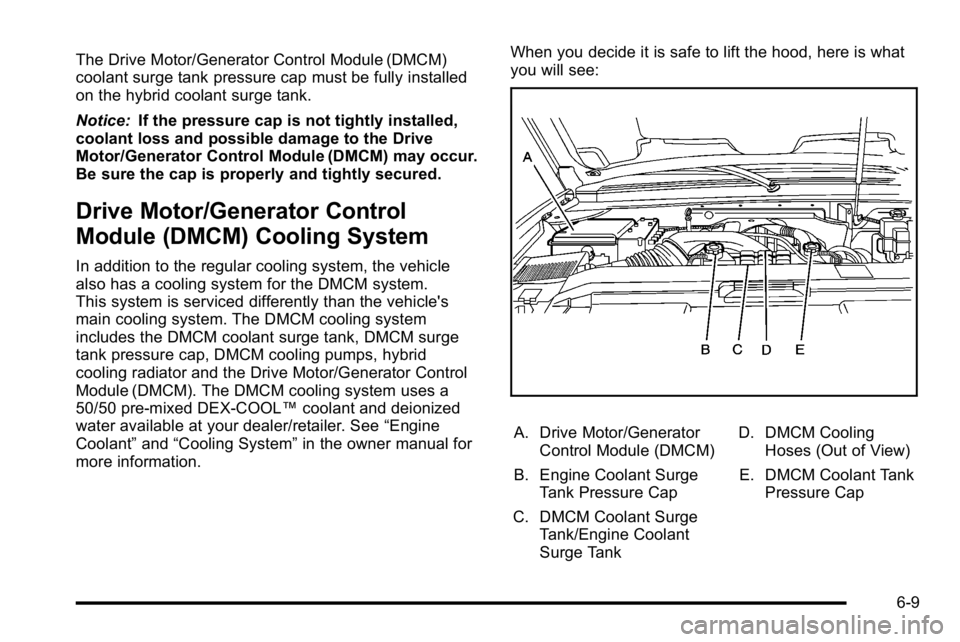
more information. When you decide it is safe to lift the hood, here is what
you will see:
A. Drive Motor/Generator
Control Module (DMCM)
B. Engine Coolant Surge Tank Pressure Cap
C. DMCM Coolant Surge Tank/Engine Coolant
Surge Tank D. DMCM Cooling
Hoses (Out of View)
E. DMCM Coolant Tank Pressure Cap
6-9
Page 98 of 120
Using the Tire Sealant and Compressor
Kit without Sealant to Inflate a Tire
(Not Punctured)
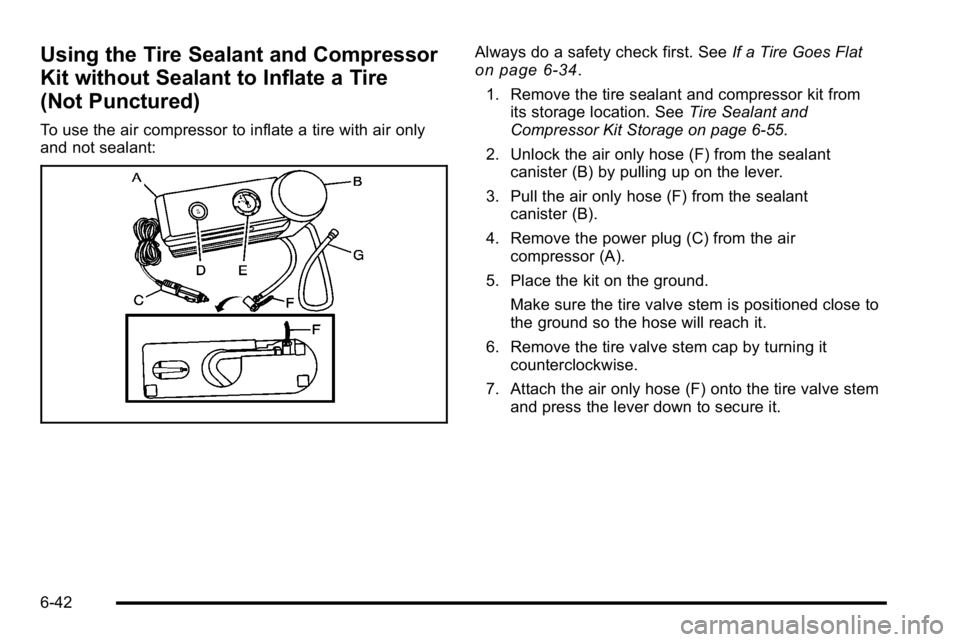
To use the air compressor to inflate a tire with air only
and not sealant:
Always do a safety check first. SeeIf a Tire Goes Flaton page 6‑34.
1. Remove the tire sealant and compressor kit from its storage location. See Tire Sealant and
Compressor Kit Storage on page 6‑55.
2. Unlock the air only hose (F) from the sealant canister (B) by pulling up on the lever.
3. Pull the air only hose (F) from the sealant canister (B).
4. Remove the power plug (C) from the air compressor (A).
5. Place the kit on the ground. Make sure the tire valve stem is positioned close to
the ground so the hose will reach it.
6. Remove the tire valve stem cap by turning it counterclockwise.
7. Attach the air only hose (F) onto the tire valve stem and press the lever down to secure it.
6-42