remote start GMC YUKON XL 2019 Get To Know Guide
[x] Cancel search | Manufacturer: GMC, Model Year: 2019, Model line: YUKON XL, Model: GMC YUKON XL 2019Pages: 20, PDF Size: 2.66 MB
Page 4 of 20

4
REMOTE KEYLESS ENTRY TRANSMITTER (KEY FOB)
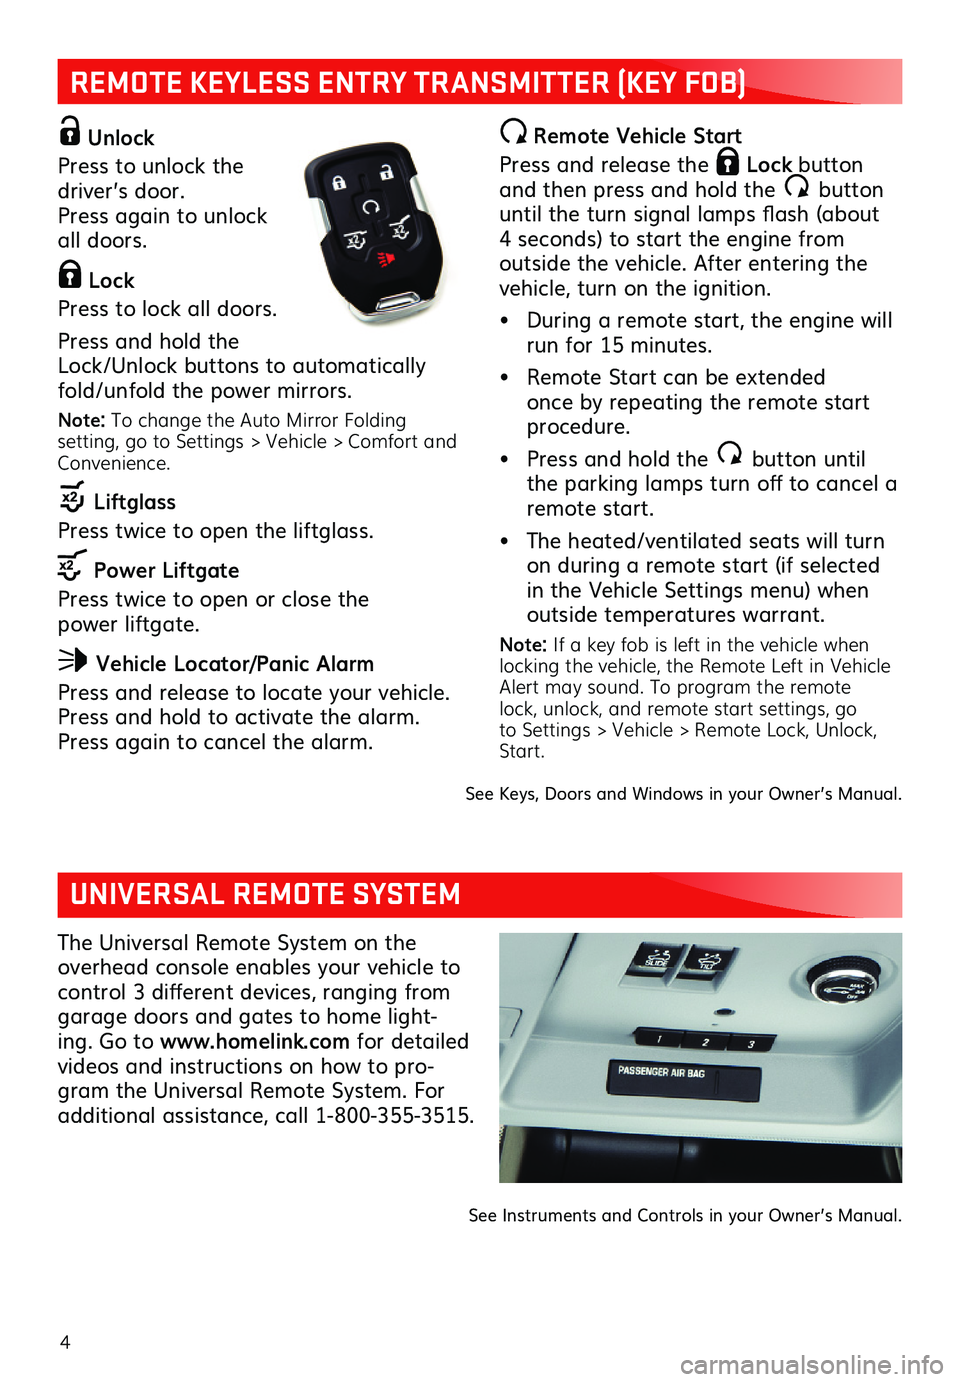
Unlock
Press to unlock the driver’s door. Press again to unlock all doors.
Lock
Press to lock all doors.
Press and hold the Lock/Unlock buttons to automatically fold/unfold the power mirrors.
Note: To change the Auto Mirror Folding setting, go to Settings > Vehicle > Comfort and Convenience.
Liftglass
Press twice to open the liftglass.
Power Liftgate
Press twice to open or close the power liftgate.
Vehicle Locator/Panic Alarm
Press and release to locate your vehicle. Press and hold to activate the alarm. Press again to cancel the alarm.
Remote Vehicle Start
Press and release the Lock button and then press and hold the button until the turn signal lamps flash (about 4 seconds) to start the engine from outside the vehicle. After entering the vehicle, turn on the ignition.
• During a remote start, the engine will run for 15 minutes.
• Remote Start can be extended once by repeating the remote start procedure.
• Press and hold the button until the parking lamps turn off to cancel a remote start.
• The heated/ventilated seats will turn on during a remote start (if selected in the Vehicle Settings menu) when outside temperatures warrant.
Note: If a key fob is left in the vehicle when locking the vehicle, the Remote Left in Vehicle Alert may sound. To program the remote lock, unlock, and remote start settings, go to Settings > Vehicle > Remote Lock, Unlock, Start.
See Keys, Doors and Windows in your Owner’s Manual.
UNIVERSAL REMOTE SYSTEM
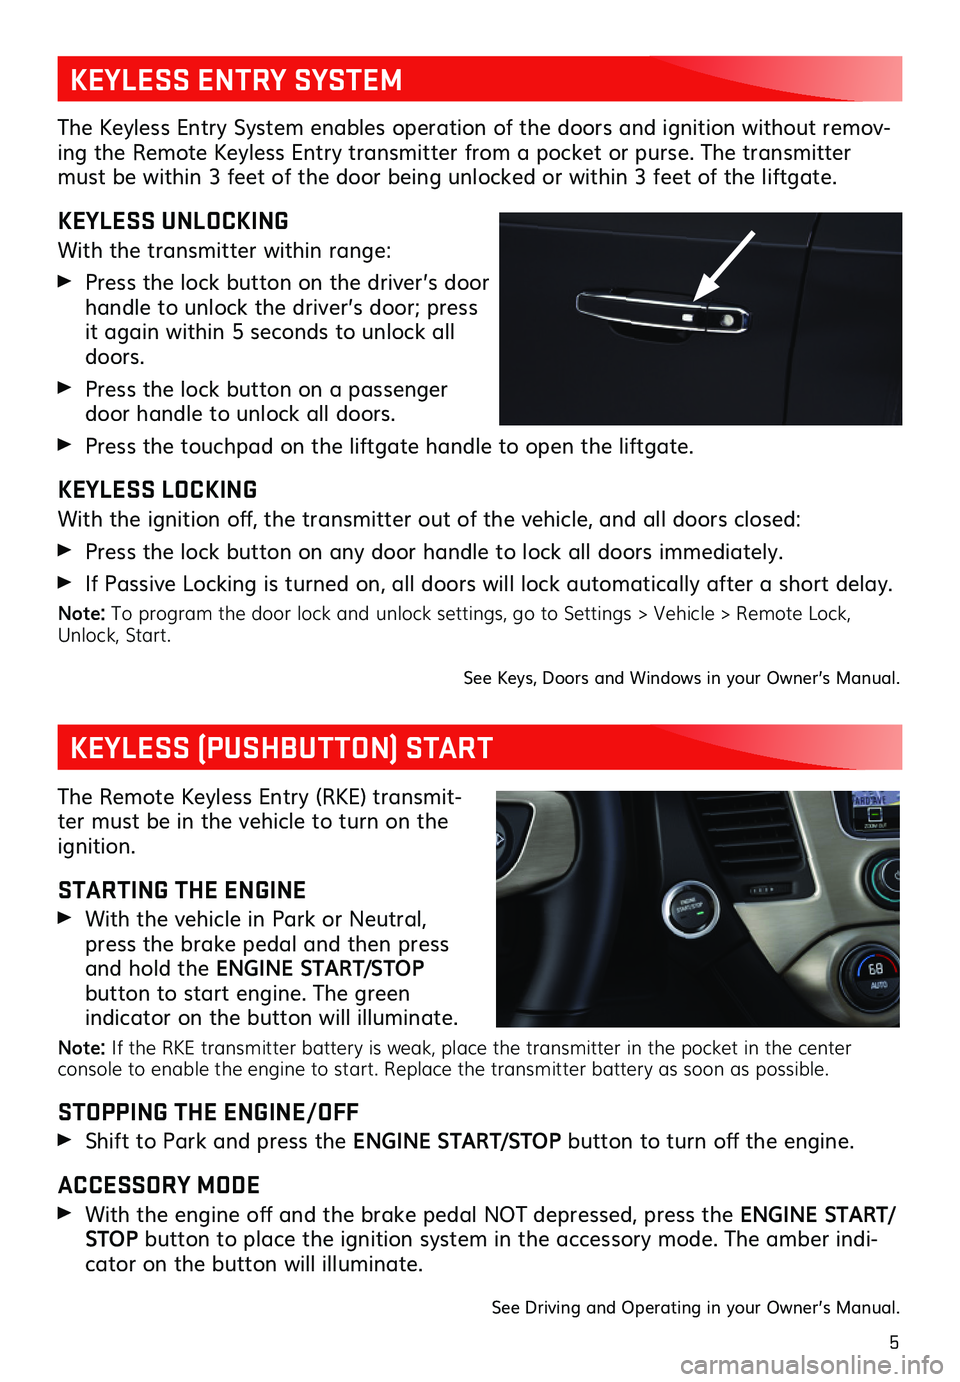
The Universal Remote System on the overhead console enables your vehicle to control 3 different devices, ranging from garage doors and gates to home light-ing. Go to www.homelink.com for detailed
videos and instructions on how to pro-gram the Universal Remote System. For additional assistance, call 1-800-355-3515.
See Instruments and Controls in your Owner’s Manual.
Page 5 of 20

5
The Keyless Entry System enables operation of the doors and ignition without remov-ing the Remote Keyless Entry transmitter from a pocket or purse. The transmitter must be within 3 feet of the door being unlocked or within 3 feet of the liftgate.
KEYLESS UNLOCKING
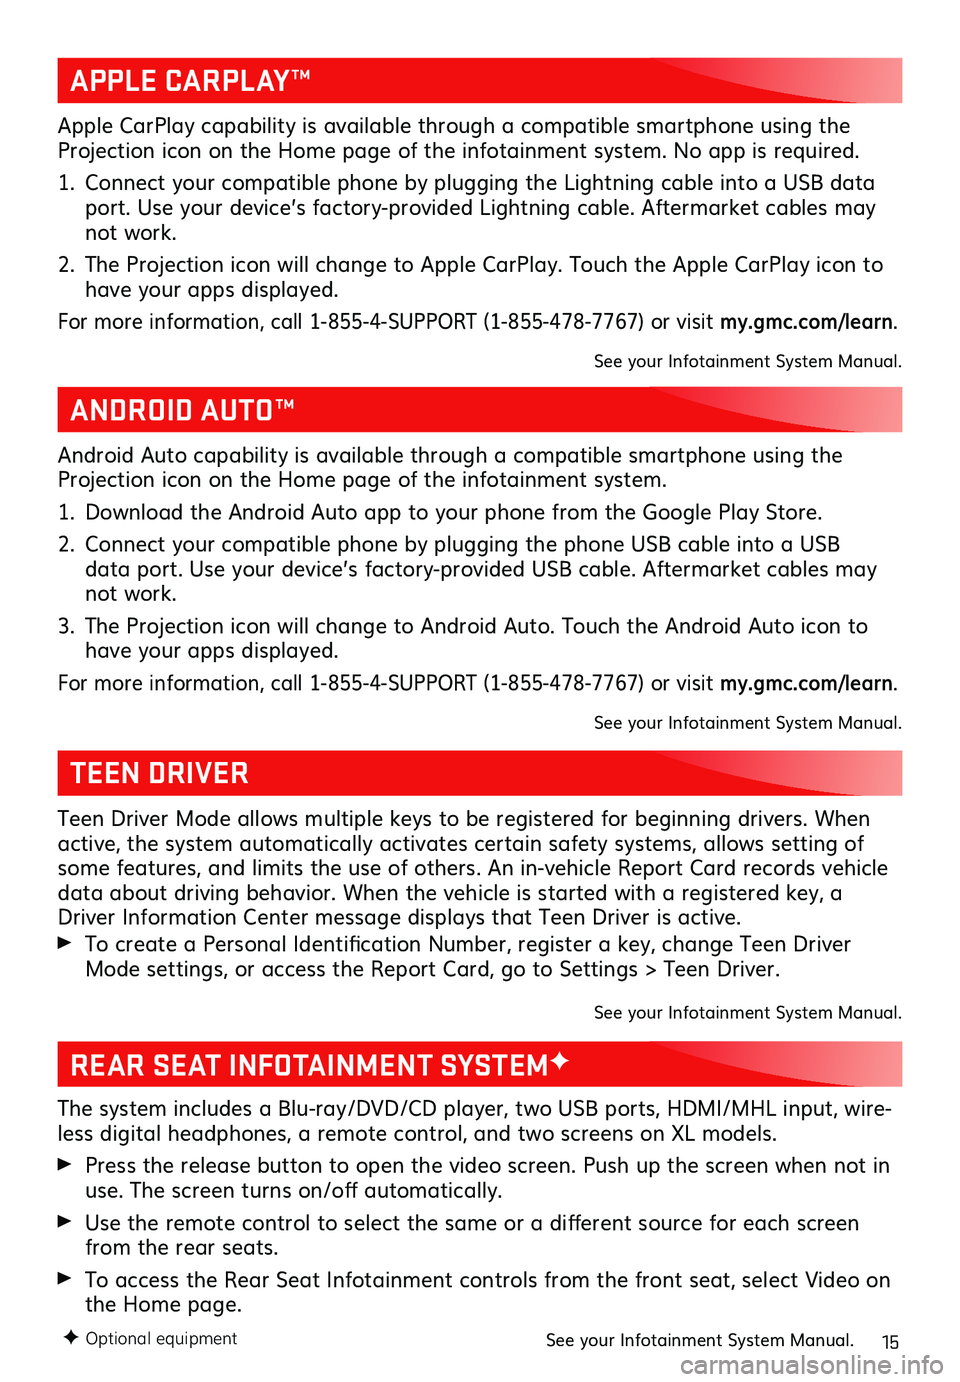
With the transmitter within range:
Press the lock button on the driver’s door
handle to unlock the driver’s door; press it again within 5 seconds to unlock all doors.
Press the lock button on a passenger door handle to unlock all doors.
Press the touchpad on the liftgate handle to open the liftgate.
KEYLESS LOCKING
With the ignition off, the transmitter out of the vehicle, and all doors closed:
Press the lock button on any door handle to lock all doors immediately.
If Passive Locking is turned on, all doors will lock automatically after a short delay.
Note: To program the door lock and unlock settings, go to Settings > Vehicle > Remote Lock, Unlock, Start.
See Keys, Doors and Windows in your Owner’s Manual.
KEYLESS ENTRY SYSTEM
KEYLESS (PUSHBUTTON) START
The Remote Keyless Entry (RKE) transmit-ter must be in the vehicle to turn on the ignition.
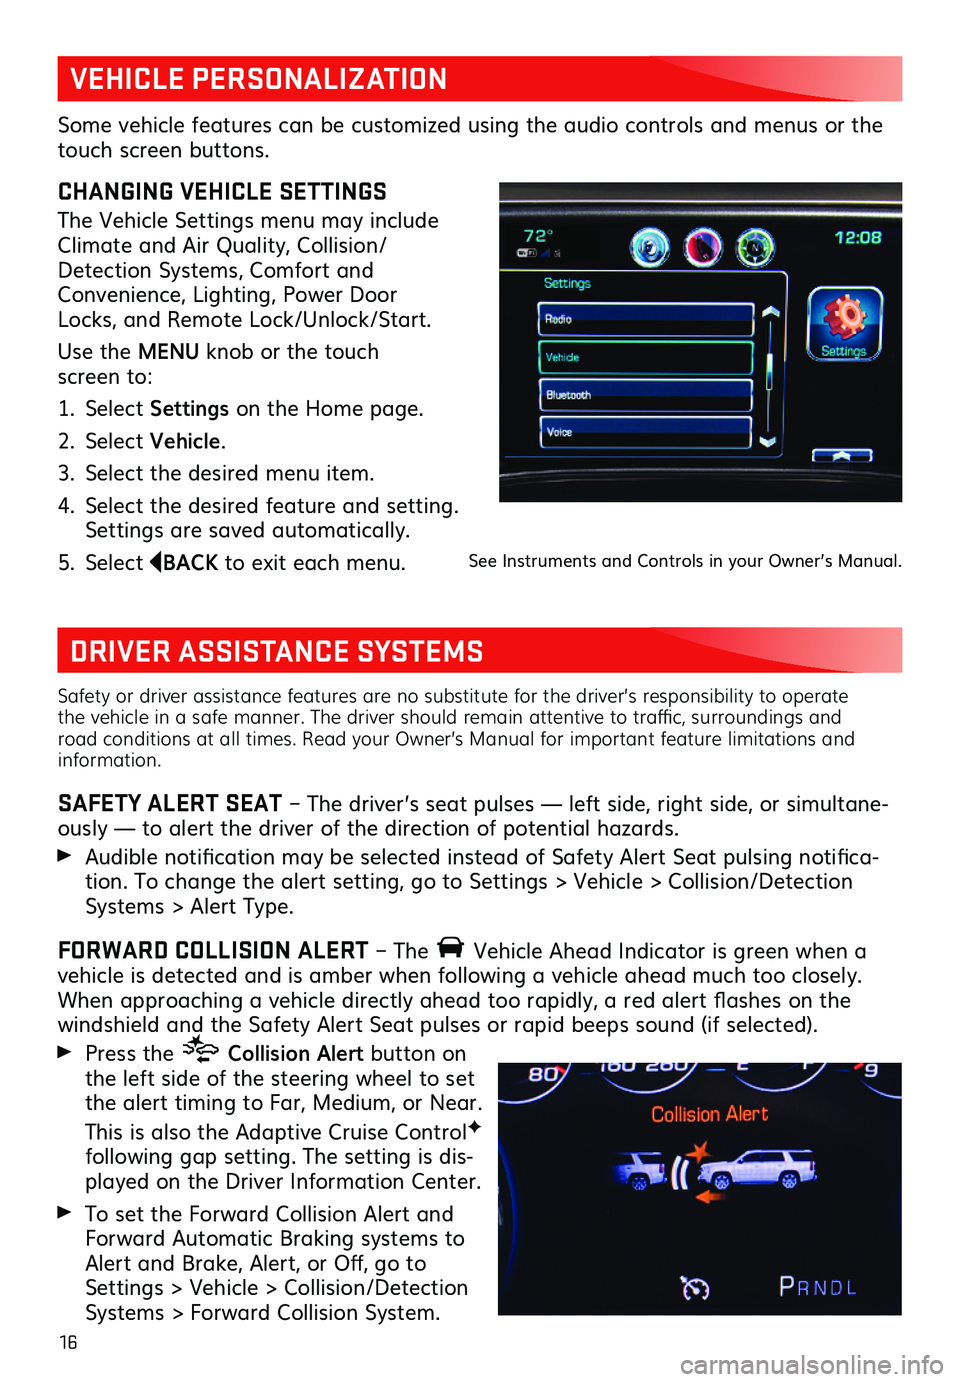
STARTING THE ENGINE
With the vehicle in Park or Neutral, press the brake pedal and then press and hold the ENGINE START/STOP
button to start engine. The green
indicator on the button will illuminate.
Note: If the RKE transmitter battery is weak, place the transmitter in the pocket in the center console to enable the engine to start. Replace the transmitter battery as soon as possible.
STOPPING THE ENGINE/OFF
Shift to Park and press the ENGINE START/STOP button to turn off the engine.
ACCESSORY MODE
With the engine off and the brake pedal NOT depressed, press the ENGINE START/STOP button to place the ignition system in the accessory mode. The amber indi-cator on the button will illuminate.
See Driving and Operating in your Owner’s Manual.
Page 15 of 20

15F Optional equipment
REAR SEAT INFOTAINMENT SYSTEMF
The system includes a Blu-ray/DVD/CD player, two USB ports, HDMI/MHL input, wire-less digital headphones, a remote control, and two screens on XL models.
Press the release button to open the video screen. Push up the screen when not in use. The screen turns on/off automatically.
Use the remote control to select the same or a
different source for each screen from the rear seats.
To access the Rear Seat Infotainment controls from the front seat, select Video on the Home page.
See your Infotainment System Manual.
TEEN DRIVER
Teen Driver Mode allows multiple keys to be registered for beginning drivers. When active, the system automatically activates certain safety systems, allows setting of some features, and limits the use of others. An in-vehicle Report Card records vehicle data about driving behavior. When the vehicle is started with a registered key, a Driver Information Center message displays that Teen Driver is active.
To create a Personal Identification Number, register a key, change Teen Driver Mode settings, or access the Report Card, go to Settings > Teen Driver.
See your Infotainment System Manual.
APPLE CARPLAY™
ANDROID AUTO™
Apple CarPlay capability is available through a compatible smartphone using the Projection icon on the Home page of the infotainment system. No app is required.
1. Connect your compatible phone by plugging the Lightning cable into a USB data port. Use your device’s factory-provided Lightning cable. Aftermarket cables may not work.
2. The Projection icon will change to Apple CarPlay. Touch the Apple CarPlay icon to have your apps displayed.
For more information, call 1-855-4-SUPPORT (1-855-478-7767) or visit my.gmc.com/learn.
See your Infotainment System Manual.
Android Auto capability is available through a compatible smartphone using the Projection icon on the Home page of the infotainment system.
1. Download the Android Auto app to your phone from the Google Play Store.
2. Connect your compatible phone by plugging the phone USB cable into a USB data port. Use your device’s factory-provided USB cable. Aftermarket cables may not work.
3. The Projection icon will change to Android Auto. Touch the Android Auto icon to have your apps displayed.
For more information, call 1-855-4-SUPPORT (1-855-478-7767) or visit my.gmc.com/learn.
See your Infotainment System Manual.
Page 16 of 20

16
Safety or driver assistance features are no substitute for the driver’s responsibility to operate the vehicle in a safe manner. The driver should remain attentive to traffic, surroundings and road conditions at all times. Read your Owner’s Manual for important feature limitations and information.
SAFETY ALERT SEAT – The driver’s seat pulses — left side, right side, or simultane-ously — to alert the driver of the direction of potential hazards.
Audible notification may be selected instead of Safety Alert Seat pulsing notifica-tion. To change the alert setting, go to Settings > Vehicle > Collision/Detection Systems > Alert Type.
FORWARD COLLISION ALERT – The Vehicle Ahead Indicator is green when a vehicle is detected and is amber when following a vehicle ahead much too closely. When approaching a vehicle directly ahead too rapidly, a red alert flashes on the windshield and the Safety Alert Seat pulses or rapid beeps sound (if selected).
Press the Collision Alert button on the left side of the steering wheel to set the alert timing to Far, Medium, or Near.
This is also the Adaptive Cruise ControlF
following gap setting. The setting is dis-played on the Driver Information Center.
To set the Forward Collision Alert and Forward Automatic Braking systems to Alert and Brake, Alert, or Off, go to Settings > Vehicle > Collision/Detection Systems > Forward Collision System.
VEHICLE PERSONALIZATION
DRIVER ASSISTANCE SYSTEMS
CHANGING VEHICLE SETTINGS
The Vehicle Settings menu may include Climate and Air Quality, Collision/Detection Systems, Comfort and Convenience, Lighting, Power Door Locks, and Remote Lock/Unlock/Start.
Use the MENU knob or the touch screen to:
1. Select Settings on the Home page.
2. Select Vehicle.
3. Select the desired menu item.
4. Select the desired feature and setting. Settings are saved automatically.
5. Select BACK to exit each menu.
Some vehicle features can be customized using the audio controls and menus or the touch screen buttons.
See Instruments and Controls in your Owner’s Manual.