clock setting HONDA ACCORD 2022 Owners Manual
[x] Cancel search | Manufacturer: HONDA, Model Year: 2022, Model line: ACCORD, Model: HONDA ACCORD 2022Pages: 657, PDF Size: 11.42 MB
Page 17 of 657

15
Quick Reference Guide
Controls (P 165)
Clock (P166)
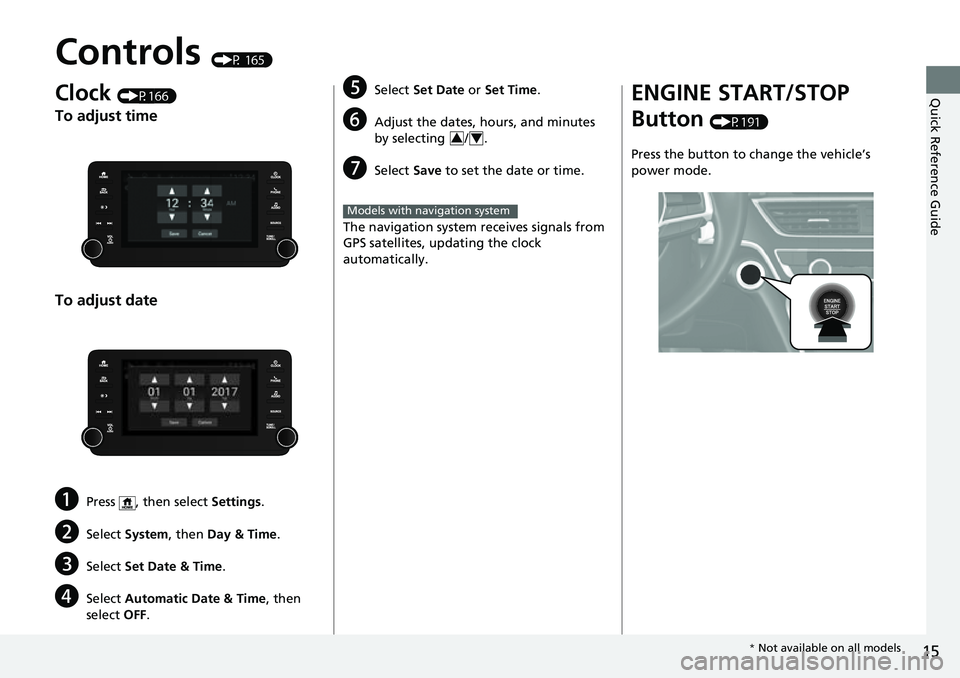
To adjust time
To adjust date
aPress , then select Settings.
bSelect System , then Day & Time.
cSelect Set Date & Time .
dSelect Automatic Date & Time , then
select OFF.
eSelect Set Date or Set Time .
fAdjust the dates, ho urs, and minutes
by selecting / .
gSelect Save to set the date or time.
The navigation system receives signals from
GPS satellites, updating the clock
automatically.
34
Models with navigation system
ENGINE START/STOP
Button
(P191)
Press the button to change the vehicle’s
power mode.
* Not available on all models
Page 168 of 657

166
Controls
Clock
Adjusting the Clock
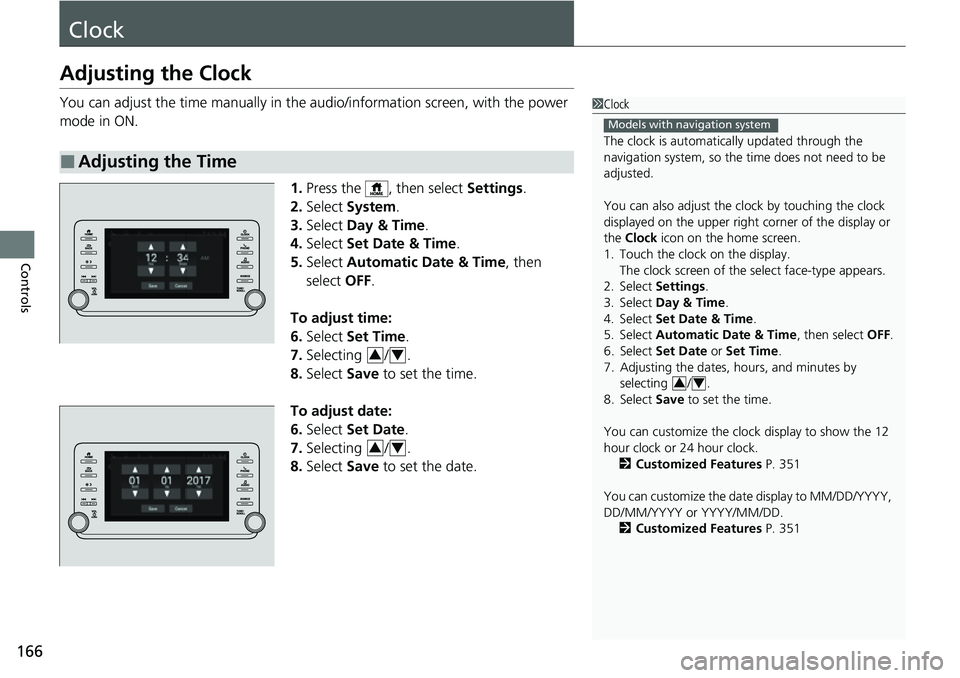
You can adjust the time manually in the audio/information screen, with the power
mode in ON.
1.Press the , then select Settings.
2. Select System .
3. Select Day & Time .
4. Select Set Date & Time .
5. Select Automatic Date & Time , then
select OFF.
To adjust time:
6. Select Set Time.
7. Selecting / .
8. Select Save to set the time.
To adjust date:
6. Select Set Date .
7. Selecting / .
8. Select Save to set the date.
■Adjusting the Time
1Clock
The clock is automatica lly updated through the
navigation system, so the ti me does not need to be
adjusted.
You can also adjust the clock by touching the clock
displayed on the upper right corner of the display or
the Clock icon on the home screen.
1. Touch the clock on the display. The clock screen of the select face-type appears.
2. Select Settings .
3. Select Day & Time .
4. Select Set Date & Time .
5. Select Automatic Date & Time , then select OFF.
6. Select Set Date or Set Time.
7. Adjusting the dates, hours, and minutes by selecting / .
8. Select Save to set the time.
You can customize the clock display to show the 12
hour clock or 24 hour clock. 2 Customized Features P. 351
You can customize the date display to MM/DD/YYYY,
DD/MM/YYYY or YYYY/MM/DD. 2 Customized Features P. 351
Models with navigation system
34
34
34
Page 257 of 657

255
uuAudio System Basic Operation uAudio/Information Screen
Continued
Features
■Trip Computer
Displays the trip computer information.
• Current Drive tab: Displays the current trip information.
• Trip A /Trip B tab: Displays information for the current and three previous drives.
The information is stored ev ery time you reset Trip A/B.
To reset the Trip A/B, select Settings, then select Delete Trip History .
To change the setting of how to reset Trip A/B, select Settings , then select “Trip
A” Reset Timing or “Trip B” Reset Timing .
■Clock
Displays the clock.
■System Updates*
Updates the software version of the audio system.
2 System Updates* P. 266
■FM/AM/SiriusXM*/USB1 (USB)/USB2*/Bluetooth Audio/Smartphone
Connection
Displays information for each audio format.
■Settings
Enters the customizing menu screen.
2 Customized Features P. 351
■Navigation*
Displays the navigation screen.
2Refer to the Navigation System Manual
* Not available on all models
Page 259 of 657

Continued257
uuAudio System Basic Operation uAudio/Information Screen
Features
You can change, store, and delete the wallpaper on the audio/ information screen.
■Import wallpaper
1.Connect the USB flash drive to the USB port
in the center pocket.
2 USB Ports P. 247
2.Select Clock.
3. Select Settings .
4. Select Clock Faces .
5. Select Add New Wallpaper .
u The Searching... screen is displayed.
6. Import a desired picture.
u Multiple pictures can be imported at the
same time.
7. Select Start Import .
u The display will return to the Clock Faces
screen.
■Wallpaper Setup1 Wallpaper Setup
The wallpaper you set up on Clock Faces cannot be
displayed on the driver information interface.
•When importing wallpaper f iles, the image must be
in the USB flash drive’s root directory. Images in a
folder cannot be imported.
•The file name must be fewe r than 64 characters (64
bytes).
•The file format of the im age that can be imported
is BMP (bmp) or JPEG (jpg).
•If the USB flash drive doe s not have any pictures,
the No files detected message appears.
•Up to five pictur es can be imported.
•The individual file size limit is 2 MB.•The maximum image size is 1,920 × 936 pixels. If
the image size is less the image is displayed in the
middle of the screen with the extra area appearing
in black.
Page 260 of 657

uuAudio System Basic Operation uAudio/Information Screen
258
Features
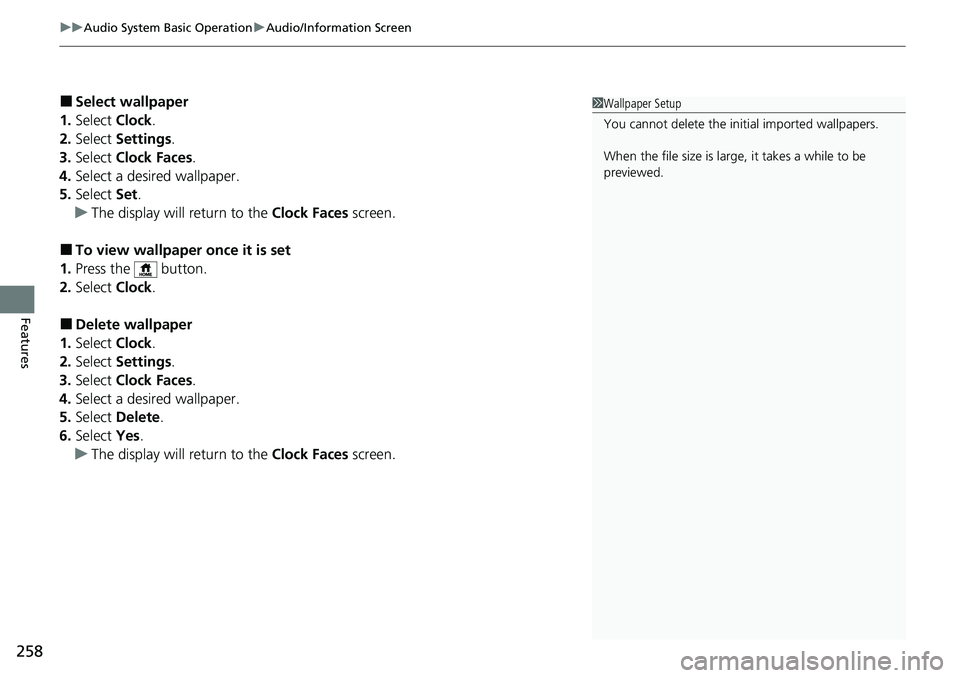
■Select wallpaper
1. Select Clock.
2. Select Settings .
3. Select Clock Faces .
4. Select a desired wallpaper.
5. Select Set.
u The display will return to the Clock Faces screen.
■To view wallpaper once it is set
1. Press the button.
2. Select Clock.
■Delete wallpaper
1. Select Clock.
2. Select Settings .
3. Select Clock Faces .
4. Select a desired wallpaper.
5. Select Delete.
6. Select Yes.
u The display will return to the Clock Faces screen.
1Wallpaper Setup
You cannot delete the initial imported wallpapers.
When the file size is large, it takes a while to be
previewed.
Page 360 of 657

358
uuCustomized Features u
Features
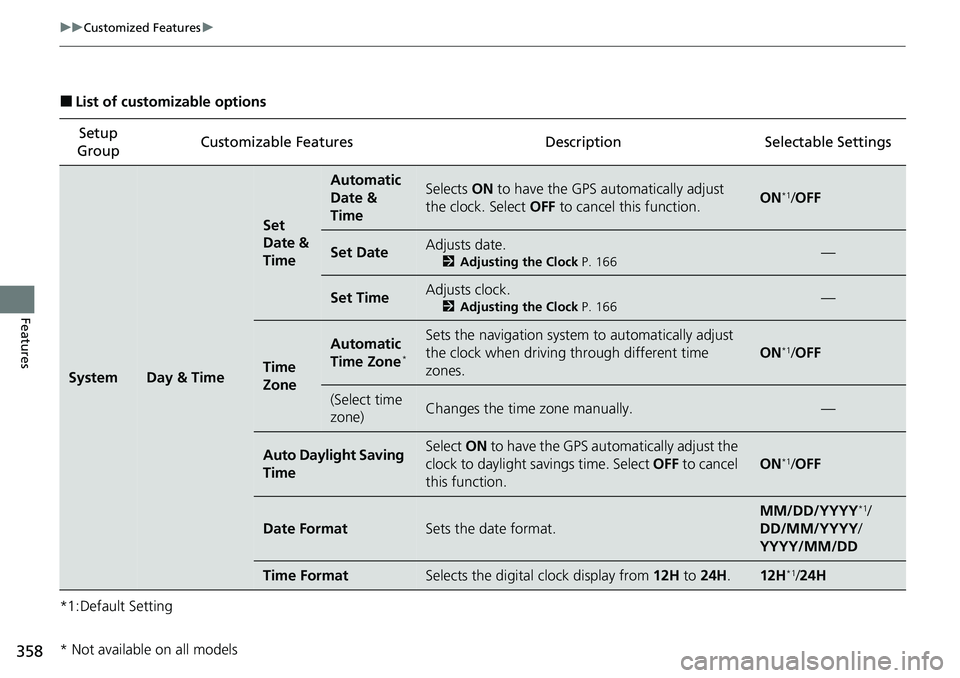
■List of customizable options
*1:Default Setting Setup
Group Customizable Features Description Selectable Settings
SystemDay & Time
Set
Date &
Time
Automatic
Date &
TimeSelects
ON to have the GPS automatically adjust
the clock. Select OFF to cancel this function.ON*1/OFF
Set DateAdjusts date.
2 Adjusting the Clock P. 166—
Set TimeAdjusts clock.
2Adjusting the Clock P. 166—
Time
Zone
Automatic
Time Zone*
Sets the navigation system to automatically adjust
the clock when driving through different time
zones.
ON*1/ OFF
(Select time
zone)Changes the time zone manually.—
Auto Daylight Saving
TimeSelect ON to have the GPS automatically adjust the
clock to daylight savings time. Select OFF to cancel
this function.
ON*1/ OFF
Date FormatSets the date format.
MM/DD/YYYY*1/
DD/MM/YYYY /
YYYY/MM/DD
Time FormatSelects the digital clock display from 12H to 24H.12H*1/24H
* Not available on all models