engine overheat HONDA ACCORD COUPE 2001 CF / 6.G Owners Manual
[x] Cancel search | Manufacturer: HONDA, Model Year: 2001, Model line: ACCORD COUPE, Model: HONDA ACCORD COUPE 2001 CF / 6.GPages: 372, PDF Size: 6.1 MB
Page 198 of 372
5-speed Manual Transmission
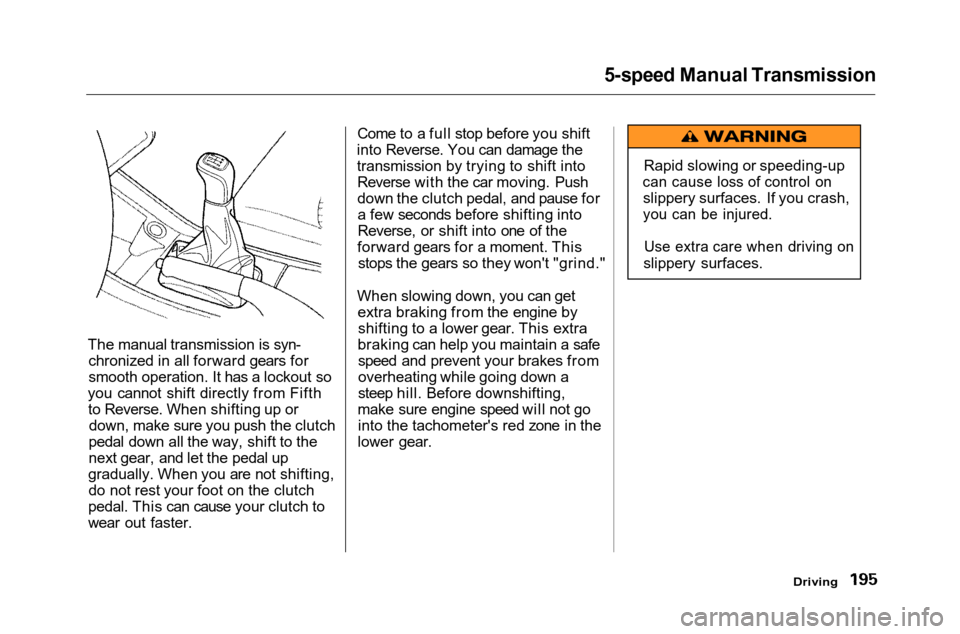
The manual transmission is syn- chronized in all forward gears for
smooth operation. It has a lockout so
you cannot shift directly from Fifth to Reverse. When shifting up or down, make sure you push the clutch
pedal down all the way, shift to the
next gear, and let the pedal up
gradually. When you are not shifting, do not rest your foot on the clutch
pedal. This can cause your clutch to
wear out faster. Come to a full stop before you shift
into Reverse. You can damage the
transmission by trying to shift into Reverse with the car moving. Push
down the clutch pedal, and pause fora few seconds before shifting into
Reverse, or shift into one of the
forward gears for a moment. This stops the gears so they won't "grind."
When slowing down, you can get extra braking from the engine byshifting to a lower gear. This extra
braking can help you maintain a safe speed and prevent your brakes from
overheating while going down a
steep hill. Before downshifting,
make sure engine speed will not go into the tachometer's red zone in the
lower gear.
Driving
Rapid slowing or speeding-up
can cause loss of control on
slippery surfaces. If you crash,
you can be injured.
Use extra care when driving on
slippery surfaces.
Page 210 of 372
Traction Control System
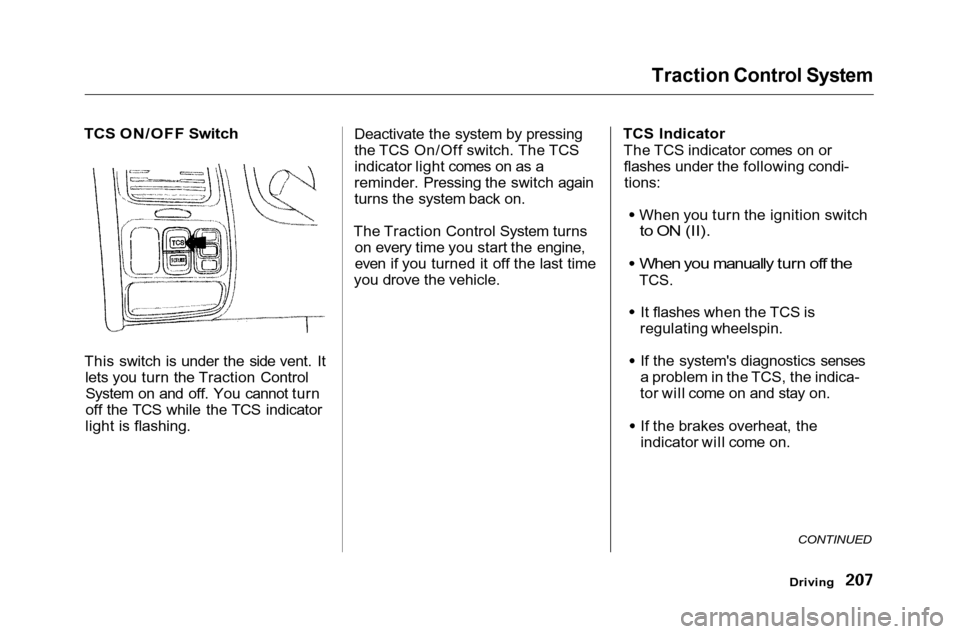
TCS ON/OFF Switch
This switch is under the side vent. It lets you turn the Traction ControlSystem on and off. You cannot turn
off the TCS while the TCS indicator
light is flashing. Deactivate the system by pressing
the TCS On/Off switch. The TCS
indicator light comes on as a
reminder. Pressing the switch again
turns the system back on.
The Traction Control System turns on every time you start the engine,
even if you turned it off the last time
you drove the vehicle. TCS Indicator
The TCS indicator comes on orflashes under the following condi-tions:
When you turn the ignition switch
to ON (II).
When you manually turn off the
TCS.
It flashes when the TCS is
regulating wheelspin.
If the system's diagnostics senses
a problem in the TCS, the indica-
tor will come on and stay on.
If the brakes overheat, the
indicator will come on.
CONTINUED
Driving
Page 219 of 372
Towing a Trailer
Driving Safely With a Trailer
The added weight, length, and height of a trailer will affect your
vehicle's handling and performance, so driving with a trailer requiressome special driving skills and
techniques.
For your safety and the safety ofothers, take time to practice driving
maneuvers before heading for theopen road, and follow the guidelines
discussed below.
Towing Speeds and Gears
Drive slower than normal in all
driving situations, and obey posted
speed limits for vehicles with trailers.
If you have an automatic
transmission, use D4 position when
towing a trailer on level roads. D3 is
the proper shift lever position to use
when towing a trailer in hilly terrain. (See "Driving on Hills" in the next
column for additional gear
information.)
Making Turns and Braking
Make turns more slowly and wider
than normal. The trailer tracks a smaller arc than your vehicle, and it
can hit or run over something the
vehicle misses. Allow more time and distance for braking. Do not brake or
turn suddenly as this could cause the
trailer to jackknife or turn over.
Driving on Hills
When climbing hills, closely watch your temperature gauge. If it nearsthe red (Hot) mark, turn the airconditioning off, reduce speed and, if
necessary, pull to the side of the
road to let the engine cool.
If the automatic transmission shifts
frequently between 3rd and 4th
gears while going up a hill, shift to
D3.
If you must stop when facing uphill,
use the foot brake or parking brake.
Do not try to hold the vehicle in
place by pressing on the accelerator, as this can cause the automatic
transmission to overheat.
When driving down hills, reduce your speed and shift down to 2nd
gear. Do not "ride" the brakes, andremember it will take longer to slowdown and stop when towing a trailer.
Driving
Page 260 of 372
Spark Plugs (4-cylinder Models)
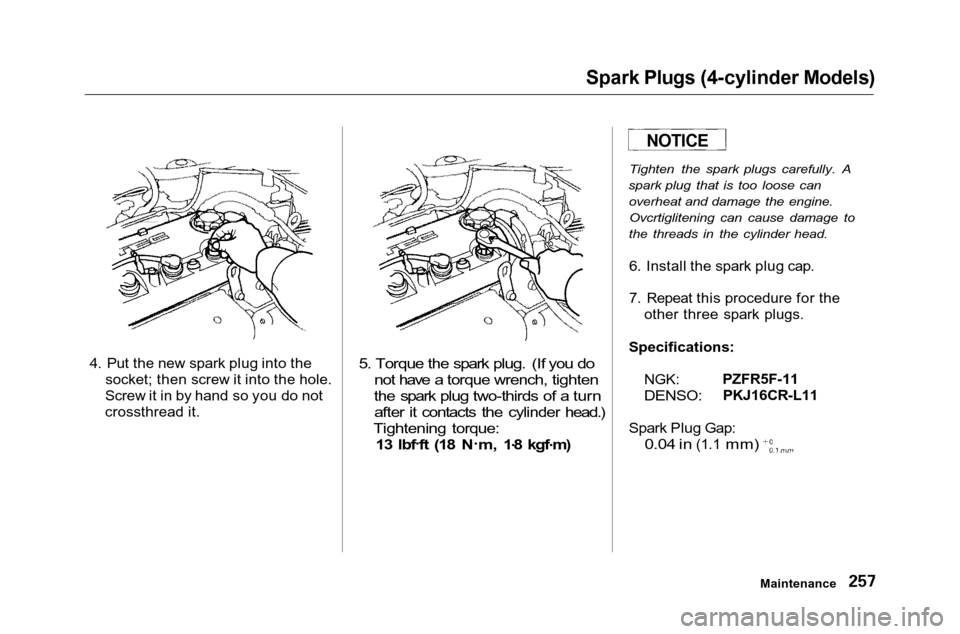
4. Put the new spark plug into the socket; then screw it into the hole.
Screw it in by hand so you do not
crossthread it.
5. Torque the spark plug. (If you do
not have a torque wrench, tighten
the spark plug two-thirds of a turn after it contacts the cylinder head.)
Tightening torque: 13 lbf .
ft (18 N .
m, 1 .
8 kgf .
m) Tighten the spark plugs carefully. A
spark plug that is too loose can overheat and damage the engine.Ovcrtiglitening can cause damage to
the threads in the cylinder head.
6. Install the spark plug cap.
7. Repeat this procedure for the other three spark plugs.
Specifications: NGK:
DENSO:
PZFR5F-11
PKJ16CR-L11
Spark Plug Gap:
0.04 in
(1.1
mm)
Maintenance
NOTICE
Page 262 of 372
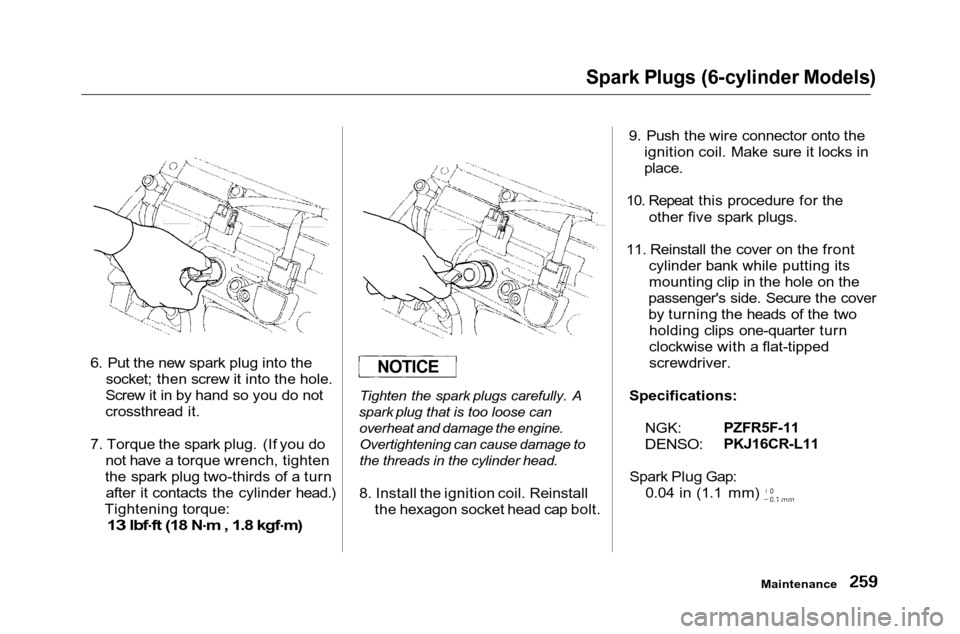
Spark Plugs (6-cylinder Models)
6. Put the new spark plug into the socket; then screw it into the hole.
Screw it in by hand so you do not
crossthread it.
7. Torque the spark plug. (If you do not have a torque wrench, tighten
the spark plug two-thirds of a turn after it contacts the cylinder head.)
Tightening torque:
13 lbf .
ft (18 N .
m , 1.8 kgf .
m)
Tighten the spark plugs carefully. A
spark plug that is too loose can overheat and damage the engine.Overtightening can cause damage to
the threads in the cylinder head.
8. Install the ignition coil. Reinstall the hexagon socket head cap bolt. 9. Push the wire connector onto the
ignition coil. Make sure it locks in
place.
10. Repeat this procedure for the other five spark plugs.
11. Reinstall the cover on the front cylinder bank while putting its
mounting clip in the hole on the
passenger's side. Secure the cover
by turning the heads of the two holding clips one-quarter turn clockwise with a flat-tipped
screwdriver.
Specifications:
NGK:
DENSO:
PZFR5F-11
PKJ16CR-L11
Spark Plug Gap:
0.04 in
(1.1
mm)
Maintenance
NOTICE
Page 298 of 372
Taking Care of the Unexpected
This section covers the more- common problems that motoristsexperience with their vehicles. It
gives you information about how to safely evaluate the problem and what
to do to correct it. If the problem has
stranded you on the side of the road,
you may be able to get going again. If not, you will also find instructions
on getting your car towed. Compact Spare Tire....................... 296
Changing a Flat Tire ..................... 297
If Your Engine Won't Start........... 302 Nothing Happens or theStarter Motor OperatesVery Slowly............................. 303
The Starter Operates Normally................................. 304
Jump Starting................................. 304 If Your Engine Overheats............. 307
Low Oil Pressure Indicator.......... 309Charging System Indicator........... 310
Malfunction Indicator Lamp ........ 311 Readiness Codes........................ 312
Brake System Indicator................ 313 Closing the Moonroof................... 314
Fuses............................................... 315 Checking and Replacing........... 316
Emergency Towing....................... 320
Taking Care of the Unexpected
Page 310 of 372
If Your Engine Overheats
The pointer of your car's tempera- ture gauge should stay in the mid-range under most conditions. It may
go higher if you are driving up a long steep hill on a very hot day. If it
climbs to the red mark, you should
determine the reason.
Driving with the temperature gauge
pointer at the red mark can cause serious damage to your engine.
Your car can overheat for several
reasons, such as lack of coolant or a
mechanical problem. The only
indication may be the temperature
gauge climbing to or above the red mark. Or you may see steam or
spray coming from under the hood.
In either case, you should take
immediate action.
1. Safely pull to the side of the road.
Put the transmission in Neutral or
Park and set the parking brake.
Turn off the heating and cooling system and all other accessories.
Turn on the hazard warning indicators.
2. If you see steam and/or spray coming from under the hood, turn
off the engine.
3. If you do not see steam or spray, leave the engine running and
watch the temperature gauge. If the high heat is due to overloading (climbing a long, steep hill on a
hot day with the A/C running, for example), the engine should start
to cool down almost immediately.
If it does, wait until the tempera-
ture gauge comes down to the mid-
point then continue driving.
CONTINUED
Taking Care of the Unexpected
Steam and spray from an
overheated engine can
seriously scald you.
Do not open the hood if steam
is coming out.
NOTICE
Page 311 of 372
If Your Engine Overheats
4. If the temperature gauge stays at the red mark, turn off the engine.
5. Wait until you see no more signs of steam or spray, then open the
hood.
6. Look for any obvious coolant leaks, such as a split radiator hose.
Everything is still extremely hot,so use caution. If you find a leak, it
must be repaired before you
continue driving (see Emergency
Towing on page 320).
7. If you don't find an obvious leak, check the coolant level in the
radiator reserve tank (see page 184). If the level is below the
MIN mark, add coolant to halfway
between the MIN and MAX marks.
8. If there was no coolant in the reserve tank, you may also have to
add coolant to the radiator. Let the
engine cool down until the pointer reaches the middle of the tempera-
ture gauge, or lower, before check- ing the radiator.
9. Using gloves or a large heavy cloth, turn the radiator cap
counterclockwise, without pushing
down, to the first stop. This
releases any remaining pressure in
the cooling system. After the
pressure releases, push down on
the cap and turn it until it comes
off. 10. Start the engine and set the
temperature control dial tomaximum (climate control to
FULL AUTO at 90°F/32°C). Add
coolant to the radiator up to the
base of the filler neck. If you do
not have the proper coolant mixture available, you can add
plain water. Remember to have
the cooling system drained and refilled with the proper mixture as
soon as you can.
11. Put the radiator cap back on tightly. Run the engine and watch
the temperature gauge. If it goes
back to the red mark, the engine
needs repair. (See Emergency
Towing on page 320.)
12. If the temperature stays normal, check the coolant level in the
radiator reserve tank. If it has
gone down, add coolant to the MAX mark. Put the cap back on
tightly.
Taking Care of the Unexpected
Removing the radiator cap
while the engine is hot can
cause the coolant to spray out, seriously scalding you.
Always let the engine and radiator cool down before
removing the radiator cap.
Page 352 of 372
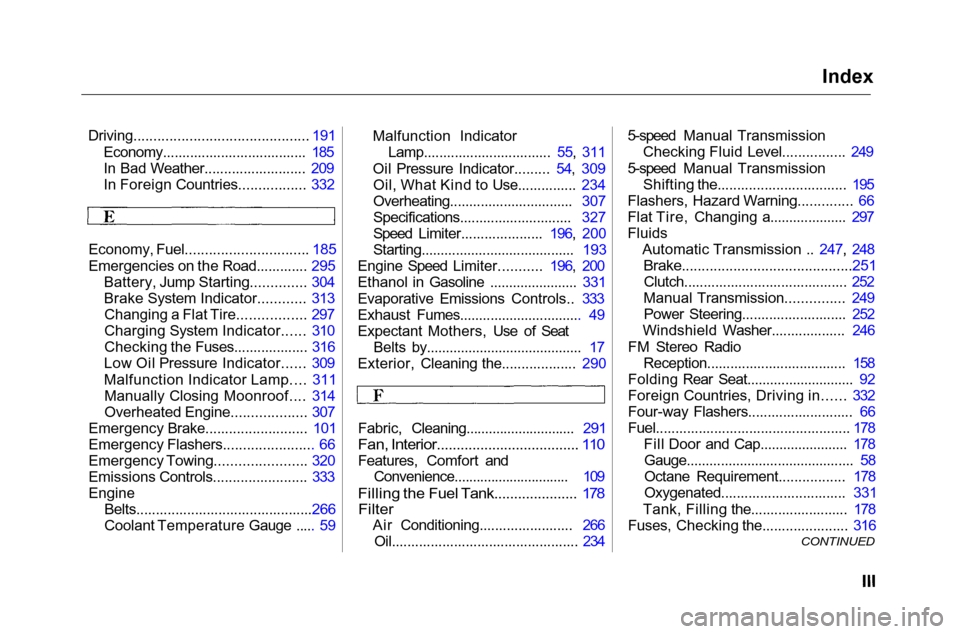
Index
Driving............................................ 191 Economy..................................... 185
In Bad Weather.......................... 209
In Foreign Countries................. 332
Economy, Fuel............................... 185
Emergencies on the Road............. 295 Battery, Jump Starting.............. 304
Brake System Indicator............ 313Changing a Flat Tire................. 297
Charging System Indicator...... 310
Checking the Fuses................... 316
Low Oil Pressure Indicator...... 309
Malfunction Indicator Lamp.... 311 Manually Closing Moonroof.... 314
Overheated Engine................... 307
Emergency Brake.......................... 101
Emergency Flashers....................... 66
Emergency Towing....................... 320
Emissions Controls........................ 333
Engine
Belts.............................................266
Coolant Temperature Gauge ..... 59 Malfunction Indicator
Lamp................................. 55, 311
Oil Pressure Indicator......... 54, 309 Oil, What Kind to Use............... 234
Overheating................................ 307
Specifications............................. 327
Speed Limiter..................... 196, 200
Starting........................................ 193
Engine Speed Limiter........... 196, 200
Ethanol in Gasoline ....................... 331
Evaporative Emissions Controls.. 333
Exhaust Fumes................................ 49
Expectant Mothers, Use of Seat Belts by......................................... 17
Exterior, Cleaning the................... 290
Fabric, Cleaning............................. 291
Fan, Interior.................................... 110
Features, Comfort and Convenience............................... 109
Filling the Fuel Tank..................... 178
Filter
Air Conditioning........................ 266
Oil................................................ 234 5-speed Manual Transmission
Checking Fluid Level................ 249
5-speed Manual Transmission Shifting the................................. 195
Flashers, Hazard Warning.............. 66
Flat Tire, Changing a.................... 297
Fluids Automatic Transmission .. 247, 248
Brake...........................................251
Clutch.......................................... 252
Manual Transmission............... 249 Power Steering........................... 252
Windshield Washer................... 246
FM Stereo Radio Reception.................................... 158
Folding Rear Seat............................ 92
Foreign Countries, Driving in...... 332
Four-way Flashers........................... 66
Fuel.................................................. 178 Fill Door and Cap....................... 178Gauge............................................ 58
Octane Requirement................. 178
Oxygenated................................ 331
Tank, Filling the......................... 178
Fuses, Checking the...................... 316
CONTINUED
Page 354 of 372
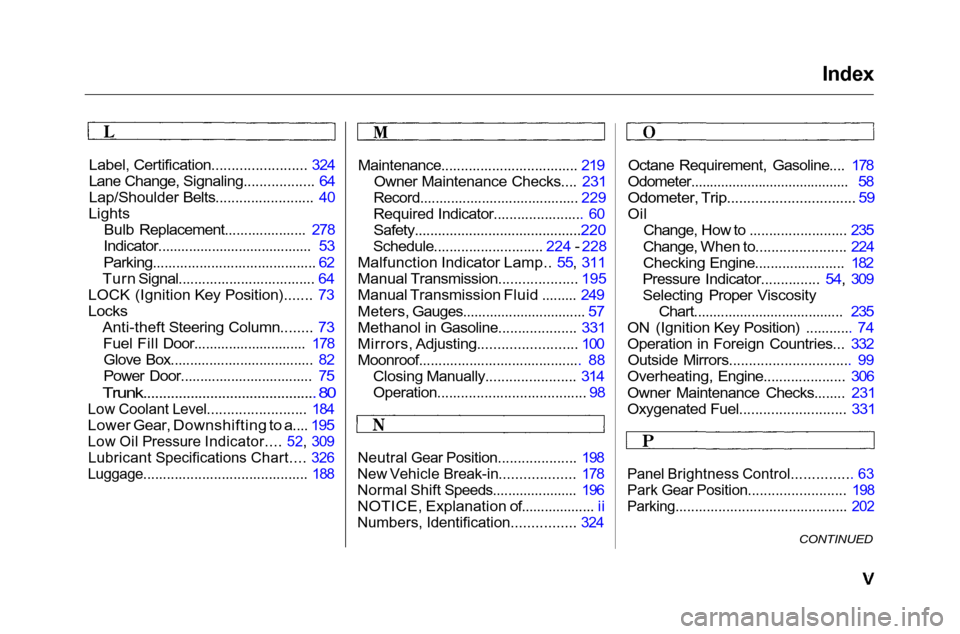
Index
Label, Certification........................ 324
Lane Change, Signaling.................. 64
Lap/Shoulder Belts......................... 40
Lights Bulb Replacement..................... 278
Indicator........................................ 53
Parking.......................................... 62
Turn Signal................................... 64
LOCK (Ignition Key Position)....... 73
Locks
Anti-theft Steering Column........ 73Fuel Fill Door............................. 178Glove Box..................................... 82
Power Door.................................. 75
Trunk............................................
80
Low Coolant Level......................... 184
Lower Gear, Downshifting to a.... 195
Low Oil Pressure Indicator.... 52, 309
Lubricant Specifications Chart.... 326
Luggage.......................................... 188
Maintenance................................... 219
Owner Maintenance Checks.... 231
Record......................................... 229
Required Indicator....................... 60
Safety...........................................220
Schedule............................
224 -
228
Malfunction Indicator Lamp.. 55, 311
Manual Transmission.................... 195
Manual Transmission Fluid ......... 249
Meters, Gauges................................ 57
Methanol in Gasoline.................... 331
Mirrors, Adjusting......................... 100
Moonroof.......................................... 88
Closing Manually....................... 314
Operation...................................... 98
Neutral Gear Position.................... 198
New Vehicle Break-in................... 178
Normal Shift Speeds...................... 196
NOTICE, Explanation of................... ii
Numbers, Identification................ 324
Octane Requirement, Gasoline.... 178
Odometer.......................................... 58
Odometer, Trip................................ 59
Oil Change, How to ......................... 235
Change, When to....................... 224
Checking Engine....................... 182
Pressure Indicator............... 54, 309
Selecting Proper Viscosity Chart....................................... 235
ON (Ignition Key Position) ............ 74
Operation in Foreign Countries... 332 Outside Mirrors............................... 99
Overheating, Engine..................... 306
Owner Maintenance Checks........ 231
Oxygenated Fuel........................... 331
Panel Brightness Control............... 63
Park Gear Position......................... 198
Parking............................................ 202
CONTINUED