stop start HONDA ACCORD COUPE 2014 9.G Repair Manual
[x] Cancel search | Manufacturer: HONDA, Model Year: 2014, Model line: ACCORD COUPE, Model: HONDA ACCORD COUPE 2014 9.GPages: 593, PDF Size: 22.22 MB
Page 427 of 593
uuWhen Driving uStarting the Engine
426
Driving
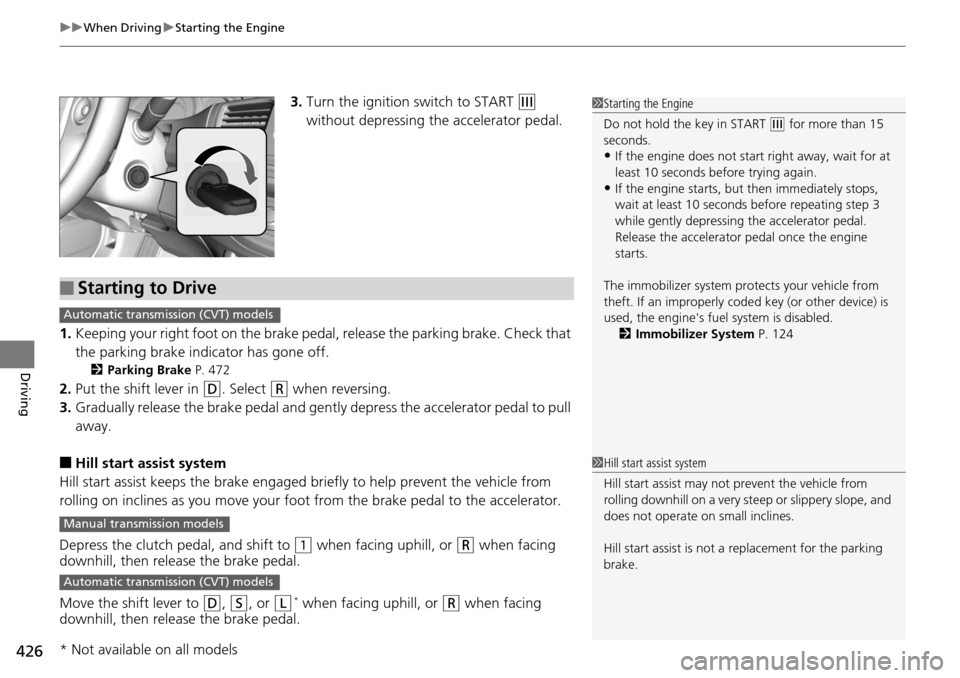
3. Turn the ignition switch to START (e
without depressing the accelerator pedal.
1. Keeping your right foot on the brake peda l, release the parking brake. Check that
the parking brake indicator has gone off.
2 Parking Brake P. 472
2.Put the shift lever in (D. Select (R when reversing.
3. Gradually release the brake pedal and gently depress the accelerator pedal to pull
away.
■Hill start assist system
Hill start assist keeps the brake engaged br iefly to help prevent the vehicle from
rolling on inclines as you move your fo ot from the brake pedal to the accelerator.
Depress the clutch pedal, and shift to
(1 when facing uphill, or (R when facing
downhill, then release the brake pedal.
Move the shift lever to
(D, (S, or (L* when facing uphill, or (R when facing
downhill, then release the brake pedal.
1 Starting the Engine
Do not hold the key in START
(e for more than 15
seconds.
•If the engine does not start right away, wait for at
least 10 seconds before trying again.
•If the engine starts, but then immediately stops,
wait at least 10 seconds before repeating step 3
while gently depressing the accelerator pedal.
Release the accelerator pedal once the engine
starts.
The immobilizer system pr otects your vehicle from
theft. If an improperly code d key (or other device) is
used, the engine's fuel system is disabled.
2 Immobilizer System P. 124
■Starting to Drive
Automatic transmission (CVT) models
Manual transmission models
Automatic transmission (CVT) models
1Hill start assist system
Hill start assist may not prevent the vehicle from
rolling downhill on a very st eep or slippery slope, and
does not operate on small inclines.
Hill start assist is not a replacement for the parking
brake.
* Not available on all models
Page 429 of 593
uuWhen Driving uStarting the Engine
428
Driving
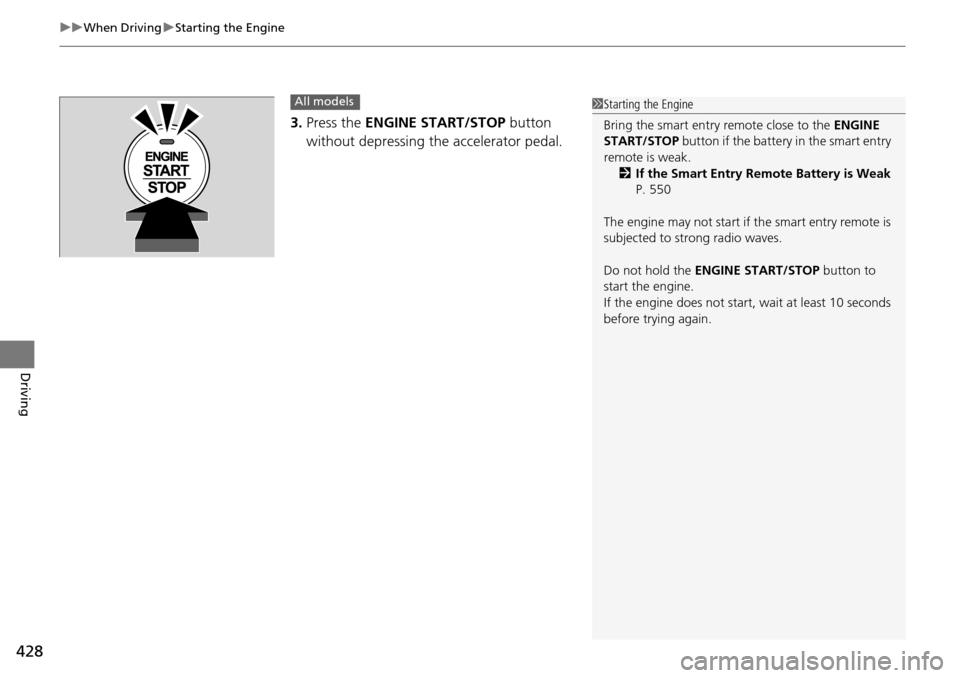
3. Press the ENGINE START/STOP button
without depressing the accelerator pedal.
All models1 Starting the Engine
Bring the smart entry remote close to the ENGINE
START/STOP button if the battery in the smart entry
remote is weak. 2 If the Smart Entry Remote Battery is Weak
P. 550
The engine may not start if the smart entry remote is
subjected to strong radio waves.
Do not hold the ENGINE START/STOP button to
start the engine.
If the engine does not start, wait at least 10 seconds
before trying again.
Page 430 of 593
429
uuWhen Driving uStarting the Engine
Continued
Driving
You can turn the engine off when the vehicle is completely stopped.
1. Shift to
(P.
2. Press the ENGINE START/STOP button.
• If the shift lever is in
(N, press the ENGINE START/STOP button.
• If the shift lever is in any gear other than (N, depress the clutch pedal, then press
the ENGINE START/STOP button.
1. Keeping your right foot on the brake pedal, release the parking brake. Check that
the parking brake indicator has gone off.
2 Parking Brake P. 472
2.Put the shift lever in (D. Select (R when reversing.
3. Gradually release the brake pedal and gently depress the accelerator pedal to pull
away.
■Stopping the Engine
■Starting to Drive
Automatic transmission/CVT models
Manual transmission models
Automatic transmission/CVT models
Page 432 of 593
431
uuWhen Driving uPrecautions While Driving
Driving
Precautions While Driving
Avoid driving in deep water and on flooded roads. This can damage the engine or
driveline, or cause electrical component failure.
If there is a strong impact with something under the vehicle, stop in a safe location.
Check the underside of the vehicle for damage or any fluid leaks.
*1: Models with the smart entry system have an ENGINE START/STOP button instead of an
ignition switch.
■In Rain
■Other Precautions
1 Precautions While Driving
NOTICE
Do not operate the shift lever while pressing the
accelerator pedal. You could damage the
transmission.
If the ignition switch is turned to ACCESSORY
( q*1
while driving, the engine will shut down and all
steering and brake power a ssist functions will stop,
making it difficult to control the vehicle.
Do not put the shift lever in
( N, as you will lose
engine braking (and acce leration) performance.
During the first 600 miles (1,000 km) of operation,
avoid sudden acceleration or full throttle operation so
as to not damage the engine or powertrain.
Avoid hard braking for the first 200 miles (300 km).
You should also follow this when the brake pads are
replaced.
NOTICE
If you repeatedly turn the steering wheel at an
extremely low speed, or hold the steering wheel on
the full left or right position for a while, the electric
power steering (EPS) system heats up. The system
goes into a protective mode, and limits its
performance. The steering wheel becomes harder
and harder to operate. Once the system cools down,
the EPS system is restored.
Repeated operation under these conditions can
eventually damage the system.
Page 434 of 593
433
uuWhen Driving uShifting
Continued
Driving
Shifting
Change the shift position in accordance with your driving needs.
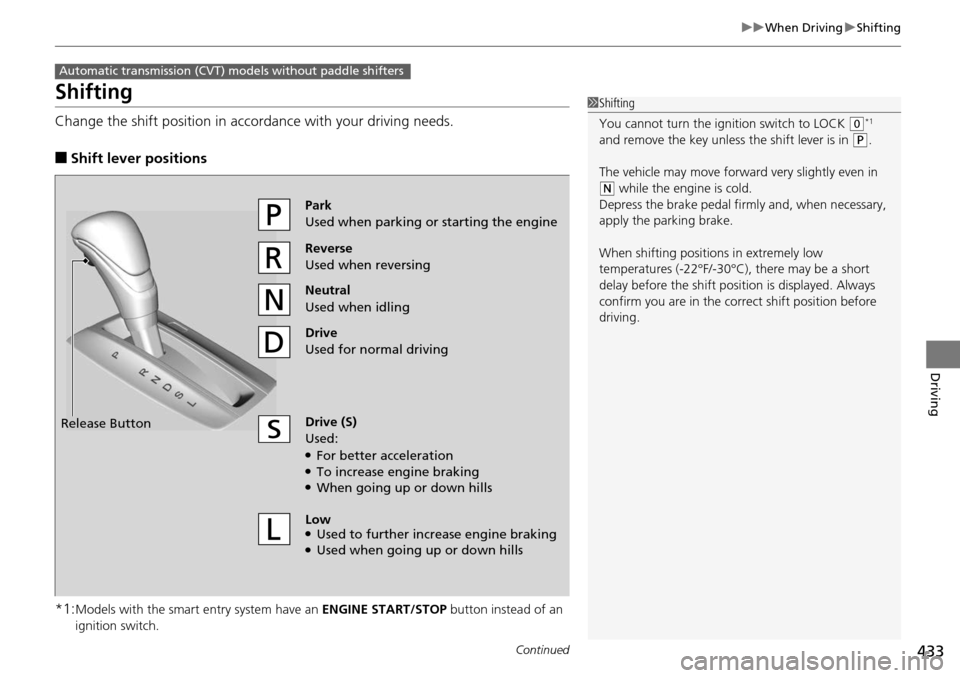
■Shift lever positions
*1:
Models with the smart entry system have an ENGINE START/STOP button instead of an
ignition switch.
Automatic transmission (CVT) models without paddle shifters
1 Shifting
You cannot turn the ignition switch to LOCK
(0*1
and remove the key unless the shift lever is in
( P.
The vehicle may move forward very slightly even in
(N while the engine is cold.
Depress the brake pe dal firmly and, when necessary,
apply the parking brake.
When shifting positions in extremely low
temperatures (-22°F/-30°C), there may be a short
delay before the shift posit ion is displayed. Always
confirm you are in the corr ect shift position before
driving.
Reverse
Used when reversing
Drive
Used for normal driving
Park
Used when parking or starting the engine
Neutral
Used when idling
Release Button
Drive (S)
Used:
●For better acceleration●To increase engine braking●When going up or down hills
Low
●Used to further increase engine braking●Used when going up or down hills
Page 436 of 593
435
uuWhen Driving uShifting
Continued
Driving
Shifting
Change the shift position in accordance with your driving needs.
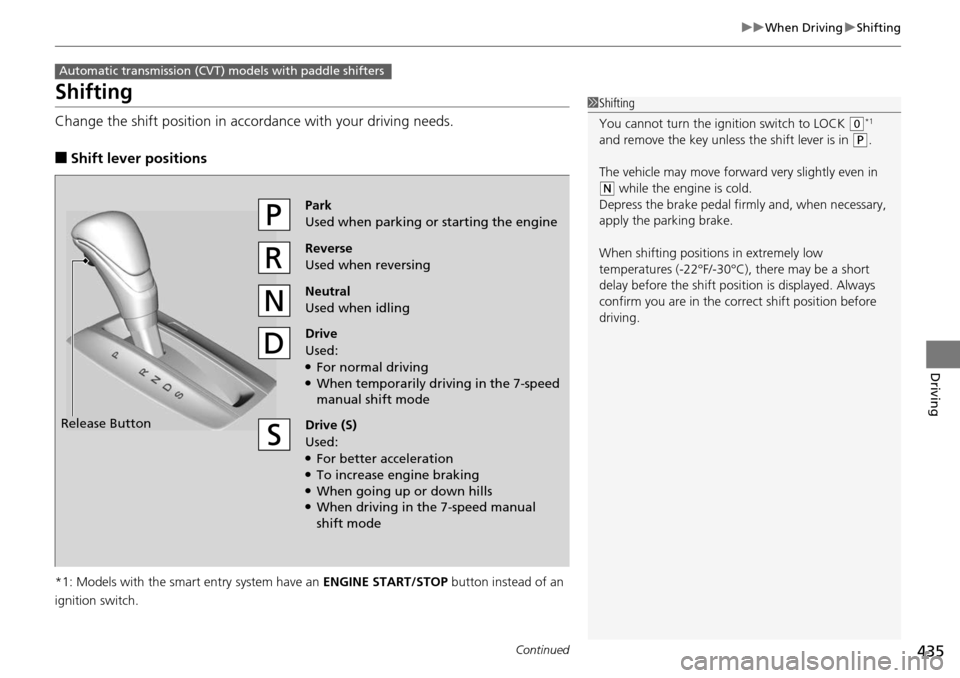
■Shift lever positions
*1: Models with the smart entry system have an ENGINE START/STOP button instead of an
ignition switch.
Automatic transmission (CVT) models with paddle shifters
1 Shifting
You cannot turn the ignition switch to LOCK
(0*1
and remove the key unless the shift lever is in
( P.
The vehicle may move forward very slightly even in
(N while the engine is cold.
Depress the brake pe dal firmly and, when necessary,
apply the parking brake.
When shifting positions in extremely low
temperatures (-22°F/-30°C), there may be a short
delay before the shift posit ion is displayed. Always
confirm you are in the corr ect shift position before
driving.
Reverse
Used when reversing
Drive
Used:
●For normal driving●When temporarily driving in the 7-speed
manual shift mode
Park
Used when parking or starting the engine
Neutral
Used when idling
Release Button
Drive (S)
Used:
●For better acceleration●To increase engine braking●When going up or down hills●When driving in the 7-speed manual
shift mode
Page 444 of 593
443
uuWhen Driving uShifting
Driving
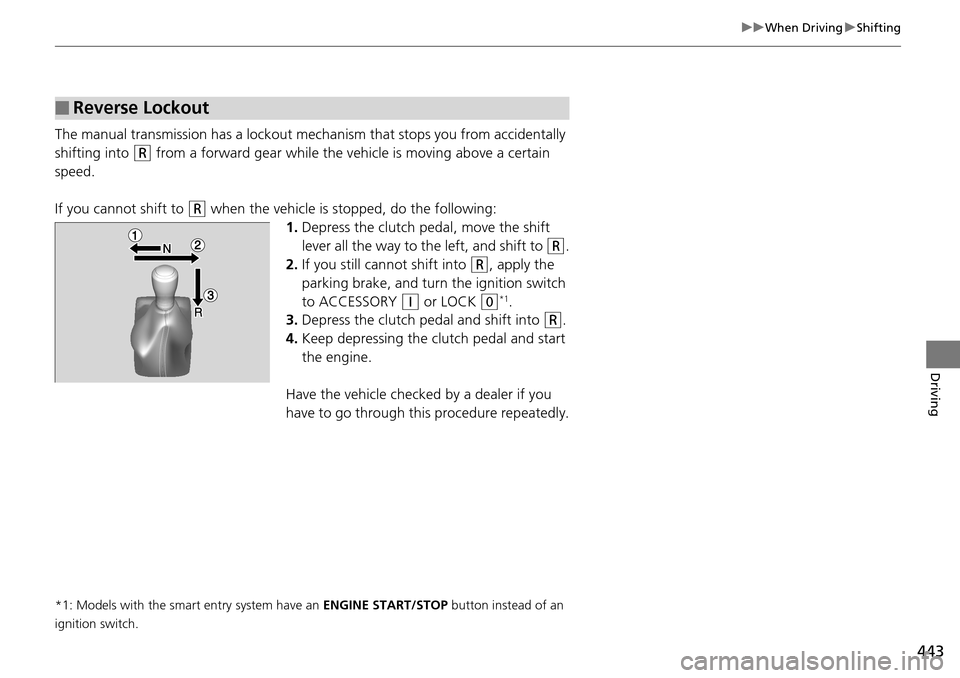
The manual transmission has a lockout mech anism that stops you from accidentally
shifting into
(R from a forward gear while the ve hicle is moving above a certain
speed.
If you cannot shift to
(R when the vehicle is stopped, do the following: 1.Depress the clutch pedal, move the shift
lever all the way to the left, and shift to
(R.
2. If you still cannot shift into
(R, apply the
parking brake, and turn the ignition switch
to ACCESSORY
(q or LOCK (0*1.
3. Depress the clutch pedal and shift into
(R.
4. Keep depressing the clutch pedal and start
the engine.
Have the vehicle checked by a dealer if you
have to go through this procedure repeatedly.
*1: Models with the smart entry system have an ENGINE START/STOP button instead of an
ignition switch.
■Reverse Lockout
Page 466 of 593
465
uuWhen Driving uVehicle Stability Assist (VSA ®), aka Electronic Stability Control (ESC), System
Driving
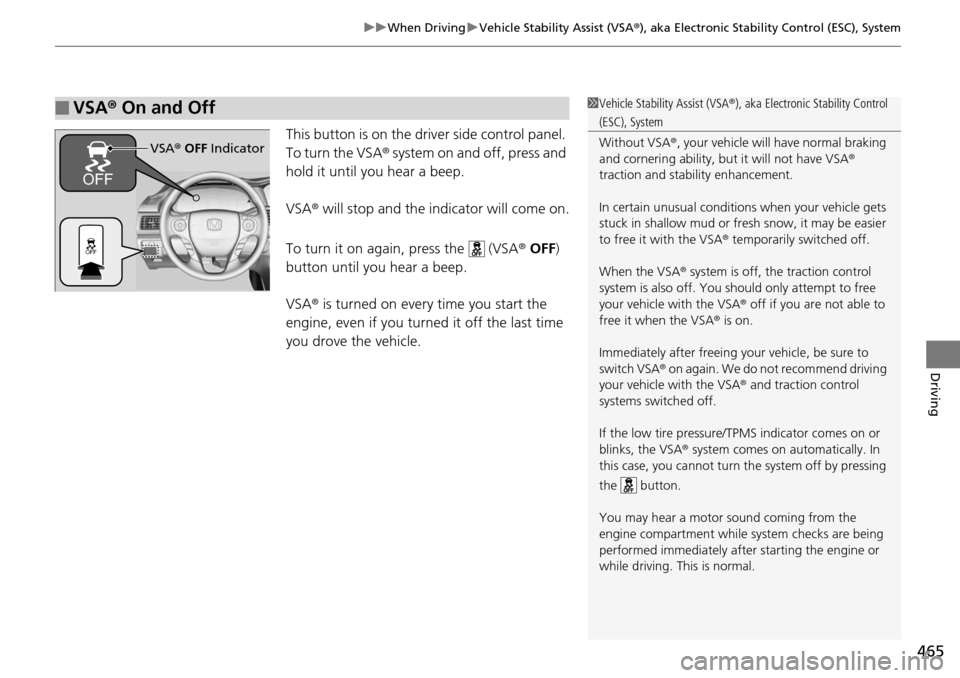
This button is on the driver side control panel.
To turn the VSA ® system on and off, press and
hold it until you hear a beep.
VSA ® will stop and the indicator will come on.
To turn it on again, press the (VSA ® OFF )
button until you hear a beep.
VSA ® is turned on every time you start the
engine, even if you turned it off the last time
you drove the vehicle.
■VSA ® On and Off1 Vehicle Stability Assist (VSA ®), aka Electronic Stability Control
(ESC), System
Without VSA ®, your vehicle will have normal braking
and cornering ability, bu t it will not have VSA®
traction and stability enhancement.
In certain unusual conditions when your vehicle gets
stuck in shallow mud or fr esh snow, it may be easier
to free it with the VSA ® temporarily switched off.
When the VSA ® system is off, the traction control
system is also off. You should only atte mpt to free
your vehicle with the VSA ® off if you ar e not able to
free it when the VSA ® is on.
Immediately after freeing your vehicle, be sure to
switch VSA ® on again. We do not recommend driving
your vehicle with the VSA ® and traction control
systems switched off.
If the low tire pressure/TPMS indicator comes on or
blinks, the VSA® system comes on automatically. In
this case, you cannot turn the system off by pressing
the button.
You may hear a motor sound coming from the
engine compartment while system checks are being
performed immediately after starting the engine or
while driving. This is normal.
VSA ® OFF Indicator
Page 469 of 593
468
uuWhen Driving uTire Pressure Monitoring System (TPMS)
Driving
Tire Pressure Monitoring System (TPMS)
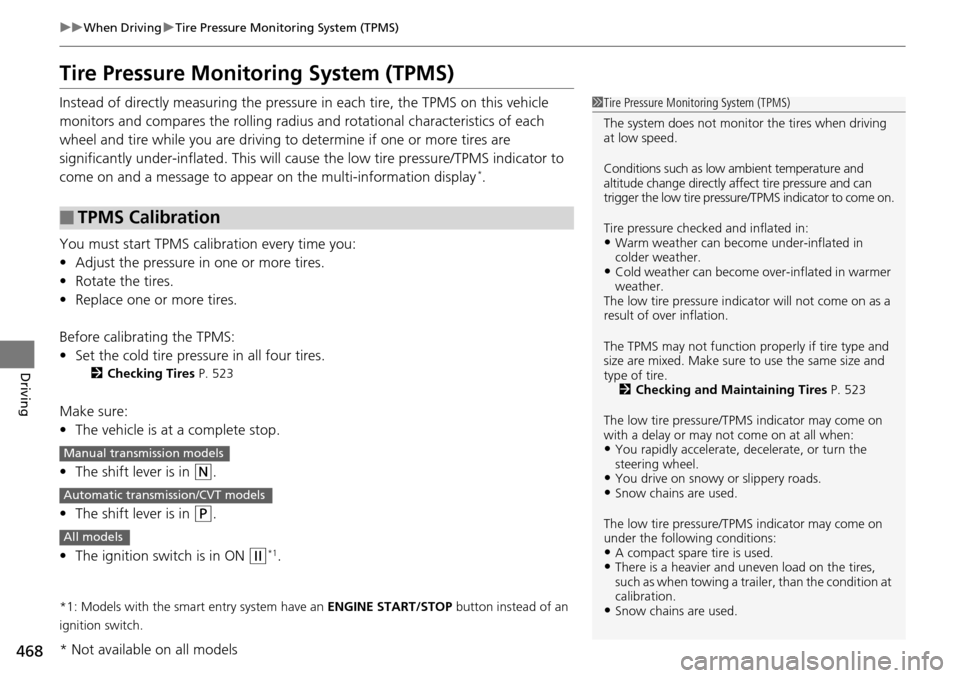
Instead of directly measuring the pressu re in each tire, the TPMS on this vehicle
monitors and compares the rolling radius and rotational characteristics of each
wheel and tire while you are driving to determine if one or more tires are
significantly under-inflated. This will caus e the low tire pressure/TPMS indicator to
come on and a message to appear on the multi-information display
*.
You must start TPMS calibration every time you:
• Adjust the pressure in one or more tires.
• Rotate the tires.
• Replace one or more tires.
Before calibrating the TPMS:
• Set the cold tire pressu re in all four tires.
2Checking Tires P. 523
Make sure:
•The vehicle is at a complete stop.
• The shift lever is in
(N.
• The shift lever is in
(P.
• The ignition switch is in ON
(w*1.
*1: Models with the smart entry system have an ENGINE START/STOP button instead of an
ignition switch.
■TPMS Calibration
1 Tire Pressure Monitoring System (TPMS)
The system does not monitor the tires when driving
at low speed.
Conditions such as low ambient temperature and
altitude change directly a ffect tire pressure and can
trigger the low tire pressure/TPMS indicator to come on.
Tire pressure checked and inflated in:
•Warm weather can beco me under-inflated in
colder weather.
•Cold weather can become over-inflated in warmer
weather.
The low tire pressure indica tor will not come on as a
result of over inflation.
The TPMS may not function pr operly if tire type and
size are mixed. Make sure to use the same size and
type of tire. 2 Checking and Maintaining Tires P. 523
The low tire pressure/TPMS indicator may come on
with a delay or may not come on at all when:
•You rapidly accelerate, decelerate, or turn the
steering wheel.
•You drive on snowy or slippery roads.•Snow chains are used.
The low tire pressure/TPMS indicator may come on
under the following conditions:
•A compact spare tire is used.•There is a heavier and une ven load on the tires,
such as when towing a trailer, than the condition at
calibration.
•Snow chains are used.
Manual transmission models
Automatic transmission/CVT models
All models
* Not available on all models
Page 475 of 593
474
uuBraking uAnti-lock Brake System (ABS)
Driving
Anti-lock Brake System (ABS)
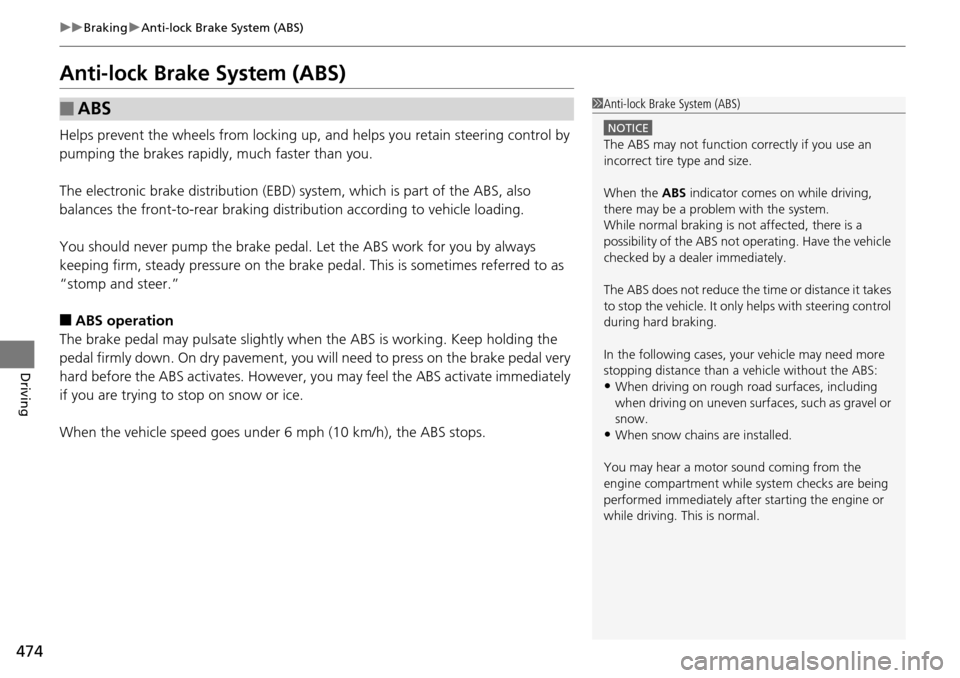
Helps prevent the wheels from locking up, a nd helps you retain steering control by
pumping the brakes rapidly, much faster than you.
The electronic brake distribution (EBD) system, which is part of the ABS, also
balances the front-to-rear braking distri bution according to vehicle loading.
You should never pump the brake pedal. Let the ABS work for you by always
keeping firm, steady pressure on the brake pe dal. This is sometimes referred to as
“stomp and steer.”
■ABS operation
The brake pedal may pulsate slightly when the ABS is working. Keep holding the
pedal firmly down. On dry pavement, you will need to press on the brake pedal very
hard before the ABS activates. However, you may feel the ABS activate immediately
if you are trying to stop on snow or ice.
When the vehicle speed goes unde r 6 mph (10 km/h), the ABS stops.
■ABS1Anti-lock Brake System (ABS)
NOTICE
The ABS may not function correctly if you use an
incorrect tire type and size.
When the ABS indicator comes on while driving,
there may be a problem with the system.
While normal braking is not affected, there is a
possibility of the ABS not operating. Have the vehicle
checked by a dealer immediately.
The ABS does not reduce the ti me or distance it takes
to stop the vehicle. It only helps with steering control
during hard braking.
In the following cases, yo ur vehicle may need more
stopping distance than a vehicle without the ABS:
•When driving on rough road surfaces, including
when driving on uneven surf aces, such as gravel or
snow.
•When snow chains are installed.
You may hear a motor sound coming from the
engine compartment while system checks are being
performed immediately after starting the engine or
while driving. This is normal.