jump start HONDA CIVIC 2003 7.G User Guide
[x] Cancel search | Manufacturer: HONDA, Model Year: 2003, Model line: CIVIC, Model: HONDA CIVIC 2003 7.GPages: 1139, PDF Size: 28.19 MB
Page 387 of 1139

EVAP System
DTC Troubleshooting (cont'd)
DTC Pl457: EVAP Control System(EVAP Canister System)
Leakage
The fuel system is designed to allow specified
maximum vacuum and pressure conditions. Do not
deviate from the vacuum and pressure tests as
indicated in these procedures. Excessive pressure/
vacuum would damage the EVAP components or
cause eventual fuel tank system failure.
SpecialTools Required
Vacuum pump/gauge, 0-30 in.Hg A973X-041-XXXXX
This is a two-trip code. Once cleared, it cannot be
reproduced in one trip. Also, certain specific driving
and ambient conditions must occur before the ECfM will
complete the system checks, Additional test drives may
still not meet the specific conditions needed to16^r^.1' '^6 rh6 ^^.16
Follow these troubleshooting procedures carefully to
ensure the integrity of the system and to confirm the
cause of the problem or code.
NOTE: Fresh fuel has a higher volatility lhat creates
greater pressure/vacuum. The optimum condition for
testing is fresh fuel, and there must be less than a full
tank. lf possible, to assist in leak detection, add I gallon
of fresh fuel to the tank (as long as it will not fill the
tank), just before starting these procedures.
EVAP Canister Purge Valve Test
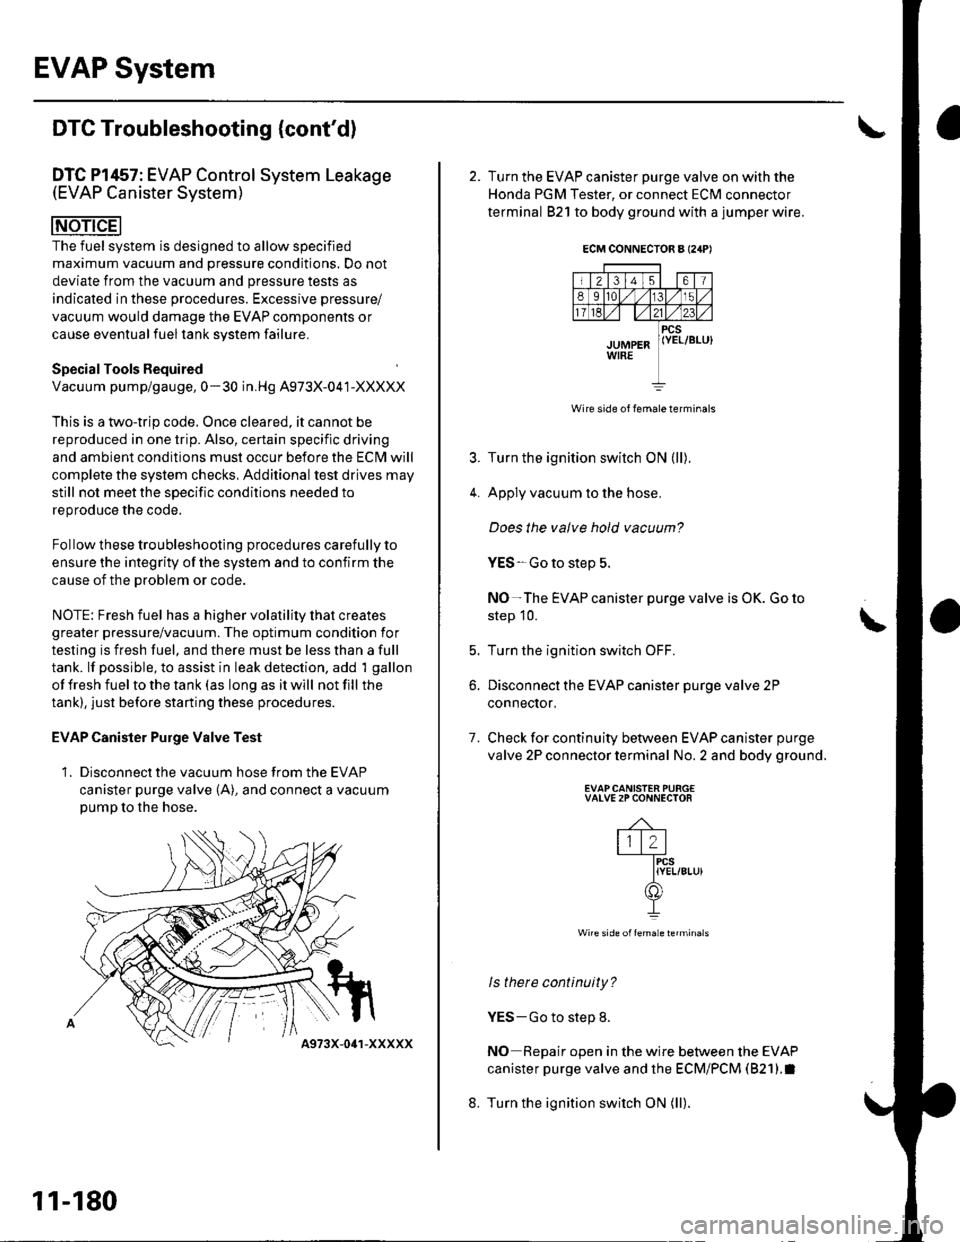
1. Disconnect the vacuum hose from the EVAP
canister purge valve (A), and connect a vacuumpump to the hose.
11-180
4973X-041-XXXXX
ECM CONNECTOR A I24P'
Wire side of lemale terminals
4.
7.
2. Turn the EVAP canister purge valve on with the
Honda PGM Tester, or connect ECM connector
terminal 821 to body ground with a jumper wire.
Turn the ignition switch ON (ll).
Apply vacuum to the hose.
Does the valve hold vacuum?
YES-Go to step 5.
NO-The EVAP canister purge valve is OK. Go to
step 10.
Turn the ignition switch OFF.
Disconnect the EVAP canister purge valve 2P
conneclor,
Check for continuity between EVAP canister purge
valve 2P connector terminal No. 2 and body ground.
EVAPCANISTEN PURG€VALVE 2P CONNECTOR
-4-
lll2l-fircs
IYEL/8Lu)(f])
I
Wire side offemale lerminals
ls there continuity?
YES-Go to step 8.
NO Repair open in the wire between the EVAP
canister purge valve and the ECM/PCM (821).I
Turn the ignition switch ON (ll).
t
b.
8.
Page 538 of 1139

EPS Indicator Circuit Troubleshooting
1.Turn the ignition switch ON (ll), start the engine,
and watch the EPS indicator.
Does the EPS indicator come on?
YES lf the EPS indicator comes on and goes off, it's
OK. lf the EPS indicator stays on or blinks. go to
step 12.
NO Go to step 2.
Turn the ignition switch OFF, then ON (ll) again,
and watch the brake system indicator,
Does the brake system indicator come on?
YES-Go to step 3.
NO Repair open in the indicator power source
circuit.l. Blown No. 10 (7.5A)fuse.
. Open in the wire between the No. 10 (7.5A) fuse
and gauge assembly.. Open circuit inside the under-dash fuse/relay box,. Faulty gauge assembly.
Turn the ignition switch OFF,
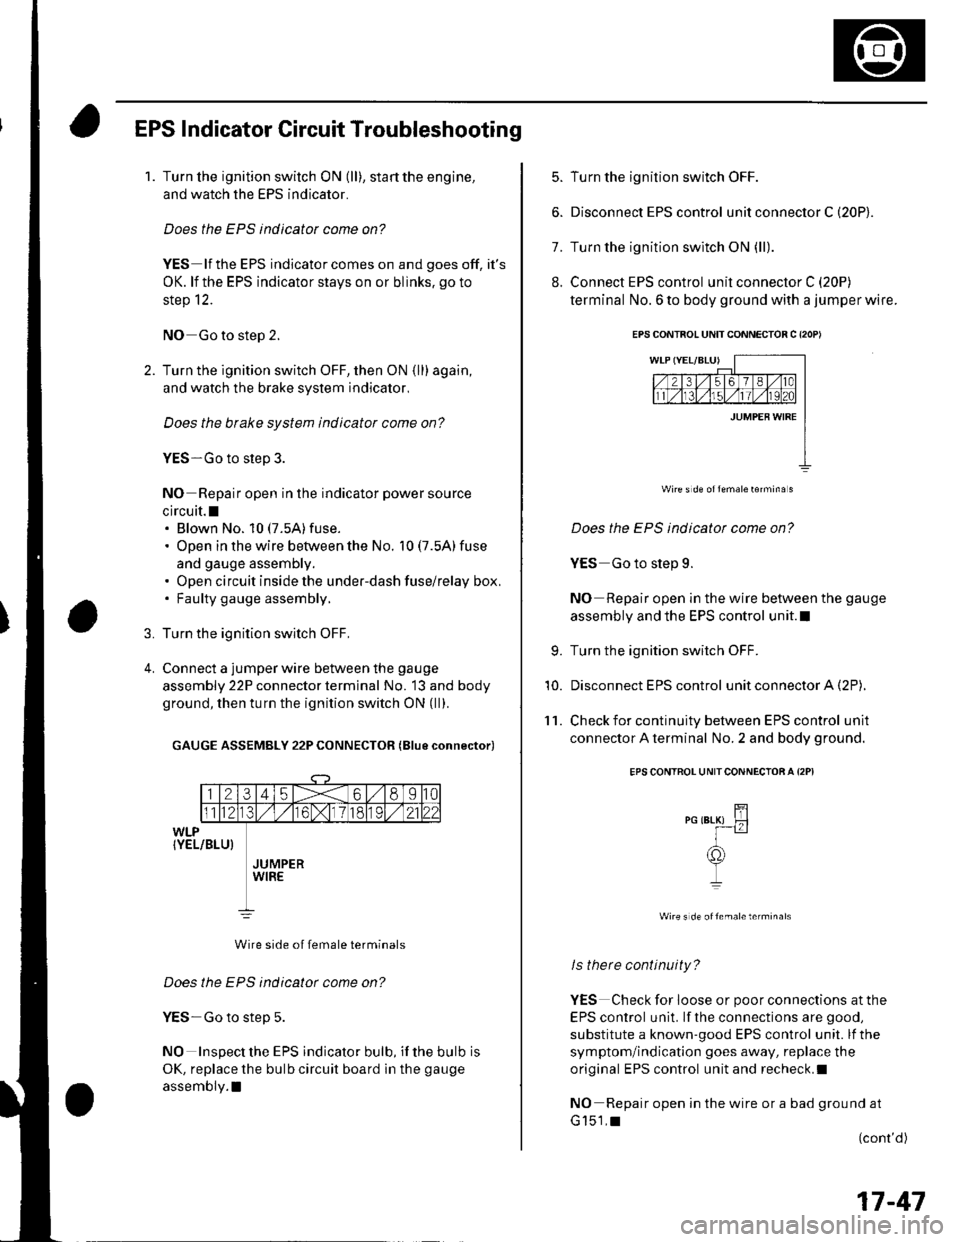
Connect a jumper wire between the gauge
assembly 22P connector terminal No. 13 and body
ground, then turn the ignition switch ON (ll).
GAUGE ASSEMBLY 22P CONNECTOR (Blue connector)
Wire side of female terminals
Does the EPS indicator come on?
YES-Go to step 5.
NO Inspect the EPS indicator bulb, if the bulb is
OK, replace the bulb circuit board in the gauge
assembly.l
3.
4.
5. Turn the ignition switch OFF.
6. Disconnect EPS control u n it connector C (20P).
7. Turn the ignition switch ON (ll).
8. Connect EPS control unit connector C (20P)
terminal No. 6 to body ground with a jumper wire.
Wire s d€ oflemale16rmina s
Does the EPS indicatot come on?
YES Go to step 9.
NO Repair open in the wire between the gauge
assembly and the EPS control unit.l
Turn the ignition switch OFF.
Disconnect EPS control unit connector A (2P),
Check for continuity between EPS control unit
connector A terminal No. 2 and body ground.
EPS CONTROL UNITCONNECTOA A I2PI
wire s de oftemale terminals
ls there continuity?
YES Check for loose or poor connections at the
EPS control unit. lf the connections are good,
substitute a known-good EPS control unit. lf the
symptom/indication goes away, replace the
original EPS control unit and recheck.I
NO Repair open in the wire or a bad ground at
G151,t(cont'd)
9.
10.
'l 1.
EPS CONTBOL UNIT CONNECTOB C {2OP)
17-47
Page 1033 of 1139

sRs
General Troubleshooting Information (cont'dl
Erasing the DTG Memory
Specisl Tool Required
SCS service connector 07PAz-0010100
To erase the DTC(S)from the SRS unit, use a Honda
PGM Tester {see lhe Honda PGfM Tester SRS Vehicle
System Supplement) or the following procedure.
1. Make sure the ignition switch is OFF.
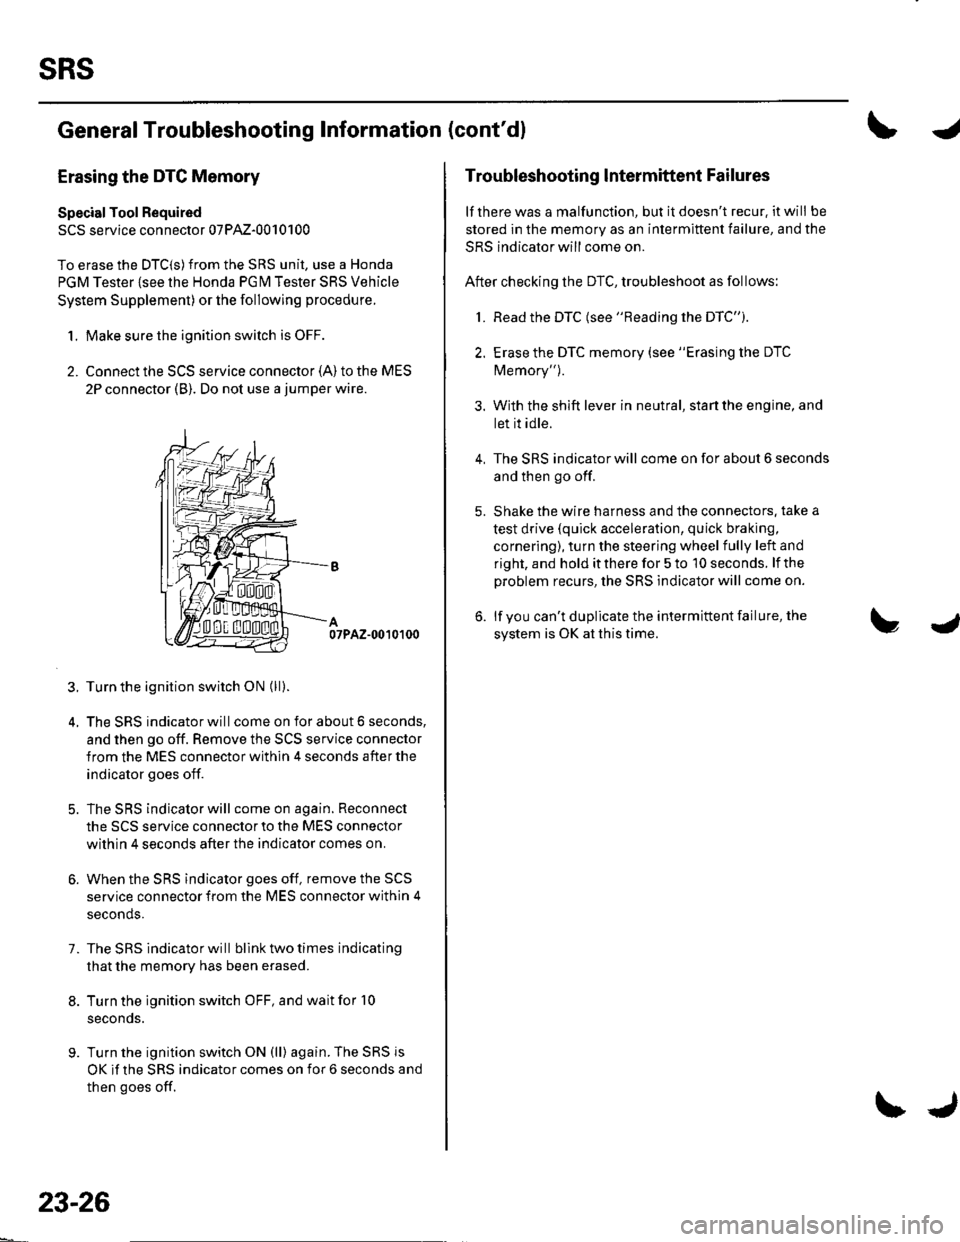
2. Connect the SCS service connector {A) to the MES
2P connector (B). Do not use a jumper wire.
07PAZ-0010100
3. Turn the ignition switch ON (ll).
4. The SRS indicator will come on for about 6 seconds,
and then go off. Remove the SCS service connector
from the MES connector within 4 seconds after the
indicator goes off.
5. The SRS indicator will come on again. Reconnect
the SCS service connector to the MES connector
within 4 seconds after the indicator comes on.
6. When the SRS indicator goes off, remove the SCS
service connector from the MES connector within 4
seconds.
7. The SRS indicator will bllnk two times indicating
that the memory has been erased.
8. Turn the ignition switch OFF, and wait for '10
seconds.
9. Turn the ignition switch ON (ll) again. The SRS js
OK if the SRS indicator comes on for 6 seconds and
then goes off.
23-26
\J
Troubleshooting lntermittent Failures
lf there was a malfunction, but it doesn't recur. it will be
stored in the memory as an intermittent failure, and the
SRS indicator will come on.
After checking the DTC, troubleshoot as follows:
1. Read the DTC (see "Reading the DTC").
2. Erase the DTC memory (see "Erasing the DTC
Memory").
3. With the shift lever in neutral, start the engine, and
let it idle.
The SRS indicator will come on for about 6 seconds
and then go off.
Shake the wire harness and the connectors. take a
test drive (quick acceleration, quick braking,
cornering), turn the steering wheel fully left and
right, and hold it there for 5 to '10 seconds. lf the
problem recurs, the SRS indicator will come on.
lf you can't duplicate the intermittent failure, the
system is OK at this time.
4.