sensor HONDA CLARITY ELECTRIC 2018 (in English) User Guide
[x] Cancel search | Manufacturer: HONDA, Model Year: 2018, Model line: CLARITY ELECTRIC, Model: HONDA CLARITY ELECTRIC 2018Pages: 559, PDF Size: 27.8 MB
Page 71 of 559
69
uuChild Safety uSafety of Infants and Small Children
Continued
Safe Driving
Safety of Infants and Small Children
An infant must be properly restrained in a rear-facing, reclining child seat until the
infant reaches the seat manufacturer’s weig ht or height limit for the seat, and the
infant is at least one year old.
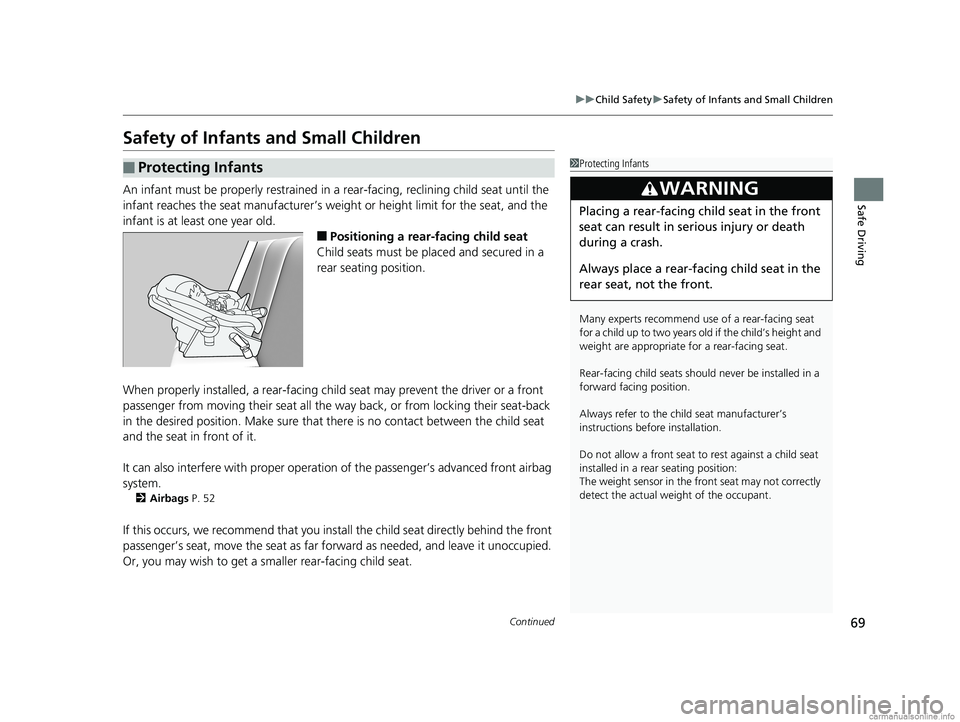
■Positioning a rear-facing child seat
Child seats must be placed and secured in a
rear seating position.
When properly installed, a rear-facing chil d seat may prevent the driver or a front
passenger from moving their seat all the wa y back, or from locking their seat-back
in the desired position. Make sure that there is no contact between the child seat
and the seat in front of it.
It can also interfere with proper operation of the passenger’s advanced front airbag
system.
2 Airbags P. 52
If this occurs, we recommend that you insta ll the child seat directly behind the front
passenger’s seat, move the seat as far fo rward as needed, and leave it unoccupied.
Or, you may wish to get a smaller rear-facing child seat.
■Protecting Infants1 Protecting Infants
Many experts recommend us e of a rear-facing seat
for a child up to two years old if the child’s height and
weight are appropriate for a rear-facing seat.
Rear-facing child seats should never be installed in a
forward facing position.
Always refer to the child seat manufacturer’s
instructions before installation.
Do not allow a front seat to rest against a child seat
installed in a rear seating position:
The weight sensor in the fr ont seat may not correctly
detect the actual weight of the occupant.
3WARNING
Placing a rear-facing child seat in the front
seat can result in serious injury or death
during a crash.
Always place a rear-fac ing child seat in the
rear seat, not the front.
18 CLARITY ELECTRIC CSS-31TRV6100.book 69 ページ 2018年2月5日 月曜日 午後12時0分
Page 91 of 559
89
uuIndicators u
Continued
Instrument Panel
IndicatorNameOn/BlinkingExplanationMessage
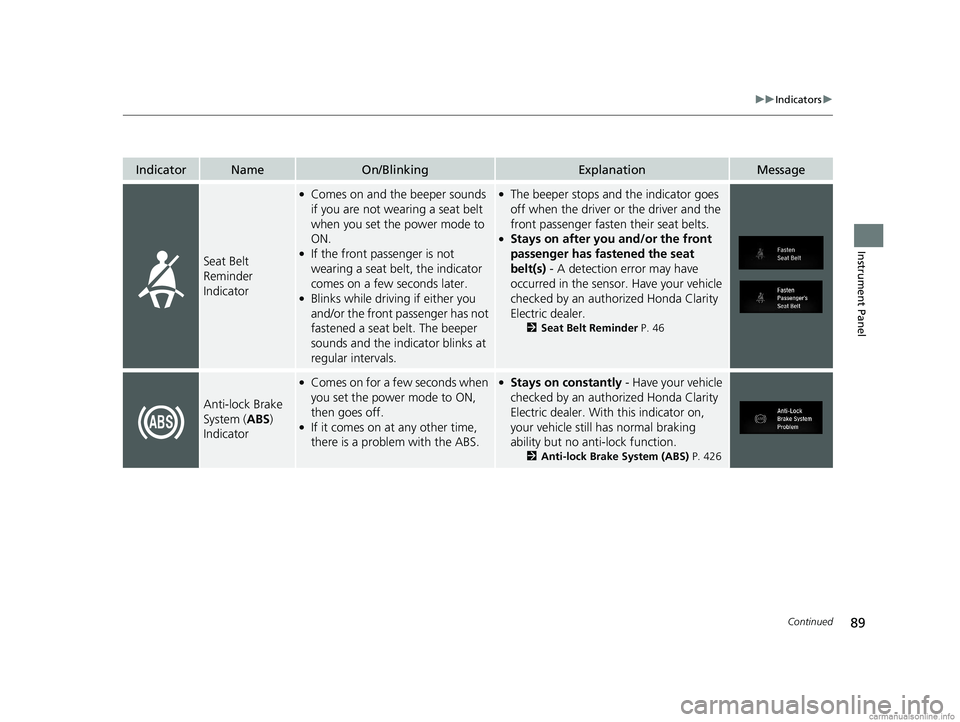
Seat Belt
Reminder
Indicator
●Comes on and the beeper sounds
if you are not wearing a seat belt
when you set the power mode to
ON.
●If the front passenger is not
wearing a seat belt, the indicator
comes on a few seconds later.
●Blinks while driving if either you
and/or the front passenger has not
fastened a seat belt. The beeper
sounds and the indicator blinks at
regular intervals.
●The beeper stops and the indicator goes
off when the driver or the driver and the
front passenger fasten their seat belts.
●Stays on after you and/or the front
passenger has fastened the seat
belt(s) - A detection error may have
occurred in the sensor. Have your vehicle
checked by an authorized Honda Clarity
Electric dealer.
2 Seat Belt Reminder P. 46
Anti-lock Brake
System (ABS)
Indicator
●Comes on for a fe w seconds when
you set the power mode to ON,
then goes off.
●If it comes on at any other time,
there is a problem with the ABS.
●Stays on constantly - Have your vehicle
checked by an authorized Honda Clarity
Electric dealer. With this indicator on,
your vehicle still has normal braking
ability but no anti-lock function.
2 Anti-lock Brake System (ABS) P. 426
18 CLARITY ELECTRIC CSS-31TRV6100.book 89 ページ 2018年2月5日 月曜日 午後12時0分
Page 98 of 559
96
uuIndicators u
Instrument Panel
IndicatorNameOn/BlinkingExplanationMessage
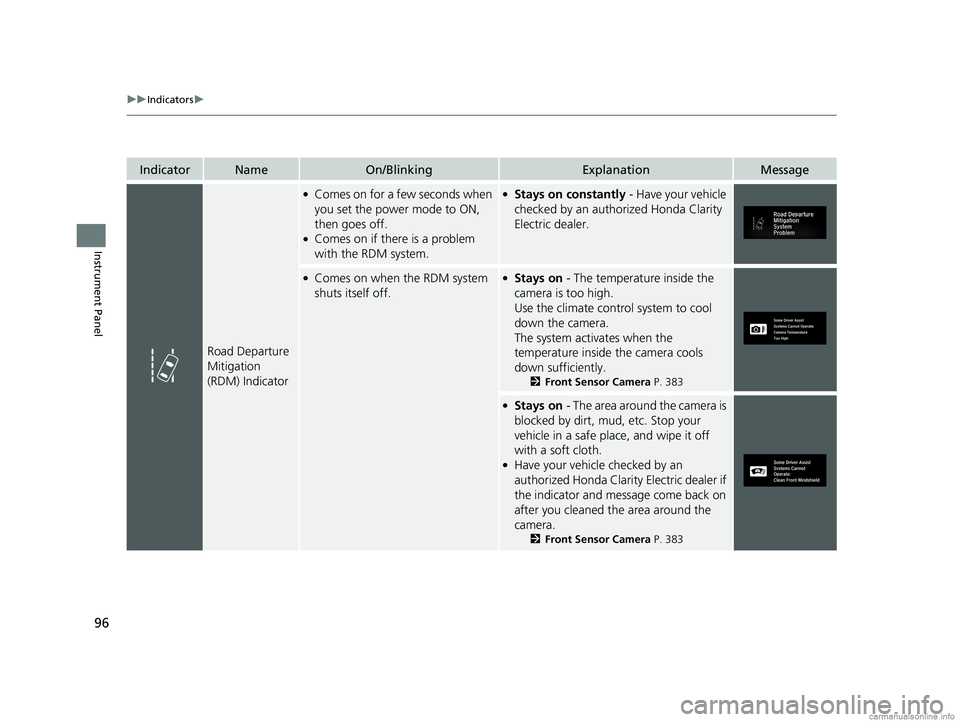
Road Departure
Mitigation
(RDM) Indicator
●Comes on for a few seconds when
you set the power mode to ON,
then goes off.
●Comes on if there is a problem
with the RDM system.
●Stays on constantly - Have your vehicle
checked by an author ized Honda Clarity
Electric dealer.
●Comes on when the RDM system
shuts itself off.●Stays on - The temperature inside the
camera is too high.
Use the climate control system to cool
down the camera.
The system acti vates when the
temperature inside the camera cools
down sufficiently.
2 Front Sensor Camera P. 383
●Stays on - The area around the camera is
blocked by dirt, mud, etc. Stop your
vehicle in a safe place, and wipe it off
with a soft cloth.
●Have your vehicle checked by an
authorized Honda Clarity Electric dealer if
the indicator and message come back on
after you cleaned the area around the
camera.
2 Front Sensor Camera P. 383
18 CLARITY ELECTRIC CSS-31TRV6100.book 96 ページ 2018年2月5日 月曜日 午後12時0分
Page 99 of 559
97
uuIndicators u
Continued
Instrument Panel
IndicatorNameOn/BlinkingExplanationMessage
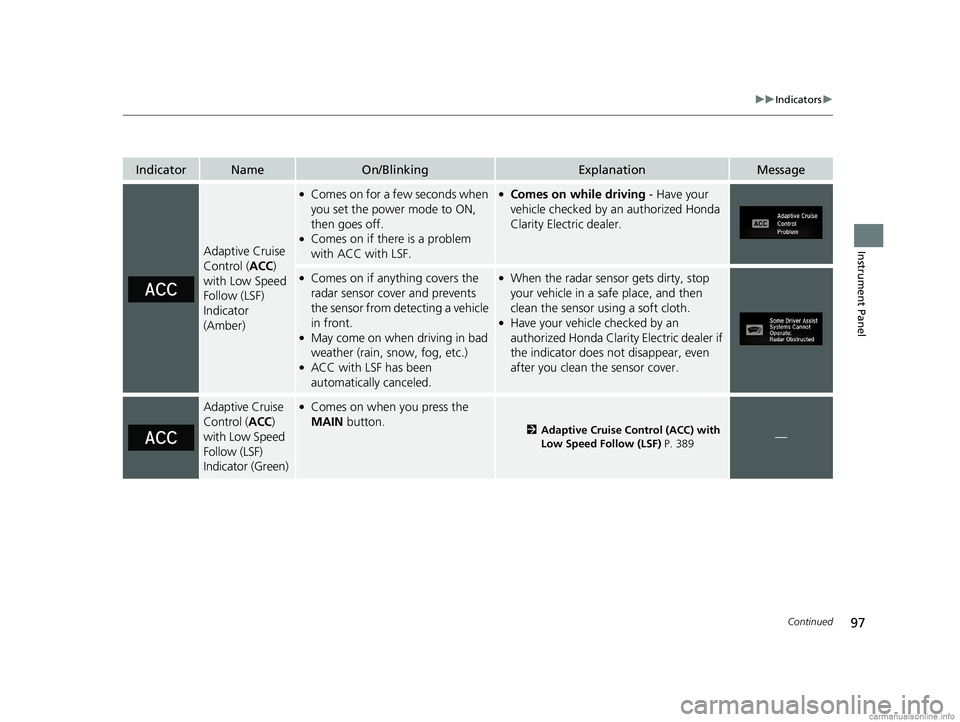
Adaptive Cruise
Control (ACC)
with Low Speed
Follow (LSF)
Indicator
(Amber)
●Comes on for a fe w seconds when
you set the power mode to ON,
then goes off.
●Comes on if there is a problem
with ACC with LSF.
●Comes on while driving - Have your
vehicle checked by an authorized Honda
Clarity Electric dealer.
●Comes on if anything covers the
radar sensor cover and prevents
the sensor from detecting a vehicle
in front.
●May come on when driving in bad
weather (rain, snow, fog, etc.)
●ACC with LSF has been
automatically canceled.
●When the radar sensor gets dirty, stop
your vehicle in a safe place, and then
clean the sensor using a soft cloth.
●Have your vehicle checked by an
authorized Honda Clarity Electric dealer if
the indicator does not disappear, even
after you clean the sensor cover.
Adaptive Cruise
Control ( ACC)
with Low Speed
Follow (LSF)
Indicator (Green)●Comes on when you press the
MAIN button.
2Adaptive Cruise Control (ACC) with
Low Speed Follow (LSF) P. 389—
18 CLARITY ELECTRIC CSS-31TRV6100.book 97 ページ 2018年2月5日 月曜日 午後12時0分
Page 101 of 559
99
uuIndicators u
Instrument Panel
IndicatorNameOn/BlinkingExplanationMessage
Collision
Mitigation
Braking
System
TM
(CMBSTM)
Indicator
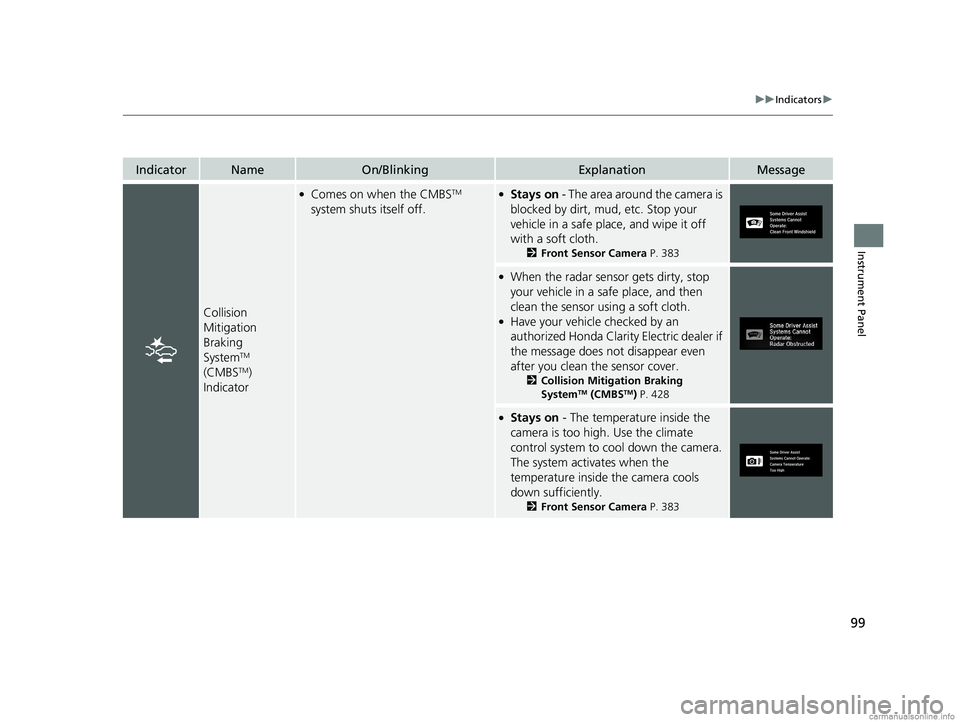
●Comes on when the CMBSTM
system shuts itself off.●Stays on - The area around the camera is
blocked by dirt, mud, etc. Stop your
vehicle in a safe place, and wipe it off
with a soft cloth.
2 Front Sensor Camera P. 383
●When the radar sensor gets dirty, stop
your vehicle in a safe place, and then
clean the sensor using a soft cloth.
●Have your vehicle checked by an
authorized Honda Clarity Electric dealer if
the message does not disappear even
after you clean the sensor cover.
2Collision Mitigation Braking
SystemTM (CMBSTM) P. 428
●Stays on - The temperature inside the
camera is too high. Use the climate
control system to co ol down the camera.
The system activates when the
temperature inside the camera cools
down sufficiently.
2 Front Sensor Camera P. 383
18 CLARITY ELECTRIC CSS-31TRV6100.book 99 ページ 2018年2月5日 月曜日 午後12時0分
Page 102 of 559
100
uuIndicators uDriver Information Interface Wa rning and Information Messages
Instrument Panel
Driver Information Interface Warning and Information Messages
The following messages appear only on the driver information interface. Press th e (display/information) button to see the mess age
again with the system message indicator on.
MessageConditionExplanation
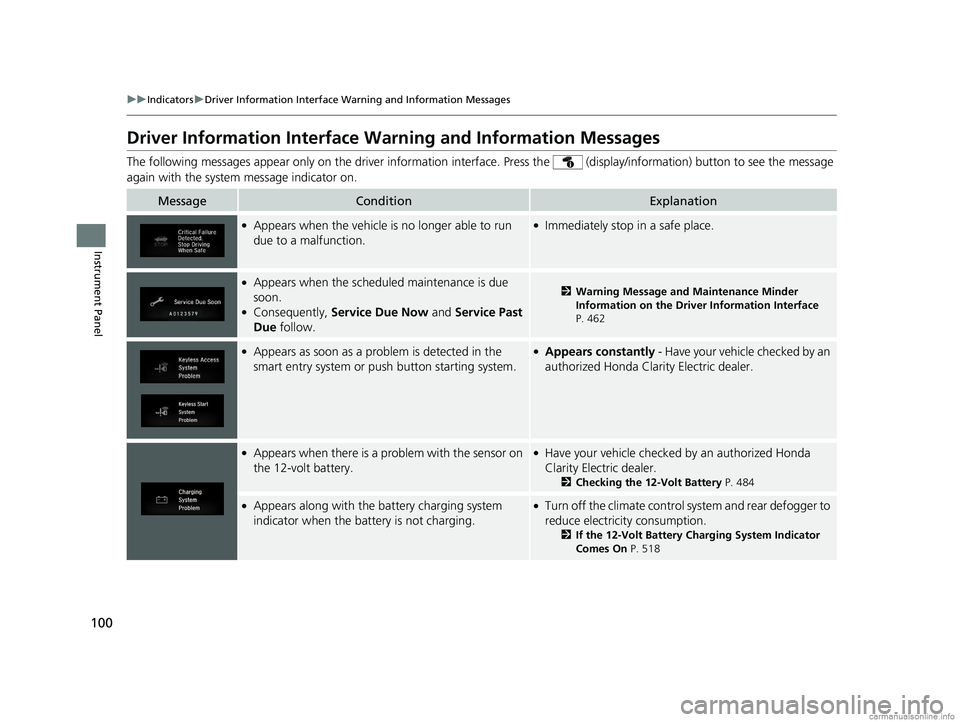
●Appears when the vehicle is no longer able to run
due to a malfunction.●Immediately stop in a safe place.
●Appears when the schedul ed maintenance is due
soon.
●Consequently, Service Due Now and Service Past
Due follow.
2Warning Message and Maintenance Minder
Information on the Driver Information Interface
P. 462
●Appears as soon as a problem is detected in the
smart entry system or pus h button starting system.●Appears constantly - Have your vehicle checked by an
authorized Honda Clar ity Electric dealer.
●Appears when there is a pr oblem with the sensor on
the 12-volt battery.●Have your vehicle checked by an authorized Honda
Clarity Electric dealer.
2 Checking the 12-Volt Battery P. 484
●Appears along with the battery charging system
indicator when the battery is not charging.●Turn off the climate control system and rear defogger to
reduce electricity consumption.
2If the 12-Volt Battery Charging System Indicator
Comes On P. 518
18 CLARITY ELECTRIC CSS-31TRV6100.book 100 ページ 2018年2月5日 月曜日 午後12時0分
Page 117 of 559
115
uuIndicators uDriver Information Interface Wa rning and Information Messages
Instrument Panel
MessageConditionExplanation
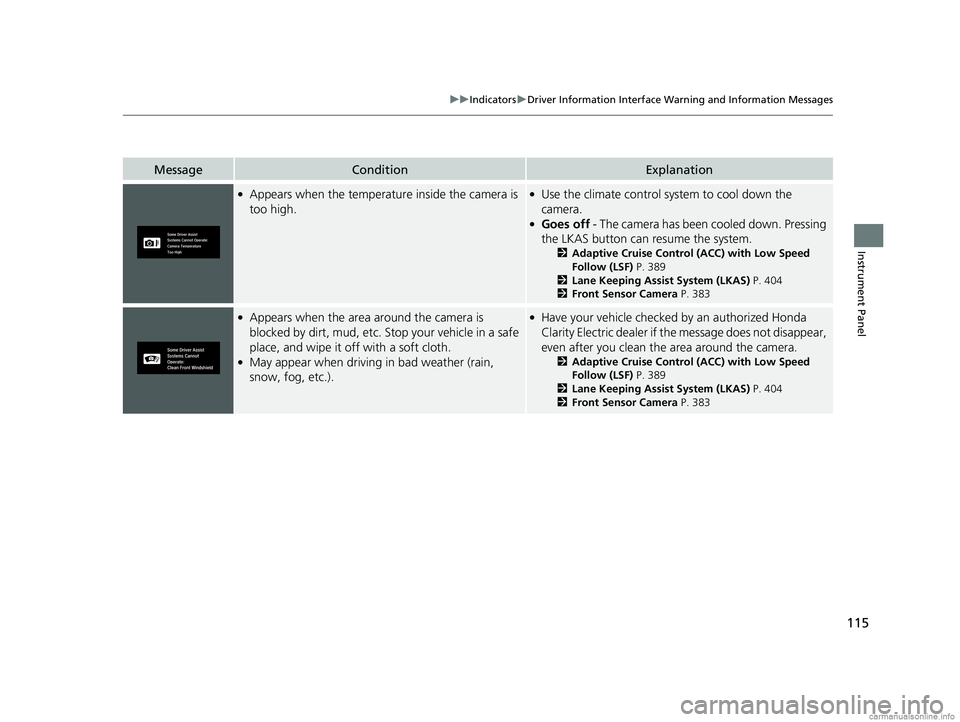
●Appears when the temperature inside the camera is
too high.●Use the climate control system to cool down the
camera.
●Goes off - The camera has been cooled down. Pressing
the LKAS button can resume the system.
2 Adaptive Cruise Control (ACC) with Low Speed
Follow (LSF) P. 389
2 Lane Keeping Assist System (LKAS) P. 404
2 Front Sensor Camera P. 383
●Appears when the area around the camera is
blocked by dirt, mud, etc. Stop your vehicle in a safe
place, and wipe it off with a soft cloth.
●May appear when driving in bad weather (rain,
snow, fog, etc.).
●Have your vehicle checked by an authorized Honda
Clarity Electric dealer if the message does not disappear,
even after you clean the area around the camera.
2Adaptive Cruise Control (ACC) with Low Speed
Follow (LSF) P. 389
2 Lane Keeping Assist System (LKAS) P. 404
2 Front Sensor Camera P. 383
18 CLARITY ELECTRIC CSS-31TRV6100.book 115 ページ 2018年2月5日 月曜日 午後12時0分
Page 124 of 559
uuGauges and Driver Information Interface uDriver Information Interface
122
Instrument Panel
Shows the total number of miles or kilome ters that your vehicle has accumulated.
Shows the total number of miles or kilomete rs driven since the last reset. Meters A
and B can be used to measure two separate trips.
■Resetting a trip meter
To reset a trip meter, display it, then press and hold the TRIP button. The trip meter
is reset to 0.0.
Shows the outside temperature in Fahrenheit.
■Adjusting the outside temperature display
Adjust the temperature reading up to ± 5°F if the temperature reading seems
incorrect.
Shows the estimated average energy consum ption of each trip meter in miles/kWh
or km/kWh. The display is updated at set in tervals. When a trip meter is reset, the
average energy consumption is also reset.
■Odometer
■Trip Meter
■Outside Temperature
■Average Energy Consumption
1 Trip Meter
Switch between trip meter A and trip meter B by
pressing the TRIP button.
1Outside Temperature
The temperature sensor is in the front bumper.
Road heat and exhaust from another vehicle can
affect the temperature reading when your vehicle
speed is less than 19 mph (30 km/h).
It may take several minutes for the display to be
updated after the temperature reading has stabilized.
Use the audio/information screen’s customized
features to correct the temperature.
2 Customized Features P. 296
1Average Energy Consumption
You can change when to reset the average energy
consumption.
2 Customized Features P. 296
18 CLARITY ELECTRIC CSS-31TRV6100.book 122 ページ 2018年2月5日 月曜日 午後12時0分
Page 131 of 559
129
Controls
This chapter explains how to operate the various controls necessary for driving.
Clock.................................................. 130
Locking and Unlocking the Doors Key Types and Functions .................. 131
Low Smart Entry Remote Signal Strength .. 132Locking/Unlocking the Doors from the Outside .......................................... 133
Locking/Unlocking the Doors from the Inside ............................................. 140
Childproof Door Locks ..................... 142
Auto Door Locking/Unlocking .......... 143
Opening and Closing the Trunk ....... 144
Security System ................................ 147
Immobilizer System .......................... 147 Security System Alarm...................... 147
Opening and Closing the Windows ... 150
Operating the Switches Around the
Steering Wheel POWER Button................................. 152
Turn Signals ..................................... 155
Light Switches.................................. 156
Daytime Running Lights ................... 159
Wipers and Washers ........................ 160
Brightness Control ........................... 162
Rear Defogger/Heated Door Mirror Button........................................ 163
Driving Position Memory System ...... 164 Adjusting the Steering Wheel .......... 166
Adjusting the Mirrors ....................... 167
Interior Rearview Mirror ................... 167
Power Door Mirrors ......................... 168
Adjusting the Seats .......................... 169
Front Seats ...................................... 169
Interior Lights/Interior Convenience Items ................................................ 176
Interior Lights .................................. 176
Interior Convenience Items .............. 178
Climate Control System ................... 186
Using Automatic Climate Control .... 186
Automatic Climate Control Sensors ... 194
18 CLARITY ELECTRIC CSS-31TRV6100.book 129 ページ 2018年2月5日 月曜日 午後12時0分
Page 138 of 559
uuLocking and Unlocking the Doors uLocking/Unlocking the Doors from the Outside
136
Controls
■Unlocking the doors and trunk
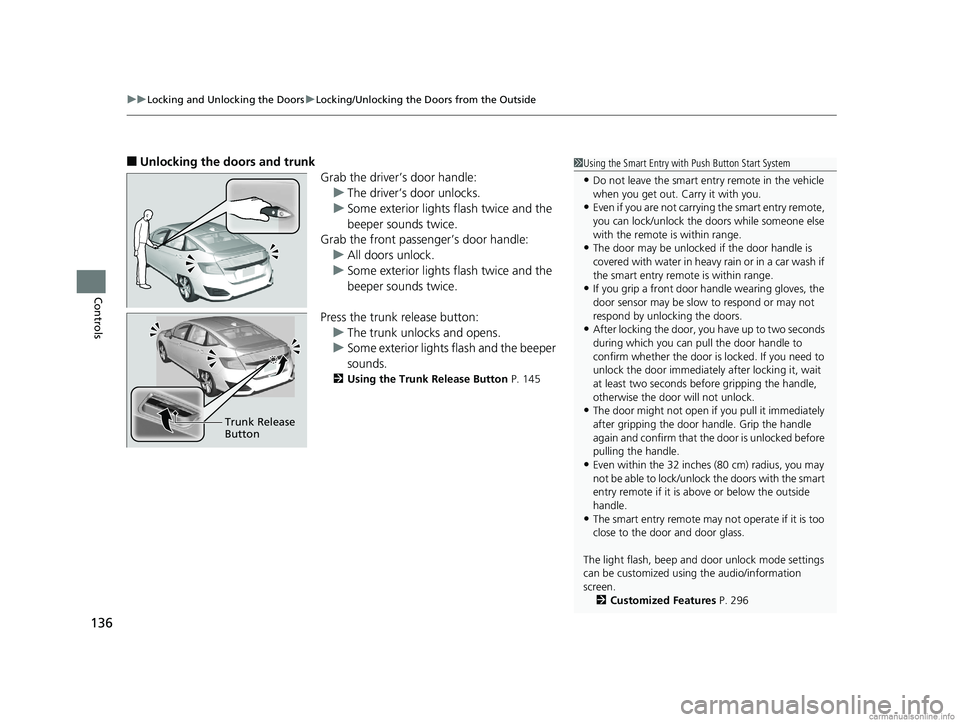
Grab the driver’s door handle:u The driver’s door unlocks.
u Some exterior lights flash twice and the
beeper sounds twice.
Grab the front passenger’s door handle:
u All doors unlock.
u Some exterior lights flash twice and the
beeper sounds twice.
Press the trunk release button: u The trunk unlocks and opens.
u Some exterior lights flash and the beeper
sounds.
2 Using the Trunk Release Button P. 145
Trunk Release
Button
1Using the Smart Entry with Push Button Start System
•Do not leave the smart entry remote in the vehicle
when you get out. Carry it with you.
•Even if you are not carrying the smart entry remote,
you can lock/unlock the doors while someone else
with the remote is within range.
•The door may be unlocked if the door handle is
covered with water in heavy rain or in a car wash if
the smart entry remote is within range.
•If you grip a front door handle wearing gloves, the
door sensor may be slow to respond or may not
respond by unlocking the doors.
•After locking the door, you have up to two seconds
during which you can pull the door handle to
confirm whether the door is locked. If you need to
unlock the door immediately after locking it, wait
at least two seconds befo re gripping the handle,
otherwise the door will not unlock.
•The door might not open if you pull it immediately
after gripping the door handle. Grip the handle
again and confirm that th e door is unlocked before
pulling the handle.
•Even within the 32 inches (80 cm) radius, you may
not be able to lock/unlock the doors with the smart
entry remote if it is a bove or below the outside
handle.
•The smart entry remote may not operate if it is too
close to the door and door glass.
The light flash, beep and door unlock mode settings
can be customized using the audio/information
screen.
2 Customized Features P. 296
18 CLARITY ELECTRIC CSS-31TRV6100.book 136 ページ 2018年2月5日 月曜日 午後12時0分