turn signal HONDA CR-V 2000 RD1-RD3 / 1.G Owners Manual
[x] Cancel search | Manufacturer: HONDA, Model Year: 2000, Model line: CR-V, Model: HONDA CR-V 2000 RD1-RD3 / 1.GPages: 322, PDF Size: 4.64 MB
Page 59 of 322
Indicato
r Light s
U.S .
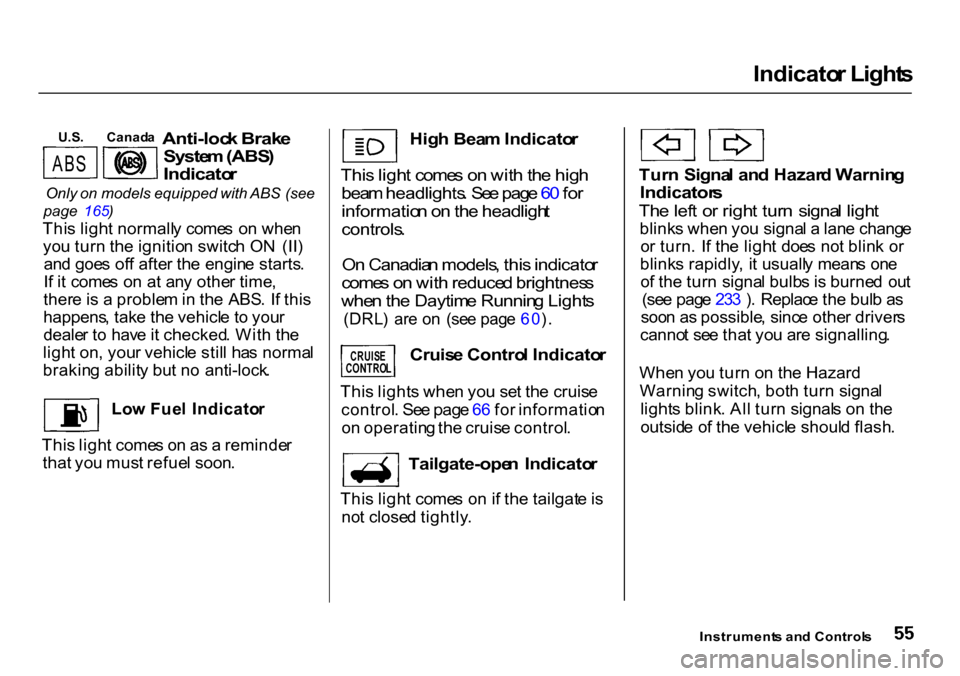
Anti-lock Brak e
Syste m (ABS )
Indicato r
Only on models equipped with ABS (see
page 165 )
Thi s ligh t normall y come s o n whe n
yo u tur n th e ignitio n switc h O N (II )
an d goe s of f afte r th e engin e starts .
I f i t come s o n a t an y othe r time ,
ther e is a proble m in th e ABS . I f thi s
happens , tak e th e vehicl e t o you r
deale r t o hav e it checked . Wit h th e
ligh t on , you r vehicl e stil l ha s norma l
brakin g abilit y bu t n o anti-lock .
Lo w Fue l Indicato r
Thi s ligh t come s o n a s a reminde r
tha t yo u mus t refue l soon .
Hig
h Bea m Indicato r
Thi s ligh t come s o n wit h th e hig h
bea m headlights . Se e pag e 6 0 fo r
informatio n o n th e headligh t
controls .
O n Canadia n models , thi s indicato r
come s o n wit h reduce d brightnes s
whe n th e Daytim e Runnin g Light s
(DRL ) ar e o n (se e pag e 60 ).
Cruis e Contro l Indicato r
Tailgate-ope n Indicato r
Thi s ligh t come s o n if th e tailgat e is
no t close d tightly .
Tur
n Signa l an d Hazar d Warnin g
Indicator s
Th e lef t o r righ t tur n signa l ligh t
blink s whe n yo u signa l a lan e chang e
o r turn . I f th e ligh t doe s no t blin k o r
blink s rapidly , i t usuall y mean s on e
o f th e tur n signa l bulb s i s burne d ou t
(se e pag e 23 3 ) . Replac e th e bul b a s
soo n a s possible , sinc e othe r driver s
canno t se e tha t yo u ar e signalling .
Whe n yo u tur n o n th e Hazard
Warnin g switch , bot h tur n signa l
light s blink . Al l tur n signal s o n th e
outsid e o f th e vehicl e shoul d flash .
Instrument s an d Control s
Canad
a
AB S
CRUISE
CONTRO L
Thi s light s whe n yo u se t th e cruis e
control . Se e pag e 6 6 fo r informatio n
o n operatin g th e cruis e control .
Page 65 of 322
Control
s Nea r th e Steerin g Whee l
Instrumen t Pane l Brightnes s
Th e dia l o n th e dashboar d t o th e lef t
o f th e instrumen t pane l control s th e
brightnes s o f th e instrumen t pane l
lights . Tur n th e dia l t o adjus t th e
brightness . Tur
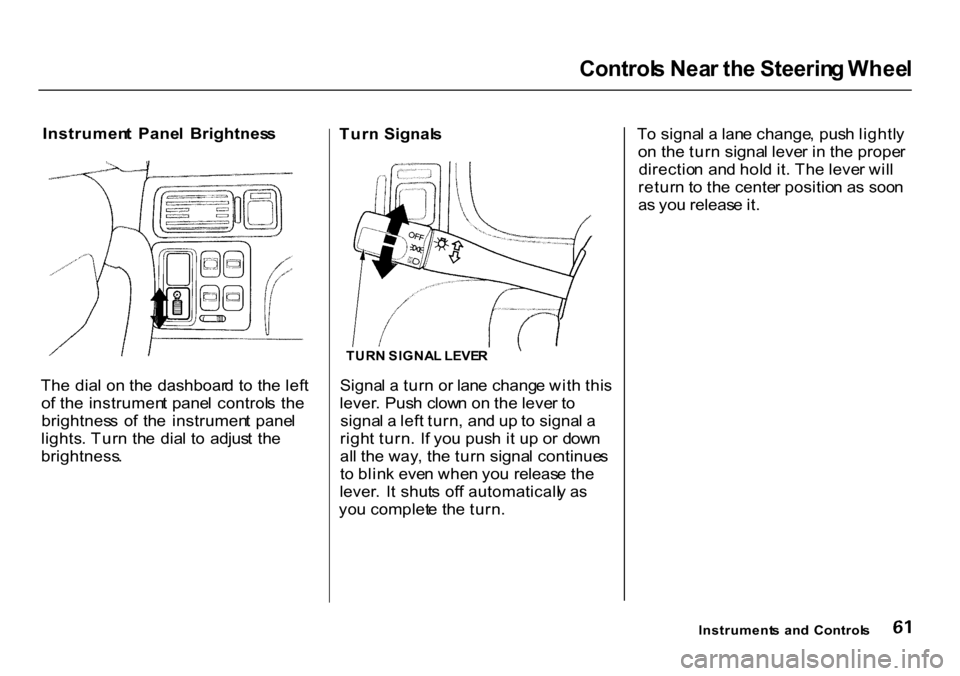
n Signal s
Signa l a tur n o r lan e chang e wit h thi s
lever . Pus h clow n o n th e leve r t o
signa l a lef t turn , an d u p to signa l a
righ t turn . I f yo u pus h i t u p o r dow n
al l th e way , th e tur n signa l continue s
t o blin k eve n whe n yo u releas e th e
lever . I t shut s of f automaticall y a s
yo u complet e th e turn . T
o signa l a lan e change , pus h lightl y
o n th e tur n signa l leve r i n th e prope r
directio n an d hol d it . Th e leve r wil l
retur n t o th e cente r positio n a s soo n
a s yo u releas e it .
Instrument s an d Control s
TUR
N SIGNA L LEVE R
Page 112 of 322
Audi
o Syste m
Operatin g th e Radi o
Th e ignitio n switc h mus t b e i n
ACCESSOR Y (I ) o r O N (II ) t o
operat e th e audi o system . Tur n th e
syste m o n b y pushin g th e PWR /
VO L knob .
Adjus t th e volum e b y turnin g th e
PWR/VO L knob .
Th e ban d an d frequenc y tha t th e
radi o wa s las t tune d t o i s displayed .
T o chang e bands , pres s th e AM/F M
button . O n th e F M band , S T wil l b e
displaye d i f th e statio n i s broadcast -
in g in stereo . Stere o reproductio n o n
A M is no t available . Yo
u ca n us e an y o f fou r method s t o
fin d radi o station s o n th e selecte d
band : TUNE , SEEK , SCA N o r th e
Prese t buttons .
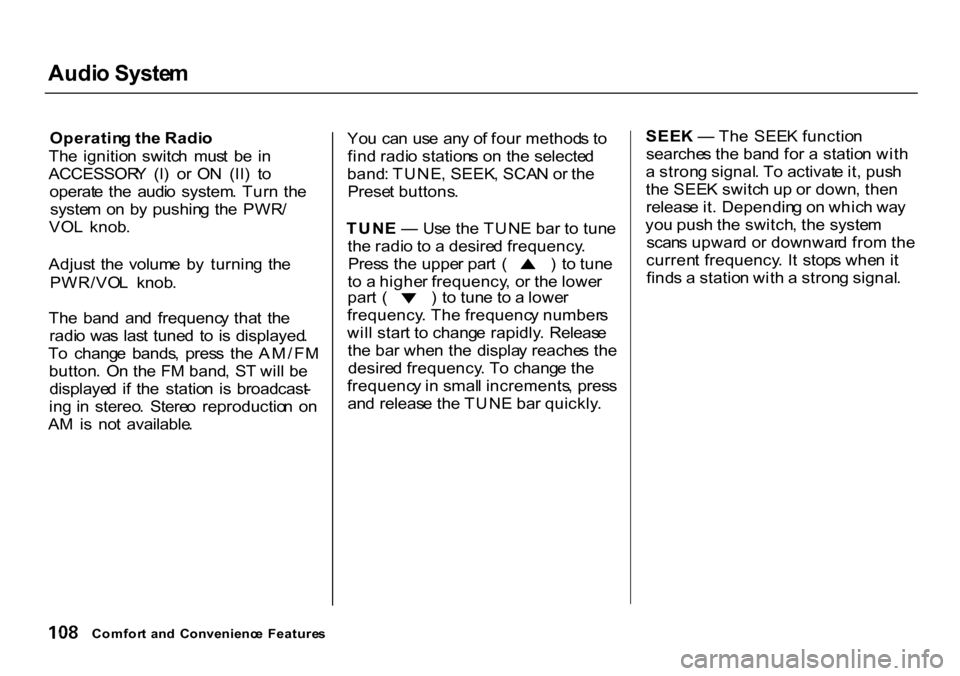
TUN E — Us e th e TUN E bar to tun e
th e radi o t o a desire d frequency . Pres
s th e uppe r par t ( ) to tun e
t o a highe r frequency , o r th e lowe r par
t ( ) to tun e t o a lowe r
frequency . Th e frequenc y number s
wil l star t t o chang e rapidly . Releas e
th e ba r whe n th e displa y reache s th e
desire d frequency . T o chang e th e
frequenc y in smal l increments , pres s
an d releas e th e TUN E bar quickly .SEE
K — Th e SEE K functio n
searche s th e ban d fo r a statio n wit h
a stron g signal . T o activat e it , pus h
th e SEE K switc h u p o r down , the n
releas e it . Dependin g o n whic h wa y
yo u pus h th e switch , th e syste m
scan s upwar d o r downwar d fro m th e
curren t frequency . I t stop s whe n it
find s a statio n wit h a stron g signal .
Comfor t an d Convenienc e Feature s
Page 124 of 322
Audi
o Syste m
Operatin g th e Radi o
Th e ignitio n switc h mus t b e in
ACCESSOR Y (I ) o r O N (II ) t o
operat e th e audi o system . Tur n th e
syste m o n b y pushin g th e PWR /
VO L knob . Adjus t th e volum e b y
turnin g th e sam e knob .
Th e ban d an d frequenc y tha t th e
radi o wa s las t tune d t o is displayed .
T o chang e bands , pres s th e AM/F M
button . O n th e F M band , S T wil l b e
displaye d if th e statio n is broadcast -
in g in stereo . Stere o reproductio n o n
A M is no t available .
Yo u ca n us e an y o f fou r method s t o
fin d radi o station s o n th e selecte d
band : TUNE , SEEK , SCA N o r th e
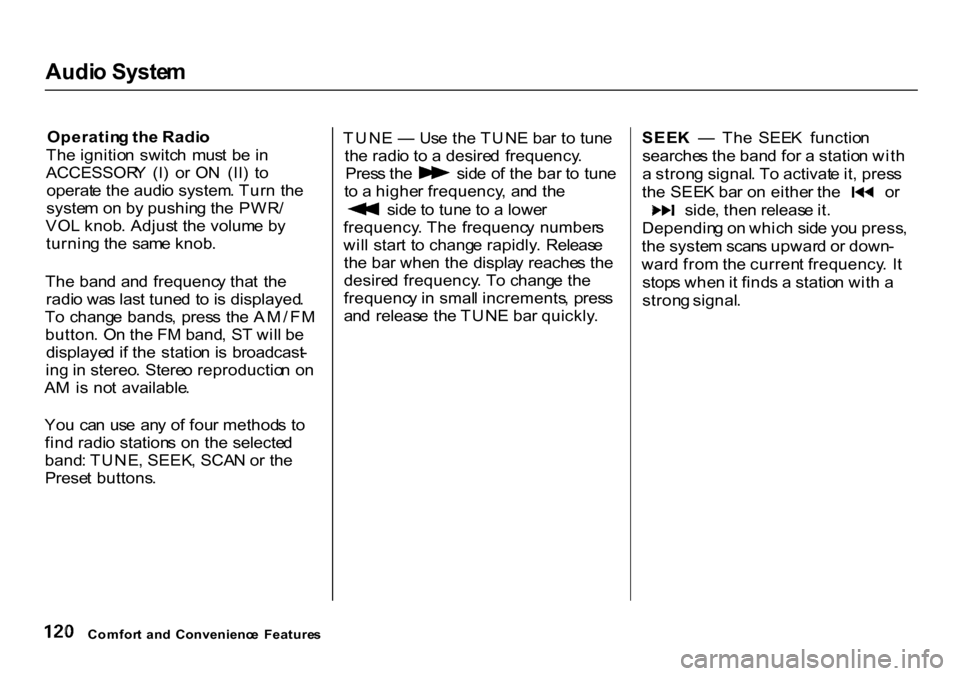
Prese t buttons . TUN
E — Us e th e TUN E ba r t o tun e
th e radi o
to a desire d frequency . Pres
s th e sid e o f th e bar to tun e
t o a highe r frequency , an d th e sid
e to tun e t o a lowe r
frequency . Th e frequenc y number s
wil l star t t o chang e rapidly . Releas e
th e ba r whe n th e displa y reache s th e
desire d frequency . T o chang e th e
frequenc y i n smal l increments , pres s
an d releas e th e TUN E bar quickly .SEE
K — Th e SEE K functio n
searche s th e ban d fo r a statio n wit h
a stron g signal . T o activat e it , pres s th
e SEE K ba r o n eithe r th e o r side
, the n releas e it .
Dependin g o n whic h sid e yo u press ,
th e syste m scan s upwar d o r down -
war d fro m th e curren t frequency . I t
stop s whe n it find s a statio n wit h a
stron g signal .
Comfor t an d Convenienc e Feature s
Page 129 of 322
Audi
o Syste m
Audi o Syste m Lightin g
Yo u ca n us e th e instrumen t pane l
brightnes s contro l kno b t o adjus t th e
illuminatio n o f th e audi o syste m (se e
pag e 61 ). Th e audi o syste m
illuminate s whe n th e parkin g light s
ar e on , eve n if th e radi o is turne d off .
Radi o Frequencie s
You r Honda' s radi o ca n receiv e th e
complet e A M an d F M bands .
Thos e band s cove r thes e frequen -
cies :
A M band :
53 0 to 1,71 0 kilohert z
F M band :
87. 7 to 107. 9 megahert z
Radi o station s o n th e A M ban d ar e
assigne d frequencie s a t leas t te n
kilohert z apar t (530 , 540 , 550) .
Station s o n th e F M ban d ar e
assigne d frequencie s a t leas t 0. 2
megahert z apar t (87.9 , 88.1 , 88.3) . Station
s mus t us e thes e exac t
frequencies . I t i s fairl y commo n fo r
station s t o round-of f th e frequenc y i n
thei r advertising , s o you r radi o coul d
displa y a frequenc y o f 100. 9 eve n
thoug h th e announce r ma y identif y
th e statio n a s "FM101. "
Radi o Receptio n
Ho w wel l you r Honda' s radi o
receive s station s i s dependen t o n
man y factors , suc h a s th e distanc e
fro m th e station' s transmitter ,
nearb y larg e objects , an d atmos -
pheri c conditions .
A radi o station' s signa l get s weake r
a s yo u ge t farthe r awa y fro m its
transmitter . I f yo u ar e listenin g t o a n
A M station , yo u wil l notic e th e soun d
volum e becomin g weaker , an d th e
statio n driftin g in an d out . I f yo u ar e
listenin g t o a n F M station , yo u wil l
se e th e stere o indicato r flickerin g of f
an d o n a s th e signa l weakens .
Eventually , th e stere o indicato r wil l g
o of f an d th e soun d wil l fad e
completel y a s yo u ge t ou t o f rang e o f
th e station' s signal .
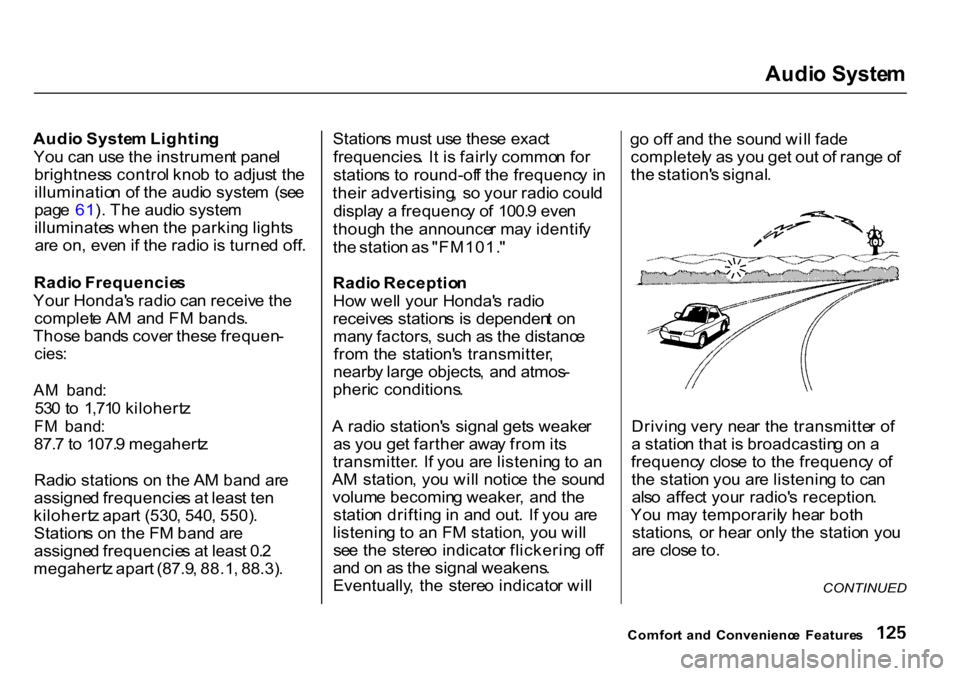
Drivin g ver y nea r th e transmitte r o f
a statio n tha t i s broadcastin g o n a
frequenc y clos e t o th e frequenc y o f
th e statio n yo u ar e listenin g t o ca n
als o affec t you r radio' s reception .
Yo u ma y temporaril y hea r bot h
stations , o r hea r onl y th e statio n yo u
ar e clos e to .
Comfor t an d Convenienc e Feature s
CONTINUED
Page 183 of 322
Off-Highwa
y Guideline s
Importan t Safet y Precaution s
Remembe r tha t you r CR- V ha s
highe r groun d clearanc e an d a
highe r cente r o f gravit y tha n
passenge r vehicle s designe d fo r us e
onl y o n pavement . Thi s mean s you r
vehicl e ca n mor e easil y ti p o r rol l
ove r i f yo u mak e abrup t turn s o r
driv e o n slopes .
Utilit y vehicle s hav e a significantl y
highe r rollove r rat e tha n othe r type s
o f vehicles . T o avoi d los s o f contro l
o r rollover , b e sur e t o follo w al l
recommendation s an d precaution s
o n pag e 15 2 an d in thi s section .
Sea t belt s ar e jus t a s importan t off -
roa d a s o n pave d roads . Whereve r
yo u drive , mak e sur e yo u an d you r
passenger s alway s wea r sea t belts . I f
childre n o r infant s ar e alon g fo r th e
ride , se e tha t the y ar e properl y
secured . I n a rollove r crash , a n
unbelte d perso n is mor e likel y t o di e
tha n a perso n wearin g a sea t belt .
O
n man y unpave d roads , yo u won' t
fin d lan e markers , traffi c signals , o r
sign s to war n yo u o f possibl e troubl e
ahead . It' s u p to yo u to continuall y
asses s th e situatio n an d driv e withi n
limits .
Th
e rout e present s limit s (som e
road s ar e to o stee p an d bump y fo r
example) . Yo u hav e limit s (i n drivin g
skill s an d comfort) . An d you r vehicl e
als o ha s limit s (traction , stability , an d
power , fo r instance) .
Drivin g off-highwa y ca n b e
hazardou s i f yo u fai l t o recogniz e
limit s an d tak e prope r precautions .
Fo r example , yo u ca n hav e a n
acciden t o r rollove r durin g
maneuver s suc h a s turning , drivin g
o n hills , o r ove r larg e obstacles .
B e sur e t o stor e carg o properly , an d
d o no t excee d you r CR-V' s carg o o r
traile r loa d limit s (se e page s 14 9 an d
17 0 ) .
Driving
Improperl
y operatin g thi s
vehicl e o n o r off-pavemen t ca n
caus e a n acciden t o r rollove r i n
whic h yo u an d you r passenger s
coul d b e seriousl y injure d o r
killed .
Follo
w al l instruction s an d
guideline s i n th e owner' s
manual .
Kee
p you r spee d lo w an d
don' t driv e faste r tha n
condition s permit .
Page 233 of 322
Light
s
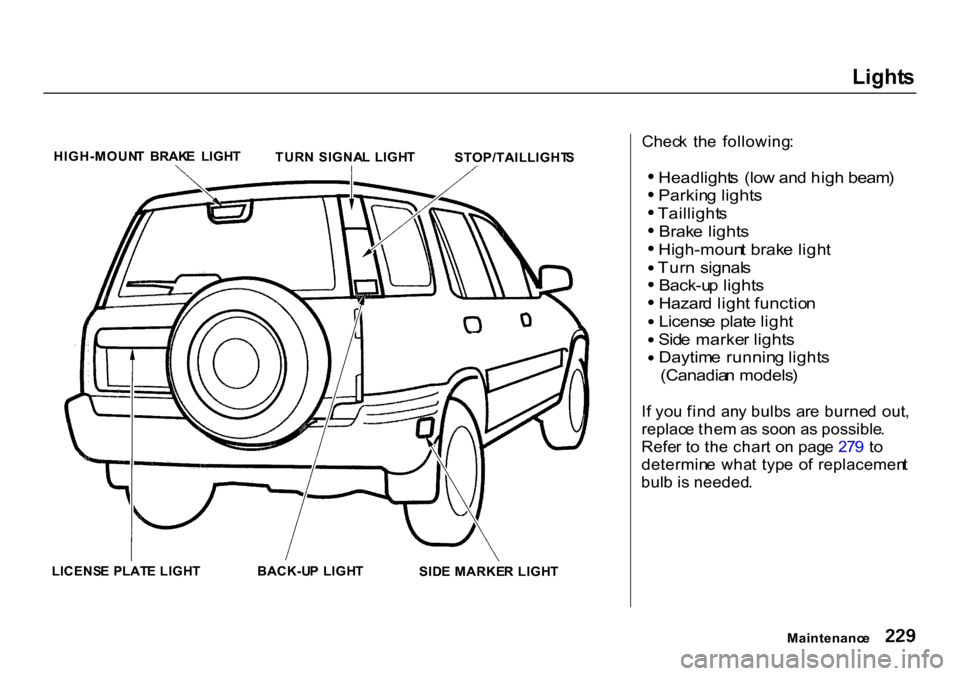
HIGH-MOUN T BRAK E LIGH T
TURN SIGNA L LIGH T
STOP/TAILLIGHT S
LICENS E PLAT E LIGH T
BACK-UP LIGH T
SIDE MARKE R LIGH T Chec
k th e following :
Headlight s (lo w an d hig h beam )
Parkin g light s
Taillight s
Brak e light s
High-moun t brak e ligh t
Tur n signal s
Back-u p light s
Hazar d ligh t functio n
Licens e plat e ligh t
Sid e marke r light s
Daytim e runnin g light s
(Canadia n models )
I f yo u fin d an y bulb s ar e burne d out ,
replac e the m as soo n a s possible .
Refe r t o th e char t o n pag e 27 9 t o
determin e wha t typ e o f replacemen t
bul b i s needed .
Maintenanc e
Page 238 of 322
Light
s
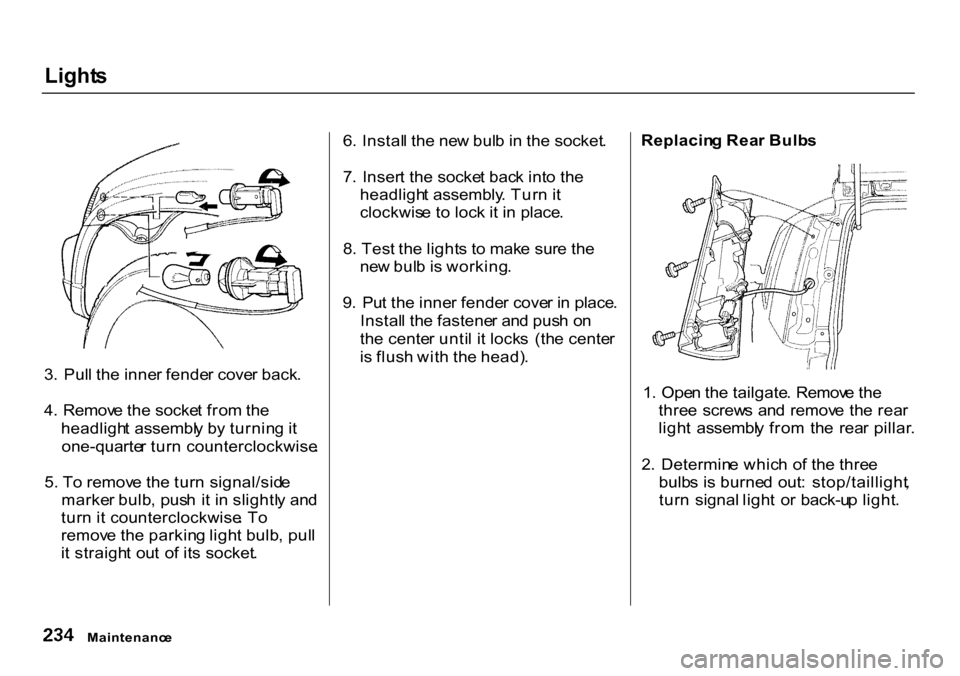
3 . Pul l th e inne r fende r cove r back .
4 . Remov e th e socke t fro m th e
headligh t assembl y b y turnin g it
one-quarte r tur n counterclockwise .
5 . T o remov e th e tur n signal/sid e
marke r bulb , pus h i t i n slightl y an d
tur n i t counterclockwise . T o
remov e th e parkin g ligh t bulb , pul l
i t straigh t ou t o f it s socket . 6
. Instal l th e ne w bul b in th e socket .
7 . Inser t th e socke t bac k int o th e
headligh t assembly . Tur n it
clockwis e t o loc k i t i n place .
8 . Tes t th e light s t o mak e sur e th e
ne w bul b is working .
9 . Pu t th e inne r fende r cove r i n place .
Instal l th e fastene r an d pus h o n
th e cente r unti l i t lock s (th e cente r
i s flus h wit h th e head) . Replacin
g Rea r Bulb s
1 . Ope n th e tailgate . Remov e th e
thre e screw s an d remov e th e rea r
ligh t assembl y fro m th e rea r pillar .
2 . Determin e whic h o f th e thre e
bulb s i s burne d out : stop/taillight ,
tur n signal light o r back-u p light .
Maintenanc e
Page 303 of 322
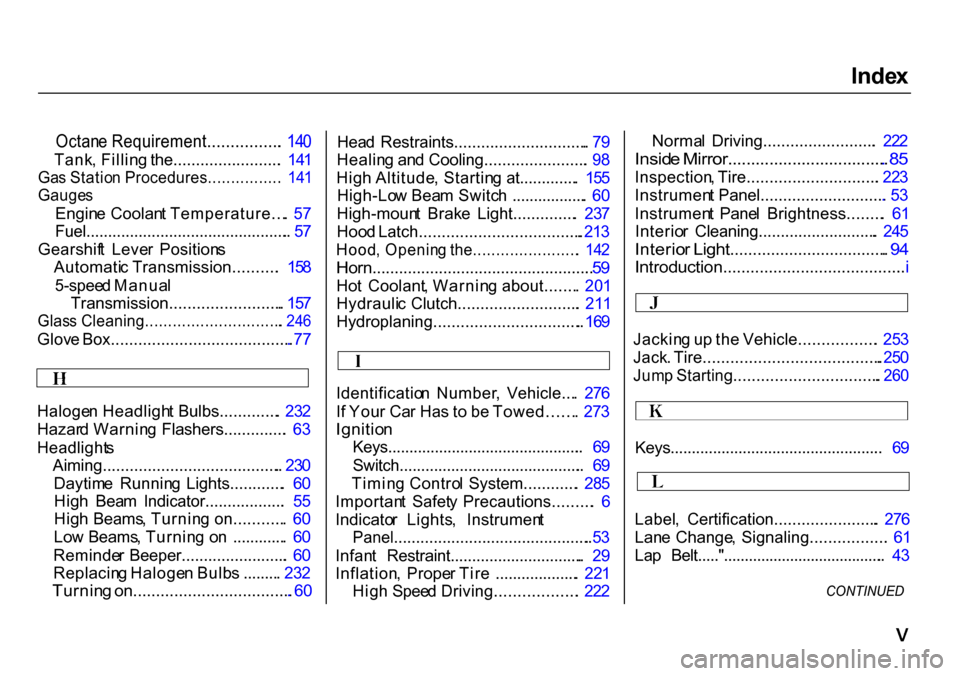
Inde
x
Haloge n Headligh t Bulbs............. . 23 2
Hazar d Warnin g Flashers.............. . 6 3
Headlight s
Aiming........................................ . 23 0
Daytim e Runnin g Lights............ . 6 0
Hig h Bea m Indicator.................. . 5 5
Hig h Beams , Turnin g on........... . 6 0
Lo w Beams , Turnin g o n ............ . 6 0
Reminde r Beeper........................ . 6 0
Replacin g Haloge n Bulb s ........ . 23 2
Turnin g on................................... . 6 0
Hea
d Restraints.............................. . 7 9
Healin g an d Cooling....................... . 9 8
Hig h Altitude , Startin g at............. . 15 5
High-Lo w Bea m Switc h ................. . 6 0
High-moun t Brak e Light.............. . 23 7
Hoo d Latch.................................... . 21 3
Hood , Openin g the....................... . 14 2
Horn.................................................. . 5 9
Ho t Coolant , Warnin g about....... . 20 1
Hydrauli c Clutch........................... . 21 1
Hydroplaning................................. . 16 9
Identificatio n Number , Vehicle... . 27 6
I f You r Ca r Ha s t o b e Towed...... . 27 3
Ignitio n
Keys.............................................. . 6 9
Switch........................................... . 6 9
Timin g Contro l System............ . 28 5
Importan t Safet y Precautions......... . 6
Indicato r Lights , Instrumen t
Panel............................................. . 5 3
Infan t Restraint............................... . 2 9
Inflation , Prope r Tir e ................... . 22 1
Hig h Spee d Driving.................. . 22 2 Norma
l Driving......................... . 22 2
Insid e Mirror................................... . 8 5
Inspection , Tire............................. . 22 3
Instrumen t Panel............................ . 5 3
Instrumen t Pane l Brightness........ . 6 1
Interio r Cleaning........................... . 24 5
Interio r Light................................... . 9 4
Introduction........................................ . i
Jackin g u p th e Vehicle................. . 25 3
Jack . Tire....................................... . 25 0
Jum p Starting................................ . 26 0
Keys.................................................. . 6 9
Label , Certification....................... . 27 6
Lan e Change , Signaling................. . 6 1
La p Belt....."....................................... . 4 3
CONTINUED
Octan
e Requirement................ . 14 0
Tank , Fillin g the........................ . 14 1
Ga s Statio n Procedures................ . 14 1
Gauge s
Engin e Coolan t Temperature... . 5 7
Fuel............................................... . 5 7
Gearshif t Leve r Position s
Automati c Transmission.......... . 15 8
5-spee d Manua l
Transmission......................... . 15 7
Glas s Cleaning.............................. . 24 6
Glov e Box........................................ . 7 7
Page 306 of 322
Inde
x
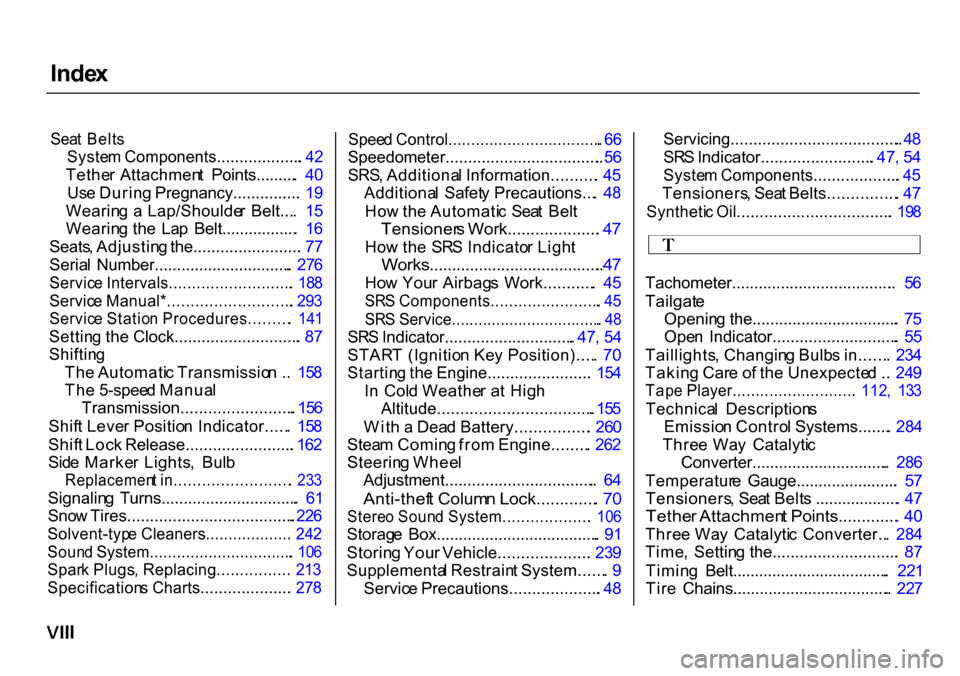
Sea t Belt s
Syste m Components................... . 4 2
Tethe r Attachmen t Points......... . 4 0
Us e Durin g Pregnancy............... . 1 9
Wearin g a Lap/Shoulde r Belt... . 1 5
Wearin g th e La p Belt................. . 1 6
Seats , Adjustin g the........................ . 7 7
Seria l Number............................... . 27 6
Servic e Intervals........................... . 18 8
Servic e Manual*........................... . 29 3
Servic e Statio n Procedures......... . 14 1
Settin g th e Clock............................ . 8 7
Shiftin g
Th e Automati c Transmissio n . . 15 8
Th e 5-spee d Manua l
Transmission......................... . 15 6
Shif t Leve r Positio n Indicator..... . 15 8
Shif t Loc k Release........................ . 16 2
Sid e Marke r Lights , Bul b
Replacemen t in......................... . 23 3
Signalin g Turns............................... . 6 1
Sno w Tires..................................... . 22 6
Solvent-typ e Cleaners................... . 24 2
Soun d System................................ . 10 6
Spar k Plugs , Replacing................ . 21 3
Specification s Charts.................... . 27 8
Spee
d Control.................................. . 6 6
Speedometer................................... . 5 6
SRS , Additiona l Information.......... . 4 5
Additiona l Safet y Precautions... . 4 8
Ho w th e Automati c Sea t Bel t
Tensioner s Work.................... . 4 7
Ho w th e SR S Indicato r Ligh t
Works....................................... . 4 7
Ho w You r Airbag s Work........... . 4 5
SR S Components........................ . 4 5
SR S Service.................................. . 4 8
SR S Indicator............................. . 47 , 5 4
STAR T (Ignitio n Ke y Position).... . 7 0
Startin g th e Engine....................... . 15 4
I n Col d Weathe r a t Hig h
Altitude.................................. . 15 5
Wit h a Dea d Battery................ . 26 0
Stea m Comin g fro m Engine........ . 26 2
Steerin g Whee l
Adjustment.................................. . 6 4
Anti-thef t Colum n Lock............. . 7 0
Stere o Soun d System................... . 10 6
Storag e Box..................................... . 9 1
Storin g You r Vehicle.................... . 23 9
Supplementa l Restrain t System...... . 9
Servic e Precautions.................... . 4 8
Servicing......................................
. 4 8
SR S Indicator......................... . 47 , 5 4
Syste m Components................... . 4 5
Tensioners , Sea t Belts............... . 4 7
Syntheti c Oil.................................. . 19 8
Tachometer..................................... . 5 6
Tailgat e
Openin g the................................. . 7 5
Ope n Indicator............................ . 5 5
Taillights , Changin g Bulb s in...... . 23 4
Takin g Car e o f th e Unexpecte d . . 24 9
Tap e Player........................... . 112 , 13 3
Technica l Description s
Emissio n Contro l Systems....... . 28 4
Thre e Wa y Catalyti c
Converter............................... . 28 6
Temperatur e Gauge....................... . 5 7
Tensioners , Sea t Belt s ................... . 4 7
Tethe r Attachmen t Points............. . 4 0
Thre e Wa y Catalyti c Converter.. . 28 4
Time , Settin g the............................ . 8 7
Timin g Belt.................................... . 22 1
Tir e Chains.................................... . 22 7