brake sensor HONDA CR-V 2010 RD1-RD5, RE7 / 3.G Owners Manual
[x] Cancel search | Manufacturer: HONDA, Model Year: 2010, Model line: CR-V, Model: HONDA CR-V 2010 RD1-RD5, RE7 / 3.GPages: 441, PDF Size: 8.12 MB
Page 78 of 441

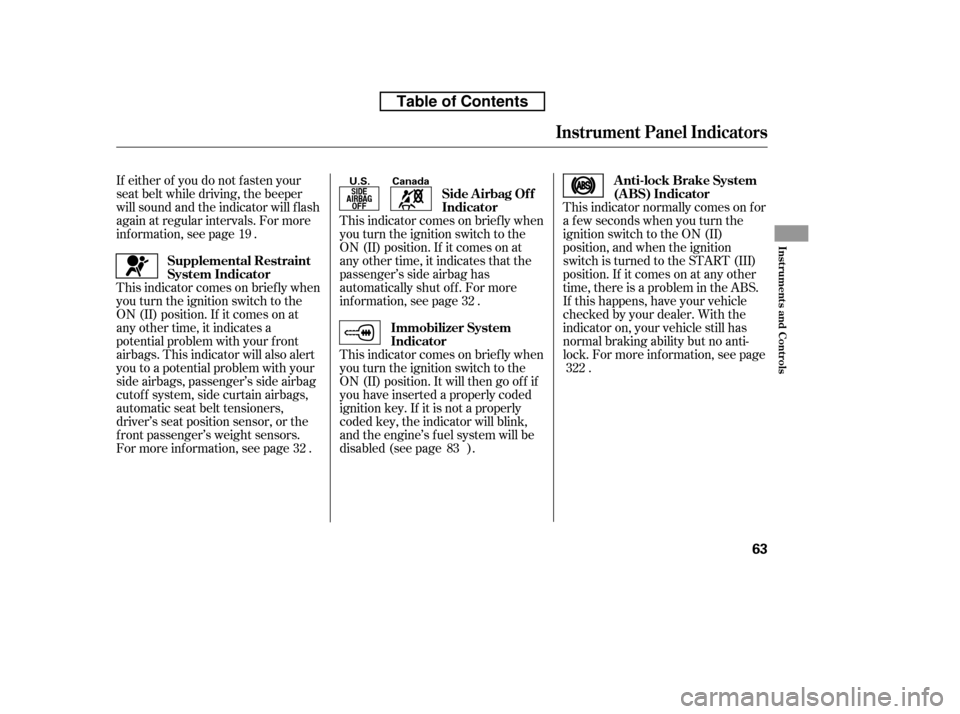
If either of you do not f asten your
seat belt while driving, the beeper
will sound and the indicator will f lash
again at regular intervals. For more
inf ormation, see page .
This indicator comes on brief ly when
you turn the ignition switch to the
ON (II) position. If it comes on at
any other time, it indicates a
potential problem with your f ront
airbags. This indicator will also alert
you to a potential problem with your
side airbags, passenger’s side airbag
cutof f system, side curtain airbags,
automatic seat belt tensioners,
driver’s seat position sensor, or the
f ront passenger’s weight sensors.
For more inf ormation, see page .This indicator normally comes on f or
a f ew seconds when you turn the
ignition switch to the ON (II)
position, and when the ignition
switch is turned to the START (III)
position. If it comes on at any other
time, there is a problem in the ABS.
If this happens, have your vehicle
checked by your dealer. With the
indicator on, your vehicle still has
normal braking ability but no anti-
lock. For more inf ormation, see page
.
This indicator comes on brief ly when
you turn the ignition switch to the
ON (II) position. If it comes on at
any other time, it indicates that the
passenger’s side airbag has
automatically shut off. For more
inf ormation, see page .
This indicator comes on brief ly when
you turn the ignition switch to the
ON (II) position. It will then go of f if
you have inserted a properly coded
ignition key. If it is not a properly
coded key, the indicator will blink,
and the engine’s f uel system will be
disabled (see page ).
19
32 32
83 322
Instrument Panel Indicators
Supplemental Restraint
System Indicator Anti-lock Brake System
(A BS) Indicator
Immobilizer System
Indicator Side A irbag Of f
Indicator
Inst rument s and Cont rols
63
Canada
U.S.
Table of Contents
Page 93 of 441

With the headlight switch in the of f
or position, the high beam
headlights and the high beam
indicator come on with reduced
brightness when you turn the
ignition switch to the ON (II)
position and release the parking
brake. They remain on until you turn
the ignition switch of f , even if you
set the parking brake.
The headlights revert to normal
operation when you turn them on
with the switch.
Even with the automatic lighting
f eature turned on, we recommend
thatyouturnonthelightsmanually
when driving at night or in a dense
f og, or when you enter dark areas
such as long tunnels or parking
f acilities.
Do not leave the light switch in
AUTO if you will not be driving the
vehicle f or an extended period (a
weekormore).Youshouldalsoturn
of f the lights if you plan to leave the
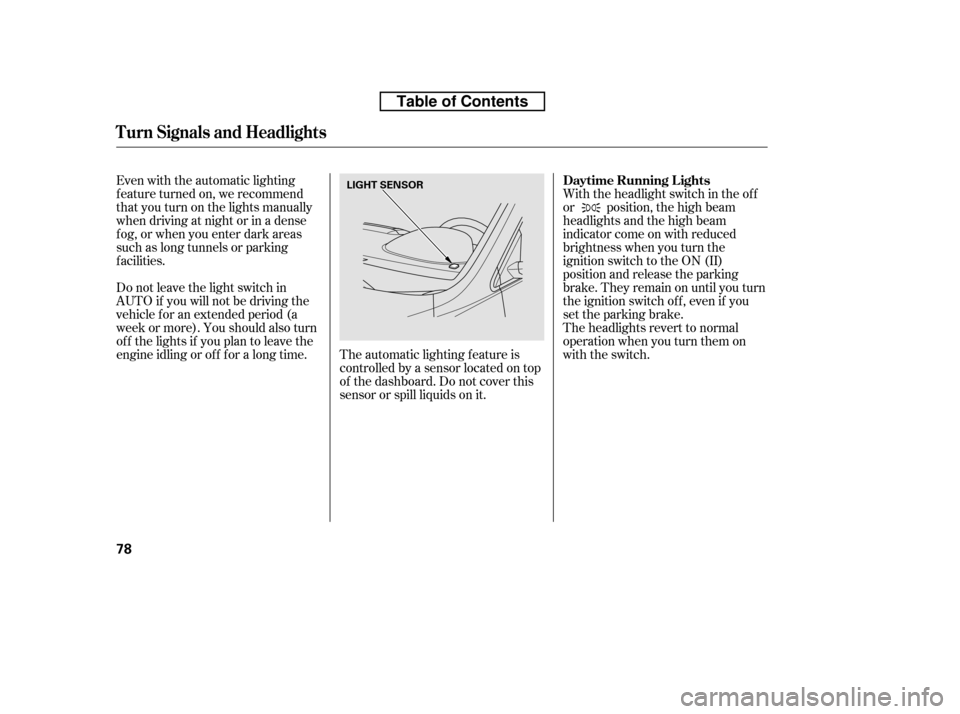
engine idling or of f f or a long time. The automatic lighting f eature is
controlledbyasensorlocatedontop
of the dashboard. Do not cover this
sensor or spill liquids on it.
Turn Signals and Headlights
Daytime Running L ights
78
LIGHT SENSOR
Table of Contents
Page 124 of 441

Make sure that the f olded up right
rear seat does not interf ere with the
f ront passenger’s seat-back. This will
cause the f ront passenger’s weight
sensors and the f ront passenger’s
seat belt reminder indicator to work
improperly (see page ). Also
check the passenger airbag of f
indicator to assure proper operation
of the passenger’s advanced f ront
airbag.
Reverse this procedure to return the
seat to the upright position.
Make sure the seat is securely
latched bef ore driving.
When you are not using the
fastening strap, store the strap into
the slit on the seat-back.Make sure both outer seat belts are
positioned in side of the rear seat-
backs.
Make sure all items in the cargo area
are secured. Loose items can f ly
f orward and cause injury if you have
to brake hard (See
on page ).
Do not use the dual deck cargo shelf
(if equipped) when the seats are
folded down or forward.
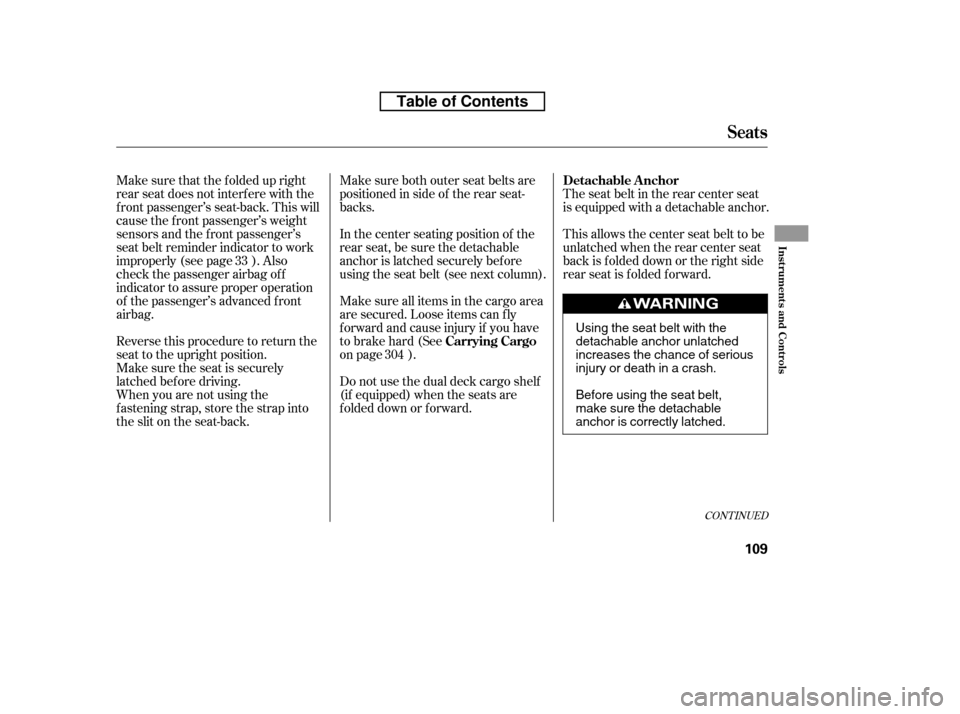
The seat belt in the rear center seat
is equipped with a detachable anchor.
This allows the center seat belt to be
unlatched when the rear center seat
back is f olded down or the right side
rear seat is folded forward.
In the center seating position of the
rear seat, be sure the detachable
anchor is latched securely bef ore
using the seat belt (see next column).
33
304
CONT INUED
Carrying CargoDetachable A nchor
Seats
Inst rument s and Cont rols
109
Using the seat belt with the
detachable anchor unlatched
increases the chance of serious
injury or death in a crash.
Before using the seat belt,
make sure the detachable
anchor is correctly latched.
Table of Contents
Page 380 of 441

CONT INUED
Dirt build-up in the loops of the seat
belt anchors can cause the belts to
retract slowly. Wipe the insides of
the loops with a clean cloth
dampened in mild soap and warm
water or isopropyl alcohol.
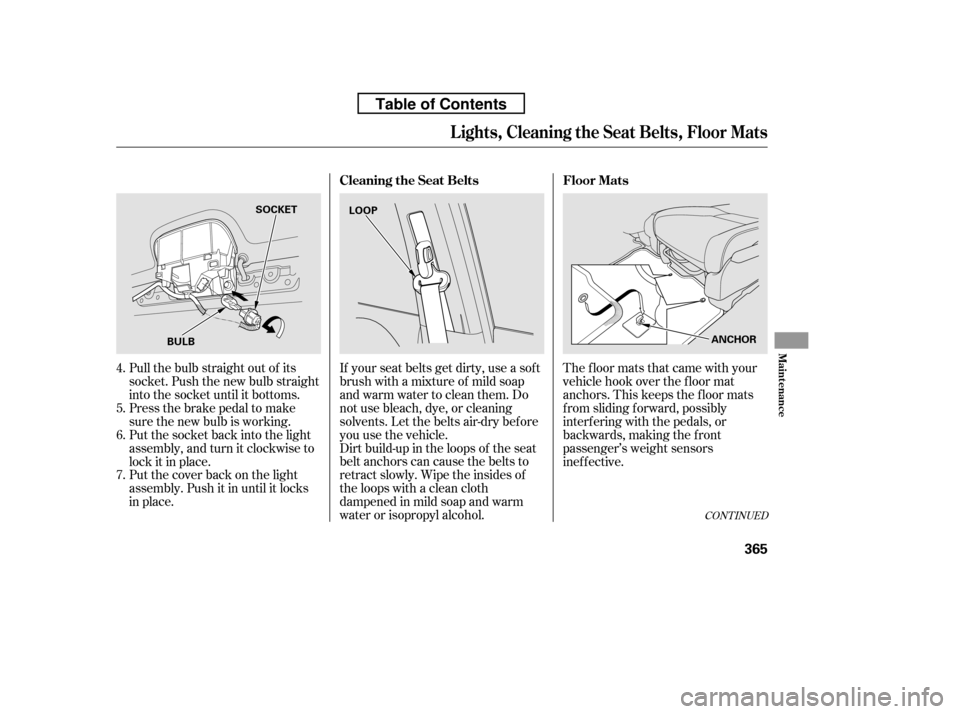
If your seat belts get dirty, use a sof t
brush with a mixture of mild soap
and warm water to clean them. Do
not use bleach, dye, or cleaning
solvents. Let the belts air-dry bef ore
you use the vehicle.
Pull the bulb straight out of its
socket. Push the new bulb straight
into the socket until it bottoms.
Press the brake pedal to make
sure the new bulb is working.
Put the socket back into the light
assembly, and turn it clockwise to
lock it in place.
Put the cover back on the light
assembly. Push it in until it locks
in place. The floor mats that came with your
vehicle hook over the f loor mat
anchors. This keeps the f loor mats
f rom sliding f orward, possibly
interf ering with the pedals, or
backwards, making the f ront
passenger’s weight sensors
inef f ective.
4. 5. 6. 7. Floor Mats
Cleaning the Seat Belts
Lights, Cleaning the Seat Belts, Floor Mats
Maint enance
365
BULB SOCKET
LOOP
ANCHOR
Table of Contents