interior lights HONDA CROSSTOUR 2014 1.G Owners Manual
[x] Cancel search | Manufacturer: HONDA, Model Year: 2014, Model line: CROSSTOUR, Model: HONDA CROSSTOUR 2014 1.GPages: 573, PDF Size: 21.2 MB
Page 2 of 573
Contents
Child Safety P. 54 Exhaust Gas Hazard P. 66 Safety Labels P. 67Opening and Closing the Tailgate P. 105 Security System P. 107 Opening and Closing the Windows P. 110
Operating the Switches Around the Steering Wheel P. 114 Adjusting the Mirrors P. 130
Interior Lights/Interior Convenience Items P. 142 Heating and Cooling System
* P. 154
Audio Error Messages P. 268 General Information on the Audio System P. 276
Bluetooth® HandsFreeLink® P. 320, 332, 367 Compass
* P. 405, 407
When Driving P. 420 Braking P. 449
Refueling P. 456 Fuel Economy P. 459 Accessories and Modifications P. 460Maintenance Under the Hood P. 469 Replacing Light Bulbs P. 484
Checking and Maintaining Tires P. 497 Battery P. 506 Remote Transmitter Care P. 507
Cleaning P. 510Engine Does Not Start P. 525 Jump Starting P. 528 Shift Lever Does Not Move P. 531
Fuses P. 538 Emergency Towing P. 542
When You Cannot Open the Tailgate P. 544Devices that Emit Radio Waves P. 551 Reporting Safety Defects P. 552
Authorized Manuals P. 557 Customer Service Information P. 558
Quick Reference Guide
P. 2
Safe Driving
P. 27
Instrument Panel
P. 69
Controls
P. 87
Features
P. 163
Driving
P. 409
Maintenance
P. 461
Handling the Unexpected
P. 515
Information
P. 545
Index
P. 562
Page 88 of 573
87
Controls
This chapter explains how to operate the various controls necessary for driving.
Setting the Clock................................ 88
Locking and Unlocking the Doors
Key Types and Functions .................... 91Low Smart Entry Remote Signal Strength
*.. 93
Locking/Unlocking the Doors from the
Outside ............................................ 94
Locking/Unlocking the Doors from the
Inside ............................................... 99
Childproof Door Locks ..................... 100
Auto Door Locking/Unlocking .......... 101
Opening and Closing the Tailgate... 105
Security System................................ 107
Immobilizer System .......................... 107
Security System Alarm ...................... 107Opening and Closing the Windows..... 110
Opening and Closing the Moonroof
.. 113
Operating the Switches Around the
Steering Wheel
Ignition Switch
*............................... 114
ENGINE START/STOP Button
*........... 115
Ignition Switch and Power Mode
Comparison ................................... 118
Turn Signals ..................................... 119
Light Switches.................................. 119
Fog Lights ........................................ 122
Daytime Running Lights ................... 122
Wipers and Washers ........................ 123
Brightness Control ........................... 125
Rear Defogger/Heated Door Mirror Button.. 126Driving Position Memory System
*.... 127Adjusting the Steering Wheel .......... 129
Adjusting the Mirrors....................... 130
Interior Rearview Mirror ................... 130
Power Door Mirrors ......................... 131
Adjusting the Seats.......................... 133
Adjusting the Seat Positions ............. 133
Interior Lights/Interior Convenience
Items................................................ 142
Interior Lights .................................. 142
Interior Convenience Items .............. 144
Heating and Cooling System
*......... 154
Using Vents, Heating and A/C.......... 154
Climate Control System
*.................. 157
Using Automatic Climate Control .... 157
Automatic Climate Control Sensors ... 162
* Not available on all models
Page 95 of 573
94
uuLocking and Unlocking the DoorsuLocking/Unlocking the Doors from the Outside
Controls
Locking/Unlocking the Doors from the Outside
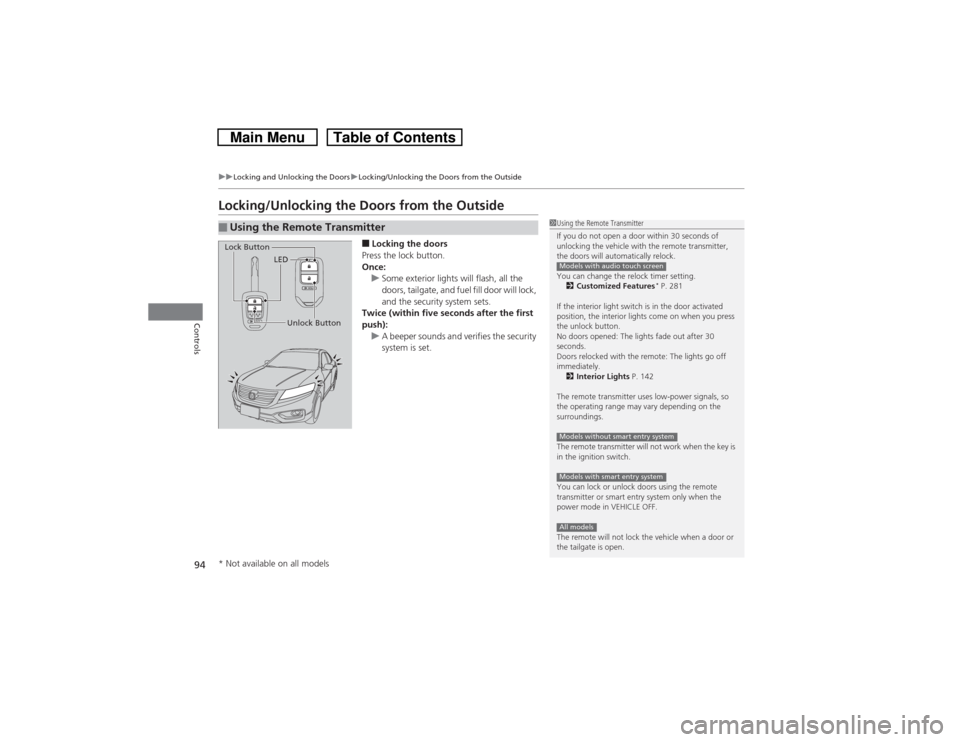
■Locking the doors
Press the lock button.
Once:
uSome exterior lights will flash, all the
doors, tailgate, and fuel fill door will lock,
and the security system sets.
Twice (within five seconds after the first
push):
uA beeper sounds and verifies the security
system is set.
■Using the Remote Transmitter
1Using the Remote Transmitter
If you do not open a door within 30 seconds of
unlocking the vehicle with the remote transmitter,
the doors will automatically relock.
You can change the relock timer setting.
2Customized Features
* P. 281
If the interior light switch is in the door activated
position, the interior lights come on when you press
the unlock button.
No doors opened: The lights fade out after 30
seconds.
Doors relocked with the remote: The lights go off
immediately.
2Interior Lights P. 142
The remote transmitter uses low-power signals, so
the operating range may vary depending on the
surroundings.
The remote transmitter will not work when the key is
in the ignition switch.
You can lock or unlock doors using the remote
transmitter or smart entry system only when the
power mode in VEHICLE OFF.
The remote will not lock the vehicle when a door or
the tailgate is open.
Models with audio touch screenModels without smart entry systemModels with smart entry systemAll models
LED
Unlock Button Lock Button
* Not available on all models
Page 131 of 573
130Controls
Adjusting the MirrorsInterior Rearview MirrorAdjust the angle of the rearview mirror when you are sitting in the correct driving
position.
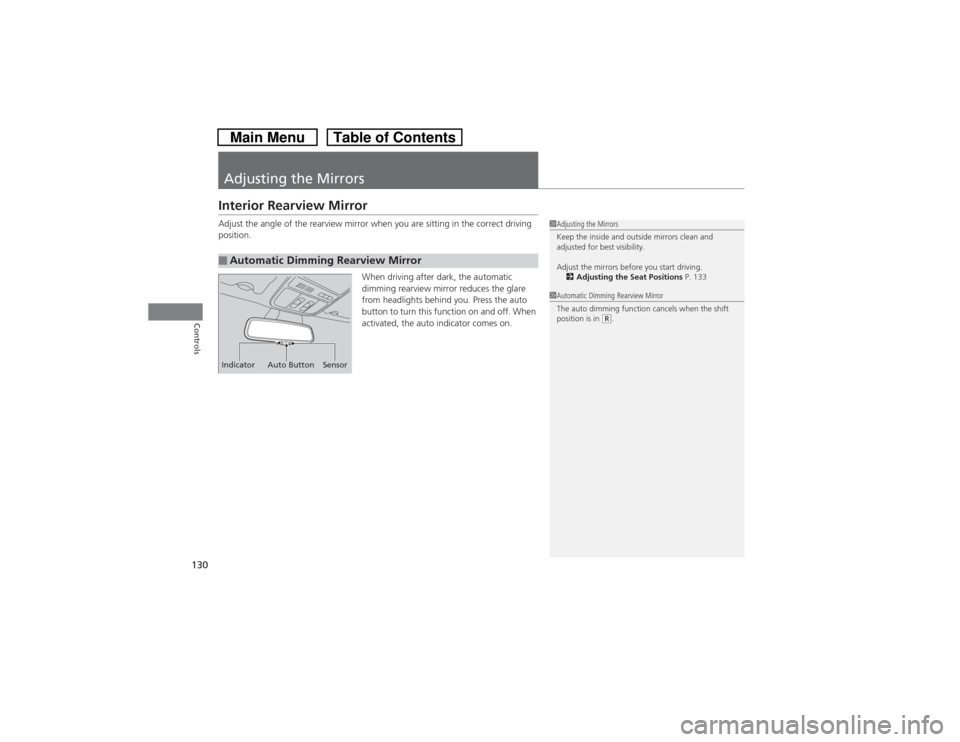
When driving after dark, the automatic
dimming rearview mirror reduces the glare
from headlights behind you. Press the auto
button to turn this function on and off. When
activated, the auto indicator comes on.■Automatic Dimming Rearview Mirror
1Adjusting the Mirrors
Keep the inside and outside mirrors clean and
adjusted for best visibility.
Adjust the mirrors before you start driving.
2Adjusting the Seat Positions P. 133
Indicator Auto Button Sensor
1Automatic Dimming Rearview Mirror
The auto dimming function cancels when the shift
position is in
(R.
Page 143 of 573
142Controls
Interior Lights/Interior Convenience ItemsInterior Lights
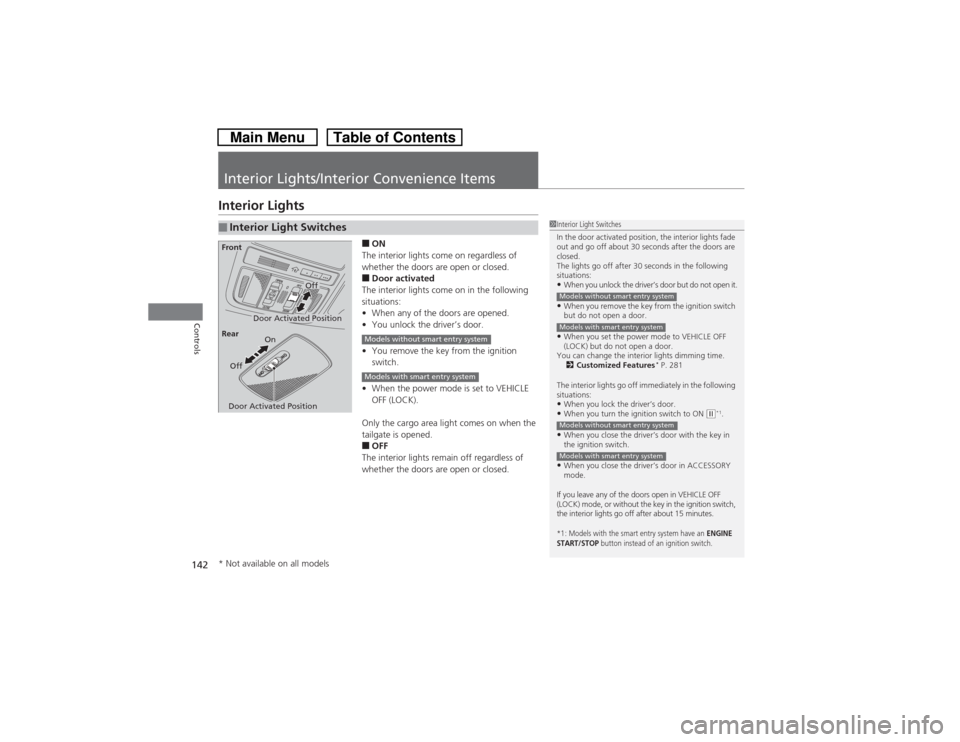
■ON
The interior lights come on regardless of
whether the doors are open or closed.■Door activated
The interior lights come on in the following
situations:
•When any of the doors are opened.
•You unlock the driver’s door.
•You remove the key from the ignition
switch.
•When the power mode is set to VEHICLE
OFF (LOCK).
Only the cargo area light comes on when the
tailgate is opened.■OFF
The interior lights remain off regardless of
whether the doors are open or closed.
■Interior Light Switches
1Interior Light Switches
In the door activated position, the interior lights fade
out and go off about 30 seconds after the doors are
closed.
The lights go off after 30 seconds in the following
situations:•When you unlock the driver’s door but do not open it.•When you remove the key from the ignition switch
but do not open a door.•When you set the power mode to VEHICLE OFF
(LOCK) but do not open a door.
You can change the interior lights dimming time.
2Customized Features
* P. 281
The interior lights go off immediately in the following
situations:
•When you lock the driver’s door.•When you turn the ignition switch to ON
(w*1.
•When you close the driver’s door with the key in
the ignition switch.•When you close the driver’s door in ACCESSORY
mode.
If you leave any of the doors open in VEHICLE OFF
(LOCK) mode, or without the key in the ignition switch,
the interior lights go off after about 15 minutes.*1: Models with the smart entry system have an
ENGINE
START/STOP
button instead of an ignition switch.
Models without smart entry systemModels with smart entry systemModels without smart entry systemModels with smart entry system
Door Activated Position
Off
FrontDoor Activated PositionOn
Off Rear
Models without smart entry systemModels with smart entry system
* Not available on all models
Page 144 of 573
143
uuInterior Lights/Interior Convenience ItemsuInterior Lights
Controls
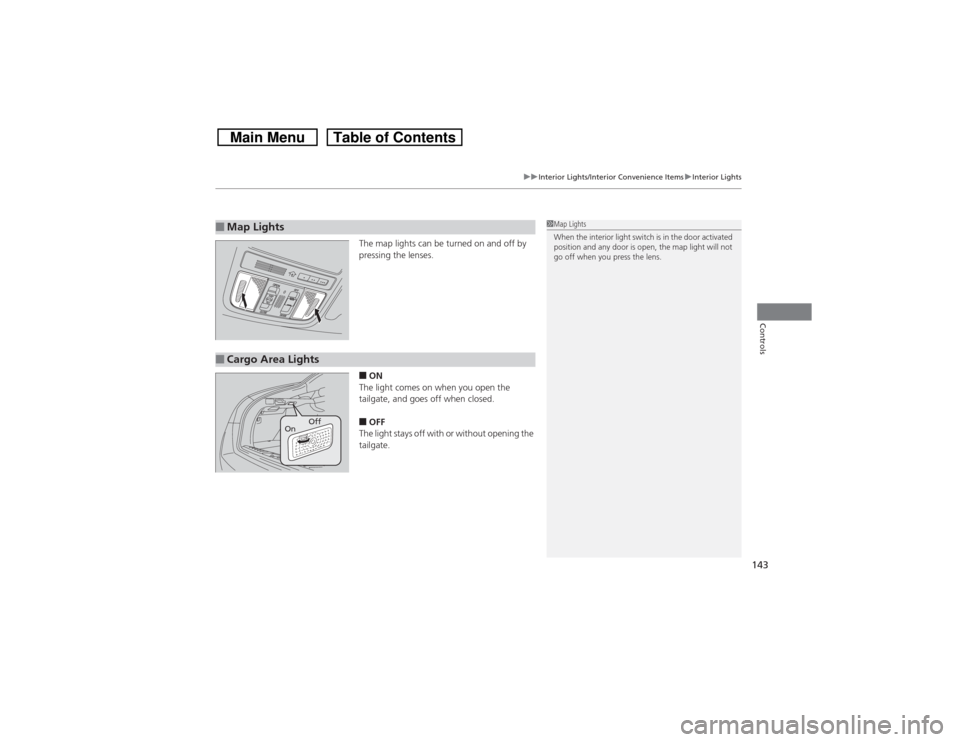
The map lights can be turned on and off by
pressing the lenses.■ON
The light comes on when you open the
tailgate, and goes off when closed.■OFF
The light stays off with or without opening the
tailgate.
■Map Lights
1Map Lights
When the interior light switch is in the door activated
position and any door is open, the map light will not
go off when you press the lens.
■Cargo Area Lights
Off
On
Page 145 of 573
144
uuInterior Lights/Interior Convenience ItemsuInterior Convenience Items
Controls
Interior Convenience Items
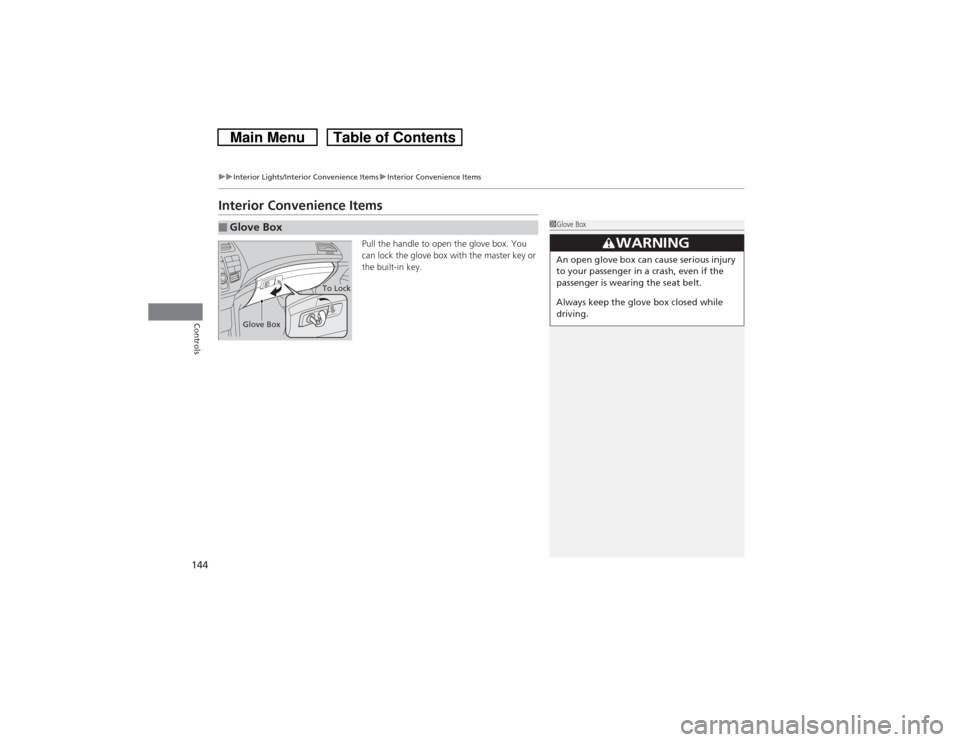
Pull the handle to open the glove box. You
can lock the glove box with the master key or
the built-in key.
■Glove Box
1Glove Box
3
WARNING
An open glove box can cause serious injury
to your passenger in a crash, even if the
passenger is wearing the seat belt.
Always keep the glove box closed while
driving.
Glove Box
To Lock
Page 146 of 573
145
uuInterior Lights/Interior Convenience ItemsuInterior Convenience Items
Continued
Controls
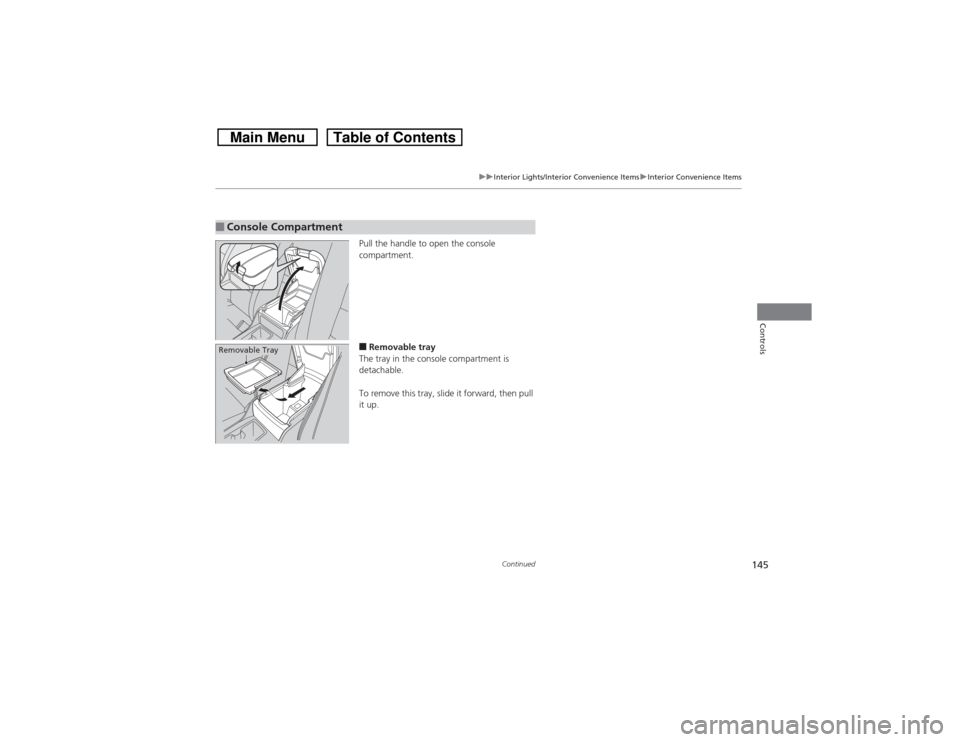
Pull the handle to open the console
compartment.■Removable tray
The tray in the console compartment is
detachable.
To remove this tray, slide it forward, then pull
it up.
■Console CompartmentRemovable Tray
Page 147 of 573
uuInterior Lights/Interior Convenience ItemsuInterior Convenience Items
146Controls
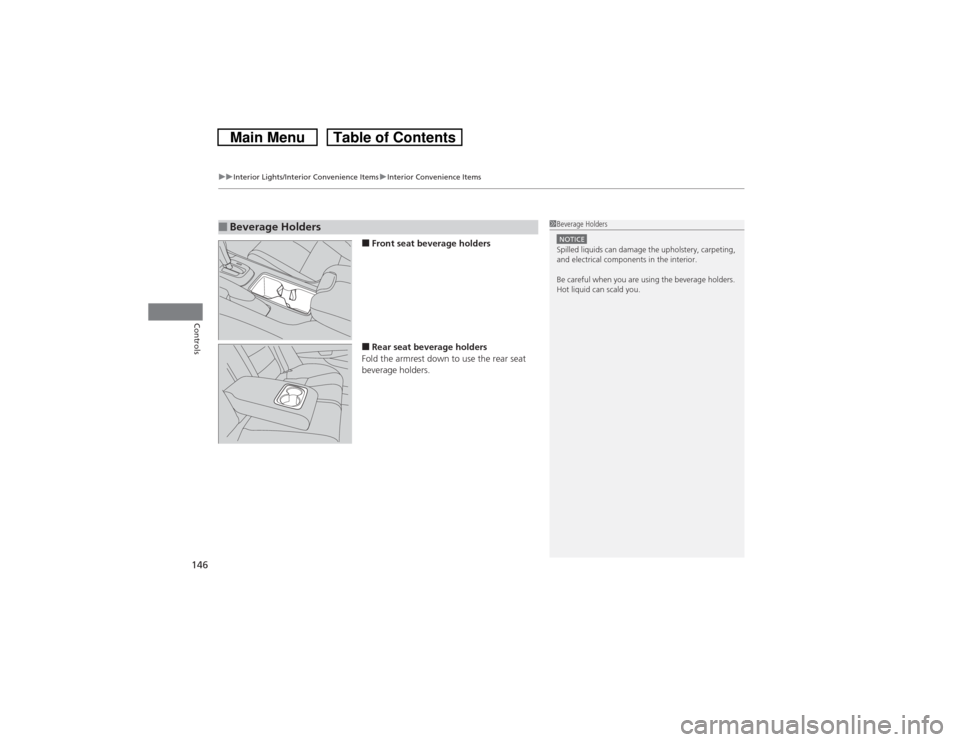
■Front seat beverage holders■Rear seat beverage holders
Fold the armrest down to use the rear seat
beverage holders.
■Beverage Holders
1Beverage HoldersNOTICESpilled liquids can damage the upholstery, carpeting,
and electrical components in the interior.
Be careful when you are using the beverage holders.
Hot liquid can scald you.
Page 148 of 573
Continued
147
uuInterior Lights/Interior Convenience ItemsuInterior Convenience Items
Controls
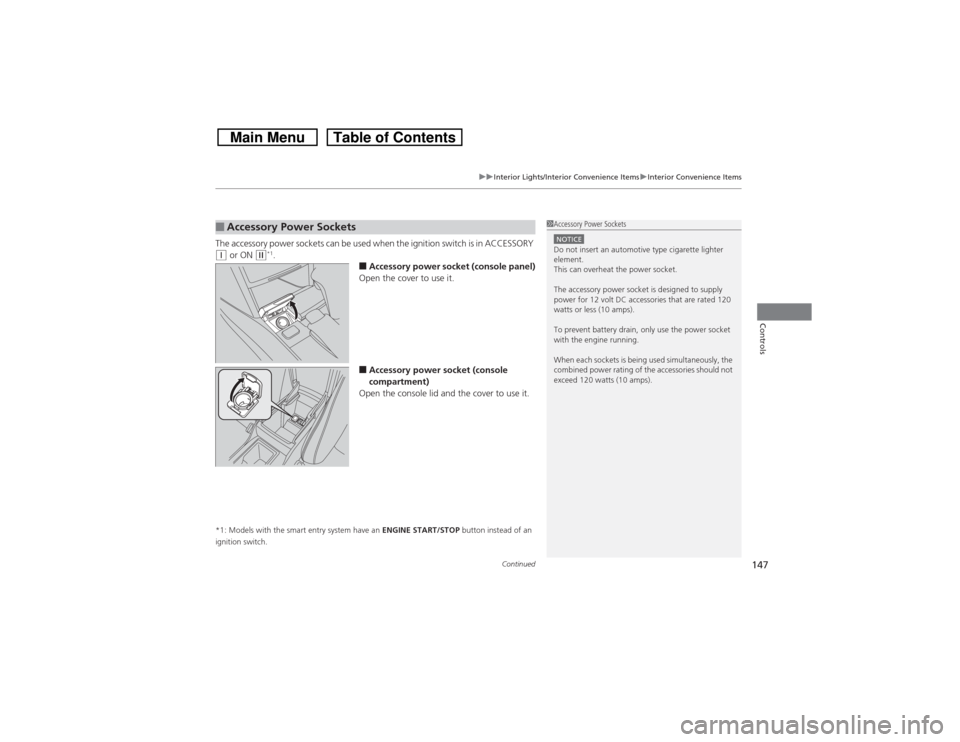
The accessory power sockets can be used when the ignition switch is in ACCESSORY (q or ON
(w*1.
■Accessory power socket (console panel)
Open the cover to use it.■Accessory power socket (console
compartment)
Open the console lid and the cover to use it.
*1: Models with the smart entry system have an ENGINE START/STOP button instead of an
ignition switch.■Accessory Power Sockets
1Accessory Power SocketsNOTICEDo not insert an automotive type cigarette lighter
element.
This can overheat the power socket.
The accessory power socket is designed to supply
power for 12 volt DC accessories that are rated 120
watts or less (10 amps).
To prevent battery drain, only use the power socket
with the engine running.
When each sockets is being used simultaneously, the
combined power rating of the accessories should not
exceed 120 watts (10 amps).