interior lights HONDA ODYSSEY 1999 Owners Manual
[x] Cancel search | Manufacturer: HONDA, Model Year: 1999, Model line: ODYSSEY, Model: HONDA ODYSSEY 1999Pages: 343, PDF Size: 3.73 MB
Page 56 of 343
Instruments and Controls
This section gives information about
the controls and displays that
contribute to the daily operation of
your Honda. All the essential
controls are within easy reach.
Control Locations............................ 56
Indicator Lights................................ 57
Gauges.............................................. 62
Controls Near the Steering
Wheel........................................65
Headlights...................................
. 66
Automatic Lightin g
Off
Feature......................................67
Daytime Running Lights............. 67
Instrument Panel Brightness..... 67
Turn Signals................................. 68
Windshield Wipers.....................
. 68
Windshield Washers..................
. 70
Rear Windo w
Wiper and
Washer......................................70
Hazard Warning........................... 70
Rear Window Defogger.............. 71
Steering Wheel Adjustment....... 72
Steering Wheel Controls ................ 73
Cruise Control.............................. 73
Remote Audio Controls .............. 76
Keys and Locks................................ 76
Keys............................................... 76
Immobilizer System..................... 77
Ignition Switch............................. 78
Power Door Locks....................... 79
Remote Transmitter.................... 81Childproof Door Locks............... 85
Tailgate......................................... 85
Glove Box..................................... 87
Sliding Doors.................................... 88
Manual Sliding Doors.................. 88
Power Sliding Doors.................... 90
Important Safety Precautions.... 94
HomeLink Universal Transmitter.................................. 95
Seats.................................................. 99
Passenger Seating....................... 99
Seat Adjustments....................... 100
Driver's Seat Power
Adjustments........................... 102
Armrests..................................... 103
Head Restraints......................... 104
Third Seat Access...................... 105 Moving the Second Row Bucket Seat............................ 106
Removing the Bucket Seats in the Second Row................. 108
Removing the Bench Seat in the Second Row................. 109
Folding the Third Seat.............. 110
Power Windows............................. 113
Mirrors............................................ 115 Parking Brake................................ 116
Digital Clock................................... 117
Center Table................................... 117
Beverage Holder............................ 118
Sunglasses Holder......................... 120
Sun Visor......................................... 121
Vanity Mirror................................. 121 Rear Compartment........................ 122Center Pocket................................ 122
Coin Holder.................................... 122
Storage Box.................................... 123 Coat Hook....................................... 123
Accessory Power Sockets............. 124 Interior Lights................................ 125
Instruments and ControlsProCarManuals.comMain Menu s t
Page 126 of 343
Interior Lights
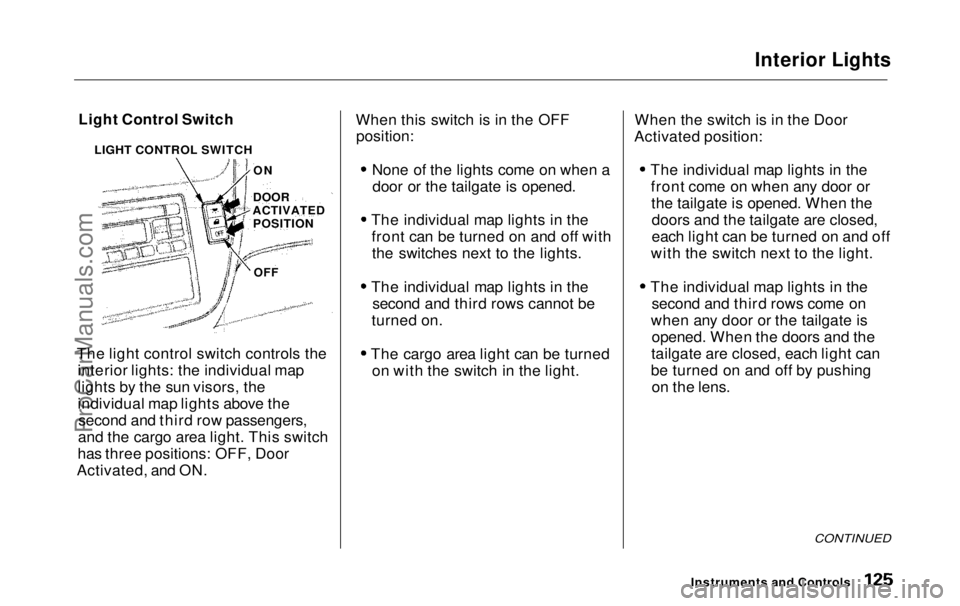
Light Control Switch
The light control switch controls the interior lights: the individual map
lights by the sun visors, the
individual map lights above thesecond and third row passengers,
and the cargo area light. This switch
has three positions: OFF, Door
Activated, and ON. When this switch is in the OFF
position:
None of the lights come on when adoor or the tailgate is opened.
The individual map lights in the front can be turned on and off withthe switches next to the lights.
The individual map lights in the second and third rows cannot be
turned on.
The cargo area light can be turned on with the switch in the light. When the switch is in the Door
Activated position:
The individual map lights in thefront come on when any door orthe tailgate is opened. When thedoors and the tailgate are closed,
each light can be turned on and off
with the switch next to the light.
The individual map lights in the second and third rows come on
when any door or the tailgate is opened. When the doors and the
tailgate are closed, each light can
be turned on and off by pushing on the lens.
CONTINUED
Instruments and Controls
LIGHT CONTROL SWITCH
ON
DOOR
ACTIVATED POSITION
OFFProCarManuals.comMain Menu Table of Contents s t
Page 127 of 343
Interior Lights
The cargo area light comes onwhen any door or the tailgate isopened if the switch in the light is
in the door activated (center)
position. When the doors and the
tailgate are closed, it can be turned
on with the switch in the light. When the switch is in the ON
position:
All the individual map lights comeon and stay on as long as theswitch remains in the ON position.
The cargo area light comes on and stays on if the switch in the light is
in the door activated (center)
position.
On EX model
The lights go out about six seconds after all the doors and the tailgate
are closed.
With the light control switch in the Door Activated position, all the
individual map lights and the cargo
area light (with the switch in the
center position) come on when you
unlock the door with the remote
transmitter (see page 81 ).
With any door or the tailgate leftopen, the lights stay on about threeminutes, then go out.
Instruments and ControlsProCarManuals.comMain Menu Table of Contents s t
Page 128 of 343
Interior Lights
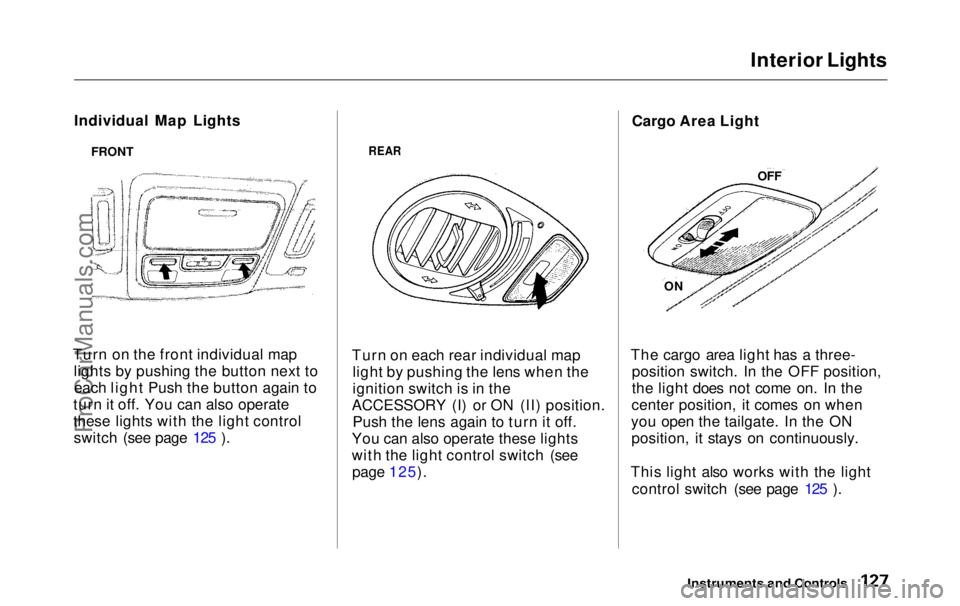
Individual Map Lights
Turn on the front individual map lights by pushing the button next toeach light Push the button again to
turn it off. You can also operate
these lights with the light control switch (see page 125 ).
REAR
Turn on each rear individual map light by pushing the lens when the
ignition switch is in the
ACCESSORY (I) or ON (II) position. Push the lens again to turn it off.
You can also operate these lights
with the light control switch (see page 125). Cargo Area Light
The cargo area light has a three- position switch. In the OFF position,
the light does not come on. In the
center position, it comes on when
you open the tailgate. In the ON position, it stays on continuously.
This light also works with the light control switch (see page 125 ).
Instruments and Controls
FRONT
OFF
ONProCarManuals.comMain Menu Table of Contents s t
Page 129 of 343
Interior Lights
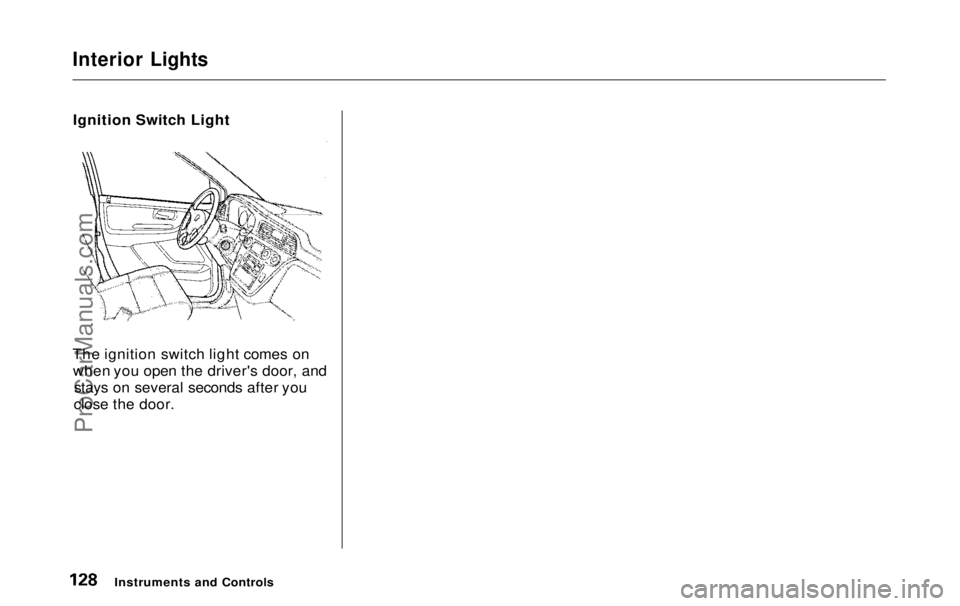
Ignition Switch Light
The ignition switch light comes on when you open the driver's door, and stays on several seconds after you
close the door.
Instruments and ControlsProCarManuals.comMain Menu Table of Contents s t
Page 131 of 343
Heating and Cooling
On LX model
Proper use of the Heating and Cooling system can make the
interior dry and comfortable, and
keep the windows clear for best
visibility.
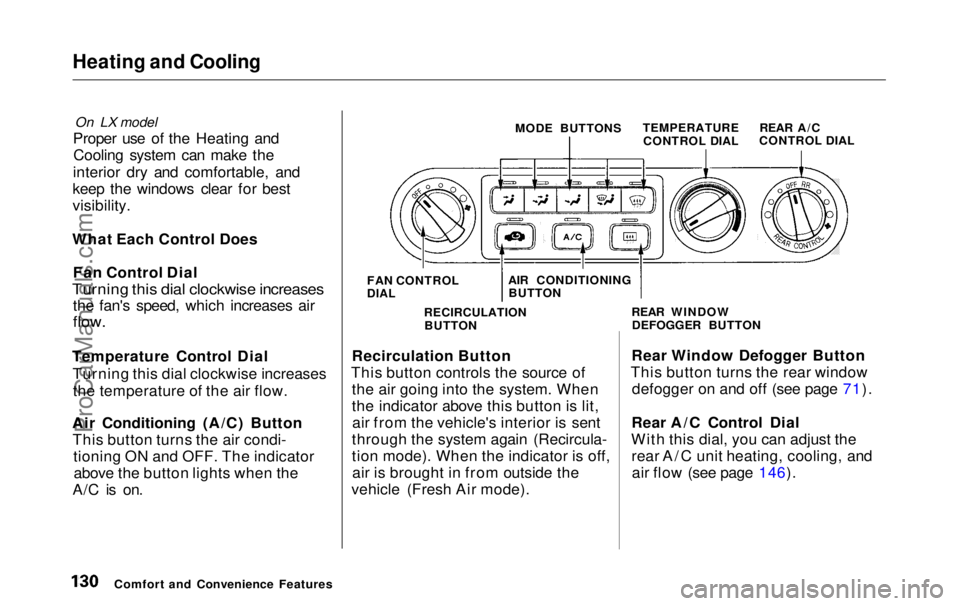
What Each Control Does Fan Control Dial
Turning this dial clockwise increases
the fan's speed, which increases air
flow.
Temperature Control Dial Turning this dial clockwise increasesthe temperature of the air flow.
Air Conditioning (A/C) Button This button turns the air condi- tioning ON and OFF. The indicatorabove the button lights when the
A/C is on. MODE BUTTONS
TEMPERATURE
CONTROL DIAL
Recirculation Button
This button controls the source of the air going into the system. When
the indicator above this button is lit,air from the vehicle's interior is sent
through the system again (Recircula-
tion mode). When the indicator is off, air is brought in from outside the
vehicle (Fresh Air mode). Rear Window Defogger Button
This button turns the rear window defogger on and off (see page 71).
Rear A/C Control Dial
With this dial, you can adjust the rear A/C unit heating, cooling, andair flow (see page 146).
Comfort and Convenience Features FAN CONTROL
DIAL
AIR CONDITIONING
BUTTON
RECIRCULATION BUTTON REAR WINDOW
DEFOGGER BUTTON REAR A/C
CONTROL DIALProCarManuals.comMain Menu Table of Contents s t
Page 273 of 343
Lights
4. Turn on the parking lights and
check that the new bulb is
working.
5. Put the lens back on the bulb holder and push it until it latches.
6. Slide the left side of the light assembly into the hole. Push on
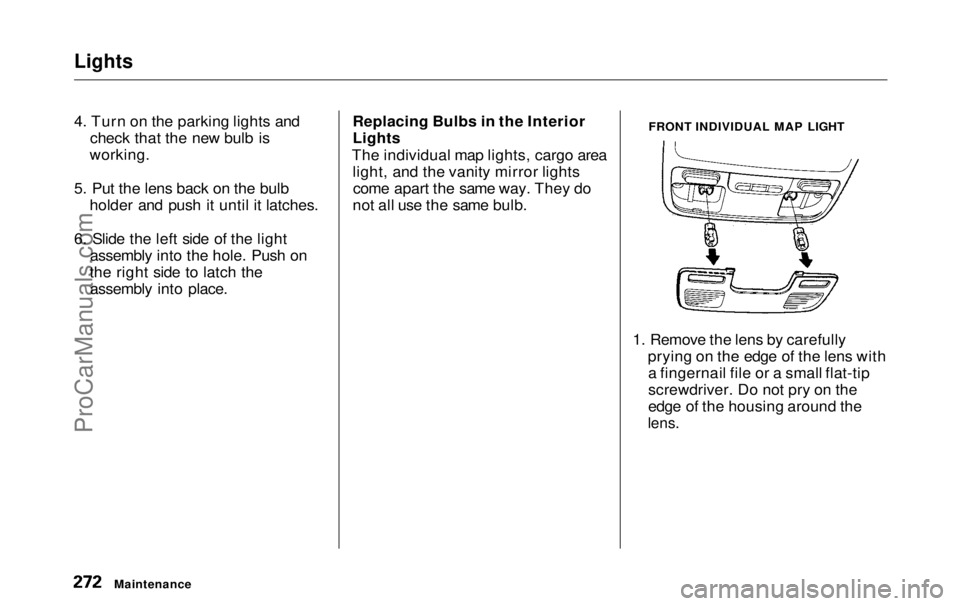
the right side to latch the assembly into place. Replacing Bulbs in the Interior
Lights
The individual map lights, cargo area light, and the vanity mirror lightscome apart the same way. They do
not all use the same bulb. FRONT INDIVIDUAL MAP LIGHT
1. Remove the lens by carefully prying on the edge of the lens witha fingernail file or a small flat-tip
screwdriver. Do not pry on the
edge of the housing around the
lens.
MaintenanceProCarManuals.comMain Menu Table of Contents s t
Page 305 of 343
Fuses
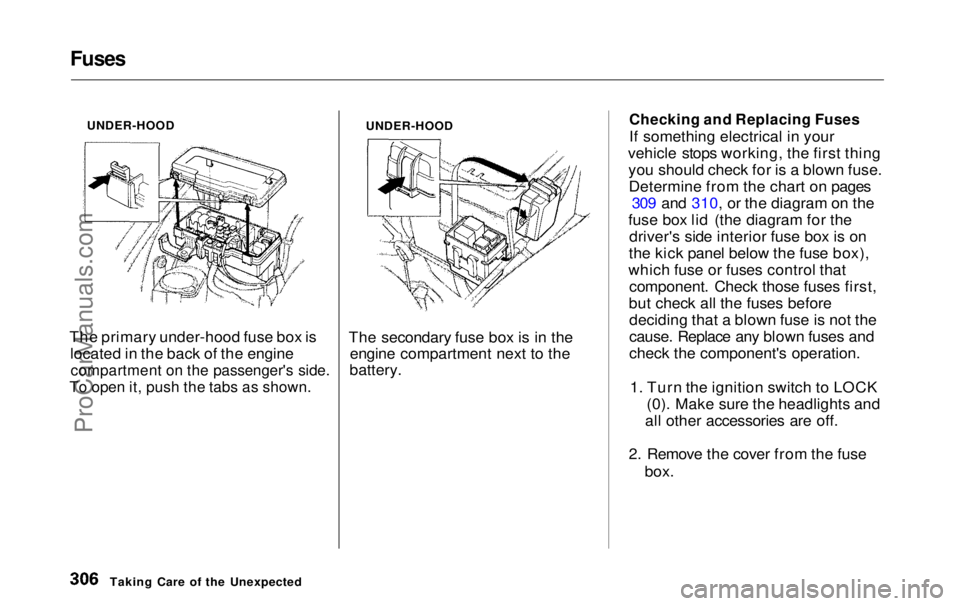
UNDER-HOOD
The primary under-hood fuse box is located in the back of the engine
compartment on the passenger's side.
To open it, push the tabs as shown.
UNDER-HOOD
The secondary fuse box is in the engine compartment next to the
battery.
Checking and Replacing Fuses
If something electrical in your
vehicle stops working, the first thing you should check for is a blown fuse.Determine from the chart on pages 309 and 310, or the diagram on the
fuse box lid (the diagram for the driver's side interior fuse box is on
the kick panel below the fuse box),
which fuse or fuses control that component. Check those fuses first,
but check all the fuses before deciding that a blown fuse is not the
cause. Replace any blown fuses and
check the component's operation.
1. Turn the ignition switch to LOCK (0). Make sure the headlights and
all other accessories are off.
2. Remove the cover from the fuse box.
Taking Care of the UnexpectedProCarManuals.comMain Menu Table of Contents s t
Page 335 of 343
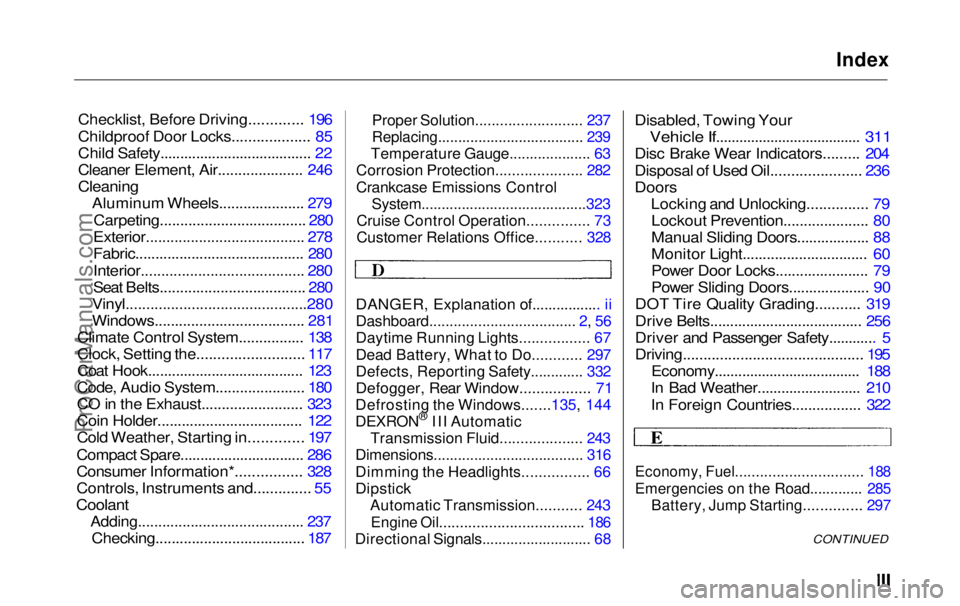
Index
Checklist, Before Driving............. 196
Childproof Door Locks................... 85
Child Safety...................................... 22
Cleaner Element, Air..................... 246
Cleaning
Aluminum Wheels..................... 279
Carpeting.................................... 280
Exterior....................................... 278
Fabric.......................................... 280
Interior........................................ 280
Seat Belts.................................... 280
Vinyl............................................280
Windows..................................... 281
Climate Control System................ 138
Clock, Setting the.......................... 117
Coat Hook....................................... 123
Code, Audio System...................... 180
CO in the Exhaust......................... 323
Coin Holder.................................... 122
Cold Weather, Starting in............. 197
Compact Spare............................... 286
Consumer Information*................ 328
Controls, Instruments and.............. 55
Coolant
Adding......................................... 237
Checking..................................... 187
Proper Solution.......................... 237
Replacing.................................... 239
Temperature Gauge.................... 63
Corrosion Protection..................... 282
Crankcase Emissions Control
System.........................................323
Cruise Control Operation............... 73
Customer Relations Office........... 328
DANGER, Explanation of................. ii
Dashboard.................................... 2, 56
Daytime Running Lights................. 67
Dead Battery, What to Do............ 297
Defects, Reporting Safety............. 332
Defogger, Rear Window................. 71
Defrosting the Windows.......135, 144
DEXRON ®
III Automatic
Transmission Fluid.................... 243
Dimensions..................................... 316
Dimming the Headlights................ 66
Dipstick
Automatic Transmission........... 243
Engine Oil................................... 186
Directional Signals........................... 68
Disabled, Towing Your
Vehicle If..................................... 311
Disc Brake Wear Indicators......... 204
Disposal of Used Oil...................... 236
Doors
Locking and Unlocking............... 79Lockout Prevention..................... 80
Manual Sliding Doors.................. 88
Monitor Light............................... 60
Power Door Locks....................... 79
Power Sliding Doors.................... 90
DOT Tire Quality Grading........... 319
Drive Belts...................................... 256
Driver and Passenger Safety............ 5
Driving............................................ 195 Economy..................................... 188
In Bad Weather.......................... 210
In Foreign Countries................. 322
Economy, Fuel............................... 188
Emergencies on the Road............. 285
Battery, Jump Starting.............. 297
CONTINUEDProCarManuals.comMain Menu s t
Page 337 of 343
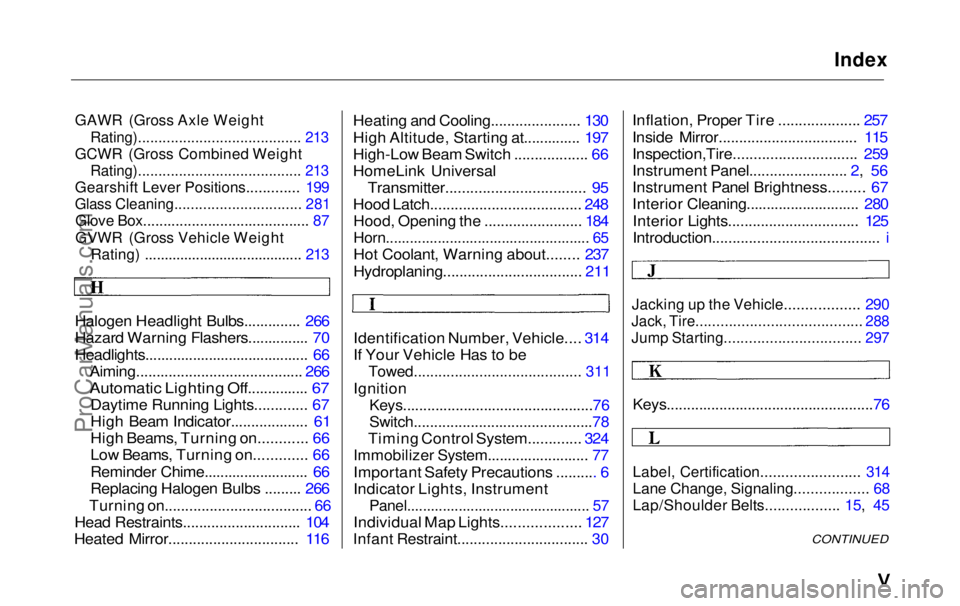
Index
GAWR (Gross Axle Weight
Rating)........................................ 213
GCWR (Gross Combined Weight
Rating)........................................ 213
Gearshift Lever Positions............. 199
Glass Cleaning............................... 281
Glove Box......................................... 87
GVWR (Gross Vehicle Weight
Rating) ........................................ 213
Halogen Headlight Bulbs.............. 266
Hazard Warning Flashers............... 70
Headlights......................................... 66 Aiming......................................... 266
Automatic Lighting Off............... 67
Daytime Running Lights............. 67
High Beam Indicator................... 61
High Beams, Turning on............ 66
Low Beams, Turning on............. 66
Reminder Chime.......................... 66
Replacing Halogen Bulbs ......... 266
Turning on.................................... 66
Head Restraints............................. 104
Heated Mirror................................ 116 Heating and Cooling...................... 130
High Altitude, Starting at.............. 197
High-Low Beam Switch .................. 66
HomeLink Universal
Transmitter.................................. 95
Hood Latch..................................... 248
Hood, Opening the ........................ 184
Horn................................................... 65
Hot Coolant, Warning about........ 237
Hydroplaning.................................. 211
Identification Number, Vehicle.... 314
If Your Vehicle Has to be
Towed......................................... 311
Ignition
Keys...............................................76
Switch............................................78
Timing Control System............. 324
Immobilizer System......................... 77
Important Safety Precautions .......... 6
Indicator Lights, Instrument
Panel.............................................. 57
Individual Map Lights................... 127
Infant Restraint................................ 30
Inflation, Proper Tire .................... 257
Inside Mirror.................................. 115
Inspection,Tire.............................. 259
Instrument Panel........................ 2, 56
Instrument Panel Brightness......... 67
Interior Cleaning............................ 280
Interior Lights................................ 125
Introduction......................................... i
Jacking up the Vehicle.................. 290
Jack, Tire........................................ 288
Jump Starting................................. 297
Keys...................................................76
Label, Certification........................ 314
Lane Change, Signaling.................. 68
Lap/Shoulder Belts.................. 15, 45
CONTINUEDProCarManuals.comMain Menu s t