light HONDA ODYSSEY 2003 RB1-RB2 / 3.G Service Manual
[x] Cancel search | Manufacturer: HONDA, Model Year: 2003, Model line: ODYSSEY, Model: HONDA ODYSSEY 2003 RB1-RB2 / 3.GPages: 415, PDF Size: 5.28 MB
Page 132 of 415
Canadian Models
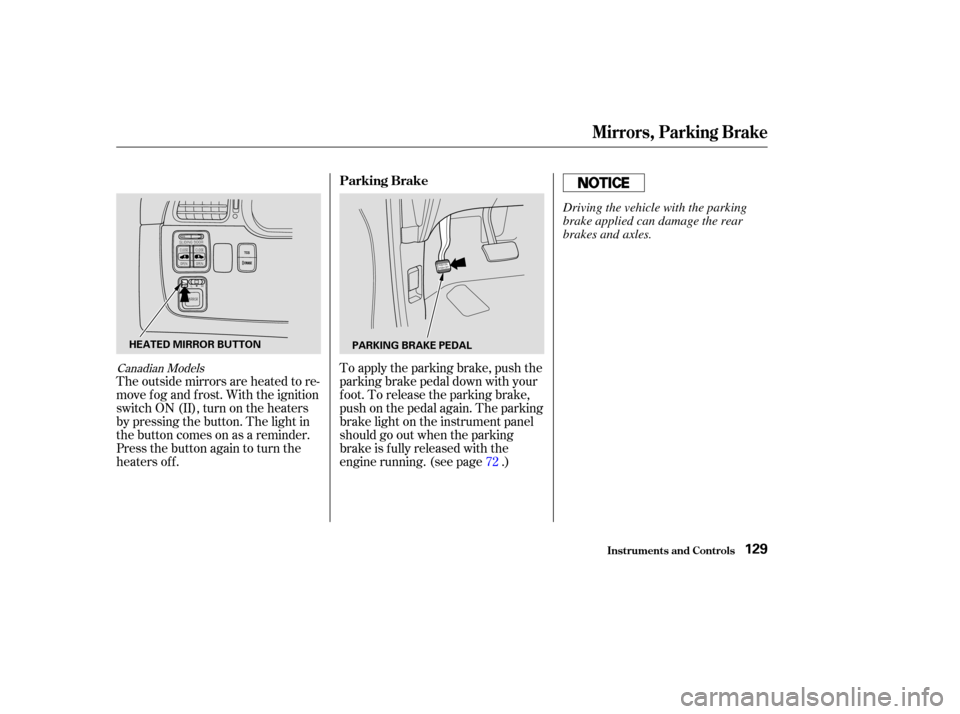
The outside mirrors are heated to re-
move fog and frost. With the ignition
switchON(II),turnontheheaters
by pressing the button. The light in
the button comes on as a reminder.
Press the button again to turn the
heaters off.To apply the parking brake, push the
parking brake pedal down with your
f oot. To release the parking brake,
push on the pedal again. The parking
brake light on the instrument panel
should go out when the parking
brake is f ully released with the
engine running. (see page .)
72
Parking Brake
Mirrors, Parking Brake
Inst rument s and Cont rols129
HEATED MIRROR BUTTON
PARKING BRAKE PEDAL
Driving the vehicle with the parking
brake applied can damage the rear
brakes and axles.
Page 138 of 415
Make sure you put the sun visor
back in place when you are getting
into or out of the vehicle. Do not use
the sun visor extension over the rear
view mirror.Touseavanitymirroronthebackof
the sun visor, pull up the cover.
The lights beside the mirror come
on only when the parking lights are
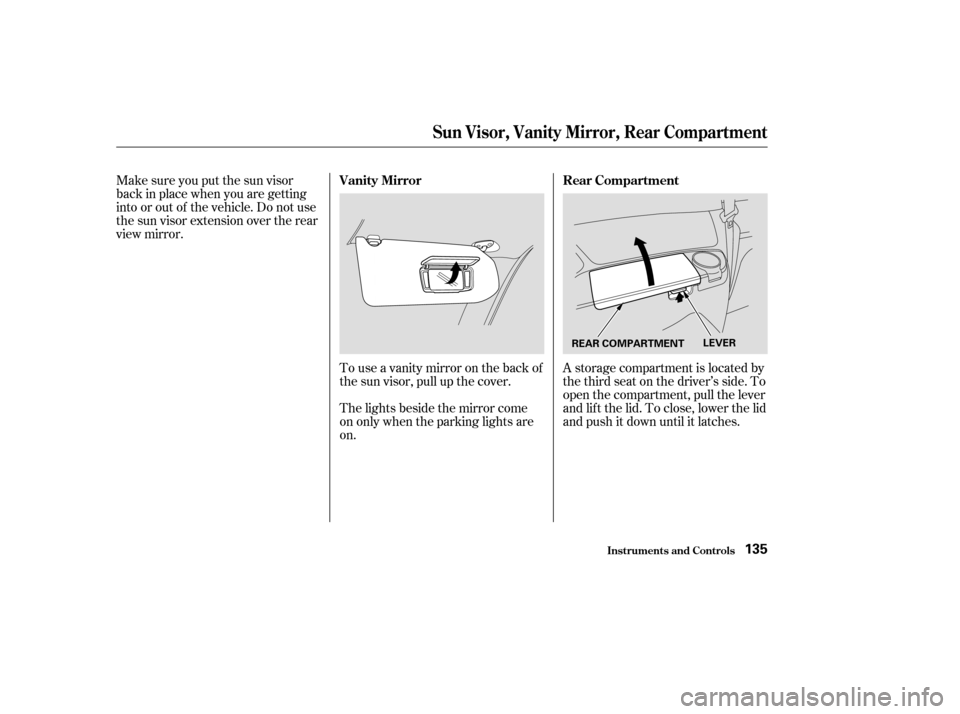
on.A storage compartment is located by
the third seat on the driver’s side. To
open the compartment, pull the lever
and lif t the lid. To close, lower the lid
and push it down until it latches.
Inst rument s and Cont rols
Vanity Mirror
Rear Compartment
Sun Visor, Vanity Mirror, Rear Compartment
135
REAR COMPARTMENTLEVER
Page 139 of 415
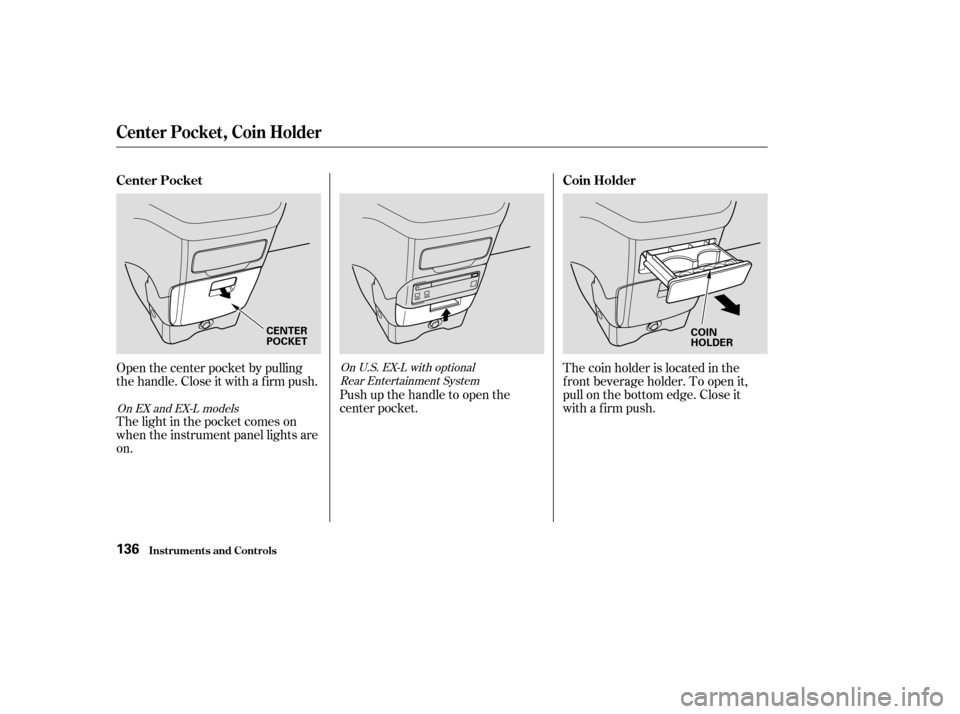
The coin holder is located in the
f ront beverage holder. To open it,
pull on the bottom edge. Close it
with a firm push.
Open the center pocket by pulling
thehandle.Closeitwithafirmpush.
The light in the pocket comes on
when the instrument panel lights are
on. Push up the handle to open the
center pocket.
On EX and EX-L models
On U.S. EX-L with optional
Rear Entertainment System
Inst rument s and Cont rols
Coin Holder
Center Pocket
Center Pocket, Coin Holder
136
CENTER
POCKET COIN
HOLDER
Page 141 of 415
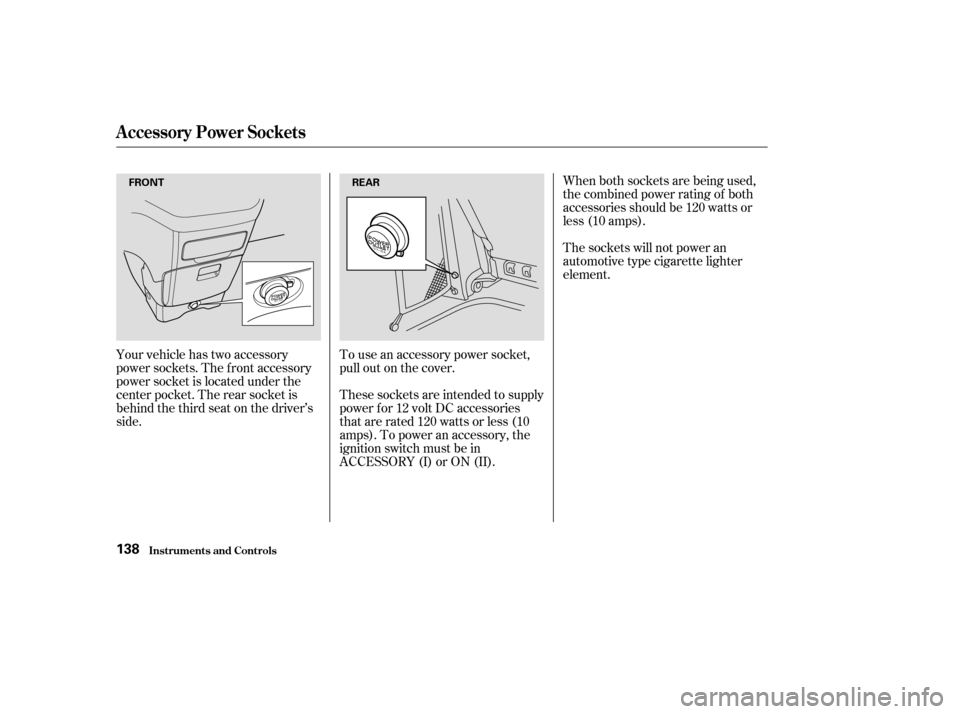
Your vehicle has two accessory
power sockets. The f ront accessory
power socket is located under the
center pocket. The rear socket is
behind the third seat on the driver’s
side.To use an accessory power socket,
pull out on the cover.
These sockets are intended to supply
power f or 12 volt DC accessories
that are rated 120 watts or less (10
amps). To power an accessory, the
ignition switch must be in
ACCESSORY (I) or ON (II).When both sockets are being used,
the combined power rating of both
accessories should be 120 watts or
less (10 amps).
The sockets will not power an
automotive type cigarette lighter
element.
Inst rument s and Cont rols
A ccessory Power Socket s
138
FRONT
REAR
Page 142 of 415
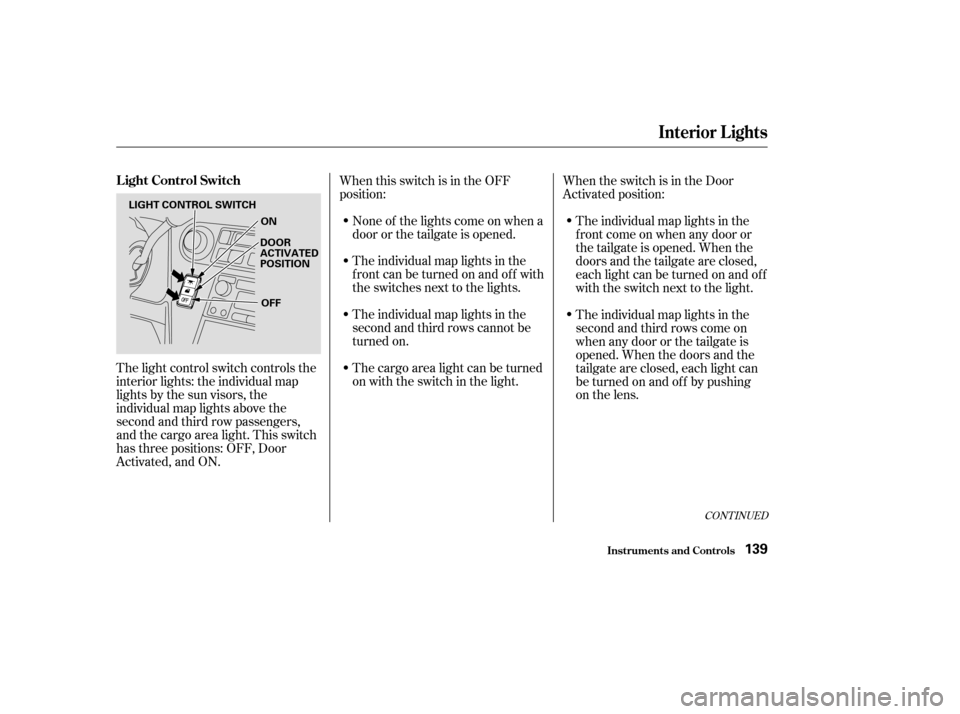
The light control switch controls the
interior lights: the individual map
lights by the sun visors, the
individual map lights above the
second and third row passengers,
and the cargo area light. This switch
has three positions: OFF, Door
Activated, and ON.When this switch is in the OFF
position:
None of the lights come on when a
door or the tailgate is opened.
The individual map lights in the
f ront can be turned on and of f with
the switches next to the lights.
The individual map lights in the
second and third rows cannot be
turned on.
The cargo area light can be turned
on with the switch in the light. The individual map lights in the
f ront come on when any door or
thetailgateisopened.Whenthe
doors and the tailgate are closed,
eachlightcanbeturnedonandoff
with the switch next to the light.
The individual map lights in the
second and third rows come on
when any door or the tailgate is
opened. When the doors and the
tailgate are closed, each light can
be turned on and of f by pushing
on the lens.
When the switch is in the Door
Activated position:
CONT INUED
Inst rument s and Cont rols
Interior Lights
L ight Control Switch
139
LIGHT CONTROL SWITCH
ON
DOOR
ACTIVATED
POSITION
OFF
Page 143 of 415
The cargo area light comes on
whenanydoororthetailgateis
opened if the switch in the light is
in the door activated (center)
position. When the doors and the
tailgate are closed, it can be turned
on with the switch in the light.When the switch is in the ON
position:
All the individual map lights come
onandstayonaslongasthe
switch remains in the ON position.
The cargo area light comes on and
stays on if the switch in the light is
in the door activated (center)
position. The lights go out about six seconds
after all the doors and the tailgate
are closed.
With the light control switch in the
Door Activated position, all the
individual map lights and the cargo
area light (with the switch in the
center position) come on when you
unlock the door with the remote
transmitter (see page ).
Withanydoororthetailgateleft
open, the lights stay on about three
minutes, then go out.
94On EX and EX-L models
Interior Lights
Inst rument s and Cont rols140
Page 144 of 415
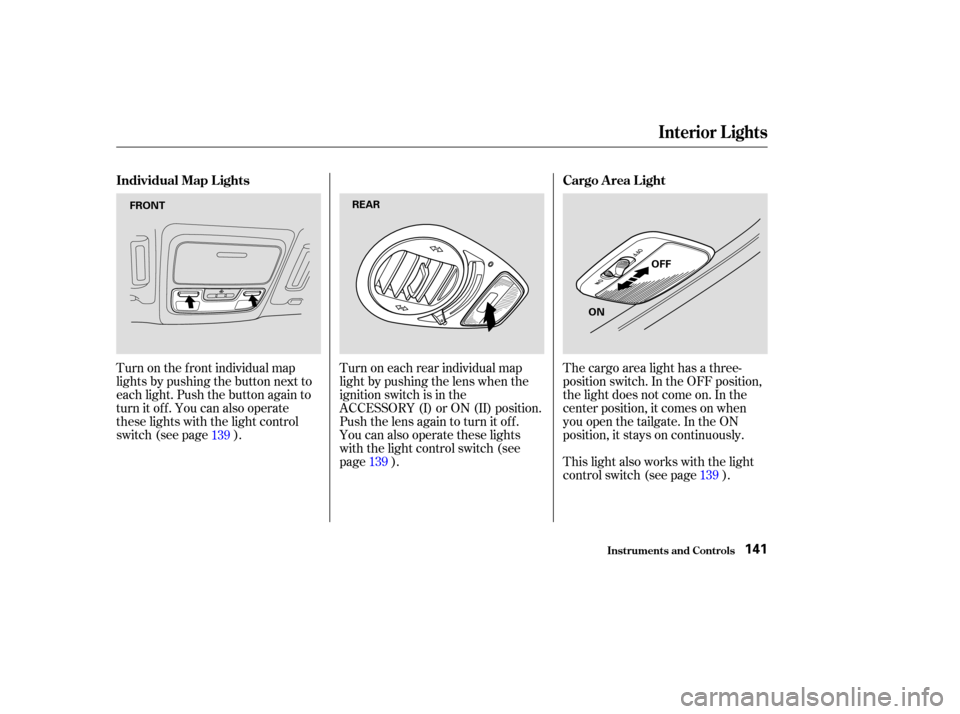
Turn on the f ront individual map
lights by pushing the button next to
each light. Push the button again to
turn it off. You can also operate
these lights with the light control
switch (see page ).Turn on each rear individual map
light by pushing the lens when the
ignition switch is in the
ACCESSORY (I) or ON (II) position.
Push the lens again to turn it off.
You can also operate these lights
with the light control switch (see
page ).The cargo area light has a three-
position switch. In the OFF position,
the light does not come on. In the
center position, it comes on when
you open the tailgate. In the ON
position, it stays on continuously.
This light also works with the light
control switch (see page ).
139
139 139
Inst rument s and Cont rols
Interior Lights
Individual Map L ights Cargo A rea L ight
141
FRONTREAR
OFF
ON
Page 145 of 415
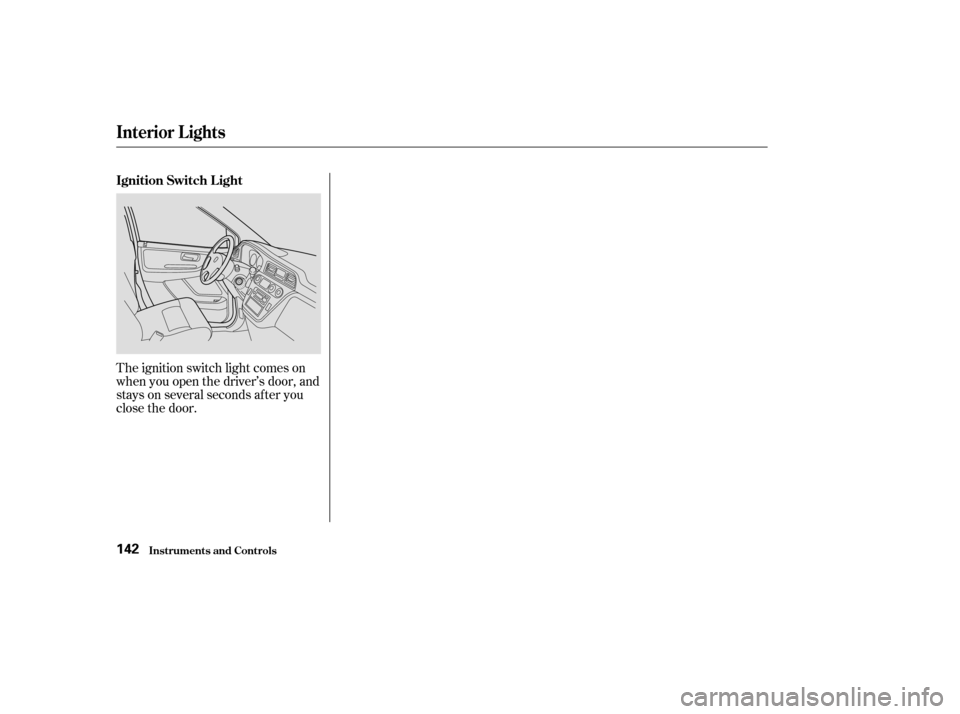
The ignition switch light comes on
when you open the driver’s door, and
stays on several seconds after you
close the door.
Interior Lights
Inst rument s and Cont rols
Ignition Switch L ight
142
Page 146 of 415
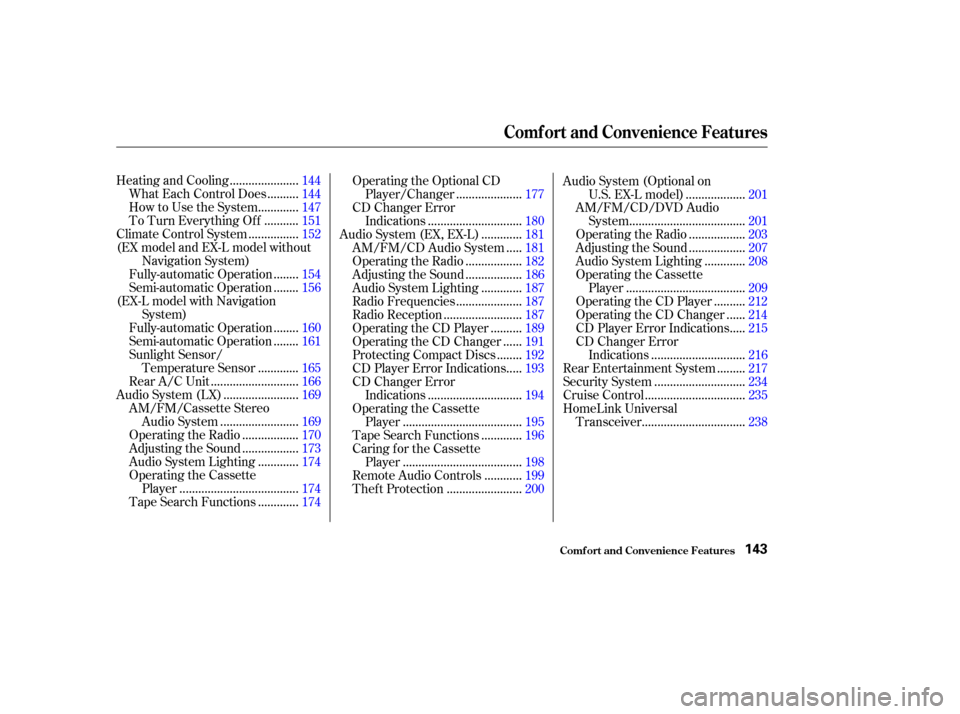
.....................
Heating and Cooling .144
.........
What Each Control Does . 144
............
How to Use the System . 147
..........
To Turn Everything Of f . 151
...............
Climate Control System . 152
(EX model and EX-L model without Navigation System) .......
Fully-automatic Operation . 154
.......
Semi-automatic Operation . 156
(EX-L model with Navigation System) .......
Fully-automatic Operation . 160
.......
Semi-automatic Operation . 161
Sunlight Sensor/ ............
Temperature Sensor . 165
...........................
Rear A/C Unit .166
.......................
Audio System (LX) .169
AM/FM/Cassette Stereo ........................
Audio System .169
.................
Operating the Radio . 170
.................
Adjusting the Sound . 173
............
Audio System Lighting . 174
Operating the Cassette .....................................
Player .174
............
Tape Search Functions . 174Operating the Optional CD
....................
Player/Changer .177
CD Changer Error .............................
Indications .180
............
Audio System (EX, EX-L) . 181
....
AM/FM/CD Audio System . 181
.................
Operating the Radio . 182
.................
Adjusting the Sound . 186
............
Audio System Lighting . 187
....................
Radio Frequencies . 187
........................
Radio Reception .187
.........
Operating the CD Player . 189
.....
Operating the CD Changer . 191
.......
Protecting Compact Discs . 192
....
CD Player Error Indications . 193
CD Changer Error .............................
Indications .194
Operating the Cassette .....................................
Player .195
............
Tape Search Functions . 196
Caring f or the Cassette .....................................
Player .198
...........
Remote Audio Controls . 199
.......................
Thef t Protection .200 Audio System (Optional on
..................
U.S. EX-L model) . 201
AM/FM/CD/DVD Audio ....................................
System .201
.................
Operating the Radio . 203
.................
Adjusting the Sound . 207
............
Audio System Lighting . 208
Operating the Cassette .....................................
Player .209
.........
Operating the CD Player . 212
.....
Operating the CD Changer . 214
....
CD Player Error Indications . 215
CD Changer Error .............................
Indications .216
........
Rear Entertainment System . 217
............................
Security System .234
...............................
Cruise Control .235
HomeLink Universal ................................
Transceiver .238
Comf ort and Convenience Features
Comf ort and Convenience Feat ures143
Page 147 of 415
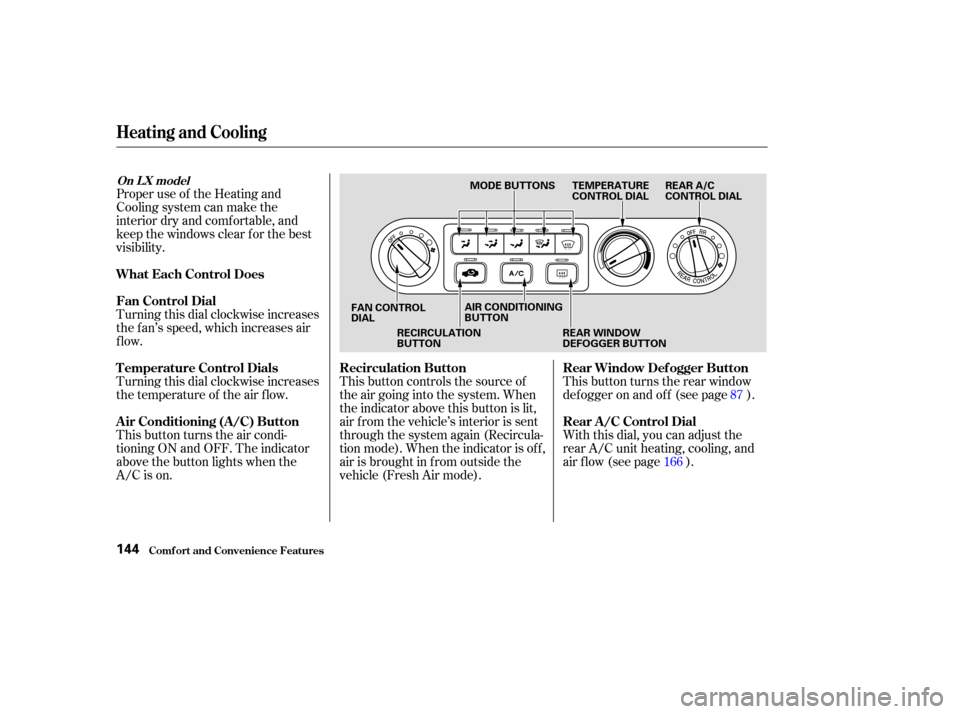
Proper use of the Heating and
Cooling system can make the
interior dry and comf ortable, and
keep the windows clear f or the best
visibility.
Turning this dial clockwise increases
the f an’s speed, which increases air
flow.
Turning this dial clockwise increases
the temperature of the air flow.
This button turns the air condi-
tioning ON and OFF. The indicator
above the button lights when the
A/C is on.This button controls the source of
the air going into the system. When
the indicator above this button is lit,
air f rom the vehicle’s interior is sent
through the system again (Recircula-
tion mode). When the indicator is off,
air is brought in f rom outside the
vehicle (Fresh Air mode).
With this dial, you can adjust the
rear A/C unit heating, cooling, and
air flow (see page ). This button turns the rear window
def ogger on and of f (see page ).
16687
Comf ort and Convenience Feat ures
Heating and Cooling
What Each Control Does
Fan Control Dial
T emperature Control Dials
Air Conditioning (A/C) Button
Recirculation Button
Rear Window Def ogger Button
Rear A /C Control Dial
On L X model
144
MODE BUTTONS TEMPERATURE
CONTROL DIALREAR A/C
CONTROL DIAL
FAN CONTROL
DIAL RECIRCULATION
BUTTON AIR CONDITIONING
BUTTON
REAR WINDOW
DEFOGGER BUTTON