recommended HONDA ODYSSEY 2009 RB3-RB4 / 4.G Navigation Manual
[x] Cancel search | Manufacturer: HONDA, Model Year: 2009, Model line: ODYSSEY, Model: HONDA ODYSSEY 2009 RB3-RB4 / 4.GPages: 153, PDF Size: 4.75 MB
Page 77 of 153
Navigation System77
System Setup
Display
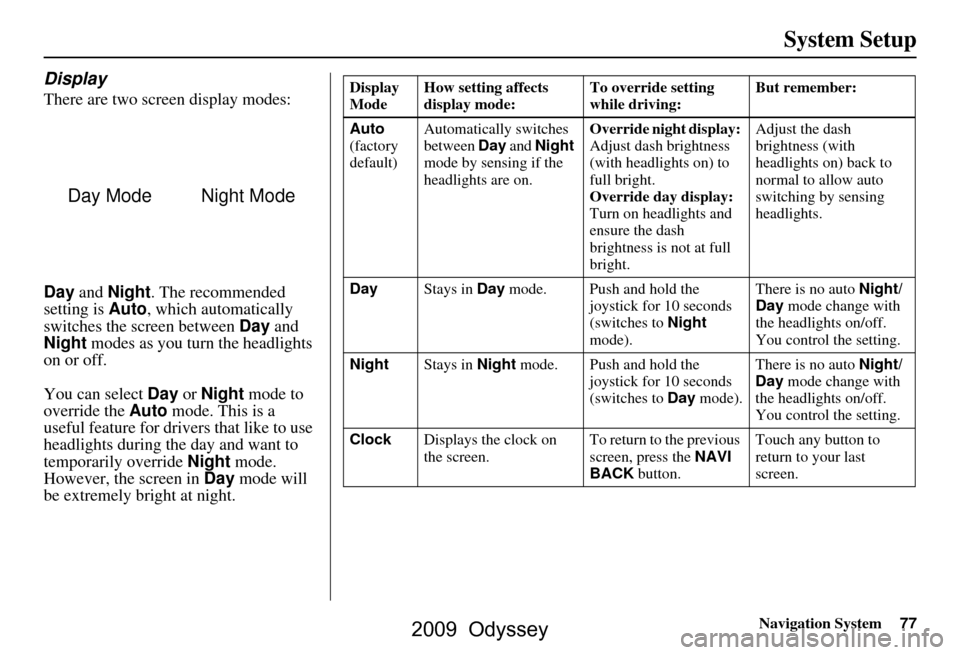
There are two screen display modes:
Day and Night . The recommended
setting is Auto, which automatically
switches the screen between Day and
Night modes as you turn the headlights
on or off.
You can select Day or Night mode to
override the Auto mode. This is a
useful feature for drivers that like to use
headlights during the day and want to
temporarily override Night mode.
However, the screen in Day mode will
be extremely bright at night.
Day ModeNight Mode
Display
Mode How setting affects
display mode: To override setting
while driving: But remember:
Auto
(factory
default) Automatically switches
between
Day and Night
mode by sensing if the
headlights are on. Override night display:
Adjust dash brightness
(with headlights on) to
full bright.
Override day display:
Turn on headlights and
ensure the dash
brightness is not at full
bright. Adjust the dash
brightness (with
headlights on) back to
normal to allow auto
switching by sensing
headlights.
Day Stays in Day mode. Push and hold the
joystick for 10 seconds
(switches to Night
mode). There is no auto
Night/
Day mode change with
the headlights on/off.
You control the setting.
Night Stays in Night mode. Push and hold the
joystick for 10 seconds
(switches to Day mode). There is no auto
Night/
Day mode change with
the headlights on/off.
You control the setting.
Clock Displays the clock on
the screen. To return to the previous
screen, press the
NAVI
BACK button. Touch any button to
return to your last
screen.
2009 Odyssey
Page 85 of 153

Navigation System85
System Setup
4. Say or select Done to perform the
deletion, and the display returns to
the previous screen.
Tip:
You can delete all addresses by
selecting Delete All .Routing & Guidance
From the Setup screen (second), say or
select Routing & Guidance and the
following screen appears:
Rerouting
If Rerouting is set to Automatic and
you deviate from the route, you will see
“Recalculating ...” at the top of the
screen for several seconds as the system
calculates a new route. This is followed
by new routing instructions. If
Rerouting is set to Manual, you
will hear a tone when the “Off route”
message is displayed. Say “Recalculate”
or select Recalc. on the screen to make
the system recalculate your new route.
NOTE:
If you live in an area with poor mapping, you may wish to set
Rerouting to Manual to avoid
constant recalculation. However, you
will have to manually touch Recalc.
on the screen to have the system plot
a new route.
It is strongly recommended that you leave the system set to the factory
default (Automatic).
2009 Odyssey
Page 87 of 153
Navigation System87
System Setup
Unverified Area Routing
When driving to your destination, you
have the choice of using or not using
“unverified” roads. You make this
choice in Setup screen (second). The
next few pages contain an example of a
route to a destinatio n in an unverified
area explaining the routing differences
found in unverified areas.
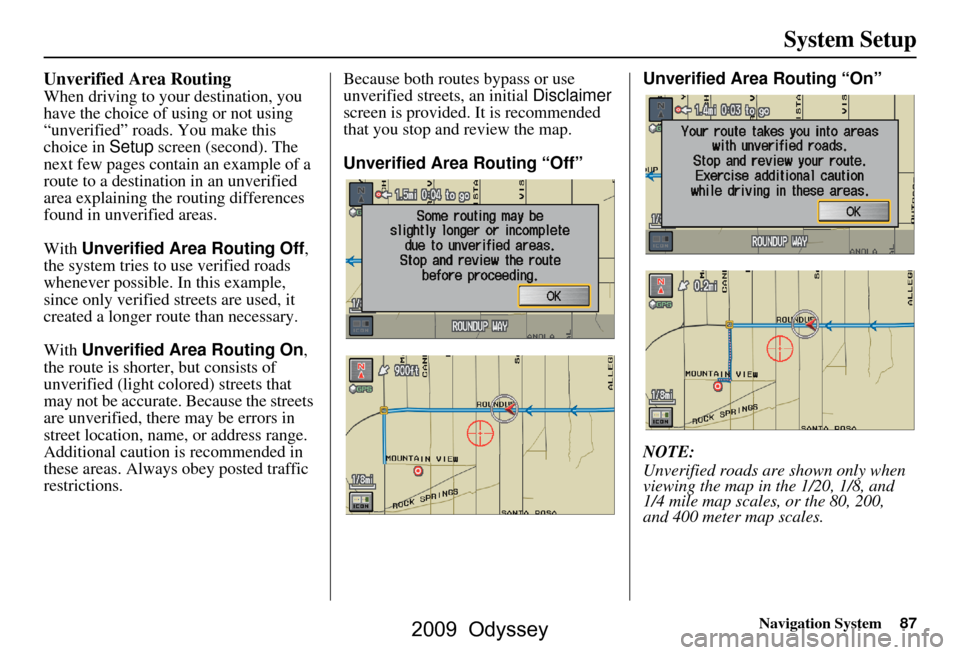
With Unverified Area Routing Off ,
the system tries to use verified roads
whenever possible. In this example,
since only verified streets are used, it
created a longer rout e than necessary.
With Unverified Area Routing On ,
the route is shorter, but consists of
unverified (light colored) streets that
may not be accurate. Because the streets
are unverified, there may be errors in
street location, name, or address range.
Additional caution is recommended in
these areas. Always obey posted traffic
restrictions. Because both routes bypass or use
unverified streets, an initial
Disclaimer
screen is provided. It is recommended
that you stop and review the map.
Unverified Area Routing “Off” Unverified Area Routing “On”
NOTE:
Unverified roads are
shown only when
viewing the map in the 1/20, 1/8, and
1/4 mile map scales, or the 80, 200,
and 400 meter map scales.
2009 Odyssey
Page 94 of 153
94Navigation System
System Setup
Correct Vehicle Position
The system relies on satellites for
positioning information. Buildings,
tunnels, and other objects can block or
reflect these signals, requiring the
system to use “dead reckoning” to
determine your location and direction.
This can sometimes lead to small errors
in positioning, such as showing you on
an adjacent street.
NOTE:
Using this function to adjust vehicle
position is not recommended. When the
system acquires a GPS signal, it will
automatically place the vehicle in the
correct location.
If you choose to do this, follow these
steps:
1. Stop the vehicle.
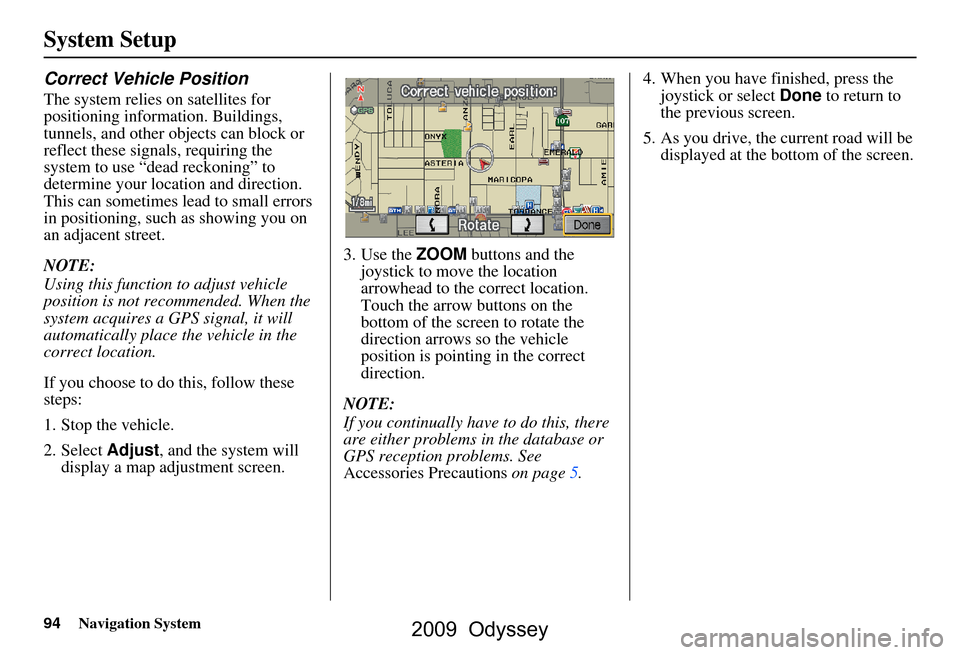
2. Select Adjust, and the system will
display a map adjustment screen. 3. Use the
ZOOM buttons and the
joystick to move the location
arrowhead to the correct location.
Touch the arrow buttons on the
bottom of the screen to rotate the
direction arrows so the vehicle
position is pointin g in the correct
direction.
NOTE:
If you continually have to do this, there
are either problems in the database or
GPS reception problems. See
Accessories Precautions on page5.4. When you have finished, press the
joystick or select Done to return to
the previous screen.
5. As you drive, the current road will be displayed at the bottom of the screen.
2009 Odyssey