ignition HONDA ODYSSEY 2011 RB3-RB4 / 4.G Navigation Manual
[x] Cancel search | Manufacturer: HONDA, Model Year: 2011, Model line: ODYSSEY, Model: HONDA ODYSSEY 2011 RB3-RB4 / 4.GPages: 178, PDF Size: 3.97 MB
Page 18 of 178
18Navigation System
Getting Started
System Start-up
When you turn the ignition to ON (II), it
takes about 10 seconds for the
navigation system to boot up.
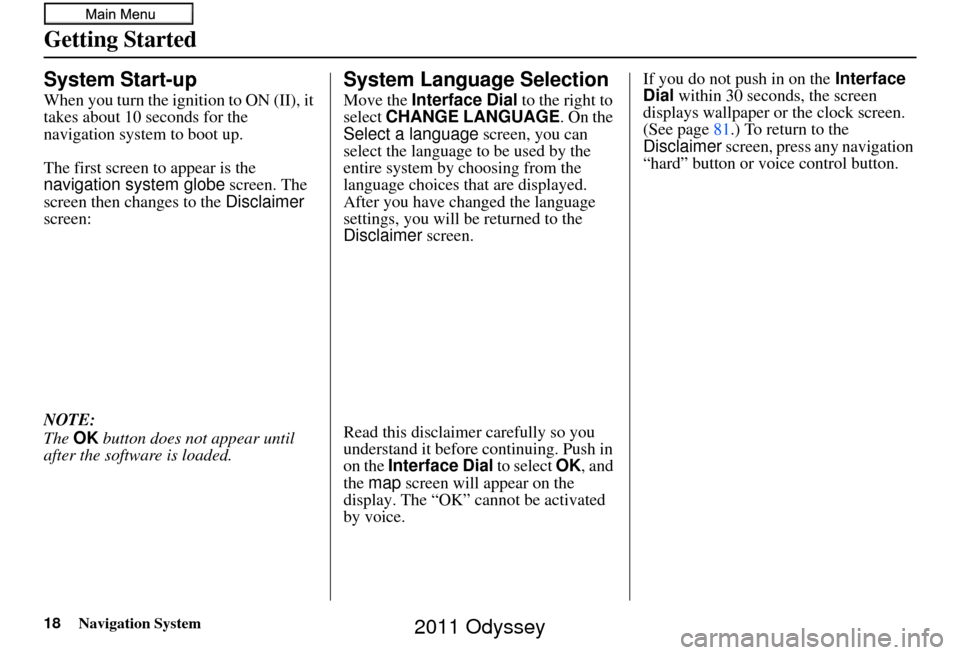
The first screen to appear is the
navigation system globe screen. The
screen then changes to the Disclaimer
screen:
NOTE:
The OK button does not appear until
after the software is loaded.
System Language Selection
Move the Interface Dial to the right to
select CHANGE LANGUAGE. On the
Select a language screen, you can
select the language to be used by the
entire system by choosing from the
language choices that are displayed.
After you have changed the language
settings, you will be returned to the
Disclaimer screen.
Read this disclaimer carefully so you
understand it before continuing. Push in
on the Interface Dial to select OK, and
the map screen will appear on the
display. The “OK” cannot be activated
by voice. If you do not push in on the
Interface
Dial within 30 seconds, the screen
displays wallpaper or the clock screen.
(See page 81.) To return to the
Disclaimer screen, press any navigation
“hard” button or voice control button.
2011 Odyssey
Page 80 of 178
80Navigation System
Information Features
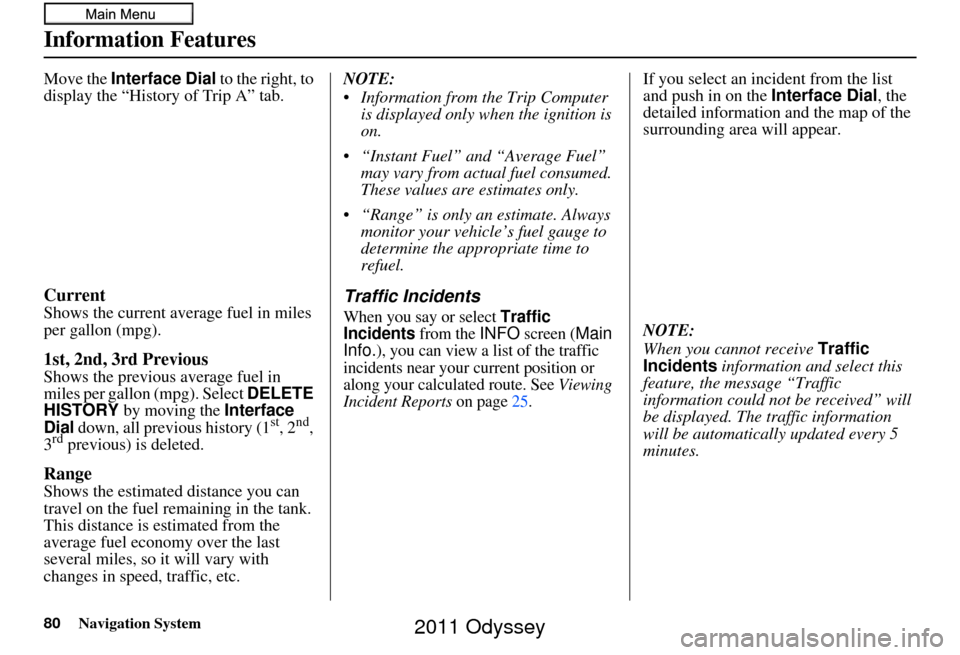
Move the Interface Dial to the right, to
display the “History of Trip A” tab.
Current
Shows the current aver age fuel in miles
per gallon (mpg).
1st, 2nd, 3rd Previous
Shows the previous average fuel in
miles per gallon (mpg). Select DELETE
HISTORY
by moving the Interface
Dial down, all previous history (1st, 2nd,
3rd previous) is deleted.
Range
Shows the estimated distance you can
travel on the fuel remaining in the tank.
This distance is estimated from the
average fuel economy over the last
several miles, so it will vary with
changes in speed, traffic, etc. NOTE:
Information from the Trip Computer
is displayed only when the ignition is
on.
“Instant Fuel” and “Average Fuel” may vary from actual fuel consumed.
These values are estimates only.
“Range” is only an estimate. Always monitor your vehicle’s fuel gauge to
determine the appropriate time to
refuel.
Traffic Incidents
When you say or select Traffic
Incidents from the INFO screen (Main
Info.), you can view a list of the traffic
incidents near your current position or
along your calculated route. See
Viewing
Incident Reports on page 25.
If you select an incident from the list
and push in on the Interface Dial, the
detailed information and the map of the
surrounding area will appear.
NOTE:
When you cannot receive Traffic
Incidents information and select this
feature, the message “Traffic
information could not be received” will
be displayed. The traffic information
will be automatically updated every 5
minutes.
2011 Odyssey
Page 95 of 178
Navigation System95
System Setup
PIN Number
You can set a four-digit PIN (Personal
Identification Number) for accessing
and changing personal addresses and
your home address if desired. Once you
set the PIN on this screen, the system
asks you to enter the PIN when you
access a personal address or your home
address.
NOTE:
PINs are optional. If you choose to use a
PIN, make sure you remember it. If you
forget your PIN, the dealer will have to
reset it for you, and all of your stored
information will be cleared.
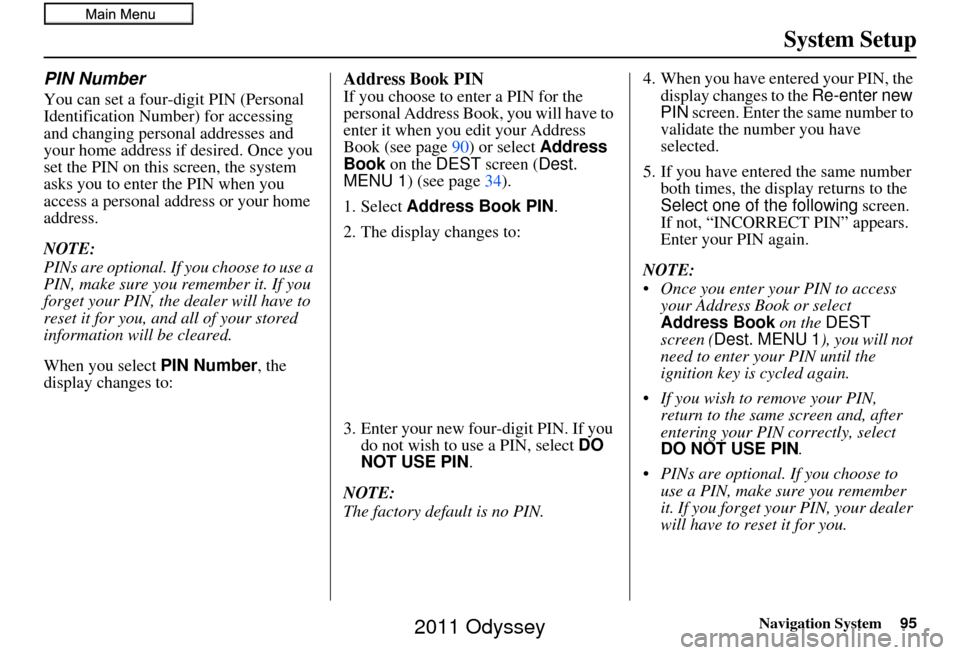
When you select PIN Number , the
display changes to:
Address Book PIN
If you choose to enter a PIN for the
personal Address Book, you will have to
enter it when you edit your Address
Book (see page 90) or select Address
Book on the DEST screen ( Dest.
MENU 1 ) (see page 34).
1. Select Address Book PIN .
2. The display changes to:
3. Enter your new four-digit PIN. If you do not wish to use a PIN, select DO
NOT USE PIN .
NOTE:
The factory default is no PIN. 4. When you have entered your PIN, the
display changes to the Re-enter new
PIN screen. Enter the same number to
validate the number you have
selected.
5. If you have entered the same number both times, the disp lay returns to the
Select one of the following screen.
If not, “INCORRECT PIN” appears.
Enter your PIN again.
NOTE:
Once you enter your PIN to access your Address Book or select
Address Book on the DEST
screen ( Dest. MENU 1 ), you will not
need to enter your PIN until the
ignition key is cycled again.
If you wish to remove your PIN, return to the same screen and, after
entering your PIN correctly, select
DO NOT USE PIN .
PINs are optional. If you choose to use a PIN, make sure you remember
it. If you forget your PIN, your dealer
will have to reset it for you.
2011 Odyssey
Page 112 of 178
112Navigation System
System Setup
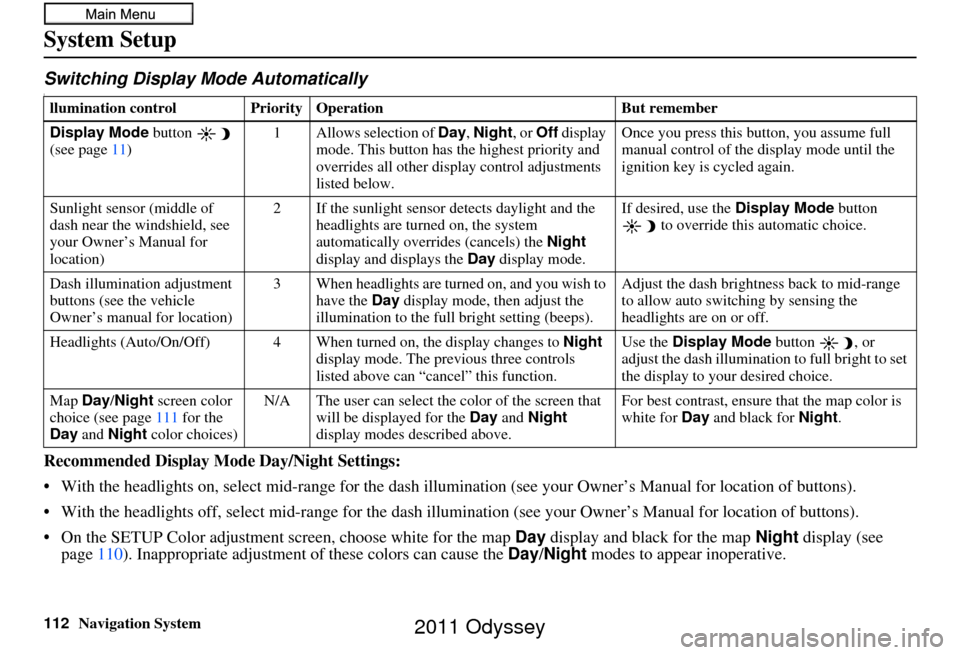
Switching Display Mode AutomaticallyI
Recommended Display Mode Day/Night Settings:
• With the headlights on, select mid-ra nge for the dash illumination (see your Owner’s Manual for location of buttons).
• With the headlights off, select mid-range for the dash illumination (see your Owner’s Manual for location of buttons).
• On the SETUP Color adjustment screen, choose white for the map Day display and black for the map Night display (see
page 110). Inappropriate adjustment of these colors can cause the Day/Night modes to appear inoperative.
llumination control Prior ity Operation But remember
Display Mode button
(see page 11) 1 Allows selection of
Day, Night, or Off display
mode. This button has th e highest priority and
overrides all other displa y control adjustments
listed below. Once you press this button, you assume full
manual control of the display mode until the
ignition key is cycled again.
Sunlight sensor (middle of
dash near the windshield, see
your Owner’s Manual for
location) 2 If the sunlight sensor
detects daylight and the
headlights are turned on, the system
automatically overrides (cancels) the Night
display and displays the Day display mode. If desired, use the
Display Mode
button
to override this automatic choice.
Dash illumination adjustment
buttons (see the vehicle
Owner’s manual for location) 3 When headlights are turned on, and you wish to
have the Day display mode, then adjust the
illumination to the full bright setting (beeps). Adjust the dash brightness back to mid-range
to allow auto switching by sensing the
headlights are on or off.
Headlights (Auto/On/Off) 4 When turn ed on, the display changes to Night
display mode. The previous three controls
listed above can “cancel” this function. Use the
Display Mode
button , or
adjust the dash illuminati on to full bright to set
the display to your desired choice.
Map Day/Night screen color
choice (see page 111 for the
Day and Night color choices) N/A The user can select the color of the screen that
will be displayed for the Day and Night
display modes described above. For best contrast
, ensure that the map color is
white for Day and black for Night.
2011 Odyssey
Page 119 of 178
Navigation System119
System Setup
Multi-view Rear Camera
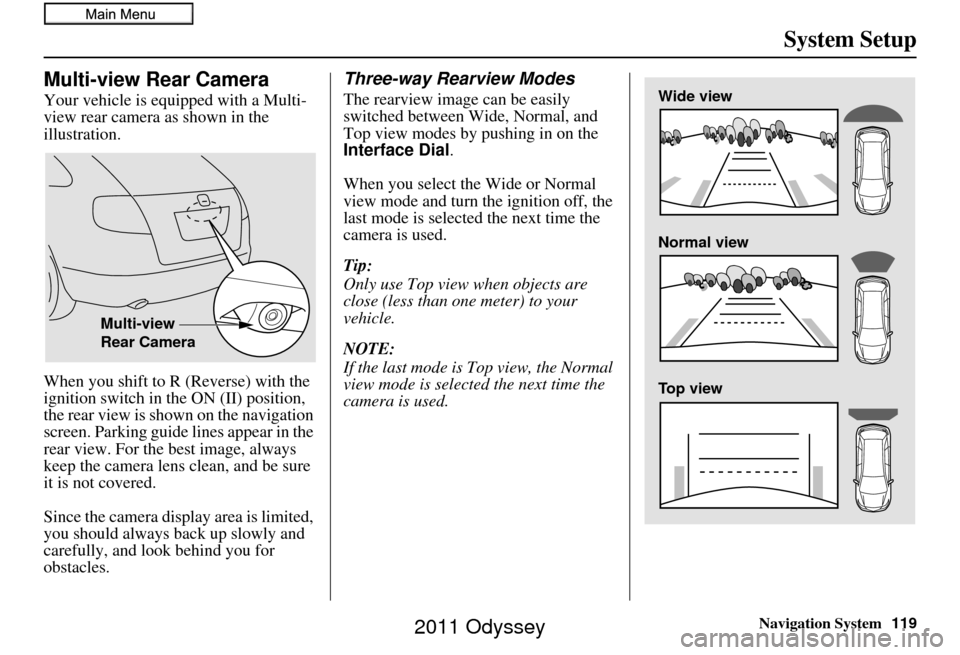
Your vehicle is equipped with a Multi-
view rear camera as shown in the
illustration.
When you shift to R (Reverse) with the
ignition switch in the ON (II) position,
the rear view is shown on the navigation
screen. Parking guide lines appear in the
rear view. For the best image, always
keep the camera lens clean, and be sure
it is not covered.
Since the camera display area is limited,
you should always back up slowly and
carefully, and look behind you for
obstacles.
Three-way Rearview Modes
The rearview image can be easily
switched between Wide, Normal, and
Top view modes by pushing in on the
Interface Dial.
When you select the Wide or Normal
view mode and turn the ignition off, the
last mode is selected the next time the
camera is used.
Tip:
Only use Top view when objects are
close (less than one meter) to your
vehicle.
NOTE:
If the last mode is Top view, the Normal
view mode is selected the next time the
camera is used.
Multi-view
Rear Camera
Wide view
Normal view
Top view
2011 Odyssey