light HONDA ODYSSEY 2011 RB3-RB4 / 4.G Navigation Manual
[x] Cancel search | Manufacturer: HONDA, Model Year: 2011, Model line: ODYSSEY, Model: HONDA ODYSSEY 2011 RB3-RB4 / 4.GPages: 178, PDF Size: 3.97 MB
Page 11 of 178
Navigation System11
Getting Started
Display Mode button
Adjusts the screen brightness for Day or
Night mode, or turn s the screen OFF.
See page 111.
CANCEL button
Cancels the current screen and returns to
the previous screen display.
NOTE:
The BACK button on the steering wheel
performs the same basic function. See
page 13.
AUDIO button
Press to display the audio screen.
For more information on audio system
features, see the Audio section of your
Owner’s Manual.
Other buttons
See your Owner’s Manual.
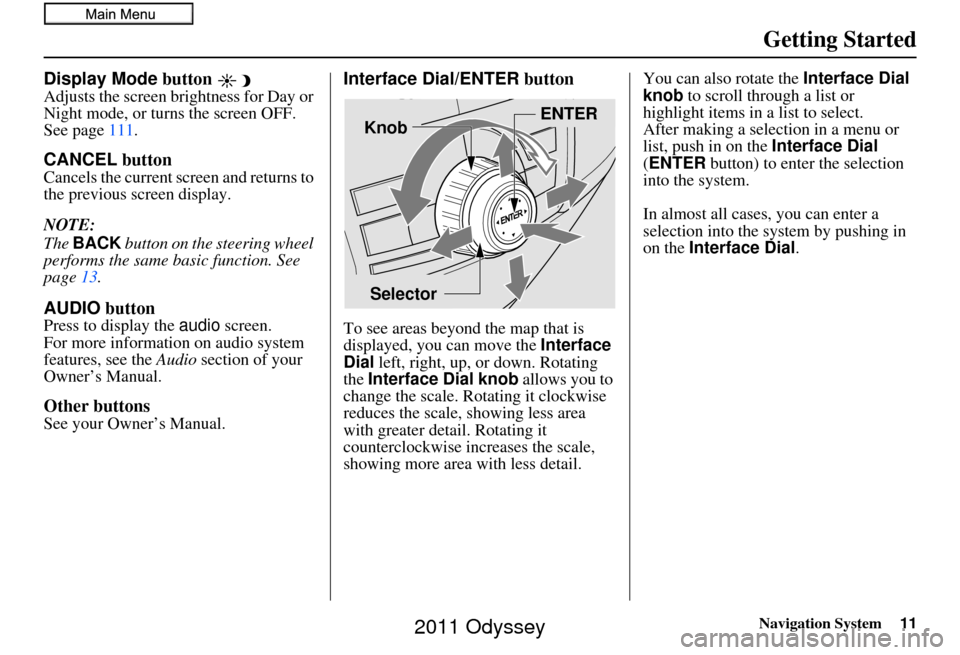
Interface Dial/ENTER button
To see areas beyond the map that is
displayed, you can move the Interface
Dial left, right, up, or down. Rotating
the Interface Dial knob allows you to
change the scale. Rotating it clockwise
reduces the scale, showing less area
with greater detail. Rotating it
counterclockwise increases the scale,
showing more area with less detail. You can also rotate the
Interface Dial
knob to scroll through a list or
highlight items in a list to select.
After making a selection in a menu or
list, push in on the Interface Dial
(ENTER button) to enter the selection
into the system.
In almost all cases , you can enter a
selection into the system by pushing in
on the Interface Dial .
Selector ENTER
Knob
2011 Odyssey
Page 13 of 178
Navigation System13
Getting Started
Voice Control Basics
Your vehicle has a voice control system
that allows hands-free operation of most
of the navigation system functions. You
can also control the audio, phone, and
climate control sy stem. The voice
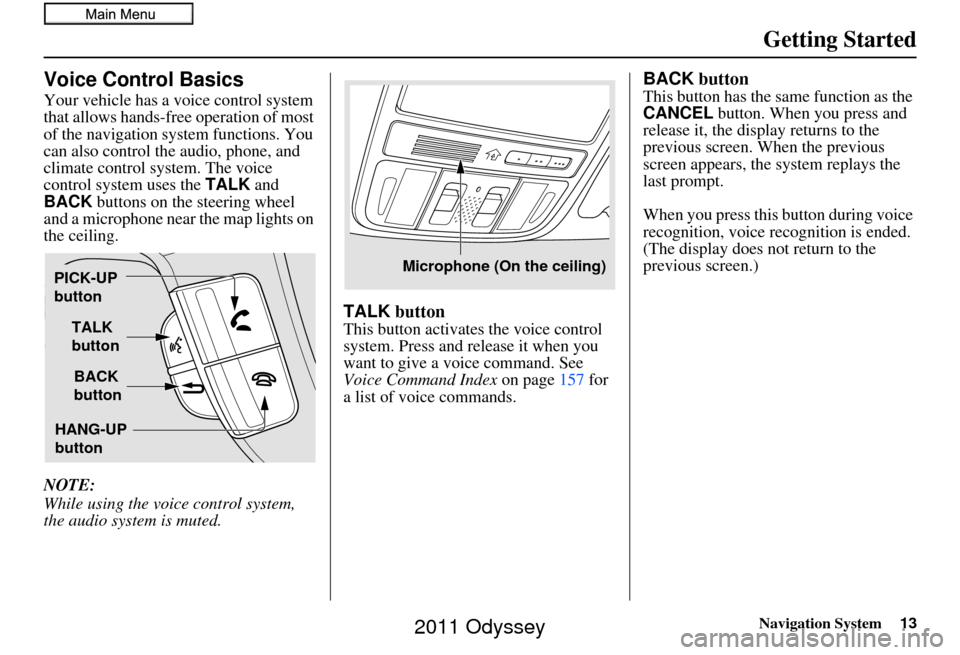
control system uses the TALK and
BACK buttons on the steering wheel
and a microphone near the map lights on
the ceiling.
NOTE:
While using the voice control system,
the audio system is muted.
TALK button
This button activates the voice control
system. Press and release it when you
want to give a voice command. See
Voice Command Index on page157 for
a list of voice commands.
BACK button
This button has the same function as the
CANCEL button. When you press and
release it, the display returns to the
previous screen. When the previous
screen appears, the system replays the
last prompt.
When you press this button during voice
recognition, voice re cognition is ended.
(The display does not return to the
previous screen.)
TALK
button
BACK
button
PICK-UP
button
HANG-UP
button
Microphone (On the ceiling)
2011 Odyssey
Page 14 of 178
14Navigation System
Getting Started
Using the Voice Control System
You should use the voice control system
as much as possible, and consider
manual entry using the Interface Dial
as a backup method.
Most of the system’s functions can be
controlled by voice commands activated
with the TALK button. To control the
navigation system by voice:
• Press and release the TALK button. A
guidance prompt will be played, and
a pop-up voice icon ( ) will appear
in the upper left corner of the screen.
• Wait for the beep.
• Give a voice command. (Voice commands that the system recognizes
are highlighted.)
Once the microphone picks up your
command, the system changes the
display in response to the command.
Press the TALK button to get a
guidance prompt for the next command.
NOTE:
To interrupt guidance prompts, press
the TALK button again. Wait for the
beep, and give a command. If the system does not understand a
command or you wait too long to give a
command, it responds with “Pardon? No
comment was heard. Please press the
Talk button and say a command.” If the
system cannot perform a command or
the command is not appropriate for the
screen you are on,
a beep will sound.
You can find out which voice
commands are available for a particular
screen by saying “Help.” The system
will display and read the list of available
commands to you. (When Help is
grayed out, this feature cannot be used.)
When you give a command, the system
either performs the command or
transitions to the next step in a task.
NOTE:
Guidance prompts can be turned off.
See page 55. If you hear a prompt such as “Please use
the Interface Dial
to...” or “Please
choose an area with the Interface Dial ,”
the system is asking for input that
cannot be performed using the voice
control system.
Improving Voice Recognition
To achieve optimum voice recognition
when using the voice control system, the
following guidelines should be
followed:
NOTE:
Make sure the correct screen is
displayed for the vo ice command that
you are using. See Voice Command
Index on page 157.
• It is best if the windows and moonroof are closed. If they are open,
speak a little louder to overcome the
wind noises.
2011 Odyssey
Page 15 of 178
Navigation System15
Getting Started
• Adjust the dashboard and side vents
so air does not blow against the
microphone on the ceiling.
• If more than one person is speaking at the same time, the system may
misinterpret your command.
• Give a voice command in a clear, natural speaking voice without
pausing between words.
• Try to reduce any background noise.
• If you are still having trouble with the voice control sy stem, refer to Voice
Help on the INFO screen ( Main
Info.) or say “Help” while the
icon is displayed on the top left of the
screen.
NOTE:
The voice control system can only be
used in the driver’s seat because the
microphone unit removes noises from
the front passenger’s side.Selecting an Item (Button)
on the Screen
On most screens, there are items that
can be selected (like buttons with titles
such as OK or Return ). To select an
item on any screen, do one of the
following:
• Use the voice control system and say the name of the desired item. Almost
all selectable items on the screen,
including some listed items, are
recognized by the voice control
system.
• Move the highlighting to the desired item with the Interface Dial or its
knob , then push in on the Interface
Dial .
Tip:
If items are grayed out, this means that
they cannot be selected.
Selecting an Item in a List
To scroll through a list, do one of the
following:
• Rotate the Interface Dial knob to
scroll one item at a time.
• Use the voice control system to scroll page by page. For example, to scroll
up, say “Up” or “Previous.” To scroll
down, say “Next” or “Down.”
If you cannot find the desired name, or
have made an error, return to the
previous screen by pressing the
CANCEL or the BACK button on the
steering wheel.
To select the desired item in the list, do
one of the following:
• Use the voice control system, and say the item number of the desired item.
• Rotate the Interface Dial knob to
move the highlighting to the item,
then push in on the Interface Dial.
2011 Odyssey
Page 16 of 178
16Navigation System
Getting Started
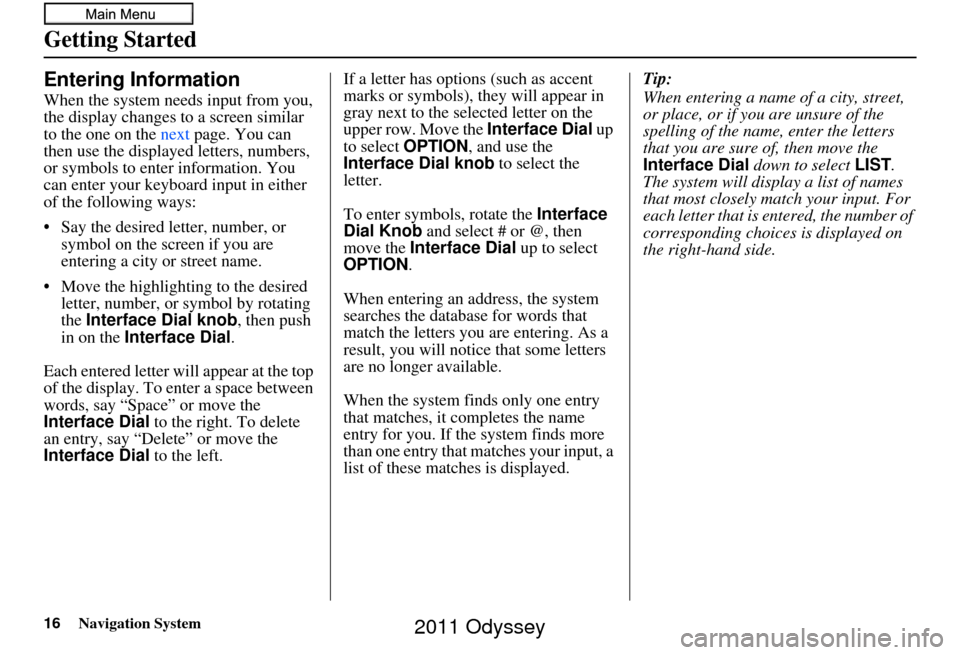
Entering Information
When the system needs input from you,
the display changes to a screen similar
to the one on the next page. You can
then use the displayed letters, numbers,
or symbols to enter information. You
can enter your keyboard input in either
of the following ways:
• Say the desired letter, number, or symbol on the screen if you are
entering a city or street name.
• Move the highlighting to the desired letter, number, or symbol by rotating
the Interface Dial knob , then push
in on the Interface Dial .
Each entered letter wi ll appear at the top
of the display. To enter a space between
words, say “Space” or move the
Interface Dial to the right. To delete
an entry, say “Delete” or move the
Interface Dial to the left. If a letter has options (such as accent
marks or symbols), they will appear in
gray next to the selected letter on the
upper row. Move the Interface Dial
up
to select OPTION , and use the
Interface Dial knob to select the
letter.
To enter symbols, rotate the Interface
Dial Knob and select # or @, then
move the Interface Dial up to select
OPTION .
When entering an address, the system
searches the database for words that
match the letters you are entering. As a
result, you will notice that some letters
are no longer available.
When the system finds only one entry
that matches, it completes the name
entry for you. If the system finds more
than one entry that matches your input, a
list of these matches is displayed. Tip:
When entering a name of a city, street,
or place, or if you are unsure of the
spelling of the name, enter the letters
that you are sure of, then move the
Interface Dial
down to select LIST.
The system will display a list of names
that most closely match your input. For
each letter that is entered, the number of
corresponding choices is displayed on
the right-hand side.
2011 Odyssey
Page 54 of 178
54Navigation System
Driving to Your Destination
Based on the route data, you can change
the routing method by rotating the
Interface Dial knob .
Once you confirm your selection, say
the number of the desired routing
method or push in on the Interface
Dial .
The calculated route will be highlighted
as a blue line, and a voice prompt will
tell you how to proceed along the
highlighted route.
Push in on the Interface Dial and
select Voice to have the guidance
repeated.Viewing the Destination Map
If you move the Interface Dial down
and select DESTINATION MAP on the
Calculate route to screen, a map of the
destination vicinity is displayed. Press
the CANCEL or BACK button, or
select Return to return to the previous
screen. You can view the destination
map anytime while en route by saying
“Display destination map.”
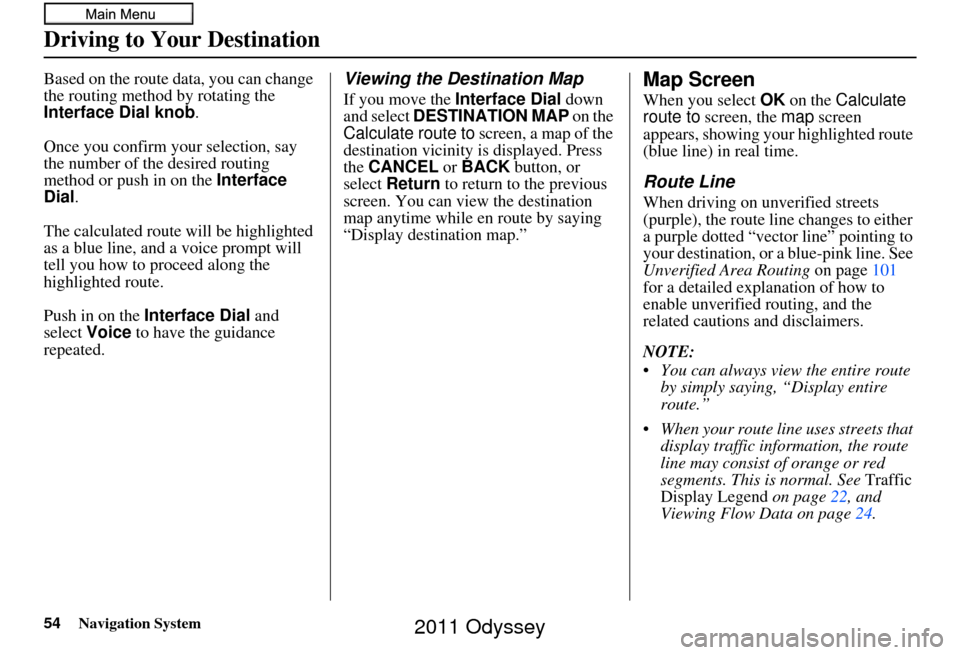
Map Screen
When you select OK on the Calculate
route to screen, the map screen
appears, showing your highlighted route
(blue line) in real time.
Route Line
When driving on unverified streets
(purple), the route line changes to either
a purple dotted “vector line” pointing to
your destination, or a blue-pink line. See
Unverified Area Routing on page101
for a detailed expl anation of how to
enable unverified routing, and the
related cautions and disclaimers.
NOTE:
You can always view the entire route by simply saying, “Display entire
route.”
When your route line uses streets that display traffic information, the route
line may consist of orange or red
segments. This is normal. See Traffic
Display Legend on page22, and
Viewing Flow Data on page 24.
2011 Odyssey
Page 64 of 178
64Navigation System
Driving to Your Destination
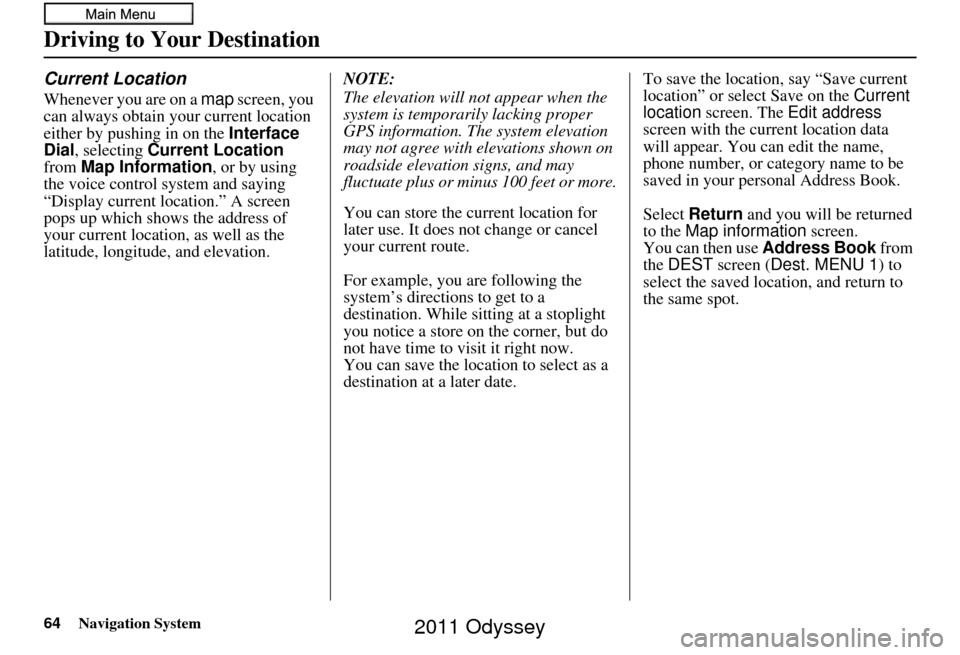
Current Location
Whenever you are on a map screen, you
can always obtain your current location
either by pushing in on the Interface
Dial , selecting Current Location
from Map Information , or by using
the voice control sy stem and saying
“Display current location.” A screen
pops up which shows the address of
your current location, as well as the
latitude, longitude, and elevation. NOTE:
The elevation will not appear when the
system is temporarily lacking proper
GPS information. The system elevation
may not agree with elevations shown on
roadside elevation signs, and may
fluctuate plus or minus 100 feet or more.
You can store the current location for
later use. It does not change or cancel
your current route.
For example, you are following the
system’s directions to get to a
destination. While sitting at a stoplight
you notice a store on the corner, but do
not have time to visit it right now.
You can save the location to select as a
destination at a later date.To save the location, say “Save current
location” or select Save on the
Current
location screen. The Edit address
screen with the current location data
will appear. You can edit the name,
phone number, or category name to be
saved in your personal Address Book.
Select Return and you will be returned
to the Map information screen.
You can then use Address Book from
the DEST screen (Dest. MENU 1) to
select the saved loca tion, and return to
the same spot.
2011 Odyssey
Page 81 of 178
Navigation System81
Information Features
Clock/Wallpaper
The Clock/Wallpaper option allows
you to set up the clock screen or choose
a wallpaper image to display. See
page 113.
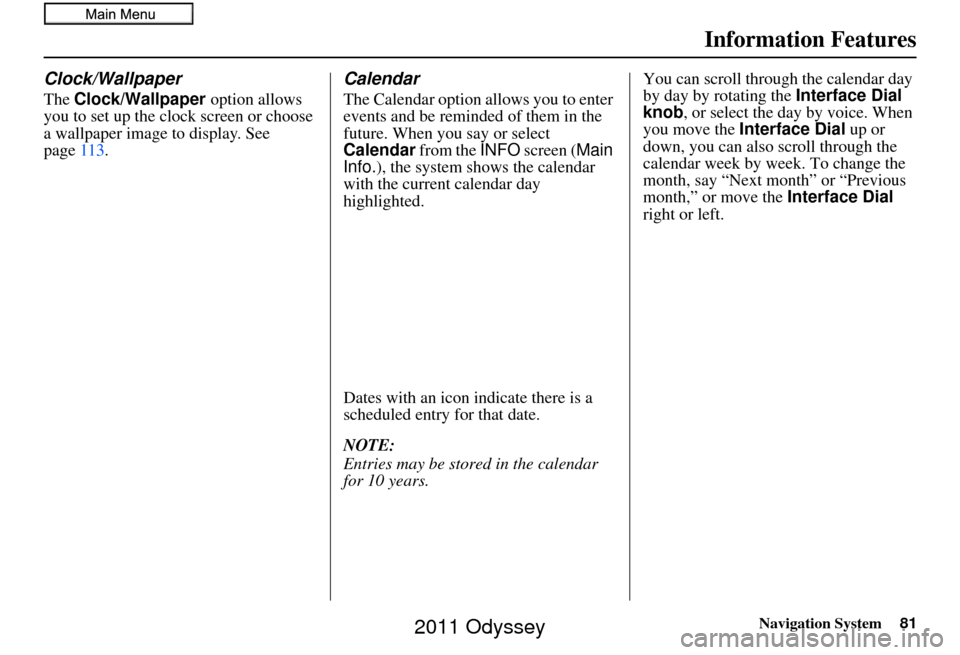
Calendar
The Calendar option allows you to enter
events and be reminded of them in the
future. When you say or select
Calendar from the INFO screen ( Main
Info.), the system sh ows the calendar
with the current calendar day
highlighted.
Dates with an icon indicate there is a
scheduled entry for that date.
NOTE:
Entries may be stored in the calendar
for 10 years. You can scroll through the calendar day
by day by rotating the
Interface Dial
knob, or select the day by voice. When
you move the Interface Dial up or
down, you can also scroll through the
calendar week by week. To change the
month, say “Next month” or “Previous
month,” or move the Interface Dial
right or left.
2011 Odyssey
Page 101 of 178
Navigation System101
System Setup
Unverified Area Routing
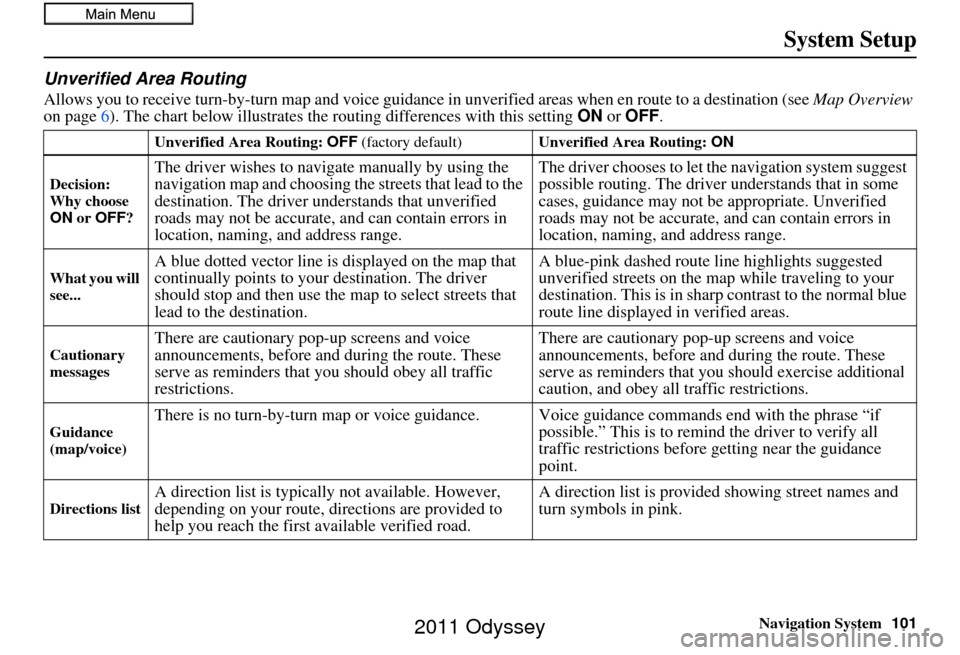
Allows you to receive turn-by-turn ma p and voice guidance in unverified areas when en route to a destination (see Map Overview
on page 6). The chart below illustrates the routing differences with this setting ON or OFF .
Unverified Area Routing: OFF (factory default) Unverified Area Routing: ON
Decision:
Why choose
ON or OFF ?
The driver wishes to navigate manually by using the
navigation map and choosing th e streets that lead to the
destination. The driver un derstands that unverified
roads may not be accurate, and can contain errors in
location, naming, and address range. The driver chooses to let th
e navigation system suggest
possible routing. The driver understands that in some
cases, guidance may not be appropriate. Unverified
roads may not be accurate, and can contain errors in
location, naming, and address range.
What you will
see...A blue dotted vector line is displayed on the map that
continually points to your destination. The driver
should stop and then use the map to select streets that
lead to the destination. A blue-pink dashed route line highlights suggested
unverified streets
on the map while traveling to your
destination. This is in sharp contrast to the normal blue
route line displayed in verified areas.
Cautionary
messagesThere are cautionary pop-up screens and voice
announcements, before and during the route. These
serve as reminders that you should obey all traffic
restrictions. There are cautionary pop-
up screens and voice
announcements, before and during the route. These
serve as reminders that you should exercise additional
caution, and obey all traffic restrictions.
Guidance
(map/voice)There is no turn-by-turn map or voice guidance. Voice guidance co mmands end with the phrase “if
possible.” This is to remind the driver to verify all
traffic restrictions before getting near the guidance
point.
Directions listA direction list is typically not available. However,
depending on your route, directions are provided to
help you reach the first available verified road. A direction list is provided showing street names and
turn symbols in pink.
2011 Odyssey
Page 105 of 178
Navigation System105
System Setup
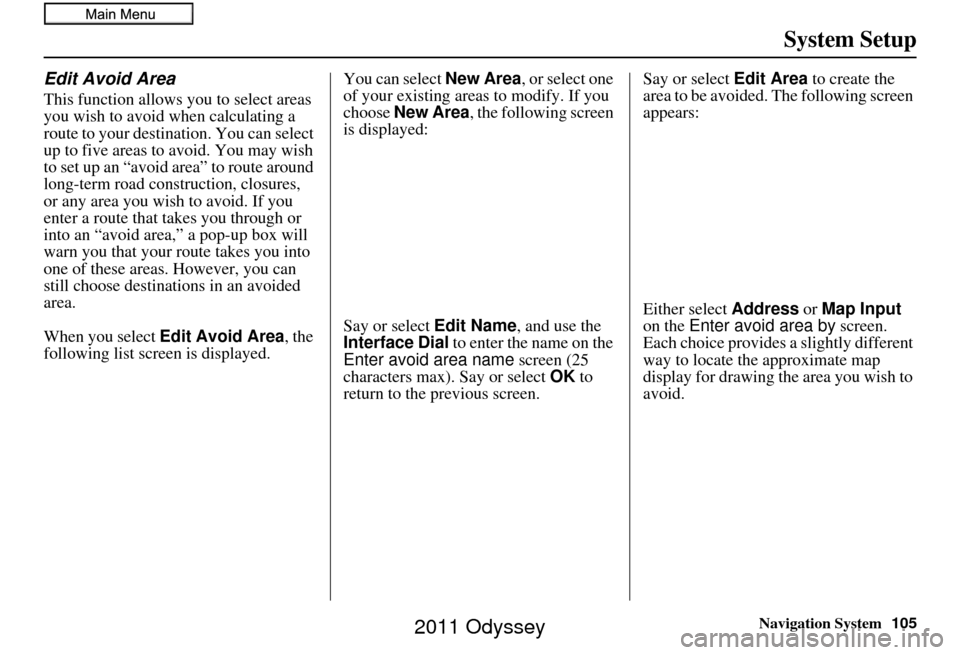
Edit Avoid Area
This function allows you to select areas
you wish to avoid when calculating a
route to your destination. You can select
up to five areas to avoid. You may wish
to set up an “avoid area” to route around
long-term road construction, closures,
or any area you wish to avoid. If you
enter a route that takes you through or
into an “avoid area,” a pop-up box will
warn you that your route takes you into
one of these areas. However, you can
still choose destinations in an avoided
area.
When you select Edit Avoid Area, the
following list screen is displayed. You can select
New Area, or select one
of your existing areas to modify. If you
choose New Area , the following screen
is displayed:
Say or select Edit Name, and use the
Interface Dial to enter the name on the
Enter avoid area name screen (25
characters max). Say or select OK to
return to the previous screen. Say or select Edit Area
to create the
area to be avoided. The following screen
appears:
Either select Address or Map Input
on the Enter avoid area by screen.
Each choice provides a slightly different
way to locate the approximate map
display for drawing the area you wish to
avoid.
2011 Odyssey