Screen HONDA ODYSSEY 2018 (in English) User Guide
[x] Cancel search | Manufacturer: HONDA, Model Year: 2018, Model line: ODYSSEY, Model: HONDA ODYSSEY 2018Pages: 763, PDF Size: 47.02 MB
Page 141 of 763
139
uuGauges and Displays uDriver Information Interface
Continued
Instrument Panel
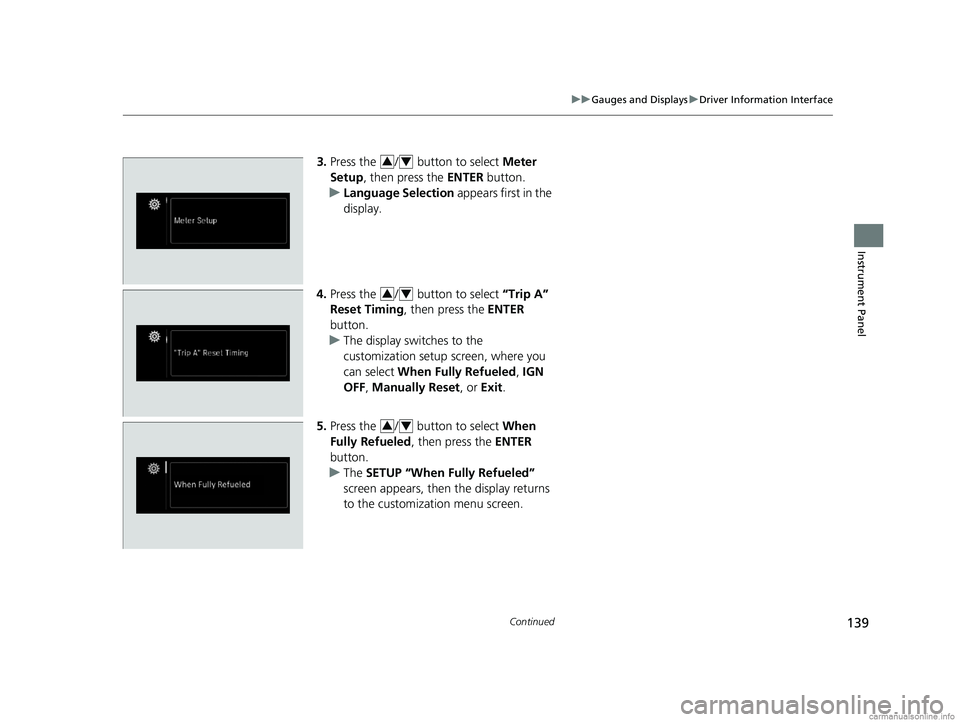
3. Press the / button to select Meter
Setup , then press the ENTER button.
u Language Selection appears first in the
display.
4. Press the / button to select “Trip A”
Reset Timing , then press the ENTER
button.
u The display swit ches to the
customization setup screen, where you
can select When Fully Refueled , IGN
OFF , Manually Reset , or Exit.
5. Press the / button to select When
Fully Refueled, then press the ENTER
button.
u The SETUP “When Fully Refueled”
screen appears, then the display returns
to the customizat ion menu screen.34
34
34
18 US ODYSSEY-31THR6010.book 139 ページ 2018年12月6日 木曜日 午後4時18分
Page 142 of 763
140
uuGauges and Displays uDriver Information Interface
Instrument Panel
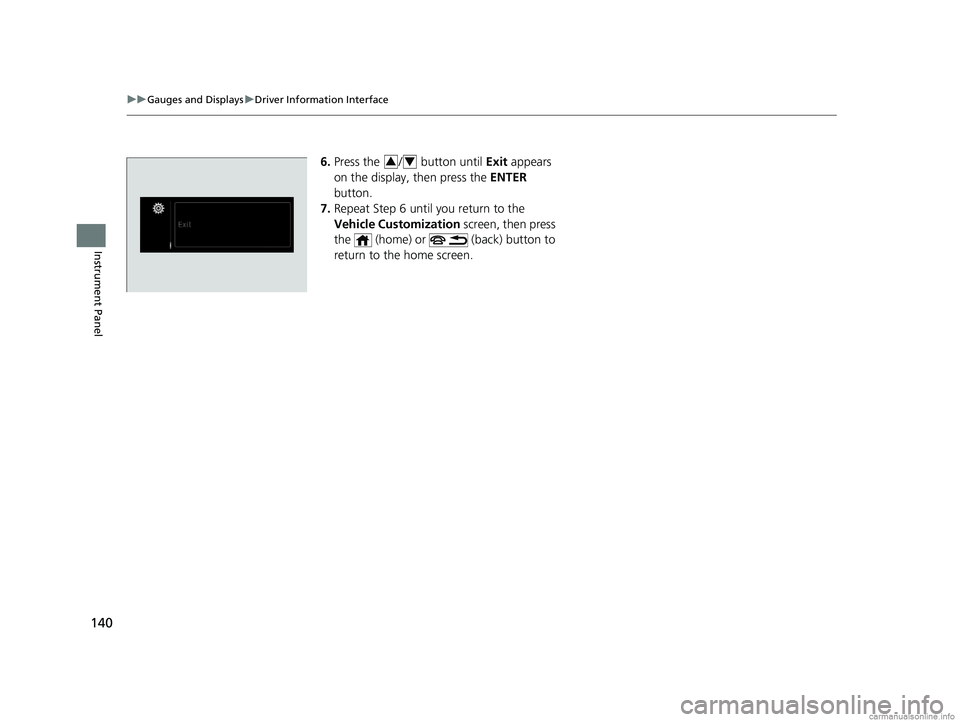
6. Press the / button until Exit appears
on the display, then press the ENTER
button.
7. Repeat Step 6 until you return to the
Vehicle Customization screen, then press
the (home) or (back) button to
return to the home screen.34
18 US ODYSSEY-31THR6010.book 140 ページ 2018年12月6日 木曜日 午後4時18分
Page 144 of 763
142
Controls
Clock
Adjusting the Clock
You can adjust the time manually in the audio/information screen, with the power
mode in ON.
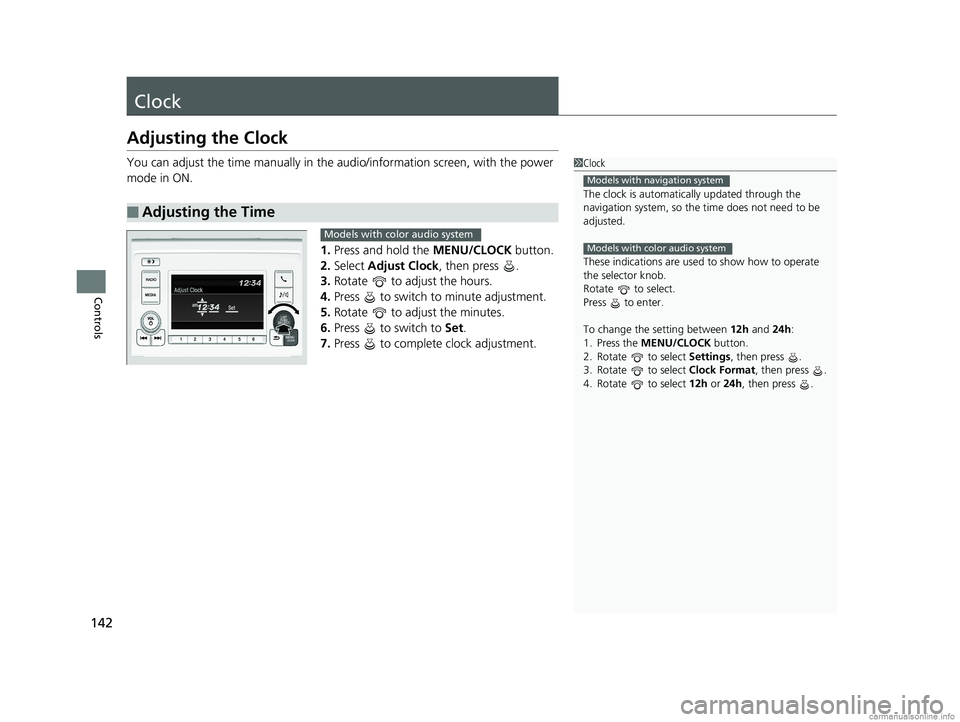
1.Press and hold the MENU/CLOCK button.
2. Select Adjust Clock , then press .
3. Rotate to adjust the hours.
4. Press to switch to minute adjustment.
5. Rotate to adjust the minutes.
6. Press to switch to Set.
7. Press to complete clock adjustment.
■Adjusting the Time
1Clock
The clock is automatica lly updated through the
navigation system, so the ti me does not need to be
adjusted.
These indications are used to show how to operate
the selector knob.
Rotate to select.
Press to enter.
To change the setting between 12h and 24h:
1. Press the MENU/CLOCK button.
2. Rotate to select Settings, then press .
3. Rotate to select Clock Format, then press .
4. Rotate to select 12h or 24h , then press .
Models with navigation system
Models with color audio systemModels with color audio system
18 US ODYSSEY-31THR6010.book 142 ページ 2018年12月6日 木曜日 午後4時18分
Page 145 of 763
143
uuClock uAdjusting the Clock
Controls
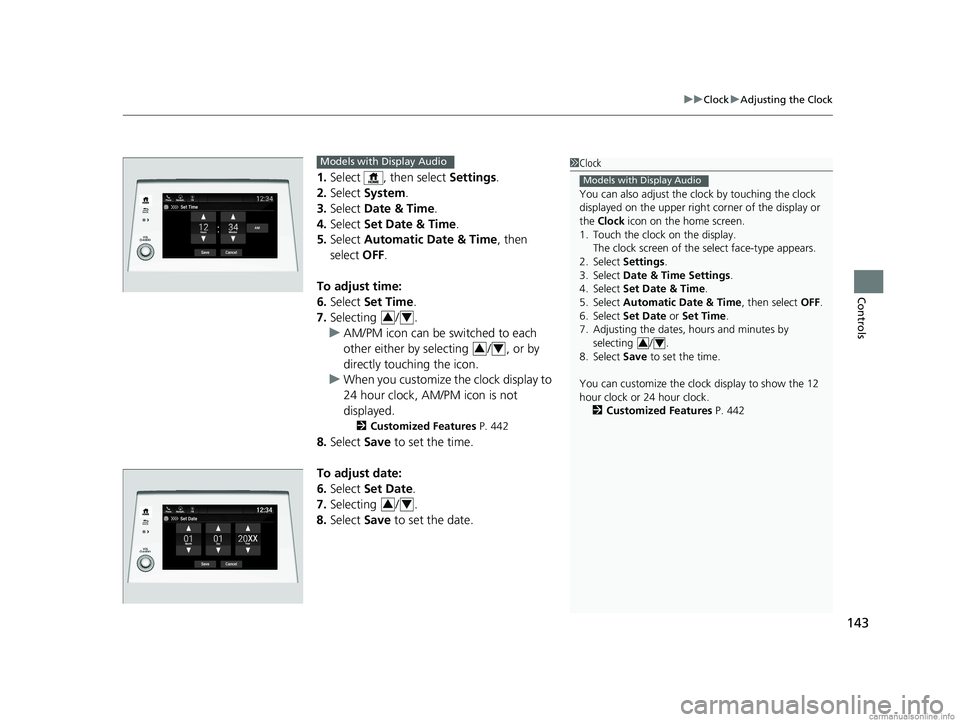
1. Select , then select Settings.
2. Select System.
3. Select Date & Time .
4. Select Set Date & Time .
5. Select Automatic Date & Time , then
select OFF.
To adjust time:
6. Select Set Time.
7. Selecting / .
u AM/PM icon can be switched to each
other either by selecting / , or by
directly touching the icon.
u When you customize the clock display to
24 hour clock, AM/PM icon is not
displayed.
2 Customized Features P. 442
8.Select Save to set the time.
To adjust date:
6. Select Set Date.
7. Selecting / .
8. Select Save to set the date.
1Clock
You can also adjust the clock by touching the clock
displayed on the upper right corner of the display or
the Clock icon on the home screen.
1. Touch the clock on the display.
The clock screen of the select face-type appears.
2. Select Settings .
3. Select Date & Time Settings .
4. Select Set Date & Time .
5. Select Automatic Date & Time , then select OFF.
6. Select Set Date or Set Time.
7. Adjusting the dates, hours and minutes by selecting / .
8. Select Save to set the time.
You can customize the clock display to show the 12
hour clock or 24 hour clock. 2 Customized Features P. 442
Models with Display Audio
34
Set Time
Save
Hours MinutesAM
Cancel
Phone Navigati.. FM
Models with Display Audio
34
34
34
18 US ODYSSEY-31THR6010.book 143 ページ 2018年12月6日 木曜日 午後4時18分
Page 150 of 763
uuLocking and Unlocking the Doors uLocking/Unlocking the Doors from the Outside
148
Controls
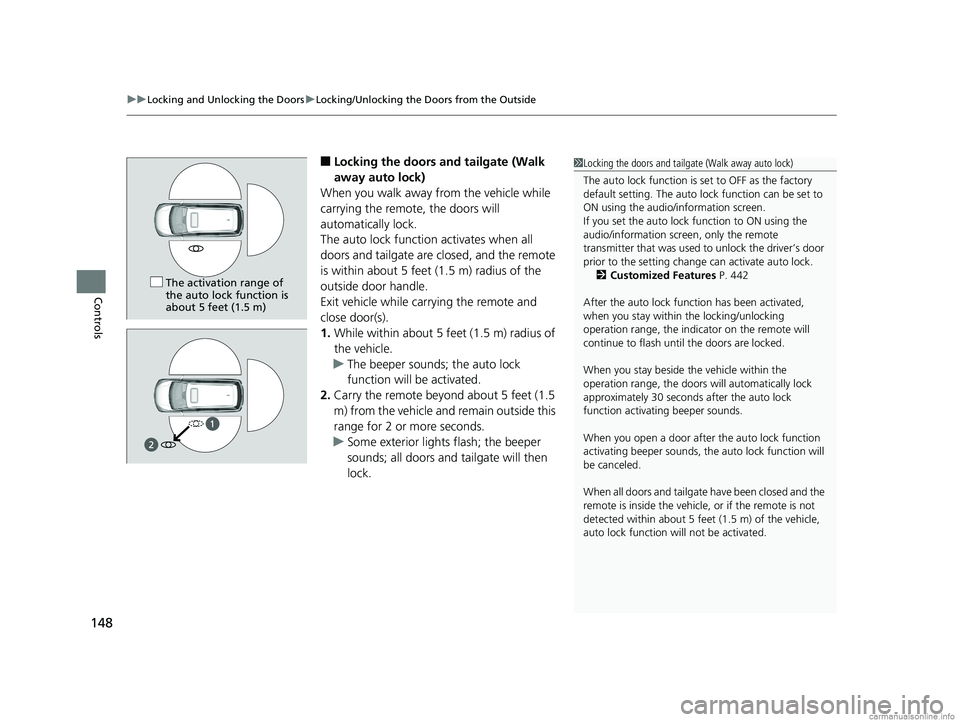
■Locking the doors and tailgate (Walk
away auto lock)
When you walk away from the vehicle while
carrying the remote, the doors will
automatically lock.
The auto lock function activates when all
doors and tailgate are closed, and the remote
is within about 5 feet (1.5 m) radius of the
outside door handle.
Exit vehicle while carrying the remote and
close door(s).
1. While within about 5 feet (1.5 m) radius of
the vehicle.
u The beeper sounds; the auto lock
function will be activated.
2. Carry the remote beyond about 5 feet (1.5
m) from the vehicle and remain outside this
range for 2 or more seconds.
u Some exterior lights flash; the beeper
sounds; all doors and tailgate will then
lock.1Locking the doors and tailgate (Walk away auto lock)
The auto lock function is set to OFF as the factory
default setting. The auto lo ck function can be set to
ON using the audio/information screen.
If you set the auto lock function to ON using the
audio/information screen, only the remote
transmitter that was used to unlock the driver’s door
prior to the setting change can activate auto lock. 2 Customized Features P. 442
After the auto lock function has been activated,
when you stay within the locking/unlocking
operation range, the indica tor on the remote will
continue to fl ash until the door s are locked.
When you stay beside the vehicle within the
operation range, the doors wi ll automatically lock
approximately 30 seconds after the auto lock
function activating beeper sounds.
When you open a door after the auto lock function
activating beeper sounds, the auto lock function will
be canceled.
When all doors and tailgate have been closed and the
remote is inside the vehicle, or if the remote is not
detected within about 5 feet (1.5 m) of the vehicle,
auto lock function wi ll not be activated.
The activation range of
the auto lock function is
about 5 feet (1.5 m)
18 US ODYSSEY-31THR6010.book 148 ページ 2018年12月6日 木曜日 午後4時18分
Page 157 of 763
Continued155
uuLocking and Unlocking the Doors uLocking/Unlocking the Doors from the Inside
Controls
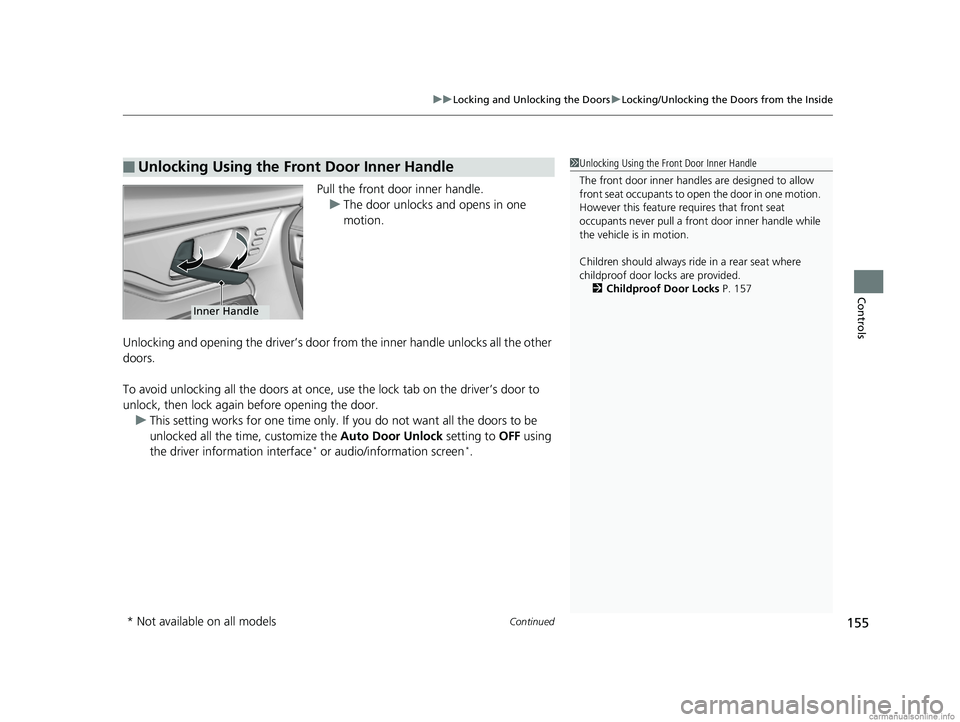
Pull the front door inner handle.
u The door unlocks and opens in one
motion.
Unlocking and opening the driver’s door from the inner handle unlocks all the other
doors.
To avoid unlocking all the doors at once, use the lock tab on the driver’s door to
unlock, then lock again before opening the door.
u This setting works for one time only. If you do not want all the doors to be
unlocked all the ti me, customize the Auto Door Unlock setting to OFF using
the driver information interface
* or audio/information screen*.
■Unlocking Using the Front Door Inner Handle1 Unlocking Using the Front Door Inner Handle
The front door inne r handles are designed to allow
front seat occupants to open the door in one motion.
However this feature requires that front seat
occupants never pull a front door inner handle while
the vehicle is in motion.
Children should always ride in a rear seat where
childproof door locks are provided.
2 Childproof Door Locks P. 157
Inner Handle
* Not available on all models
18 US ODYSSEY-31THR6010.book 155 ページ 2018年12月6日 木曜日 午後4時18分
Page 160 of 763
158
uuLocking and Unlocking the Doors uAuto Door Locking/Unlocking
Controls
Auto Door Locking/Unlocking
Your vehicle locks and unlocks all door s and the tailgate automatically when a
certain condition is met.
■Drive lock mode
All doors and the tailgate lock when the vehicle’s speed reaches about 10 mph (15
km/h).
■Driver’s door open mode
All doors and the tailgate unlock when the driver’s door is opened.
■Auto Door Locking
■Auto Door Unlocking
1 Auto Door Locking/Unlocking
You can turn off or cha nge to another auto door
locking/unlocking sett ing using the driver
information interface
* or audio/information screen*.
2 Vehicle Customization P. 133
2 Customized Features P. 442Models with color audio system
Models with Display Audio
* Not available on all models
18 US ODYSSEY-31THR6010.book 158 ページ 2018年12月6日 木曜日 午後4時18分
Page 163 of 763
161
uuOpening and Closing the Tailgate uOpening/Closing the Power Tailgate*
Continued
Controls
Opening/Closing the Power Tailgate*
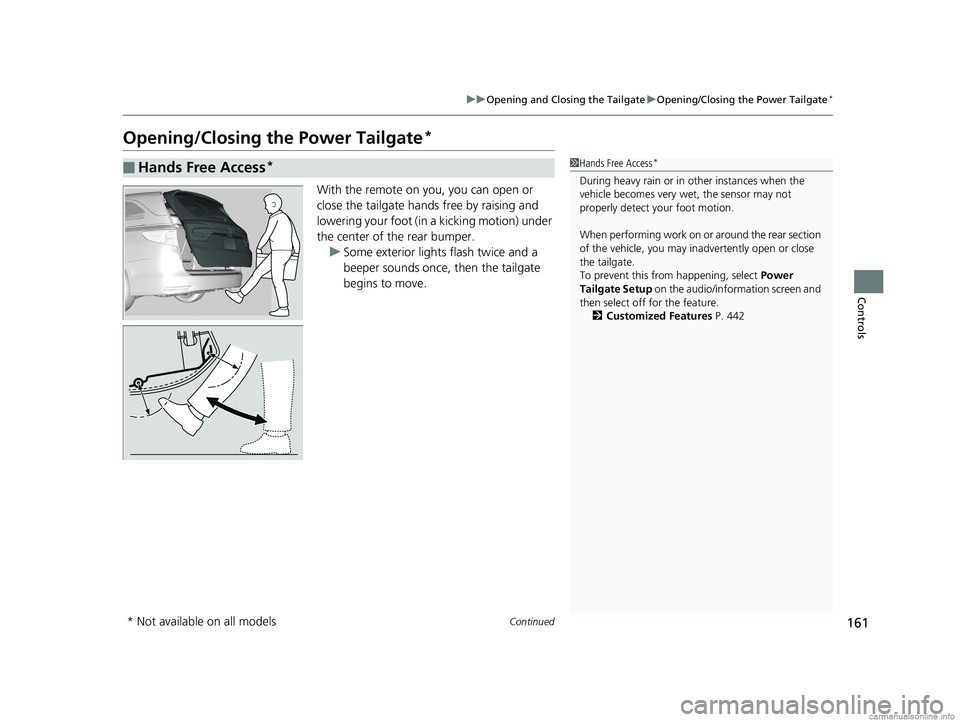
With the remote on you, you can open or
close the tailgate hands free by raising and
lowering your foot (in a kicking motion) under
the center of the rear bumper.
u Some exterior lights flash twice and a
beeper sounds once, then the tailgate
begins to move.
■Hands Free Access*1Hands Free Access*
During heavy rain or in other instances when the
vehicle becomes very wet, the sensor may not
properly detect your foot motion.
When performing work on or around the rear section
of the vehicle, you may in advertently open or close
the tailgate.
To prevent this from happening, select Power
Tailgate Setup on the audio/information screen and
then select off for the feature. 2 Customized Features P. 442
* Not available on all models
18 US ODYSSEY-31THR6010.book 161 ページ 2018年12月6日 木曜日 午後4時18分
Page 202 of 763
200
uuOperating the Switches Around the Steering Wheel uBrightness Control
Controls
Brightness Control
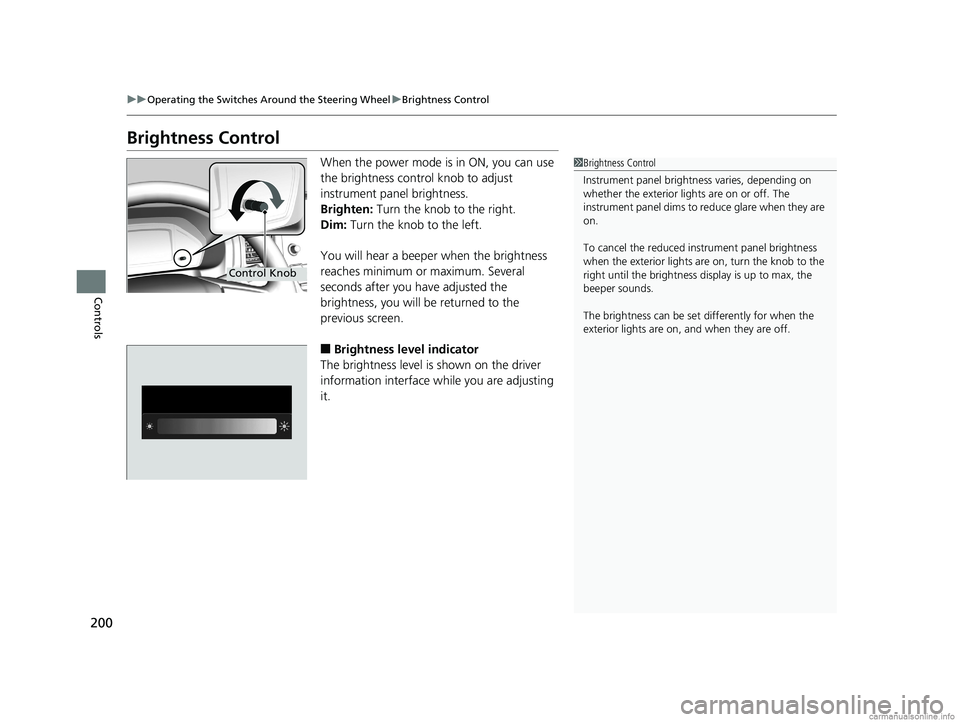
When the power mode is in ON, you can use
the brightness control knob to adjust
instrument panel brightness.
Brighten: Turn the knob to the right.
Dim: Turn the knob to the left.
You will hear a beeper when the brightness
reaches minimum or maximum. Several
seconds after you have adjusted the
brightness, you will be returned to the
previous screen.
■Brightness level indicator
The brightness level is shown on the driver
information interface wh ile you are adjusting
it.
1 Brightness Control
Instrument panel brightne ss varies, depending on
whether the exterior lights are on or off. The
instrument panel dims to reduce glare when they are
on.
To cancel the reduced in strument panel brightness
when the exterior lights are on, turn the knob to the
right until the brightness display is up to max, the
beeper sounds.
The brightness can be set differently for when the
exterior lights are on, and when they are off.
Control Knob
18 US ODYSSEY-31THR6010.book 200 ページ 2018年12月6日 木曜日 午後4時18分
Page 205 of 763
203
uuOperating the Switches Around the Steering Wheel uDriving Position Memory System*
Continued
Controls
Driving Position Memory System*
You can store two driver’s seat positions (except for power lumbar) and outside
mirror positions with the driv ing position memory system.
When you unlock and open the driver’s door with a remote, the seat and outside
mirrors adjust automatically to one of the two preset positions.
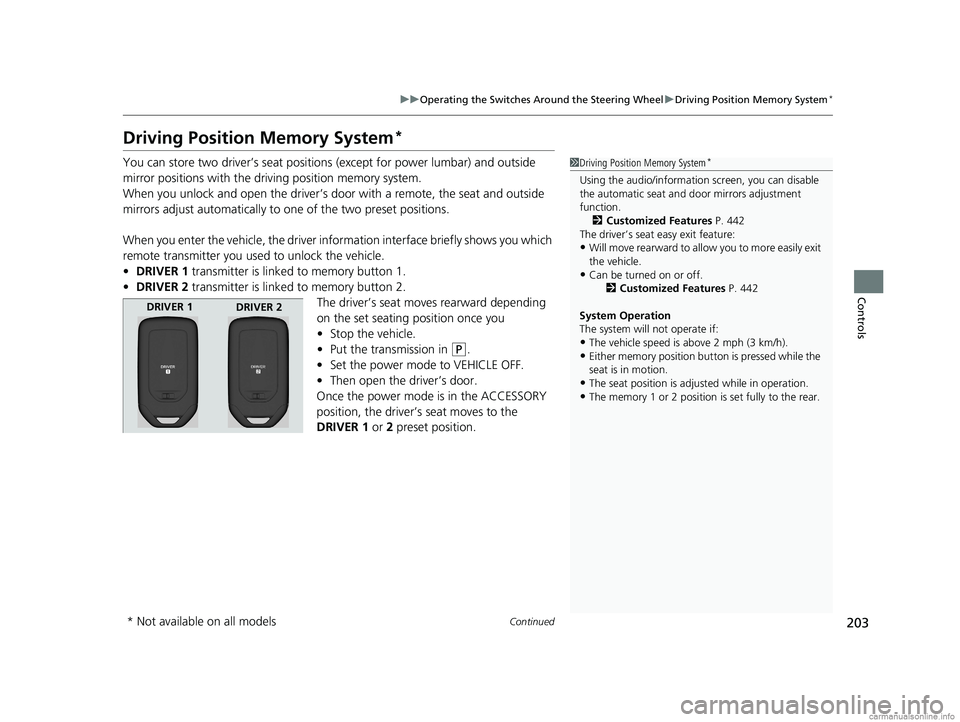
When you enter the vehicle, the driver information interface briefly shows you which
remote transmitter you used to unlock the vehicle.
• DRIVER 1 transmitter is linked to memory button 1.
• DRIVER 2 transmitter is linked to memory button 2.
The driver’s seat moves rearward depending
on the set seating position once you
•Stop the vehicle.
• Put the transmission in
(P.
• Set the power mode to VEHICLE OFF.
• Then open the driver’s door.
Once the power mode is in the ACCESSORY
position, the driver’s seat moves to the
DRIVER 1 or 2 preset position.
1 Driving Position Memory System*
Using the audio/informati on screen, you can disable
the automatic seat and d oor mirrors adjustment
function. 2 Customized Features P. 442
The driver’s seat easy exit feature:
•Will move rearward to allow you to more easily exit
the vehicle.
•Can be turned on or off. 2Customized Features P. 442
System Operation
The system will not operate if:
•The vehicle speed is above 2 mph (3 km/h).
•Either memory position button is pressed while the
seat is in motion.
•The seat position is adju sted while in operation.
•The memory 1 or 2 position is set fully to the rear.
DRIVER 1
DRIVER 2
* Not available on all models
18 US ODYSSEY-31THR6010.book 203 ページ 2018年12月6日 木曜日 午後4時18分