horn HONDA PASSPORT 2000 2.G Owners Manual
[x] Cancel search | Manufacturer: HONDA, Model Year: 2000, Model line: PASSPORT, Model: HONDA PASSPORT 2000 2.GPages: 267, PDF Size: 3.03 MB
Page 98 of 267
Interio
r Feature s
Keys and Ignition .......... 97
Steering Column Lock/
Ignition Switch ........ 97 LOCK .............. 97
ACC ................ 97
ON ................. 97START .............. 97
Key Removal ........... 98
Key Reminder .......... 98
Guard Against Theft ..... 98
Locks ................... 99 Power Door Locks ...... 100
Child-Safe Door Locks .. 101
Mirrors ................. 101 Interior Mirror ......... 101Power Mirrors ......... 101Vanity Mirror .......... 102 Power Windows .......... 103
Checking the CircuitBreaker ............. 104
Tailgate ................ 104 Operation ............. 104
Hood Release ............ 105
Interior Lights ........... 107 Luggage Light ......... 107Dome Light ........... 107
Courtesy Lights ........ 108
Map Lights............ 108
Moonroof ............... 108 Conveniences ............ 109
Beverage Holder ....... 109
Sun Visor ............. 110Glove Box ............ 110
Assist Grip ............ 111
Horn Button ........... 11
Tilt Steering Wheel ..... 1
11
1
Cigarette Lighte
r ....... 112
Ashtrays .............. 112
Accessory Power Outlets . 113
Interio r Feature s
Page 114 of 267
Assis
t Gri p
An assist grip is located above
each window. Hor
n Butto n
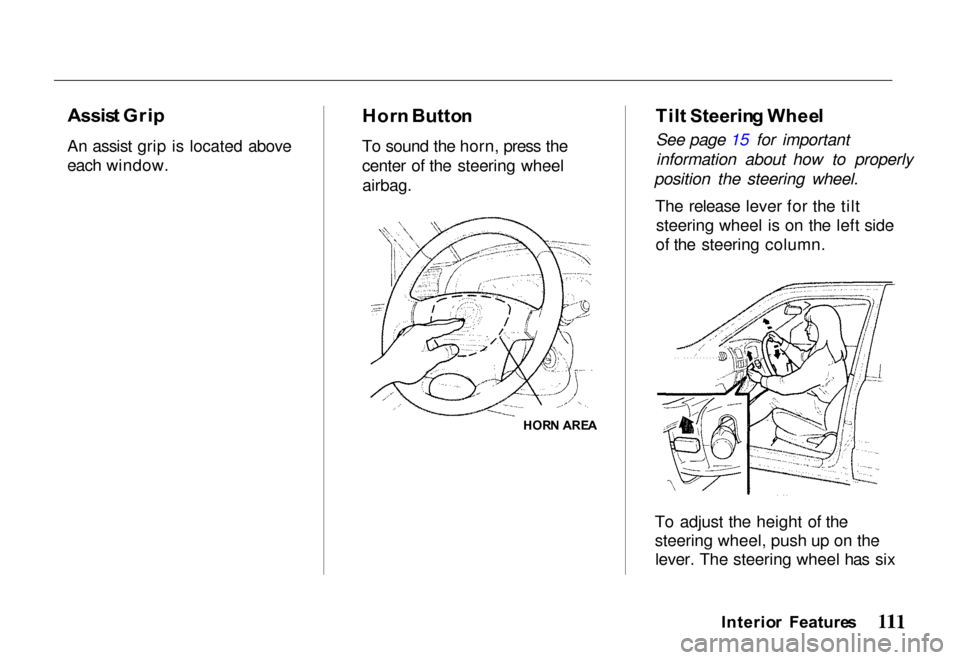
To sound the horn, press the
center of the steering wheel
airbag.
Til
t Steerin g Whee l
See page 15 for important information about how to properly
position the steering wheel.
The release lever for the tiltsteering wheel is on the left side
of the steering column.
To adjust the height of the
steering wheel, push up on the lever. The steering wheel has six
Interior Feature s
HOR
N ARE A
Page 150 of 267
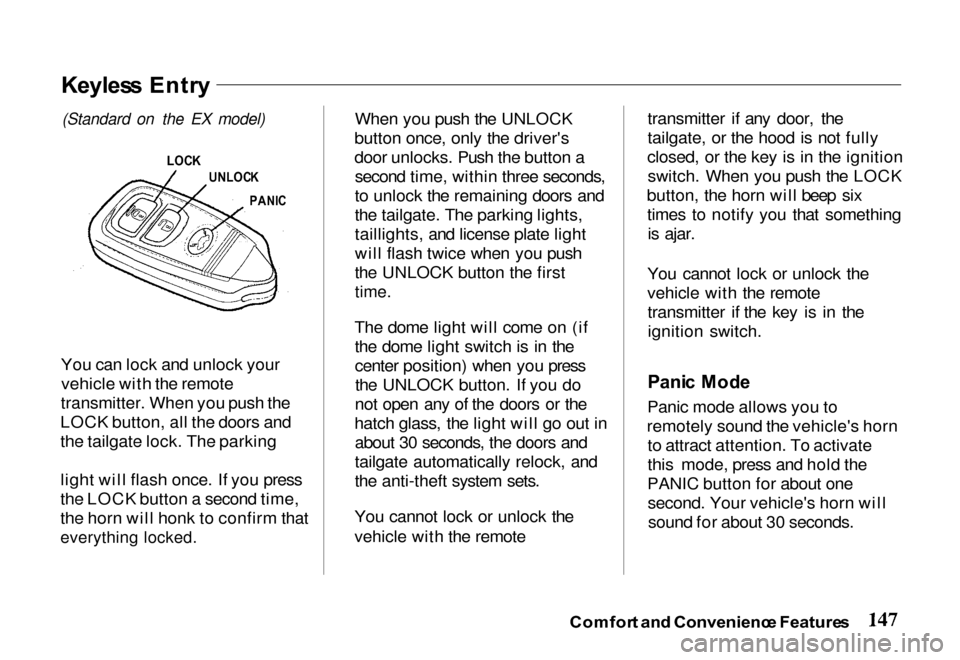
You can lock and unlock your
vehicle with the remote
transmitter. When you push the
LOCK button, all the doors and
the tailgate lock. The parking
light will flash once. If you press
the LOCK button a second time,
the horn will honk to confirm that
everything locked.
When you push the UNLOCK
button once, only the driver's
door unlocks. Push the button a second time, within three seconds,
to unlock the remaining doors and
the tailgate. The parking lights,
taillights, and license plate light
will flash twice when you push
the UNLOCK button the first
time.
The dome light will come on (if the dome light switch is in the
center position) when you pressthe UNLOCK button. If you do
not open any of the doors or the
hatch glass, the light will go out in about 30 seconds, the doors and
tailgate automatically relock, and
the anti-theft system sets.
You cannot lock or unlock the
vehicle with the remote transmitter if any door, the
tailgate, or the hood is not fully
closed, or the key is in the ignition switch. When you push the LOCK
button, the horn will beep six times to notify you that somethingis ajar.
You cannot lock or unlock the
vehicle with the remote transmitter if the key is in the
ignition switch.
Pani c Mod e
Panic mode allows you to
remotely sound the vehicle's horn to attract attention. To activate
this mode, press and hold the
PANIC button for about one second. Your vehicle's horn willsound for about 30 seconds.
Comfor t an d Convenienc e Feature s
Keyles s Entr y
(Standard on
the EX model)
LOC K
UNLOC K
PANI C
Page 151 of 267
To cancel panic mode before 30
seconds, press any button on the
remote transmitter. You can also turn the ignition switch to
ACCESSORY.
Anti-Thef
t Syste m
The anti-theft system is designed
to protect your vehicle and its contents from theft. Any attempt
to forcibly open any door, the
tailgate, or the hood without using
the key or the remote transmitterwill cause the system to alarm.
The horn sounds and the headlights flash for approximately
three minutes. The starter motor
circuit is disabled so the engine
cannot be started. After threeminutes, the system resets. Activatin
g th e Syste m
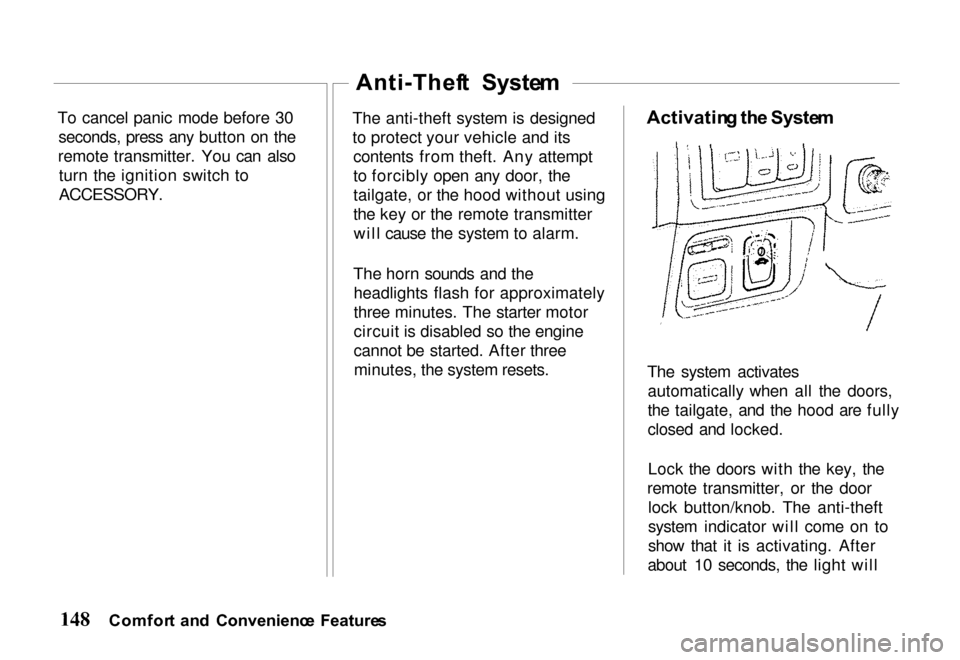
The system activates automatically when all the doors,
the tailgate, and the hood are fully
closed and locked.
Lock the doors with the key, the
remote transmitter, or the door lock button/knob. The anti-theft
system indicator will come on to
show that it is activating. After
about 10 seconds, the light will
Comfor t an d Convenienc e Feature s
Page 208 of 267

Sit in the driver's seat and
perform these checks:
1. With the engine stopped, depress the brake pedal severaltimes; the travel distance and
effective pedal stroke should
remain unchanged.
2. Start the engine with the brake pedal fully depressed.
The brake pedal should go downa little as the engine starts.
3. Depress the brake pedal, stop the engine and hold the pedal
depressed for about 30
seconds; the brake pedal
should remain in position
without rising or going down.
4. Restart the engine and run it for about a minute, then turn it
off and depress the brake
pedal firmly several times; the
brake pedal travel should decrease each time the brake
pedal is depressed.
If the brakes do not operate
normally, have them checked and
corrected by your Honda dealer.
Exhaus t syste m — Be alert to any
changes in the sound of the exhaust system or any smell of fumes.
These are signs the system may be leaking or overheating. Have the
system checked and/or repaired at
once if these conditions exist. (Also see "Carbon Monoxide Hazard" in
the "Driver and Passenger Safety"
section and "Three-Way Catalytic
Converter" in the "Driving Tips"
section.)
Windshiel d wiper s an d
washer s — Check the operation
and condition of the wiper blades.
Check the flow and aim of the
washer spray.
Defroster
s — Check performance
by moving the controls to the
defrost setting and noting the amount of air directed against the
windshield.
Rea r vie w mirror s an d su n
visor s — Check that the friction
joints hold the mirrors and sun visors firmly in place.
Hor n — Blow the horn now and
then to be sure it works.
La p an d shoulde r belt s — Check
the belt system, including
webbing, buckles, latch plates,
retractors, guide loops and anchors for proper operation and
damage.
Sea t adjuster s — When adjusting
a seat, be sure the seat adjusters
latch securely by pushing the seat
forward and backward.
Car e an d Maintenanc e
Page 259 of 267
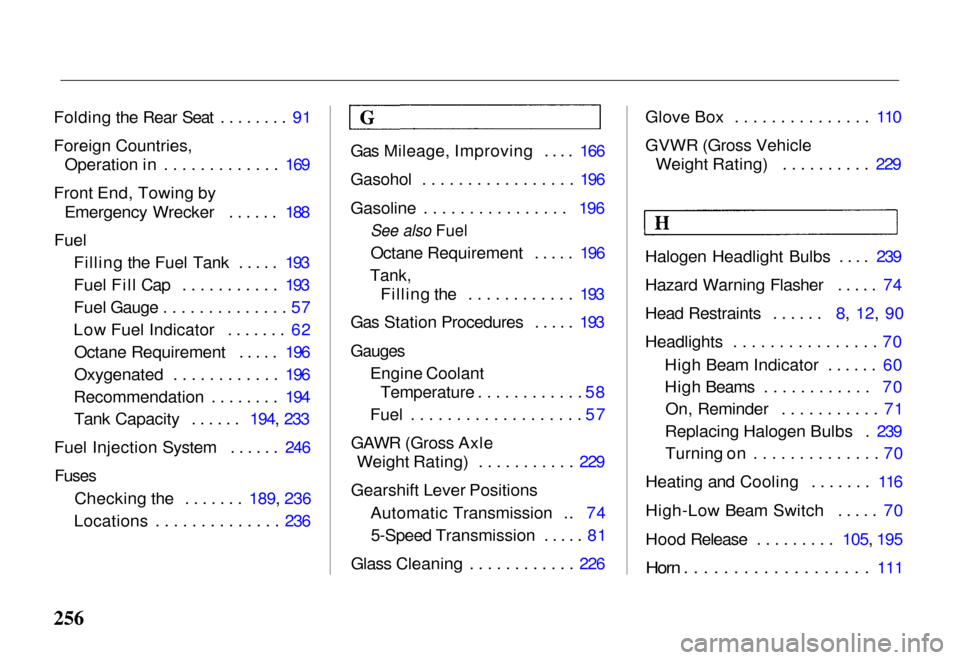
Folding the Rear Seat ........ 91
Foreign Countries,
Operation in ............. 169
Front End, Towing by Emergency Wrecker ...... 188
Fuel Filling the Fuel Tank ..... 193
Fuel Fill Cap ........... 193
Fuel Gauge .............. 57
Low Fuel Indicator ....... 62Octane Requirement ..... 196
Oxygenated ............ 196
Recommendation ........ 194 Tank Capacity ...... 194, 233
Fuel Injectio
n System ...... 246
Fuses
Checking the .......
189, 236
Locations .............
. 236Gas Mileage, Improving .... 166
Gasohol ................. 196
Gasoline ................ 196
See also Fuel
Octane Requirement ..... 196
Tank,
Filling the ............ 193
Gas Station Procedures ..... 193
Gauges
Engine CoolantTemperature ............ 58
Fuel ................... 57
GAWR (Gross Axle Weight Rating) ........... 229
Gearshift Lever Positions Automatic Transmission .. 745-Speed Transmission ..... 81
Glass Cleaning ............ 226 Glove Box ............... 110
GVWR (Gross Vehicle
Weight Rating) .......... 229
Halogen Headlight Bulbs .... 239
Hazard Warning Flasher ..... 74
Head Restraints ...... 8, 12, 90
Headlights ................ 70 High Beam Indicator ...... 60
High Beams ............ 70On, Reminder ........... 71
Replacing Halogen Bulbs . 239 Turning on .............. 70
Heating and Cooling ....... 116
High-Low Beam Switch ..... 70
Hood Release ......... 105, 195
Horn ...................
111