Add oil HONDA PILOT 2003 1.G Owners Manual
[x] Cancel search | Manufacturer: HONDA, Model Year: 2003, Model line: PILOT, Model: HONDA PILOT 2003 1.GPages: 392, PDF Size: 5.06 MB
Page 210 of 392
Once the security system is set,
opening any door (without using the
key or the remote transmitter), or
the hood, will cause it to alarm. It
also alarms if the radio is removed
f rom the dashboard or the wiring is
cut.Do not attempt to alter this system
or add other devices to it. The security system will not set if
the hood, tailgate, or any door is not
f ully closed. If the system will not set,
check the Door and Tailgate Open
Monitor on the instrument panel
(see page ) to see if the doors and
tailgate are f ully closed. Since it is
notpartofthemonitordisplay,
manually check the hood.
The security system helps to protect
your vehicle and valuables f rom thef t.
The horn sounds and a combination
of headlights, parking lights, side
marker lights, and taillights f lash if
someone attempts to break into your
vehicleorremovetheradio.This
alarm continues f or two minutes,
then the system resets. To reset an
alarming system before the two
minutes have elapsed, unlock the
driver’s f ront door with the key or
the remote transmitter.
The security system sets auto-
matically, f if teen seconds af ter you
lock the doors, hood, and tailgate.
For the system to activate, you must
lock the doors f rom the outside with
the key, or remote transmitter. The
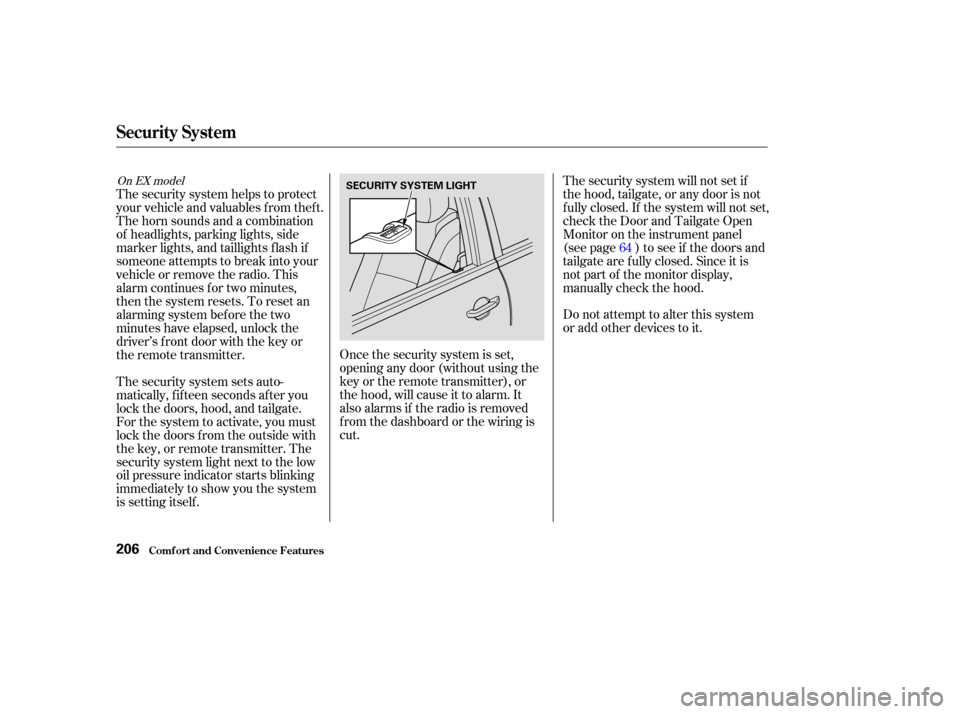
security system light next to the low
oil pressure indicator starts blinking
immediately to show you the system
is setting itself . 64
On EX model
Security System
Comf ort and Convenience Feat ures206
SECURITY SYSTEM LIGHT
Page 219 of 392

Bef ore you begin driving your Honda,
youshouldknowwhatgasolineto
use, and how to check the levels of
important f luids. You also need to
know how to properly store luggage
or packages. The inf ormation in this
section will help you. If you plan to
add any accessories to your vehicle,
please read the inf ormation in this
section f irst..............................
Break-in Period .216
.........................................
Gasoline .216
.........
Service Station Procedures . 217
................
Filling the Fuel Tank . 217
....................
Opening the Hood .218
...............................
Oil Check .220
.........
Engine Coolant Check . 221
...............................
Fuel Economy .222
.....................
Vehicle Condition .222
...........................
Driving Habits .222
...
Accessories and Modif ications . 223
.............................
Carrying Cargo .225
.................................
Load Limit .226
Bef ore Driving
Bef ore Driving215
Page 220 of 392

Help assure your vehicle’s f uture
reliability and perf ormance by paying
extra attention to how you drive
during the f irst 600 miles (1,000 km).
During this period:Avoid full-throttle starts and rapid
acceleration. Youshouldfollowthesesamere-
commendations with an overhauled
or exchanged engine, or when the
brakes are replaced.
Do not change the oil until the
recommended time or mileage
intervalshowninthemaintenance
schedule.
Avoidhardbraking.Newbrakes
need to be broken-in by moderate
use f or the f irst 200 miles (300
km). We also recommend that you do not
tow a trailer during the f irst 500
miles (800 km).
Your Honda is designed to operate
on unleaded gasoline with a pump
octane number of 86 or higher. Use
of a lower octane gasoline can cause
a persistent, heavy metallic rapping
noise in the engine that can lead to
mechanical damage.
We recommend gasolines containing
detergent additives that help prevent
f uel system and engine deposits.
Using gasoline containing lead will
damage your vehicle’s emissions
controls. This contributes to air
pollution.
Premium f uel is recommended when
towing in certain conditions (see
page ).
256
Break-in Period, Gasoline
Bef ore Driving
Break-in Period Gasoline
216
Page 225 of 392
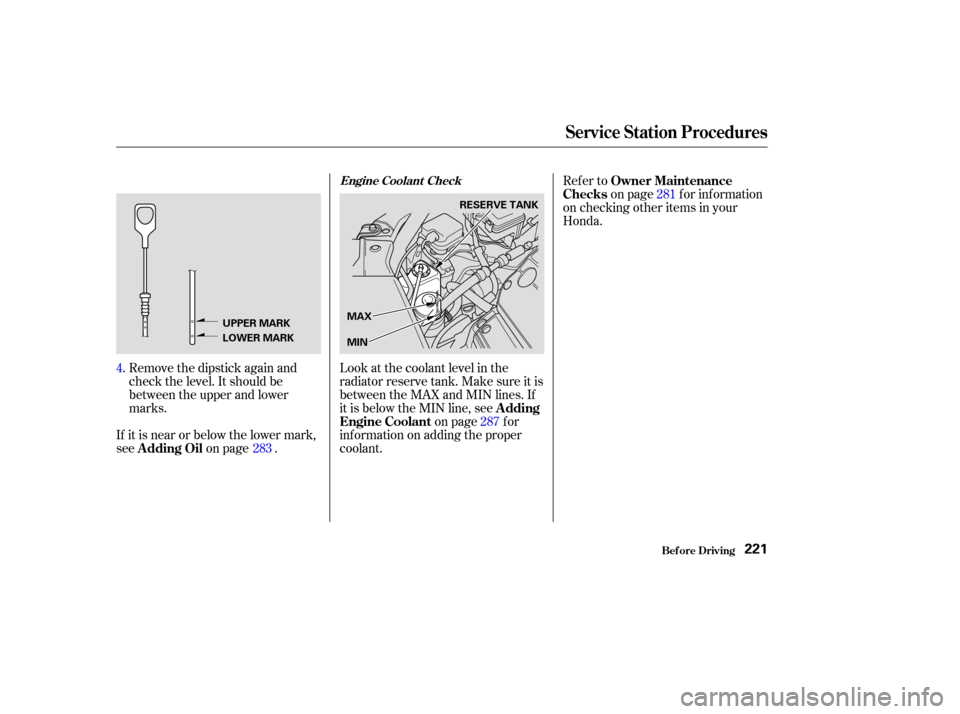
Remove the dipstick again and
check the level. It should be
between the upper and lower
marks.Look at the coolant level in the
radiator reserve tank. Make sure it is
between the MAX and MIN lines. If
it is below the MIN line, see
on page f or
inf ormation on adding the proper
coolant.
If it is near or below the lower mark,
see
on page . Refer to
on page f or inf ormation
on checking other items in your
Honda.
4. 283 287281
A dding
Engine Coolant
A dding Oil Owner Maintenance
Checks
Engine Coolant Check
Bef ore Driving
Service Station Procedures
221
UPPER MARK
LOWER MARK MAX
MINRESERVE TANK
Page 273 of 392
This section explains the importance
of keeping your vehicle well
maintained and why you should
f ollow basic maintenance saf ety
precautions.
This section also includes
Maintenance Schedules f or normal
driving and severe driving conditions,
a Maintenance Record, and instruc-
tions f or simple maintenance tasks
you may want to take care of
yourself .
If you have the skills and tools to per-
f orm more complex maintenance
tasks on your Honda, you may want
to purchase the Service Manual. See
page f or inf ormation on how to
obtain a copy, or see your Honda
dealer.......................
Maintenance Saf ety .270
.
Important Safety Precautions . 271
.................
Maintenance Schedule . 272
...
Required Maintenance Record . 279
.......
Owner Maintenance Checks . 281
..............................
Fluid Locations .282
......................................
Engine Oil .283
..................................
Adding Oil .283
....................
Recommended Oil .283
..............................
Synthetic Oil .284
....................................
Additives .284
.....
Changing the Oil and Filter . 285
.............................
Cooling System .287
............
Adding Engine Coolant . 287
.......
Replacing Engine Coolant . 289
....................
Windshield Washers .292
....
Automatic Transmission Fluid . 293
..........................
Dif f erential Fluid .294
....................................
Brake Fluid .295
............................
Brake System .295
..............................
Power Steering .296
.....................
Air Cleaner Element .297
....................................
Hood Latch .298
....................................
Spark Plugs .299
..............................
Replacement .299
............................
Specif ications .301 ...........................................
Battery .302
.................................
Wiper Blades .304
..............
Air Conditioning System . 306
..................
Dust and Pollen Filter . 307
.....................................
Drive Belts .307
....................................
Timing Belt .308
...............................................
Tires .308
......................................
Inf lation .308
..................................
Inspection .310
..............................
Maintenance .311
.............................
Tire Rotation .311
...
Replacing Tires and Wheels . 312
......................
Wheels and Tires .313
..........................
Winter Driving .313
.............................
Snow Tires .314
............................
Tire Chains .314
.............................................
Lights .315
.....................
Headlight Aiming .317
........................
Replacing Bulbs .317
....................
Storing Your Vehicle .324
377
Maintenance
Maint enance269
Page 274 of 392
Some of the most important saf ety
precautions are given here. However,
we cannot warn you of every
conceivable hazard that can arise in
perf orming maintenance. Only you
can decide whether or not you
should perf orm a given task.
Regularly maintaining your vehicle is
the best way to protect your
investment. Proper maintenance is
essential to your saf ety and the
saf ety of your passengers. It will also
reward you with more economical,
trouble-f ree driving, and help reduce
air pollution. This section includes instructions f or
simple maintenance tasks, such as
checking and adding oil. Any service
items not detailed in this section
should be perf ormed by a Honda
technician or other qualif ied
mechanic.
Maintenance Saf ety
Maint enance270
Failure to properly follow
maintenance instructions and
precautions can cause you to
be seriously hurt or killed.
Always follow the procedures
and precautions in this owner’s
manual.
Improperly maintaining this
vehicle or failing to correct a
problem before driving can
cause a crash in which you can
be seriously hurt or killed.
Always follow the inspection
and maintenance
recommendations and
schedules in this owner’s
manual.
Page 287 of 392
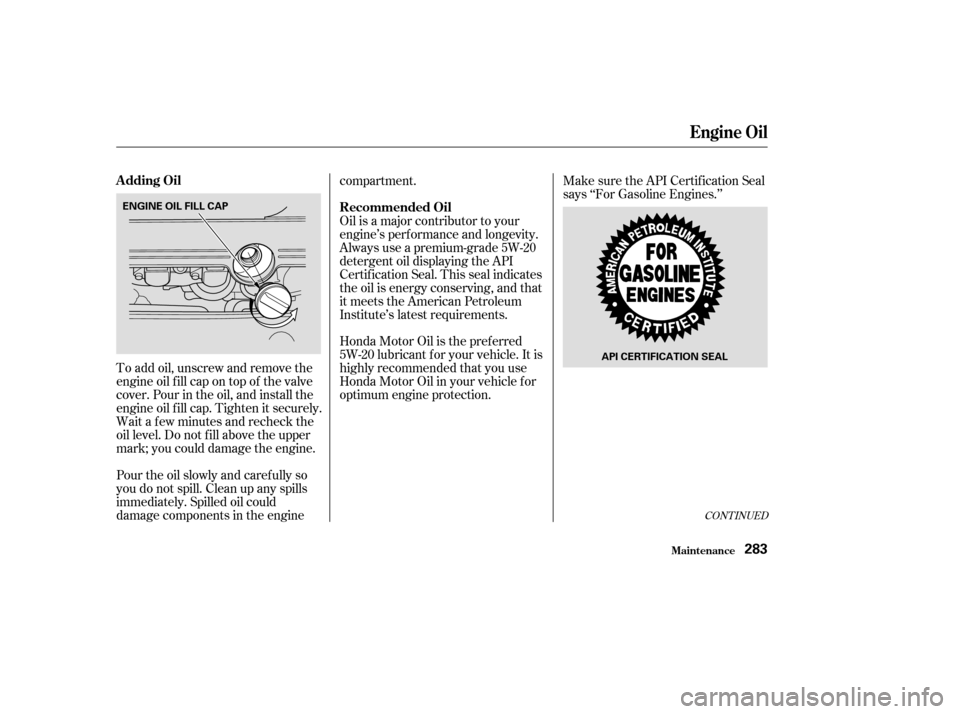
To add oil, unscrew and remove the
engine oil f ill cap on top of the valve
cover. Pour in the oil, and install the
engine oil f ill cap. Tighten it securely.
Wait a f ew minutes and recheck the
oil level. Do not f ill above the upper
mark; you could damage the engine.Make sure the API Certif ication Seal
says ‘‘For Gasoline Engines.’’
Pour the oil slowly and caref ully so
you do not spill. Clean up any spills
immediately. Spilled oil could
damage components in the engine compartment.
Honda Motor Oil is the pref erred
5W-20 lubricant f or your vehicle. It is
highly recommended that you use
Honda Motor Oil in your vehicle f or
optimum engine protection. Oil is a major contributor to your
engine’s perf ormance and longevity.
Always use a premium-grade 5W-20
detergent oil displaying the API
Certif ication Seal. This seal indicates
the oil is energy conserving, and that
it meets the American Petroleum
Institute’s latest requirements.
CONT INUED
A dding Oil
Recommended Oil
Engine Oil
Maint enance283
ENGINE OIL FILL CAP
API CERTIFICATION SEAL
Page 288 of 392
You may use a synthetic motor oil if
it meets the same requirements
given f or a conventional motor oil: it
displays the API Certif ication Seal,
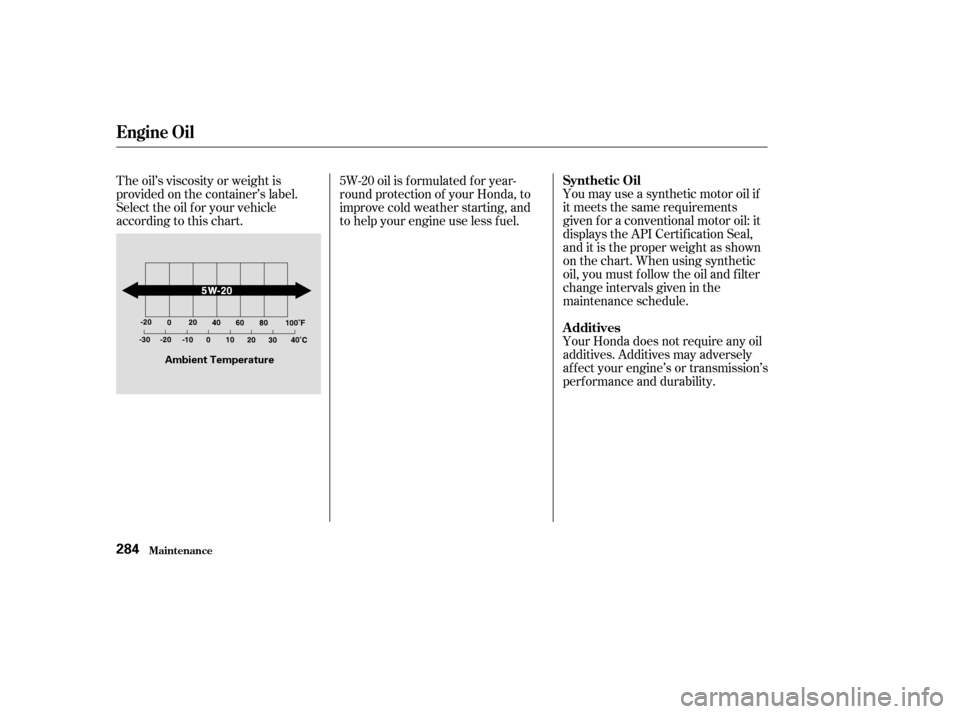
and it is the proper weight as shown
on the chart. When using synthetic
oil, you must f ollow the oil and f ilter
change intervals given in the
maintenance schedule.
The oil’s viscosity or weight is
provided on the container’s label.
Select the oil f or your vehicle
according to this chart.
5W-20 oil is f ormulated f or year-
round protection of your Honda, to
improve cold weather starting, and
to help your engine use less f uel.
Your Honda does not require any oil
additives. Additives may adversely
af f ect your engine’s or transmission’s
perf ormance and durability.
Engine Oil
Maint enance
Synthetic Oil
A dditives
284
Ambient Temperature
Page 290 of 392
Install a new oil f ilter according to
instructions that come with it.
Put a new washer on the drain bolt,
then reinstall the drain bolt.
Tighten it to:Refill the engine with the recom-
mended oil.
Engine oil change capacity
(including f ilter):
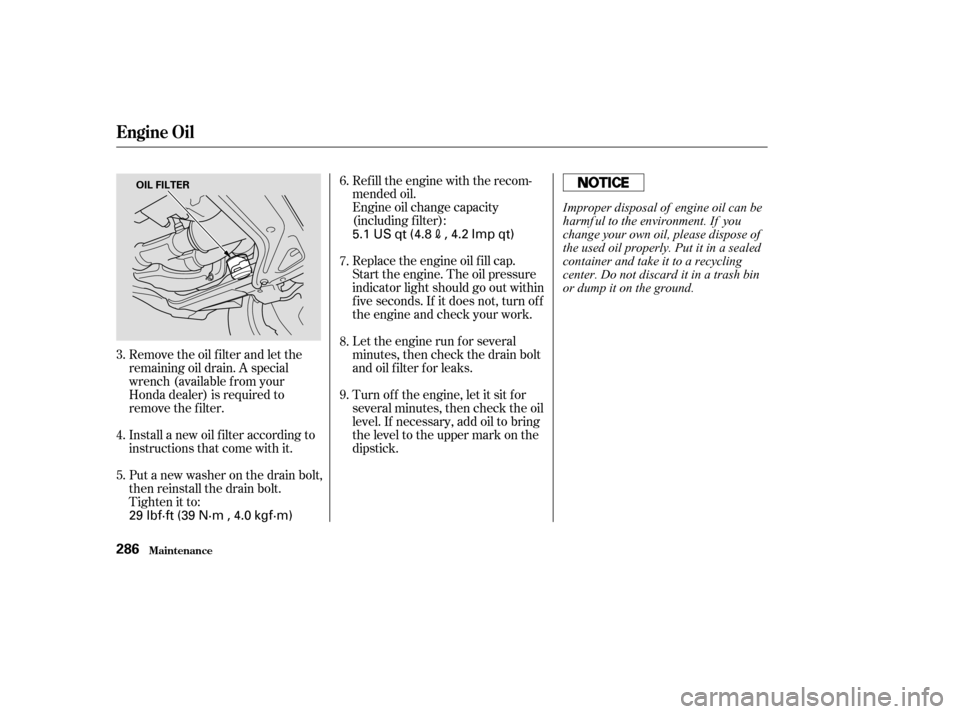
Remove the oil f ilter and let the
remaining oil drain. A special
wrench (available from your
Honda dealer) is required to
remove the f ilter. Replace the engine oil f ill cap.
Start the engine. The oil pressure
indicator light should go out within
f ive seconds. If it does not, turn of f
the engine and check your work.
Let the engine run f or several
minutes, then check the drain bolt
and oil f ilter f or leaks.
Turn of f the engine, let it sit f or
several minutes, then check the oil
level. If necessary, add oil to bring
the level to the upper mark on the
dipstick.
9. 8. 7.
6.
4.
5. 3.
Engine Oil
Maint enance286
OIL FILTER
29 lbf·ft (39 N·m , 4.0 kgf·m) 5.1 US qt (4.8
, 4.2 Imp qt)
Improper disposal of engine oil can be
harmf ul to the environment. If you
change your own oil, please dispose of
the used oil properly. Put it in a sealed
container and take it to a recycling
center. Do not discard it in a trash bin
or dump it on the ground.
Page 351 of 392
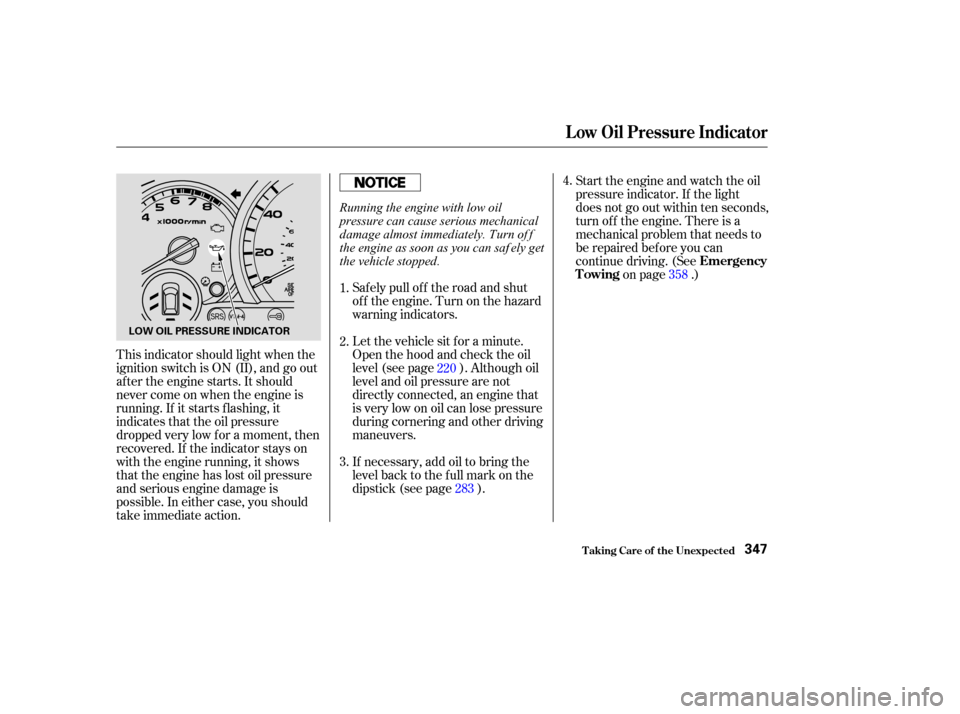
This indicator should light when the
ignition switch is ON (II), and go out
af ter the engine starts. It should
never come on when the engine is
running. If it starts f lashing, it
indicates that the oil pressure
dropped very low f or a moment, then
recovered. If the indicator stays on
with the engine running, it shows
that the engine has lost oil pressure
and serious engine damage is
possible. In either case, you should
take immediate action.Saf ely pull of f the road and shut
of f the engine. Turn on the hazard
warning indicators.
If necessary, add oil to bring the
level back to the full mark on the
dipstick (see page ). Let the vehicle sit f or a minute.
Open the hood and check the oil
level (see page ). Although oil
levelandoilpressurearenot
directly connected, an engine that
is very low on oil can lose pressure
during cornering and other driving
maneuvers.Start the engine and watch the oil
pressure indicator. If the light
does not go out within ten seconds,
turn of f the engine. There is a
mechanical problem that needs to
be repaired bef ore you can
continue driving. (See
on page .)
1.
2.
3. 4.
220 283 358
L ow Oil Pressure Indicator
T aking Care of t he Unexpect ed
Emergency
Towing
347
LOW OIL PRESSURE INDICATOR
Running the engine with low oil
pressure can cause serious mechanical
damage almost immediately. Turn of f
the engine as soon as you can saf ely get
the vehicle stopped.