ECO mode HONDA PILOT 2016 3.G Service Manual
[x] Cancel search | Manufacturer: HONDA, Model Year: 2016, Model line: PILOT, Model: HONDA PILOT 2016 3.GPages: 661, PDF Size: 37.79 MB
Page 110 of 661
109
uuIndicators uMulti-Information Display (MID) Warning and Information Messages
Continued
Instrument Panel
MessageConditionExplanation
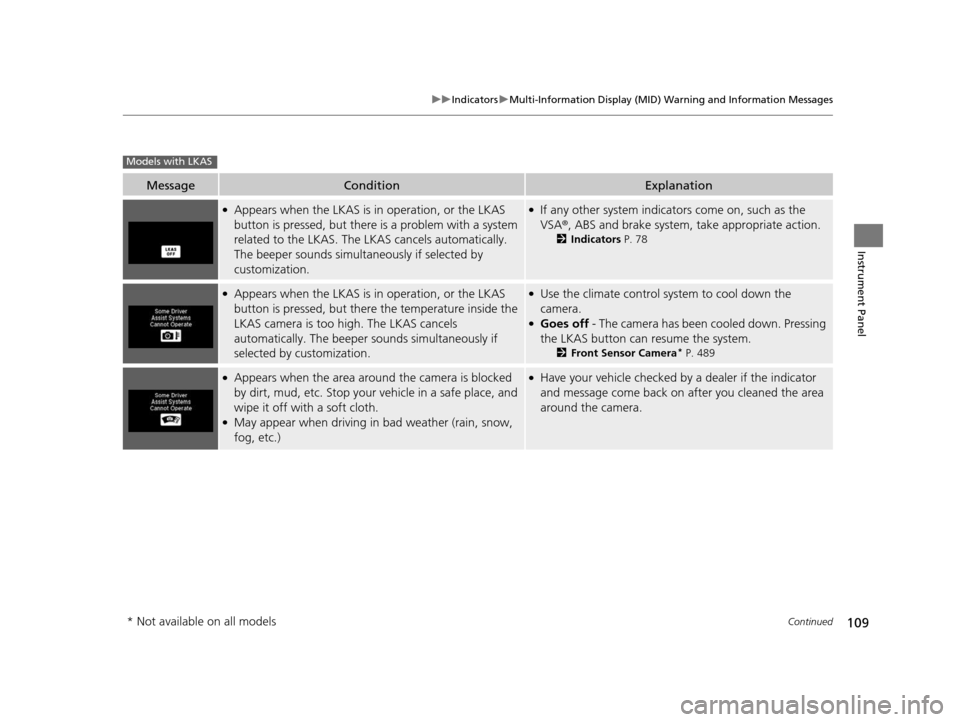
●Appears when the LKAS is in operation, or the LKAS
button is pressed, but there is a problem with a system
related to the LKAS. The LKAS cancels automatically.
The beeper sounds simultaneously if selected by
customization.●If any other system indicators come on, such as the
VSA ®, ABS and brake system, take appropriate action.
2Indicators P. 78
●Appears when the LKAS is in operation, or the LKAS
button is pressed, but there the temperature inside the
LKAS camera is too high. The LKAS cancels
automatically. The beeper sounds simultaneously if
selected by customization.●Use the climate control system to cool down the
camera.
●Goes off - The camera has been cooled down. Pressing
the LKAS button can resume the system.
2 Front Sensor Camera* P. 489
●Appears when the area around the camera is blocked
by dirt, mud, etc. Stop your vehicle in a safe place, and
wipe it off with a soft cloth.
●May appear when driving in bad weather (rain, snow,
fog, etc.)
●Have your vehicle checked by a dealer if the indicator
and message come back on after you cleaned the area
around the camera.
Models with LKAS
* Not available on all models
16 PILOT-31TG76000.book 109 ページ 2015年6月15日 月曜日 午前11時30分
Page 111 of 661
110
uuIndicators uMulti-Information Display (MID) Warning and Information Messages
Instrument Panel
MessageConditionExplanation
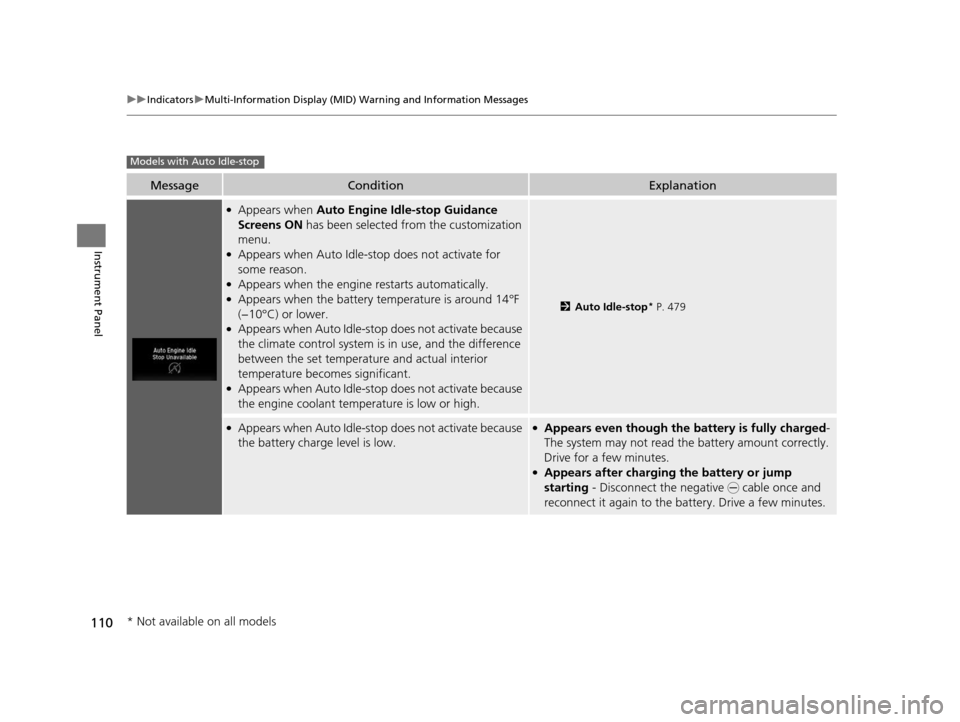
●Appears when Auto Engine Idle-stop Guidance
Screens ON has been selected from the customization
menu.
●Appears when Auto Idle-sto p does not activate for
some reason.
●Appears when the engine restarts automatically.●Appears when the battery te mperature is around 14°F
(−10°C) or lower.
●Appears when Auto Idle-stop does not activate because
the climate control system is in use, and the difference
between the set temperature and actual interior
temperature becomes significant.
●Appears when Auto Idle-stop does not activate because
the engine coolant temperature is low or high.
2 Auto Idle-stop* P. 479
●Appears when Auto Idle-stop does not activate because
the battery charge level is low.●Appears even though the battery is fully charged -
The system may not read the battery amount correctly.
Drive for a few minutes.
●Appears after charging the battery or jump
starting - Disconnect the negative - cable once and
reconnect it again to the battery. Drive a few minutes.
Models with Auto Idle-stop
* Not available on all models
16 PILOT-31TG76000.book 110 ページ 2015年6月15日 月曜日 午前11時30分
Page 112 of 661
111
uuIndicators uMulti-Information Display (MID) Warning and Information Messages
Continued
Instrument Panel
MessageConditionExplanation
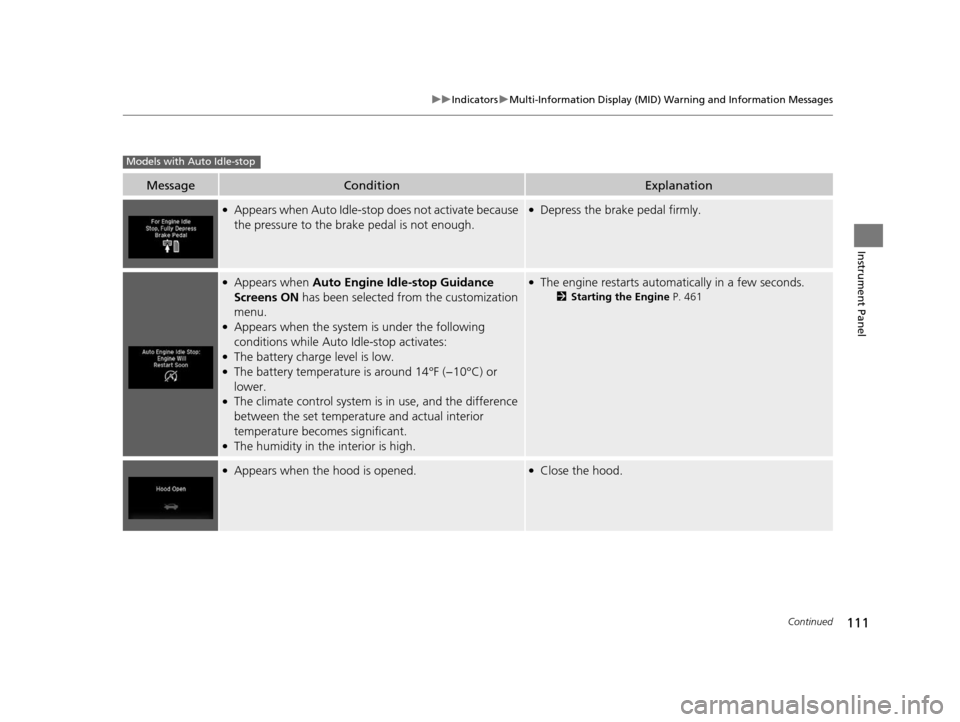
●Appears when Auto Idle-sto p does not activate because
the pressure to the brake pedal is not enough.●Depress the brake pedal firmly.
●Appears when Auto Engine Idle-stop Guidance
Screens ON has been selected from the customization
menu.
●Appears when the system is under the following
conditions while Auto Idle-stop activates:
●The battery charge level is low.●The battery temperature is around 14°F (−10°C) or
lower.
●The climate control system is in use, and the difference
between the set temperature and actual interior
temperature becomes significant.
●The humidity in the interior is high.
●The engine restarts automatically in a few seconds.
2Starting the Engine P. 461
●Appears when the hood is opened.●Close the hood.
Models with Auto Idle-stop
16 PILOT-31TG76000.book 111 ページ 2015年6月15日 月曜日 午前11時30分
Page 113 of 661
112
uuIndicators uMulti-Information Display (MID) Warning and Information Messages
Instrument Panel
MessageConditionExplanation
●Appears if there is a problem with the Auto high-beam
system.●Manually operate the headlight switch.●If you are driving with th e high-beam headlights when
this happens, the headlights are changed to low beams.
●Appears when the area around the camera on the
windshield is blocked by dirt, mud, etc.●Stop your vehicle in a safe pl ace, and wipe it off with a
soft cloth.
●If the message does not disappear after cleaning the
lens, have your vehicl e checked by a dealer.
Models with Auto high-beam system
16 PILOT-31TG76000.book 112 ページ 2015年6月15日 月曜日 午前11時30分
Page 115 of 661
114
uuGauges and Multi-Information Display (MID) uMID
Instrument Panel
MID
The MID shows the odometer, trip meter, ou tside temperature indicator, and other
gauges. It also displays important messages such as warnings and other helpful
information.
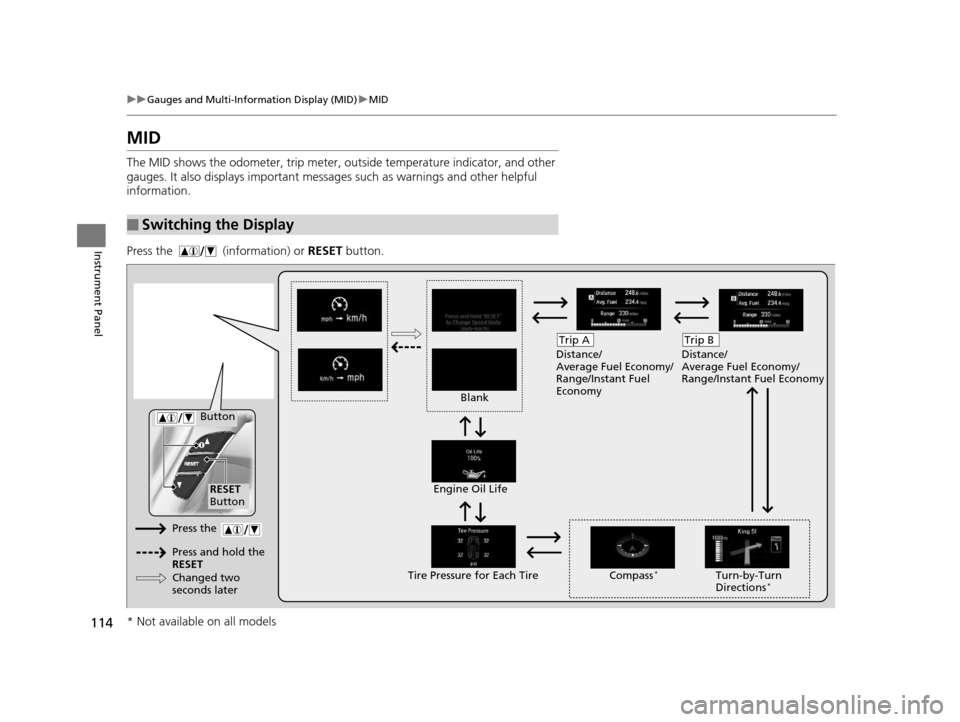
Press the (information) or RESET button.
■Switching the Display
Blank Distance/
Average Fuel Economy/
Range/Instant Fuel
Economy
Trip A
Tire Pressure for Each TireEngine Oil Life
Turn-by-Turn
Directions*
RESET
Button Compass
*
Button
Distance/
Average Fuel Economy/
Range/Instant Fuel Economy
Trip B
Press the
Press and hold the
RESET
Changed two
seconds later
* Not available on all models
16 PILOT-31TG76000.book 114 ページ 2015年6月15日 月曜日 午前11時30分
Page 117 of 661
uuGauges and Multi-Information Display (MID) uMID
116
Instrument Panel
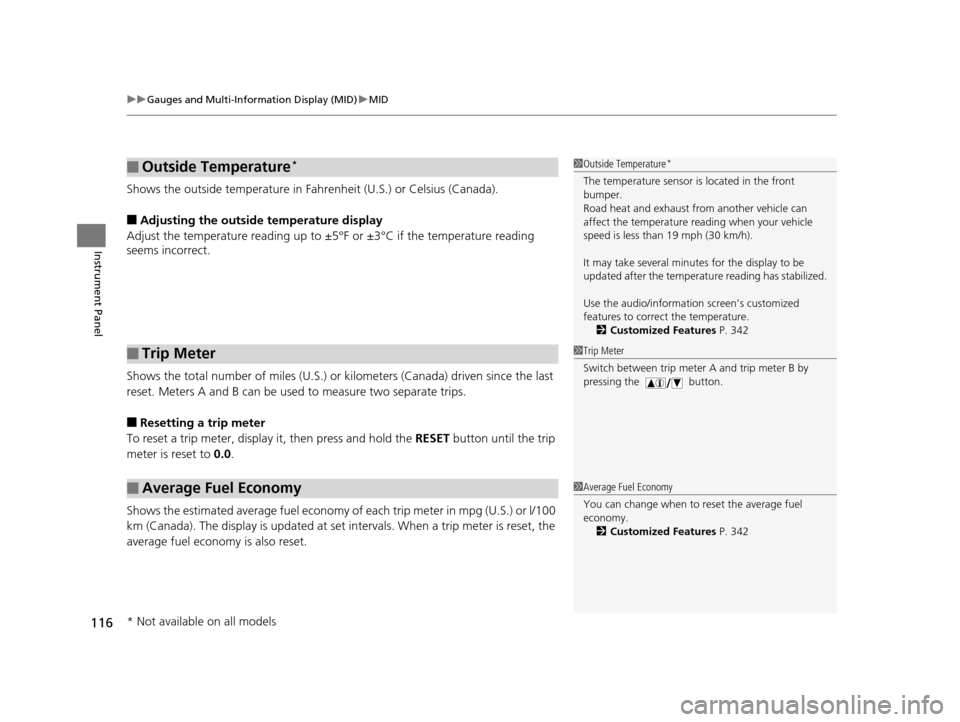
Shows the outside temperature in Fahr enheit (U.S.) or Celsius (Canada).
■Adjusting the outside temperature display
Adjust the temperature reading up to ±5°F or ±3°C if the temperature reading
seems incorrect.
Shows the total number of miles (U.S.) or kilometers (Canada) driven since the last
reset. Meters A and B can be used to measure two separate trips.
■Resetting a trip meter
To reset a trip meter, display it, then press and hold the RESET button until the trip
meter is reset to 0.0.
Shows the estimated average fuel economy of each trip meter in mpg (U.S.) or l/100
km (Canada). The display is updated at set intervals. When a trip meter is reset, the
average fuel economy is also reset.
■Outside Temperature*
■Trip Meter
■Average Fuel Economy
1 Outside Temperature*
The temperature sensor is located in the front
bumper.
Road heat and exhaust fr om another vehicle can
affect the temperature reading when your vehicle
speed is less than 19 mph (30 km/h).
It may take several minutes for the display to be
updated after the temperature reading has stabilized.
Use the audio/information screen’s customized
features to correct the temperature. 2 Customized Features P. 342
1Trip Meter
Switch between trip meter A and trip meter B by
pressing the button.
1Average Fuel Economy
You can change when to reset the average fuel
economy.
2 Customized Features P. 342
* Not available on all models
16 PILOT-31TG76000.book 116 ページ 2015年6月15日 月曜日 午前11時30分
Page 118 of 661
117
uuGauges and Multi-Info rmation Display (MID)uMID
Instrument Panel
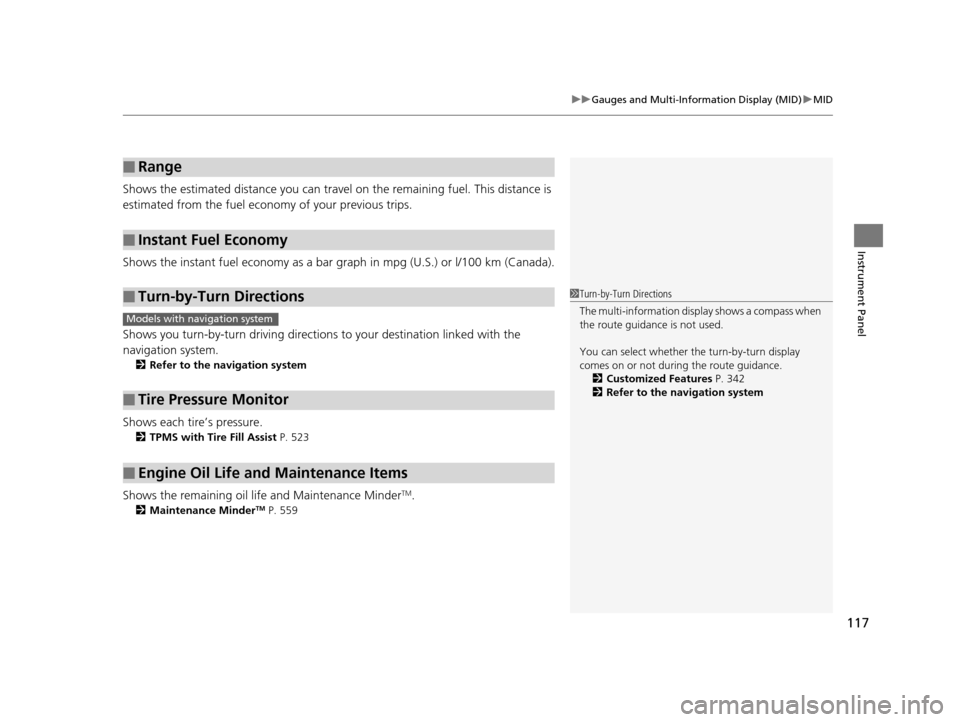
Shows the estimated distance you can travel on the remaining fuel. This distance is
estimated from the fuel economy of your previous trips.
Shows the instant fuel economy as a bar gr aph in mpg (U.S.) or l/100 km (Canada).
Shows you turn-by-turn driv ing directions to your destination linked with the
navigation system.
2 Refer to the navigation system
Shows each tire’s pressure.
2TPMS with Tire Fill Assist P. 523
Shows the remaining oil life and Maintenance MinderTM.
2Maintenance MinderTM P. 559
■Range
■Instant Fuel Economy
■Turn-by-Turn Directions
■Tire Pressure Monitor
■Engine Oil Life and Maintenance Items
1Turn-by-Turn Directions
The multi-information disp lay shows a compass when
the route guidance is not used.
You can select whether the turn-by-turn display
comes on or not during the route guidance.
2 Customized Features P. 342
2 Refer to the navigation system
Models with navigation system
16 PILOT-31TG76000.book 117 ページ 2015年6月15日 月曜日 午前11時30分
Page 121 of 661
120
Controls
Clock
Adjusting the Clock
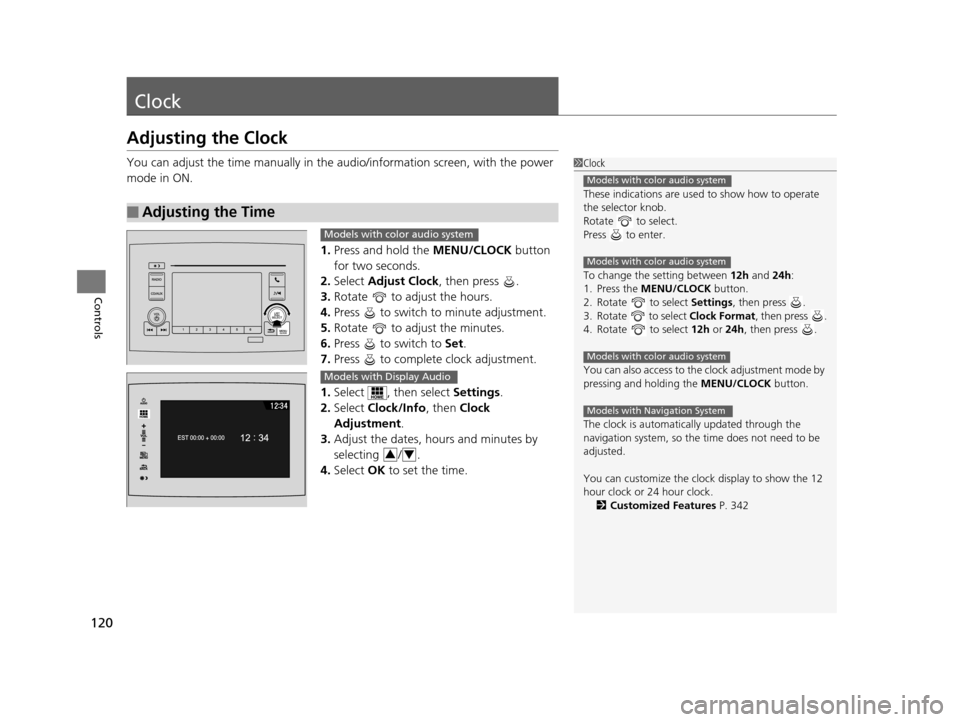
You can adjust the time manually in the audio/information screen, with the power
mode in ON.
1.Press and hold the MENU/CLOCK button
for two seconds.
2. Select Adjust Clock , then press .
3. Rotate to adjust the hours.
4. Press to switch to minute adjustment.
5. Rotate to adjust the minutes.
6. Press to switch to Set.
7. Press to complete clock adjustment.
1. Select , then select Settings.
2. Select Clock/Info , then Clock
Adjustment .
3. Adjust the dates, hours and minutes by
selecting / .
4. Select OK to set the time.
■Adjusting the Time
1Clock
These indications are used to show how to operate
the selector knob.
Rotate to select.
Press to enter.
To change the setting between 12h and 24h:
1. Press the MENU/CLOCK button.
2. Rotate to select Settings, then press .
3. Rotate to select Clock Format, then press .
4. Rotate to select 12h or 24h , then press .
You can also access to the clock adjustment mode by
pressing and holding the MENU/CLOCK button.
The clock is automatica lly updated through the
navigation system, so the ti me does not need to be
adjusted.
You can customize the clock display to show the 12
hour clock or 24 hour clock. 2 Customized Features P. 342
Models with color audio system
Models with color audio system
Models with color audio system
Models with Navigation System
Models with color audio system
Models with Display Audio
34
16 PILOT-31TG76000.book 120 ページ 2015年6月15日 月曜日 午前11時30分
Page 127 of 661
uuLocking and Unlocking the Doors uLocking/Unlocking the Doors from the Outside
126
Controls
To temporarily deactivate the function:
1. Set the power mode to OFF.
2. Open the driver's door.
3. Using the master door lock switch, operate
the lock as follows:
Lock Unlock Lock Unlock.
u The beeper sounds and the function is
deactivated.
To restore the function:
• Set the power mode to ON.
• Lock the vehicle without using the auto lock
function
• Walk away at least more than about 6 feet
(2 m) away from the vehicle while carrying
the smart entry remote.1Locking the doors and tailgate (Walk away auto lock)
The auto lock function does not operate when any of
the following conditions are met.
•The smart entry remote is inside the vehicle.
•A door or the hood is not closed.
•The power mode is set to any mode other than
OFF.
•The smart entry remote is not located within a
radius of about 6 feet (2 m) from the vehicle when
you get out of the vehicle and close the doors.
The auto lock function will make the warning in the
following cases.
The warning buzzer will sound to make sure the walk
away auto lock is not activated.
•The auto lock func tion is deactivated.
Auto lock function operation stop beeper
After the auto lock function has been activated, the
auto lock operation stop beeper sounds for
approximately two seconds in the following cases.
•The smart entry remote is put inside the vehicle
through a window.
•You are located too close to the vehicle.•The smart entry remote is put inside the tailgate.
If the warning beeper sounds, check that you are
carrying the smart entry remote. Then, open/close a
door and confirm the auto lock activation beeper
sounds once.
16 PILOT-31TG76000.book 126 ページ 2015年6月15日 月曜日 午前11時30分
Page 128 of 661
Continued127
uuLocking and Unlocking the Doors uLocking/Unlocking the Doors from the Outside
Controls
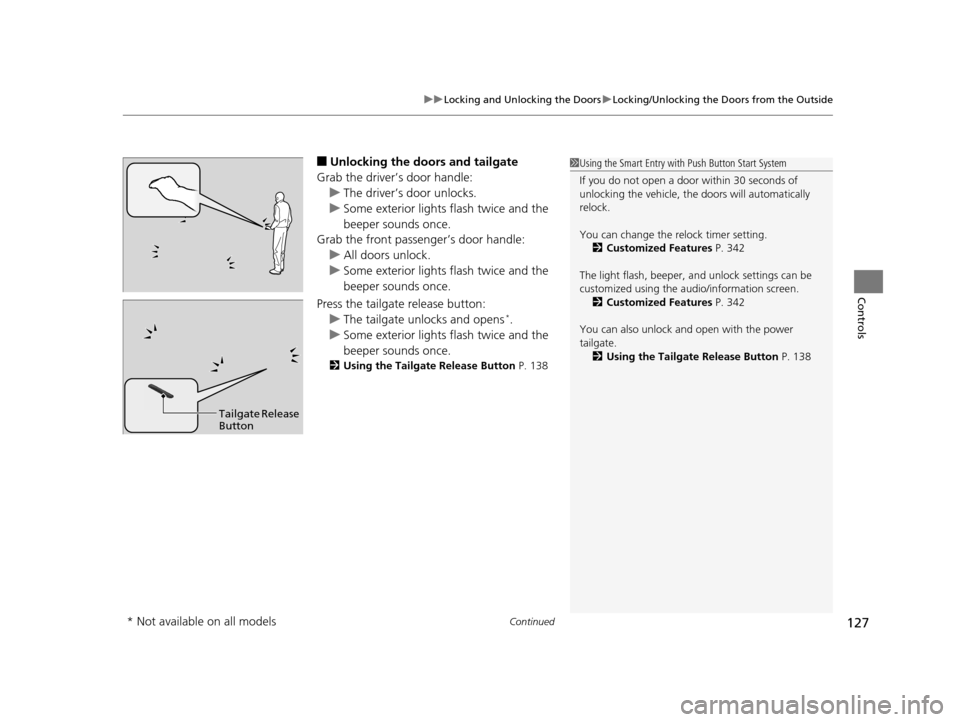
■Unlocking the doors and tailgate
Grab the driver’s door handle: u The driver’s door unlocks.
u Some exterior lights flash twice and the
beeper sounds once.
Grab the front passenger’s door handle:
u All doors unlock.
u Some exterior lights flash twice and the
beeper sounds once.
Press the tailgate release button: u The tailgate unlocks and opens
*.
u Some exterior lights flash twice and the
beeper sounds once.
2 Using the Tailgate Release Button P. 138
1Using the Smart Entry with Push Button Start System
If you do not open a door within 30 seconds of
unlocking the vehicle, th e doors will automatically
relock.
You can change the relock timer setting. 2 Customized Features P. 342
The light flash, beeper, a nd unlock settings can be
customized using the audio/information screen. 2 Customized Features P. 342
You can also unlock and open with the power
tailgate. 2 Using the Tailgate Release Button P. 138
Tailgate Release
Button
* Not available on all models
16 PILOT-31TG76000.book 127 ページ 2015年6月15日 月曜日 午前11時30分