bulb HONDA RIDGELINE 2007 1.G Owners Manual
[x] Cancel search | Manufacturer: HONDA, Model Year: 2007, Model line: RIDGELINE, Model: HONDA RIDGELINE 2007 1.GPages: 331, PDF Size: 5.45 MB
Page 68 of 331
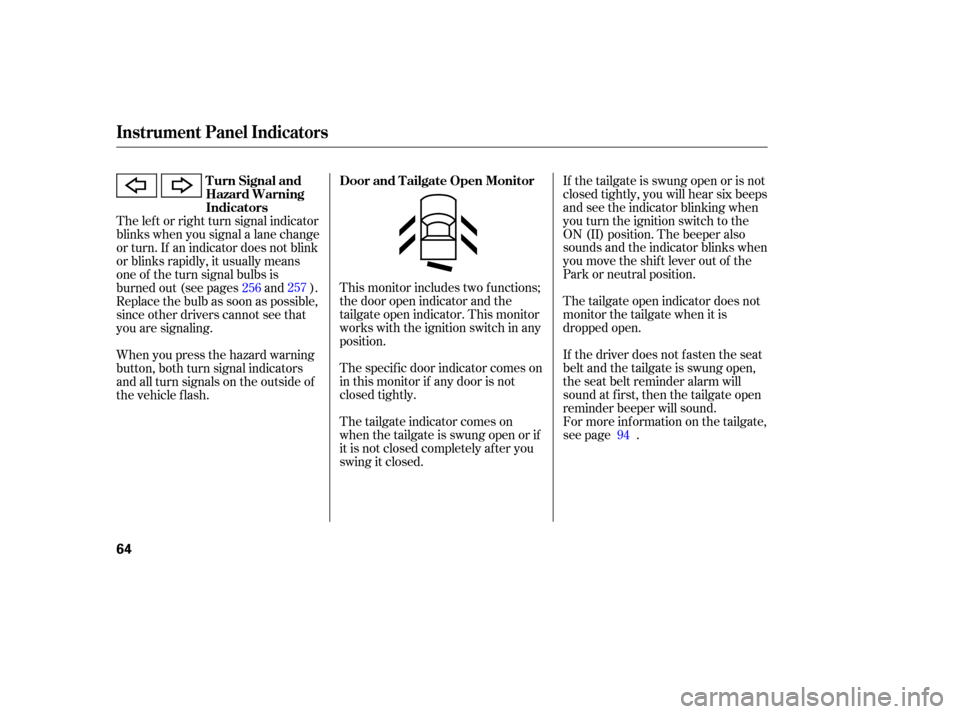
This monitor includes two functions;
the door open indicator and the
tailgate open indicator. This monitor
wo rks with the ignition switch in any
position.
The specific door indicator comes on
in this monitor if any door is not
closed tightly.
Thetailgateindicatorcomeson
whenthetailgateisswungopenorif
it is not closed completely after you
swing it closed. If
the tailgate is swung open or is not
closed tightly, you will hear six beeps
and see the indicator blinking when
you turn the ignition switch to the
ON (II) position. The beeper also
sounds and the indicator blinks when
you move the shift lever out of the
Park or neutral position.
The tailgate open indicator does not
monitor the tailgate when it is
dropped open.
If the driver does not fasten the seat
belt and the tailgate is swung open,
the seat belt reminder alarm will
sound at first, then the tailgate open
reminder beeper will sound.
For more information on the tailgate,
see page .
The
left or right turn signal indicator
blinks when you signal a lane change
or turn. If an indicator does not blink
or blinks rapidly, it usually means
one of the turn signal bulbs is
burned out (see pages and ).
Replace the bulb as soon as possible,
since other drivers cannot see that
you are signaling.
When you press the hazard warning
button, both turn signal indicators
and all turn signals on the outside of
the vehicle f lash.
94
256
257
Turn Signal and
Hazard Warning
Indicators
Door and T ailgate Open Monitor
Instrument Panel Indicators
64
Page 259 of 331
CONT INUED
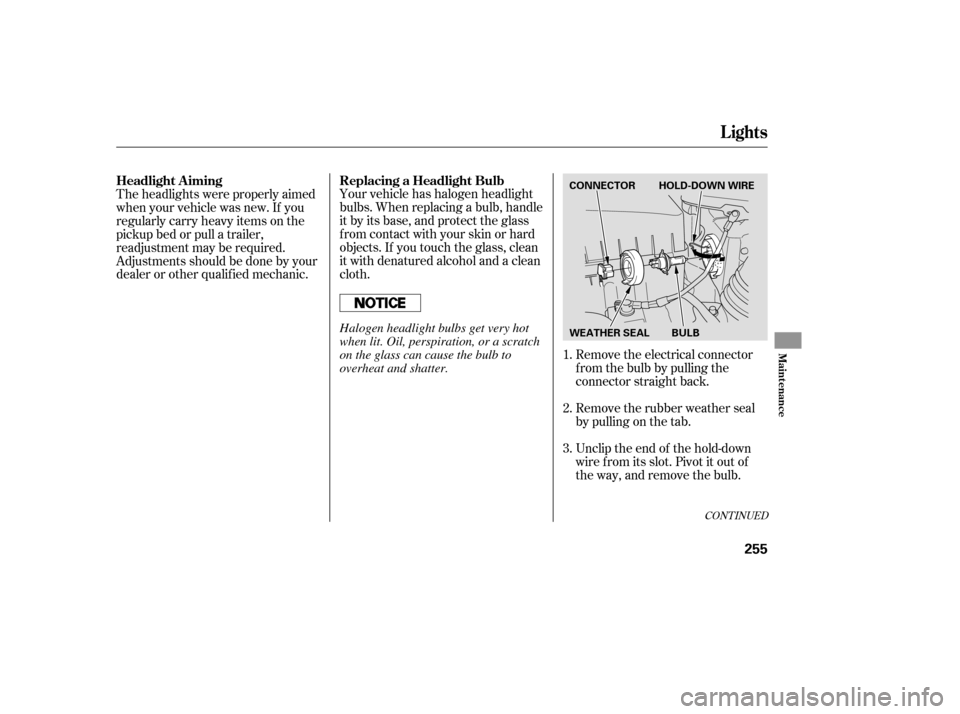
Your vehicle has halogen headlight
bulbs. When replacing a bulb, handle
it by its base, and protect the glass
f rom contact with your skin or hard
objects. If you touch the glass, clean
it with denatured alcohol and a clean
cloth.Remove the electrical connector
f rom the bulb by pulling the
connector straight back.
Remove the rubber weather seal
by pulling on the tab.
Unclip the end of the hold-down
wire f rom its slot. Pivot it out of
the way, and remove the bulb.
Theheadlightswereproperlyaimed
when your vehicle was new. If you
regularly carry heavy items on the
pickup bed or pull a trailer,
readjustment may be required.
Adjustmentsshouldbedonebyyour
dealer or other qualif ied mechanic.
1.
2.
3.
Headlight A iming Replacing a Headlight Bulb
Lights
Maint enance
255
WEATHER SEAL CONNECTOR HOLD-DOWN WIRE
BULBHalogen headlight bulbs get very hot
when lit. Oil, perspiration, or a scratch
on the glass can cause the bulb to
overheat and shatter.
Page 260 of 331
Install the new bulb into the hole,
making sure the tabs are in their
slots. Pivot the hold-down wire
back in place, and clip the end into
the slot.
Install the rubber weather seal
over the back of the headlight
assembly.Makesureitisright
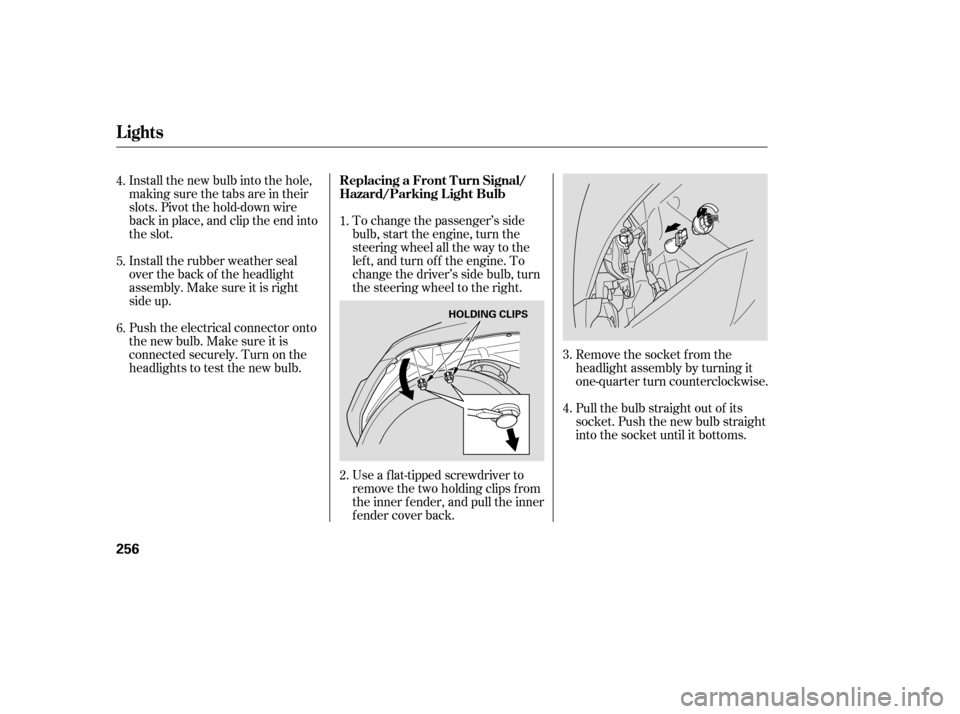
side up.To change the passenger’s side
bulb, start the engine, turn the
steering wheel all the way to the
lef t, and turn of f the engine. To
change the driver’s side bulb, turn
the steering wheel to the right.
Use a f lat-tipped screwdriver to
remove the two holding clips f rom
the inner f ender, and pull the inner
f ender cover back.Remove the socket from the
headlight assembly by turning it
one-quarter turn counterclockwise.
Pull the bulb straight out of its
socket. Push the new bulb straight
into the socket until it bottoms.
Push the electrical connector onto
the new bulb. Make sure it is
connected securely. Turn on the
headlights to test the new bulb.
4.
5.
6.
1.
2.3.
4.
Lights
Replacing a Front T urn Signal/
Hazard/Parking L ight Bulb
256
HOLDING CLIPS
Page 261 of 331
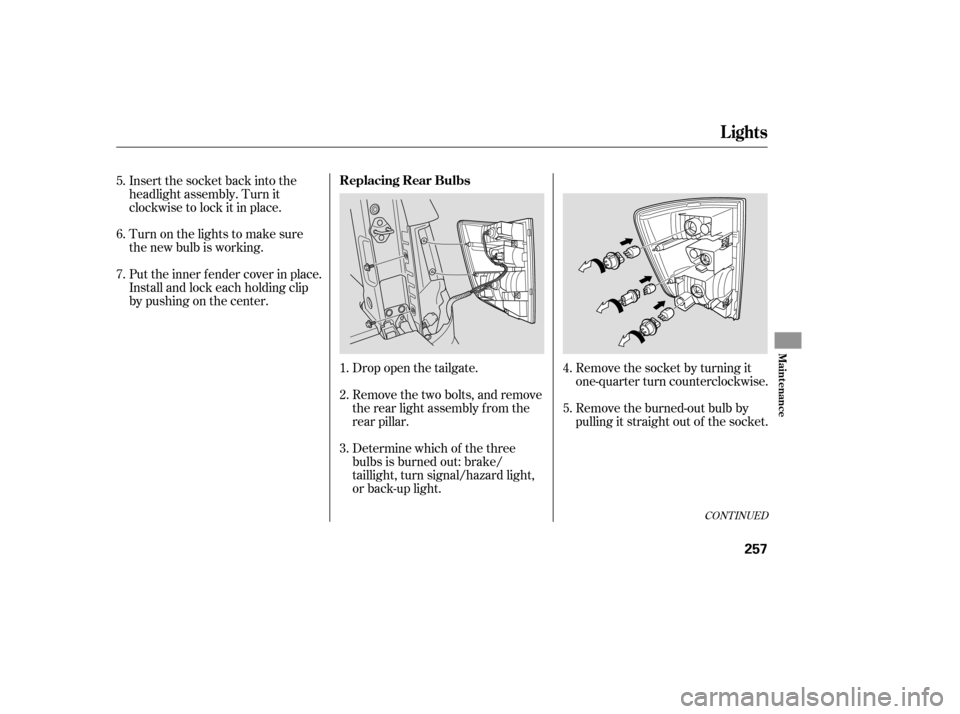
Remove the socket by turning it
one-quarter turn counterclockwise.
Remove the burned-out bulb by
pulling it straight out of the socket.
Drop open the tailgate.
Remove the two bolts, and remove
the rear light assembly f rom the
rear pillar.
Determine which of the three
bulbs is burned out: brake/
taillight, turn signal/hazard light,
or back-up light.
Insert the socket back into the
headlight assembly. Turn it
clockwise to lock it in place.
Turn on the lights to make sure
the new bulb is working.
Put the inner f ender cover in place.
Install and lock each holding clip
bypushingonthecenter.
1.
2.
3.
5.
4.
5.
6.
7.
CONT INUED
Lights
Replacing Rear Bulbs
Maint enance
257
Page 262 of 331
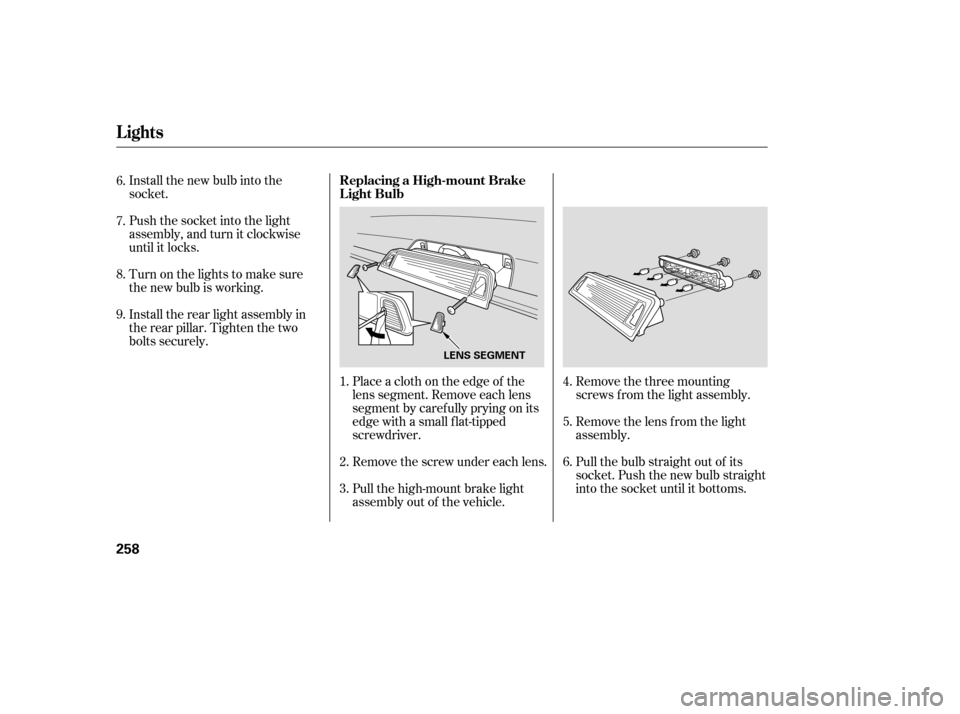
Install the new bulb into the
socket.
Push the socket into the light
assembly, and turn it clockwise
until it locks.
Turn on the lights to make sure
the new bulb is working.
Install the rear light assembly in
the rear pillar. Tighten the two
bolts securely.Place a cloth on the edge of the
lens segment. Remove each lens
segment by caref ully prying on its
edge with a small f lat-tipped
screwdriver.Remove the three mounting
screws f rom the light assembly.
Remove the screw under each lens.
Pull the high-mount brake light
assembly out of the vehicle. Remove the lens f rom the light
assembly.
Pull the bulb straight out of its
socket. Push the new bulb straight
into the socket until it bottoms.
1.
2.
3. 4.
5.
6.
7.
8.
9.
6.
Lights
Replacing a High-mount Brake
Light Bulb
258
LENS SEGMENT
Page 263 of 331
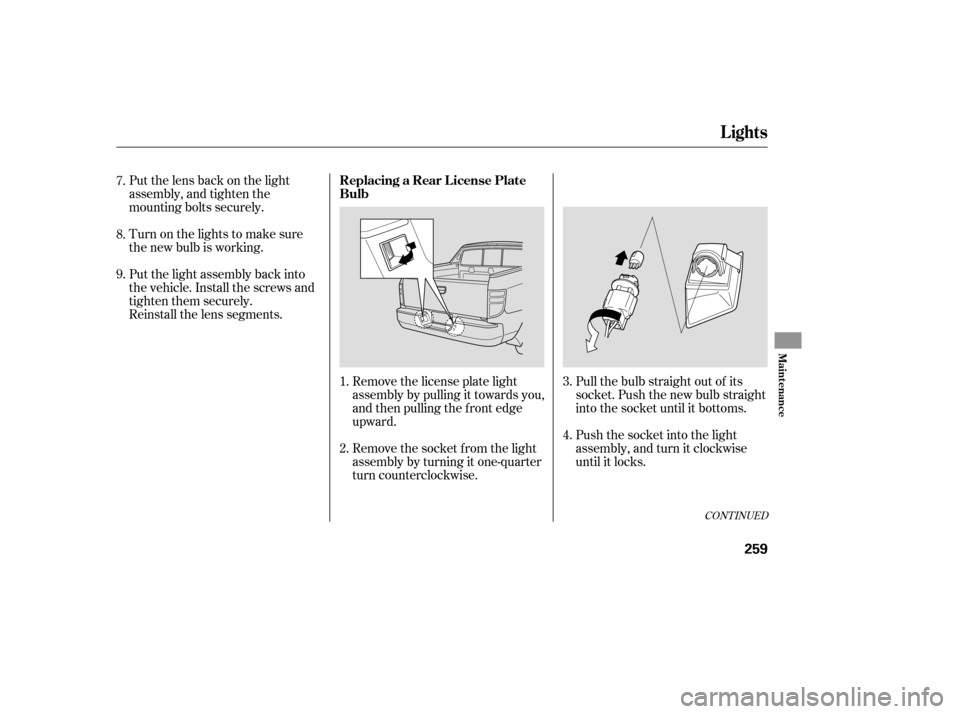
Put the lens back on the light
assembly, and tighten the
mounting bolts securely.
Turn on the lights to make sure
the new bulb is working.
Put the light assembly back into
the vehicle. Install the screws and
tighten them securely.
Reinstall the lens segments.Remove the license plate light
assembly by pulling it towards you,
and then pulling the f ront edge
upward.Pull the bulb straight out of its
socket. Push the new bulb straight
into the socket until it bottoms.
Push the socket into the light
assembly, and turn it clockwise
until it locks.
Remove the socket f rom the light
assembly by turning it one-quarter
turn counterclockwise.
1.
2.
3.
4.
7.
8.
9.
CONT INUED
Lights
Replacing a Rear License Plate
Bulb
Maint enance
259
Page 264 of 331
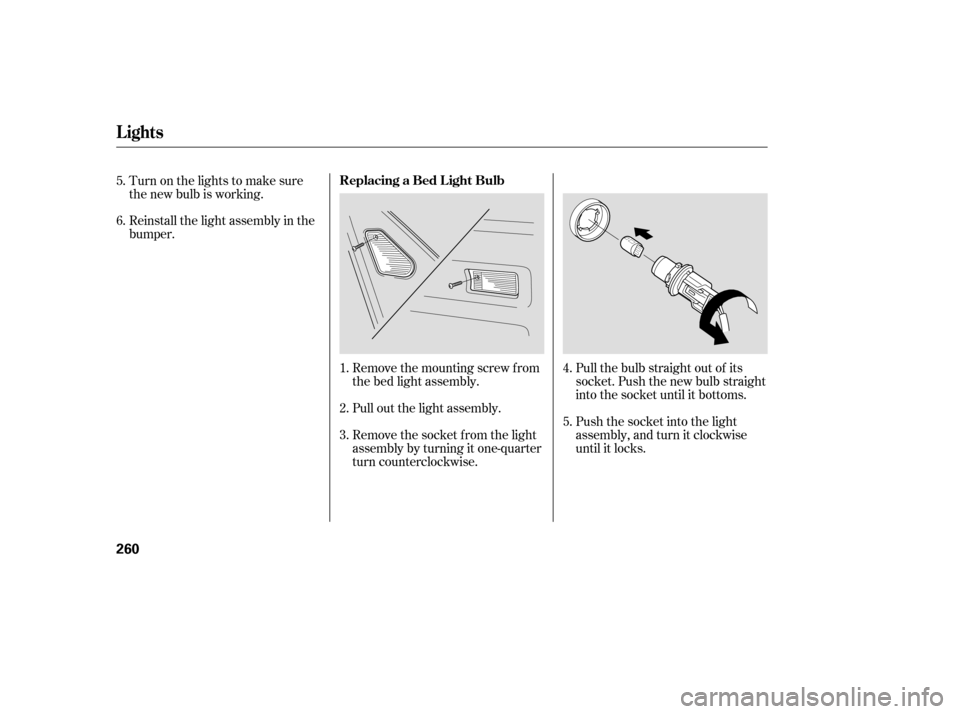
Pull the bulb straight out of its
socket. Push the new bulb straight
into the socket until it bottoms.
Push the socket into the light
assembly, and turn it clockwise
until it locks.
Remove the mounting screw f rom
the bed light assembly.
Pull out the light assembly.
Remove the socket f rom the light
assembly by turning it one-quarter
turn counterclockwise.
Turn on the lights to make sure
the new bulb is working.
Reinstall the light assembly in the
bumper.
1.
2.
3. 4.
5.
5.
6.
Lights
Replacing a Bed L ight Bulb
260
Page 265 of 331
Reinstall the light assembly.
Reinstall the mounting screw, and
tighten it securely. Turn on the lights to make sure
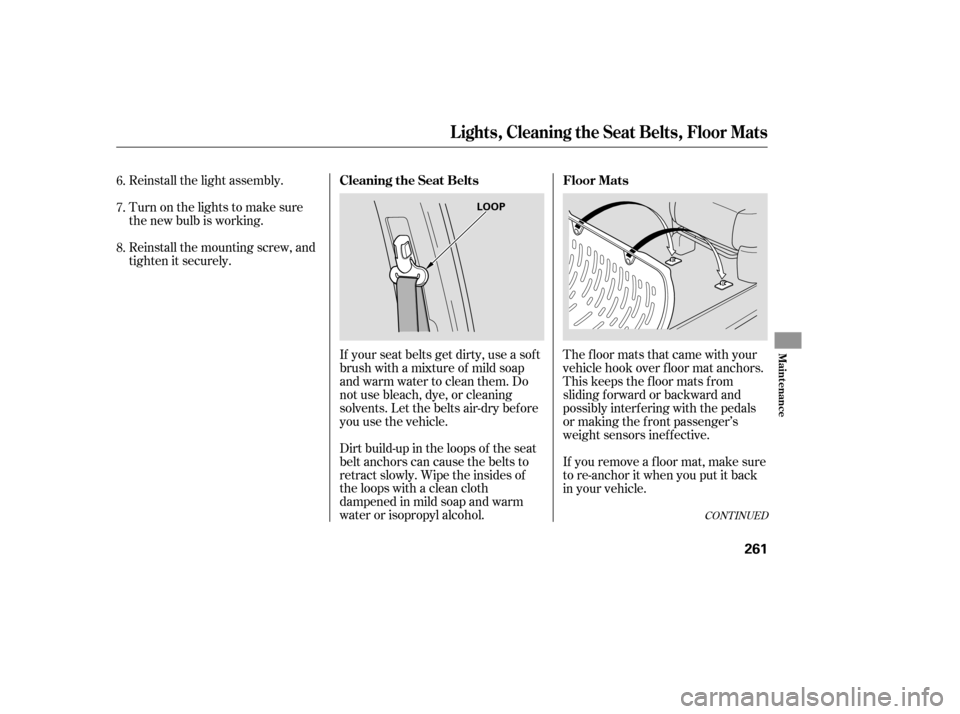
the new bulb is working.Dirt build-up in the loops of the seat
belt anchors can cause the belts to
retract slowly. Wipe the insides of
the loops with a clean cloth
dampened in mild soap and warm
water or isopropyl alcohol. If your seat belts get dirty, use a sof t
brush with a mixture of mild soap
and warm water to clean them. Do
not use bleach, dye, or cleaning
solvents. Let the belts air-dry bef ore
you use the vehicle. The floor mats that came with your
vehicle hook over f loor mat anchors.
This keeps the f loor mats f rom
sliding f orward or backward and
possibly interf ering with the pedals
or making the f ront passenger’s
weight sensors inef f ective.
If you remove a f loor mat, make sure
tore-anchoritwhenyouputitback
in your vehicle.
6.
7.
8.
CONT INUED
Cleaning the Seat Belts
Floor Mats
Lights, Cleaning the Seat Belts, Floor Mats
Maint enance
261
LOOP
Page 321 of 331
CONT INUED
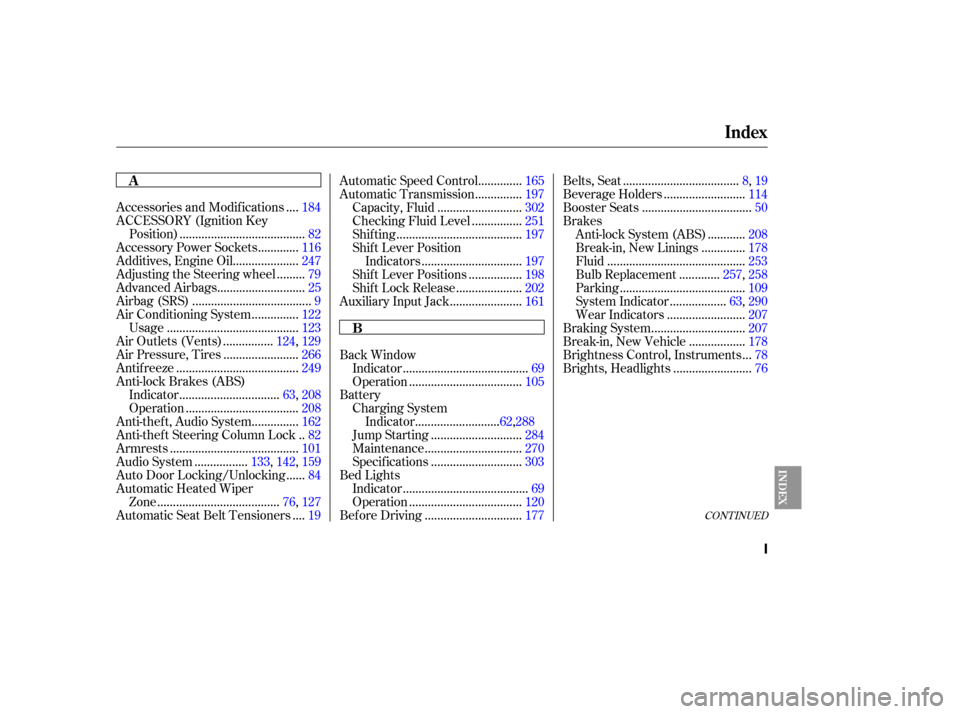
...
Accessories and Modif ications .184
ACCESSORY (Ignition Key
.......................................
Position) .82
............
Accessory Power Sockets .116
....................
Additives, Engine Oil .247
........
Adjusting the Steering wheel .79
...........................
Advanced Airbags .25
.....................................
Airbag (SRS) .9
..............
Air Conditioning System .122
.........................................
Usage .123
...............
Air Outlets (Vents) . 124, 129
.......................
Air Pressure, Tires .266
......................................
Antif reeze .249
Anti-lock Brakes (ABS)
...............................
Indicator . 63, 208
...................................
Operation .208
..............
Anti-thef t, Audio System .162
.
Anti-thef t Steering Column Lock .82
........................................
Armrests .101
................
Audio System . 133, 142, 159
.....
Auto Door Locking/Unlocking .84
Automatic Heated Wiper
......................................
Zone . 76, 127
...
Automatic Seat Belt Tensioners .19 .............
Automatic Speed Control . 165
..............
Automatic Transmission . 197
..........................
Capacity, Fluid .302
...............
Checking Fluid Level . 251
.......................................
Shif ting .197
Shif t Lever Position ...............................
Indicators .197
................
Shif t Lever Positions . 198
....................
Shif t Lock Release . 202
......................
Auxiliary Input Jack .161
Back Window .......................................
Indicator .69
...................................
Operation .105
Battery Charging System ...........................
Indicator . 62, 288
............................
Jump Starting .284
..............................
Maintenance .270
............................
Specifications . 303
Bed Lights .......................................
Indicator .69
...................................
Operation .120
..............................
Bef ore Driving .177 ....................................
Belts,Seat .8,19
.........................
Beverage Holders .114
..................................
Booster Seats .50
Brakes ...........
Anti-lock System (ABS) . 208
.............
Break-in, New Linings . 178
...........................................
Fluid .253
............
Bulb Replacement . 257, 258
.......................................
Parking .109
.................
System Indicator . 63, 290
........................
Wear Indicators .207
.............................
Braking System .207
.................
Break-in, New Vehicle . 178
..
Brightness Control, Instruments . 78
........................
Brights, Headlights .76
Index
A
B
INDEX
I
Page 322 of 331
...............
DANGER, Explanation of .iii
...................................
Dashboard . 3, 58
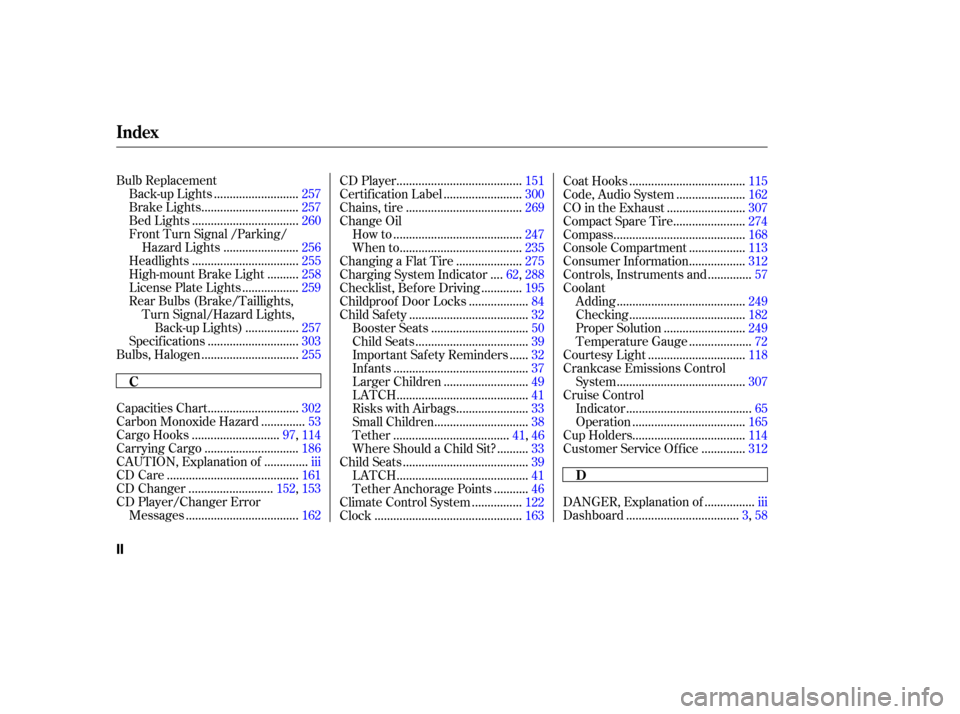
Bulb Replacement
..........................
Back-up Lights .257
..............................
Brake Lights .257
.................................
Bed Lights .260
Front Turn Signal /Parking/
.......................
Hazard Lights .256
.................................
Headlights .255
.........
High-mount Brake Light .258
.................
License Plate Lights .259
Rear Bulbs (Brake/Taillights,
Turn Signal/Hazard Lights, ................
Back-up Lights) .257
............................
Specif ications .303
..............................
Bulbs, Halogen .255
............................
Capacities Chart .302
.............
Carbon Monoxide Hazard .53
...........................
Cargo Hooks . 97, 114
.............................
Carrying Cargo .186
.............
CAUTION, Explanation of .iii
.........................................
CD Care .161
..........................
CD Changer . 152, 153
CD Player/Changer Error ...................................
Messages .162 .......................................
CD Player .151
........................
Certif ication Label .300
....................................
Chains, tire .269
Change Oil
........................................
How to .247
......................................
When to .235
....................
Changing a Flat Tire .275
...
Charging System Indicator . 62, 288
............
Checklist, Bef ore Driving .195
..................
Childproof Door Locks .84
.....................................
Child Saf ety .32
..............................
Booster Seats .50
...................................
Child Seats .39
.....
Important Saf ety Reminders .32
..........................................
Inf ants .37
..........................
Larger Children .49
.........................................
LATCH .41
......................
Risks with Airbags .33
.............................
Small Children .38
....................................
Tether . 41, 46
.........
Where Should a Child Sit? .33
.......................................
Child Seats .39
.........................................
LATCH .41
..........
Tether Anchorage Points .46
...............
Climate Control System .122
..............................................
Clock .163 ....................................
Coat Hooks .115
.....................
Code, Audio System .162
........................
CO in the Exhaust .307
......................
Compact Spare Tire .274
.........................................
Compass .168
.................
Console Compartment . 113
.................
Consumer Inf ormation . 312
.............
Controls, Instruments and . 57
Coolant ........................................
Adding .249
....................................
Checking .182
.........................
Proper Solution .249
...................
Temperature Gauge . 72
..............................
Courtesy Light .118
Crankcase Emissions Control ........................................
System .307
Cruise Control .......................................
Indicator .65
...................................
Operation .165
...................................
Cup Holders .114
.............
Customer Service Of f ice . 312
Index
C
D
II