light HUMMER H2 2004 Repair Manual
[x] Cancel search | Manufacturer: HUMMER, Model Year: 2004, Model line: H2, Model: HUMMER H2 2004Pages: 472, PDF Size: 5.01 MB
Page 193 of 472

TIGHTEN FUEL CAP
If the vehicle’s fuel cap is not tightened properly this
message may appear along with the check engine light
on the instrument panel. SeeMalfunction Indicator
Lamp on page 3-38. Reinstall the fuel cap, making sure
to fully install the cap. SeeFilling Your Tank on
page 5-7. The diagnostic system can determine if the
fuel cap has been left off or improperly installed. A loose
or missing fuel cap will allow fuel to evaporate into
the atmosphere. A few driving trips with the cap properly
installed should turn the light and message off.
CHECK WASHER FLUID
If the washer �uid level is low, this message will appear
on the DIC. Adding washer �uid will clear the message.
Pressing the select button will clear it from the DIC
display. This message will clear itself after 10 seconds
until the next ignition cycle.
TRACTION ACTIVE
When the traction control system has detected that any
of the vehicle’s wheels are slipping, the traction
control system will activate and this message will appear
on the DIC. SeeTraction Control System (TCS) on
page 4-9for more information.
TRANSMISSION HOT
If the transmission �uid temperature becomes high, the
message center will display this message.
When the transmission enters the protection mode, you
may notice a change in the transmission shifting
patterns. When the transmission �uid temperature
returns to normal, the display will turn off and the
transmission shifting patterns will return to normal.
Notice:If you drive your vehicle while the
transmission �uid is overheating and the
transmission temperature warning is displayed on
the instrument panel cluster and/or DIC, you
can damage the transmission. This could lead to
costly repairs that would not be covered by
your warranty. Do not drive your vehicle with
overheated transmission �uid or while transmission
temperature warning is displayed.
3-59
Page 215 of 472

LOAD CDZ:Press the LOAD side of this button to
load CDs into the CD player. This CD player will
hold up to six CDs.
To insert one CD, do the following:
1. Turn the ignition on.
2. Press and release the LOAD side of the LOAD CD
button.
3. Wait for the light, located to the right of the slot, to
turn green.
4. Load a CD. Insert the CD partway into the slot,
label side up. The player will pull the CD in.
When a CD is inserted, the CD symbol will appear on
the display. If you select an equalization setting for your
CD, it will be activated each time you play a CD.
The CD will begin to play automatically.
As each new track starts to play, the track number will
appear on the display.
To insert multiple CDs, do the following:
1. Turn the ignition on.
2. Press and hold the LOAD side of the LOAD CD
button for two seconds.
You will hear a beep and the light, located to the
right of the slot, will begin to �ash and LOAD
ALL will appear on the display.3. Once the light stops �ashing and turns green, load
a CD. Insert the CD partway into the slot, label side
up. The player will pull the CD in.
Once the CD is loaded, the light will begin �ashing
again. Once the light stops �ashing and turns green
you can load another CD. The CD player takes up to
six CDs. Do not try to load more than six.
To load more than one CD but less than six, complete
Steps 1 through 3. When you have �nished loading
CDs, with the radio on or off, press the LOAD side of the
LOAD CD button to cancel the loading function. The
radio will begin to play the last CD loaded.
When a CD is inserted, the CD symbol will appear on
the display. If more than one CD has been loaded,
a number for each CD will be displayed. If you select an
equalization setting for your CD, it will be activated
each time you play a CD.
The last CD loaded will begin to play automatically.
As each new track starts to play, the track number will
appear on the display.
3-81
Page 216 of 472

Playing a Speci�c Loaded CD
For every CD loaded, a number will appear on the
display. To play a speci�c CD, �rst press the CD AUX
button, then press the numbered pushbutton that
corresponds to the CD you want to play. A small bar will
appear under the CD number that is playing, and the
track number will appear on the display.
If an error appears on the radio display, see “CD
Messages” later in this section.
LOAD CD
Z(Eject):Press the CD eject side of this
button to eject a single CD or multiple CDs. To eject the
CD that is currently playing, press and release this
button. To eject multiple CDs, press and hold this button
for two seconds. You will hear a beep and the light will
�ash to let you know when a CD is being ejected.
REMOVE CD will appear on the display. You can now
remove the CD. If the CD is not removed, after
25 seconds, the CD will be automatically pulled back into
the receiver. If you try to push the CD back into the
receiver, before the 25 second time period is complete,
the receiver will sense an error and will try to eject the CD
several times before stopping.Do not repeatedly press the CD eject button to eject a CD
after you have tried to push it in manually. The receivers
25-second eject timer will reset at each press of eject,
which will cause the receiver to not eject the CD until the
25-second time period has elapsed.
Once the player stops and the CD is ejected, remove the
CD. After removing the CD, press the PWR knob off and
then on again. This will clear the CD-sensing feature and
enable CDs to be loaded into the player again.{REV (Reverse):Press and hold this button to
reverse quickly within a track. You will hear sound at a
reduced volume. Release the button to play the
passage. The elapsed time of the track will appear on
the display.
FWD
|(Forward):Press and hold this button to
advance quickly within a track. You will hear sound at a
reduced volume. Release the button to play the
passage. The elapsed time of the track will appear on
the display.
3-82
Page 222 of 472

u(Volume):Turn the knob to increase or to decrease
volume. The left knob controls the left headphone and
the right knob controls the right headphone.
SRC (Source):Press this button to select an audio
source: radio, cassette tape, or CD, depending on your
vehicles options.
xSEEKw:While listening to FM1, FM2, or AM,
press the up or the down arrow to tune to the next or to
the previous station and stay there. If the front radio
is in use, you cannot seek through different stations.
While listening to a cassette tape, press the up or the
down arrow to hear the next or the previous selection. If
the cassette tape on the front radio is in use, you cannot
seek through different selections on a tape.
While listening to a CD, press the up arrow to hear the
next track on the CD. Press the down arrow to go back to
the start of the current track if more than eight seconds
have played. If the CD player on the front radio is in use,
you cannot seek through different tracks.PROG (Program):The front passengers must be
listening to something different for each of these
functions to work:
Press this button to go to the preset radio stations
set on the pushbuttons on the main radio.
When a cassette tape is playing, press this button
to go to the other side of the tape.
When a CD is playing in the radio, press this button
to go back to the beginning of the CD.
When a CD is playing in the CD changer, press this
button to select the next CD.
Theft-Deterrent Feature
THEFTLOCK®is designed to discourage theft of your
radio. The feature works automatically by learning a
portion of the Vehicle Identi�cation Number (VIN). If the
radio is moved to a different vehicle, it will not operate
and LOCKED will appear on the display.
When the radio and vehicle are turned off, the blinking
red light indicates that THEFTLOCK
®is armed.
With THEFTLOCK
®activated, your radio will not operate
if stolen.
3-88
Page 224 of 472

Radio Reception
AM
The range for most AM stations is greater than for FM,
especially at night. The longer range, however, can
cause stations to interfere with each other. AM can pick
up noise from things like storms and power lines. Try
reducing the treble to reduce this noise.
FM
FM stereo will give you the best sound, but FM signals
will reach only about 10 to 40 miles (16 to 65 km).
Tall buildings or hills can interfere with FM signals,
causing the sound to come and go.
Care of Your Cassette Tape Player
A tape player that is not cleaned regularly can cause
reduced sound quality, ruined cassettes, or a damaged
mechanism. Cassette tapes should be stored in their
cases away from contaminants, direct sunlight, and
extreme heat. If they are not, they may not operate
properly or may cause failure of the tape player.
Your tape player should be cleaned regularly after every
50 hours of use. Your radio may display CLEAN to
indicate that you have used your tape player for
50 hours without resetting the tape clean timer. If this
message appears on the display, your cassette
tape player needs to be cleaned. It will still play tapes,
but you should clean it as soon as possible to
prevent damage to your tapes and player. If you notice
a reduction in sound quality, try a known good
cassette to see if the tape or the tape player is at fault.
If this other cassette has no improvement in sound
quality, clean the tape player.
For best results, use a scrubbing action, non-abrasive
cleaning cassette with pads which scrub the tape
head as the hubs of the cleaner cassette turn. The
recommended cleaning cassette is available through
your dealer.
3-90
Page 226 of 472

Care of Your CDs and DVDs
Handle discs carefully. Store them in their original cases
or other protective cases and away from direct sunlight
and dust. If the surface of a disc is soiled, dampen
a clean, soft cloth in a mild, neutral detergent solution
and clean it, wiping from the center to the edge.
Be sure never to touch the side without writing when
handling discs. Pick up discs by grasping the outer
edges or the edge of the hole and the outer edge.
Care of Your CD and DVD Player
The use of CD lens cleaners for CDs is not advised, due
to the risk of contaminating the lens of the CD optics
with lubricants internal to the CD mechanism.
Cleaning the Video Screen
Pour some isopropyl or rubbing alcohol on a clean cloth
and gently wipe the video screen. Do not spray
directly onto the screen and do not press too hard or
too long on the video screen.
Fixed Mast Antenna
The �xed mast antenna can withstand most car washes
without being damaged. If the mast should ever
become slightly bent, you can straighten it out by hand.
If the mast is badly bent, you should replace it.
Check occasionally to be sure the mast is still tightened.
Chime Level Adjustment
The volume level of the vehicle’s chimes can be
controlled by the radio. To change the volume level,
press and hold pushbutton 6 with the ignition on and the
radio power off. The chime volume level will change
from the normal level to loud, and LOUD will appear on
the display. To change back to the default or normal
setting, press and hold pushbutton 6 again. The chime
level will change from the loud level to normal, and
NORMAL will appear on the display.
3-92
Page 233 of 472

Avoid needless heavy braking. Some people drive
in spurts — heavy acceleration followed by heavy
braking — rather than keeping pace with traffic. This is
a mistake. Your brakes may not have time to cool
between hard stops. Your brakes will wear out much
faster if you do a lot of heavy braking. If you keep pace
with the traffic and allow realistic following distances,
you will eliminate a lot of unnecessary braking.
That means better braking and longer brake life.
If your engine ever stops while you are driving, brake
normally but do not pump your brakes. If you do,
the pedal may get harder to push down. If your engine
stops, you will still have some power brake assist.
But you will use it when you brake. Once the power
assist is used up, it may take longer to stop and
the brake pedal will be harder to push.Anti-lock Brake System (ABS)
Your vehicle has anti-lock brakes. ABS is an advanced
electronic braking system that will help prevent a
braking skid.
When you start your engine and begin to drive away,
your anti-lock brake system will check itself. You
may hear a momentary motor or clicking noise while
this test is going on. This is normal.
If there is a problem with
the anti-lock brake system,
this warning light will
stay on. SeeAnti-Lock
Brake System Warning
Light on page 3-34.
4-7
Page 236 of 472

Another feature of this system is the Traction Control 2
(TC2) mode. TC2 should be selected for improved
traction and system performance when the vehicle is on
loose surfaces such as deep sand or mud.
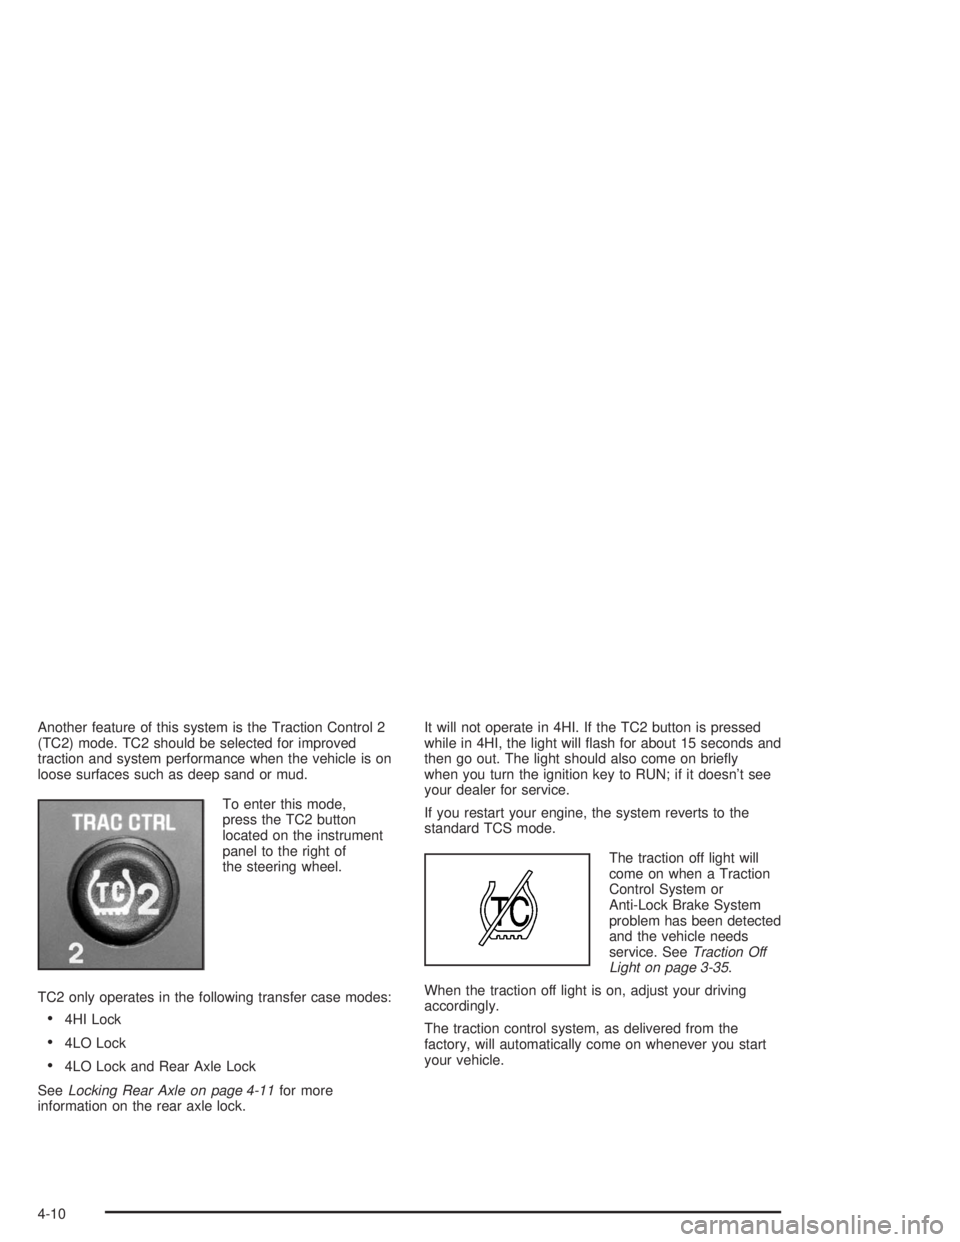
To enter this mode,
press the TC2 button
located on the instrument
panel to the right of
the steering wheel.
TC2 only operates in the following transfer case modes:
4HI Lock
4LO Lock
4LO Lock and Rear Axle Lock
SeeLocking Rear Axle on page 4-11for more
information on the rear axle lock.It will not operate in 4HI. If the TC2 button is pressed
while in 4HI, the light will �ash for about 15 seconds and
then go out. The light should also come on brie�y
when you turn the ignition key to RUN; if it doesn’t see
your dealer for service.
If you restart your engine, the system reverts to the
standard TCS mode.
The traction off light will
come on when a Traction
Control System or
Anti-Lock Brake System
problem has been detected
and the vehicle needs
service. SeeTraction Off
Light on page 3-35.
When the traction off light is on, adjust your driving
accordingly.
The traction control system, as delivered from the
factory, will automatically come on whenever you start
your vehicle.
4-10
Page 237 of 472

Locking Rear Axle
The locking rear axle can give your vehicle additional
traction from the rear wheels when traveling in off-road
situations such as mud, snow, sand, steep hills and
uneven terrain.
The button used to turn
this feature on or off is
located above the transfer
case buttons to the
right of the steering wheel.
To lock the rear axle, do the following:
1. Place the transfer case in the 4LO Lock mode. This
is the only mode which will allow the rear axle to
lock. SeeAll-Wheel Drive on page 2-25for
more information regarding the transfer case and
4LO Lock mode.
2. Press the button with the vehicle stopped or moving
less than 2 mph (3 km/h).You must wait for the light in the button to stop �ashing
and remain illuminated before the rear axle is locked.
Notice:If you try to lock the rear axle while
your vehicle is stuck and the tires are spinning, you
could damage your vehicle’s drivetrain. The
repairs would not be covered by your warranty.
Always lock the rear axle before attempting
situations and/or navigating terrain which could
possibly cause the vehicle to become stuck.
The locking rear axle will be disengaged when the
vehicle’s speed is greater than 20 mph (32 km/h), if the
vehicle’s battery is low and/or the transfer case is
shifted out of 4LO Lock mode.
Notice:If you lock the rear axle while driving on
pavement, you could damage your vehicle’s
drivetrain. The repairs would not be covered by
your warranty. Do not use the locking rear axle on
pavement. If you need four-wheel drive when
traveling on pavement, use only 4HI.
4-11
Page 240 of 472

Off-Road Recovery
You may �nd that your right wheels have dropped off
the edge of a road onto the shoulder while you are
driving.
If the level of the shoulder is only slightly below the
pavement, recovery should be fairly easy. Ease off the
accelerator and then, if there is nothing in the way,
steer so that your vehicle straddles the edge of
the pavement. You can turn the steering wheel up to
one-quarter turn until the right front tire contacts
the pavement edge. Then turn your steering wheel to go
straight down the roadway.
Passing
The driver of a vehicle about to pass another on a
two-lane highway waits for just the right moment,
accelerates, moves around the vehicle ahead, then
goes back into the right lane again. A simple maneuver?
Not necessarily! Passing another vehicle on a two-lane
highway is a potentially dangerous move, since the
passing vehicle occupies the same lane as oncoming
traffic for several seconds. A miscalculation, an error in
judgment, or a brief surrender to frustration or anger
can suddenly put the passing driver face to face with the
worst of all traffic accidents — the head-on collision.
So here are some tips for passing:
“Drive ahead.” Look down the road, to the sides
and to crossroads for situations that might affect
your passing patterns. If you have any doubt
whatsoever about making a successful pass, wait
for a better time.
Watch for traffic signs, pavement markings and
lines. If you can see a sign up ahead that might
indicate a turn or an intersection, delay your pass.
A broken center line usually indicates it is all
right to pass (providing the road ahead is clear).
Never cross a solid line on your side of the lane or
a double solid line, even if the road seems empty
of approaching traffic.
4-14