ECO mode HUMMER H2 2005 Owners Manual
[x] Cancel search | Manufacturer: HUMMER, Model Year: 2005, Model line: H2, Model: HUMMER H2 2005Pages: 468, PDF Size: 3.21 MB
Page 86 of 468
Programmable Automatic Door
Locks
Your vehicle is equipped with an automatic lock/unlock
feature which enables you to program your vehicle’s
power door locks. You can program this feature through
the Driver Information Center (DIC), or by the following
method. SeeDIC Vehicle Personalization on page 3-54
for more information on DIC programming.
Programmable Locking Feature
The following two modes are available programming
options:
Mode 1:All doors lock when the transmission is shifted
out of PARK (P).
Mode 2:All doors lock when the vehicle speed is
greater than 8 mph (13 km/h).
The following instructions tell you how to change
the automatic door lock mode. Choose one of the
two programming options listed above before entering
the program mode. To enter the program mode, do
the following:
1. Begin with the ignition off. Then pull the turn
signal/multifunction lever toward you and hold
it there while you perform the next step.2. Turn the key to RUN then back to LOCK twice.
Then, with the key in LOCK, release the turn
signal/multifunction lever. Once you do this, the
doors will lock and unlock, the horn will chirp twice,
and a 30-second timer will begin. You are now
ready to program the automatic door lock feature.
3. Press the lock side of the power lock switch once.
You will hear either one or two chimes. The number
of chimes tells you which lock mode is currently
selected. Continue to press the door lock switch until
the number of chimes that you hear matches the
number of the mode that you want. If you take longer
than 30 seconds, the locks will automatically lock
and unlock and the horn will chirp twice to indicate
that you have left the program mode. If this occurs,
you can repeat the procedure beginning with Step 1
to re-enter the programming mode.
You can exit the program mode any time by turning the
ignition to RUN (the doors will automatically lock and
unlock and the horn will chirp twice to indicate that you
are leaving the program mode). If the lock/unlock
switches are not pressed while in the programming mode,
the current automatic settings will not be modi�ed.
2-10
Page 87 of 468
Programmable Unlocking Feature
The following is the list of available programming
options:
Mode 1:Driver’s door unlocks when the transmission is
shifted into PARK (P).
Mode 2:All doors unlock when the transmission is
shifted into PARK (P).
Mode 3:All doors unlock when the key is removed
from the ignition.
Mode 4:No automatic door unlock.
The following instructions tell you how to change the
automatic door unlock mode. Choose one of the
four programming options listed above before entering
the program mode. To enter the program mode, do
the following:
1. Begin with the ignition off. Then pull the turn
signal/multifunction lever toward you and hold
it there while you perform the next step.
2. Turn the key to RUN and LOCK twice. Then, with the
key in LOCK, release the turn signal/multifunction
lever. Once you do this, the doors will lock and
unlock, the horn will chirp twice, and a 30-second
timer will begin. You are now ready to program the
automatic door unlock feature.3. Press the unlock side of the power lock switch once.
You will hear one, two, three, or four chimes. The
number of chimes tells you which unlock mode is
currently selected. Continue to press the door unlock
switch until the number of chimes that you hear
matches the number of the mode that you want. If
you take longer than 30 seconds, the locks will
automatically lock and unlock and the horn will
chirp twice to indicate that you have left the
program mode. If this occurs, you can repeat the
procedure beginning with Step 1 to re-enter the
programming mode.
You can exit the program mode any time by turning the
ignition to RUN (the doors will automatically lock and
unlock and the horn will chirp twice to indicate that you
are leaving the program mode). If the lock/unlock
switches are not pressed while in the programming mode,
the current automatic settings will not be modi�ed.
2-11
Page 91 of 468

3. Press either one of the two power midgate latch
release buttons. The midgate will move slightly
forward from its closed position. The latch release
buttons operate while the ignition is in RUN,
ACCESSORY, in RAP mode, or up to ten minutes
after removing the key. If necessary, press the
global express-down button to reactivate the release
buttons for an additional ten minutes.4. Pull the midgate inward and down to its fully
lowered position.
5. Flip the auxiliary panel on the top of the midgate
into position to bridge the gap created by the
hinges in the midgate. There are two �nger holds
on the panel.
Raising the Midgate
To raise the midgate, do the following:
1. Fold the auxiliary panel back into the exterior of the
midgate. The panel should snap loudly back into
position which means it is secure.
2. Reverse the steps for lowering the midgate listed
previously. The midgate must be fully latched on
both sides before the window can be raised.
3. Press the top part of the midgate window switch to
express-up the window. To stop the window, press
the switch a second time.
2-15
Page 97 of 468
The window switch will operate while the ignition is in
RUN or ACCESSORY, or while Retained Accessory
Power (RAP) is active. SeeRetained Accessory
Power (RAP) on page 2-26.
The window can also be operated using the global
window buttons. See “Global Window Feature”
previously.
{CAUTION:
If express override is activated, the midgate
window will not reverse automatically. You or
others could be injured and the window could
be damaged. Before you use express override,
make sure that all people and obstructions are
clear of the midgate window path.
Midgate Window Express Override Mode
If window movement is stopped, either by an obstruction
or weather conditions such as severe icing, auto-reversal
to a partially open position will occur. The midgate
window function will return to normal operation once the
obstruction or condition is removed.
If you override this function and activate express
override mode, window express functions are disabled.
In this mode, the window can only be operated
manually by pressing and holding the midgate window
switch or the global window button within two seconds
after the midgate window has stopped at a partially open
position. The express override mode can only be
activated immediately following a window auto-reversal.
Midgate Window Error/Jog Mode
If the midgate window has detected abnormal operating
conditions which may lead to system damage or
malfunction, the midgate window will automatically go
into Error/Jog mode. In this mode, window express
functions are disabled and the window can only
be operated manually by pressing the midgate window
switch or the global window button. The window will
move slightly and stop. Press and hold the window
switch or global window button to continue to close the
window a small amount at a time.
2-21
Page 98 of 468

To Exit Error/Jog Mode
1. Ensure normal midgate window operating conditions
have been resumed.
2. Press and hold the midgate window down switch
approximately one second to engage window
express-down.
3. Release the window down switch and allow the
window to fully open.
Do not activate any window function switches once
glass movement has been initiated.
4. Press the midgate glass up switch and visually
con�rm that the express-up has been accomplished.
Sun Visors
To block out glare, you can swing down the visors. You
can also swing them out to help block glare at the
front and side windows.
Illuminated Visor Vanity Mirrors
Pull the sunvisor down and lift the mirror cover to turn
on the lamps.
Theft-Deterrent Systems
Vehicle theft is big business, especially in some cities.
Although your vehicle has a number of theft-deterrent
features, we know that nothing we put on it can make it
impossible to steal.
Content Theft-Deterrent
Your vehicle is equipped with a content theft-deterrent
alarm system.
With this system, the
security light in the
instrument panel cluster will
�ash as you open the door
if your ignition is off.
2-22
Page 107 of 468
SECOND (2):This position gives you more power but
lower fuel economy. You can use SECOND (2) on
hills. It can help control your speed as you go down
steep mountain roads, but then you would also want to
use your brakes off and on.
If you manually select SECOND (2), the transmission
will drive in second gear. You may use this feature
for reducing the speed of the rear wheels when you are
trying to start your vehicle from a stop on slippery
road surfaces. Once the vehicle is moving, shift into
DRIVE (D).
FIRST (1):This position gives you even more power,
but lower fuel economy than SECOND (2). You can use
it on very steep hills, or in deep snow or mud. If the
shift lever is put in FIRST (1) while the vehicle is moving
forward, the transmission will not shift into �rst gear
until the vehicle is going slowly enough.
Notice:Spinning the tires or holding the vehicle in
one place on a hill using only the accelerator
pedal may damage the transmission. If you are
stuck, do not spin the tires. When stopping on a hill,
use the brakes to hold the vehicle in place.
On cold days, approximately 32°F (0°C) or colder, your
transmission is designed to shift differently until the
engine reaches normal operating temperature. This is
intended to improve heater performance.Tow/Haul Mode
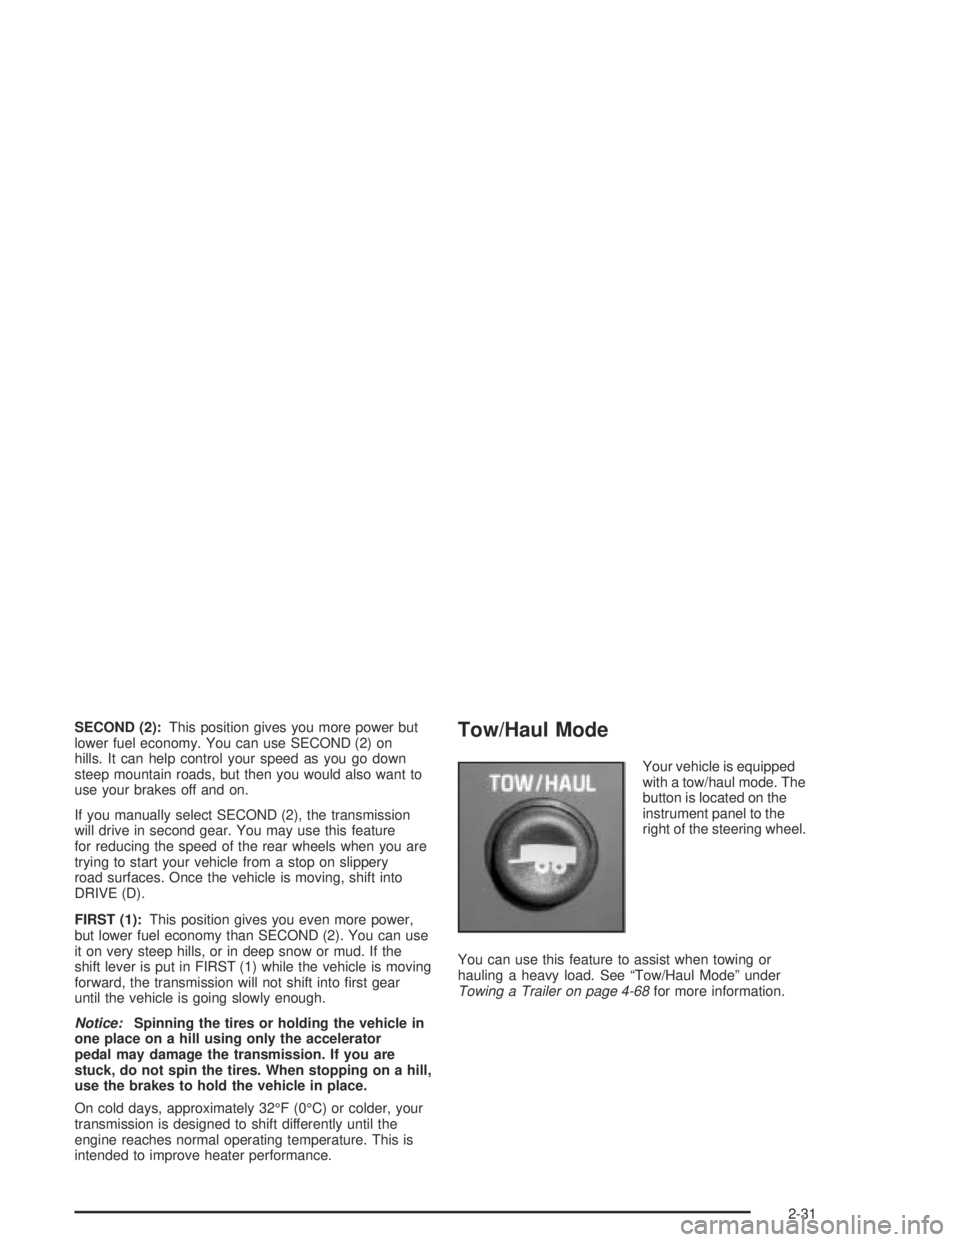
Your vehicle is equipped
with a tow/haul mode. The
button is located on the
instrument panel to the
right of the steering wheel.
You can use this feature to assist when towing or
hauling a heavy load. See “Tow/Haul Mode” under
Towing a Trailer on page 4-68for more information.
2-31
Page 127 of 468
This device complies with RSS-210 of Industry Canada.
Operation is subject to the following two conditions: (1)
this device may not cause interference, and (2) this
device must accept any interference, including
interference that may cause undesired operation of
the device.
Changes and modi�cations to this system by other than
an authorized service facility could void authorization
to use this equipment.
Programming the HomeLink®
Transmitter
Do not use the HomeLink®Transmitter with any garage
door opener that does not have the “stop and reverse”
feature. This includes any garage door opener model
manufactured before April 1, 1982. If you have a newer
garage door opener with rolling codes, please be
sure to follow steps 6 through 8 to complete the
programming of your HomeLink
®Transmitter.
Read the instructions completely before attempting to
program the HomeLink
®Transmitter. Because of
the steps involved, it may be helpful to have another
person available to assist you in programming the
transmitter.
Keep the original transmitter for use in other vehicles as
well as for future HomeLink
®programming. It is also
recommended that upon the sale of the vehicle,the programmed HomeLink
®buttons should be erased
for security purposes. Refer to “Erasing HomeLink®
Buttons” or, for assistance, contact HomeLink®on the
internet at: www.homelink.com or by calling
1-800-355-3515.
Be sure that people and objects are clear of the garage
door or gate operator you are programming. When
programming a garage door, it is advised to park outside
of the garage.
It is recommended that a new battery be installed in
your hand-held transmitter for quicker and more
accurate transmission of the radio frequency.
Programming HomeLink®
Your vehicle’s engine should be turned off while
programming the transmitter. Follow these steps to
program up to three channels:
1. Press and hold down the two outside buttons,
releasing only when the indicator light begins to
�ash, after 20 seconds. Do not hold down the
buttons for longer than 30 seconds and do not
repeat this step to program a second and/or third
transmitter to the remaining two HomeLink
®buttons.
2. Position the end of your hand-held transmitter about
1 to 3 inches (3 to 8 cm) away from the HomeLink
®
buttons while keeping the indicator light in view.
2-51
Page 129 of 468
Gate Operator and Canadian
Programming
Canadian radio-frequency laws require transmitter
signals to “time out” or quit after several seconds of
transmission. This may not be long enough for
HomeLink
®to pick up the signal during programming.
Similarly, some U.S. gate operators are manufactured to
“time out” in the same manner.
If you live in Canada, or you are having difficulty
programming a gate operator by using the
“Programming HomeLink
®” procedures (regardless of
where you live), replace Step 3 under “Programming
HomeLink
®” with the following:
Continue to press and hold the HomeLink
®button while
you press and release every two seconds (cycle)
your hand-held transmitter until the frequency signal has
been successfully accepted by HomeLink
®. The
indicator light will �ash slowly at �rst and then rapidly.
Proceed with Step 4 under “Programming HomeLink
®”
to complete.
Using HomeLink®
Press and hold the appropriate HomeLink®button for at
least half of a second. The indicator light will come
on while the signal is being transmitted.
Erasing HomeLink®Buttons
To erase programming from the three buttons do the
following:
1. Press and hold down the two outside buttons until
the indicator light begins to �ash, after 20 seconds.
Do not hold the two outside buttons for longer
than 30 seconds.
2. Release both buttons.
HomeLink
®is now in the train (learning) mode and can
be programmed at any time beginning with Step 2
under “Programming HomeLink
®” shown earlier in this
section.
Individual buttons can not be erased, but they can be
reprogrammed. See “Reprogramming a Single
HomeLink
®Button” following this section.
2-53
Page 153 of 468
Using Cruise Control on Hills
How well your cruise control will work on hills depends
upon your speed, load and the steepness of the
hills. When going up steep hills, you may want to step
on the accelerator pedal to maintain your speed.
When going downhill, you may have to brake or shift to
a lower gear to keep your speed down. Of course,
applying the brake takes you out of cruise control. Many
drivers �nd this to be too much trouble and don’t use
cruise control on steep hills.
Ending Cruise Control
There are four ways to turn off the cruise control:
Step lightly on the brake pedal,
move the cruise control switch to off, or
shift the transmission to NEUTRAL (N).
If road conditions cause the traction control system
to activate, cruise control will turn off. SeeTraction
Control System (TCS) on page 4-9.
If the accelerator pedal is held for 60 seconds or
longer, cruise control will turn off.
Erasing Speed Memory
When you turn off the cruise control or the ignition, your
cruise control set speed memory is erased.
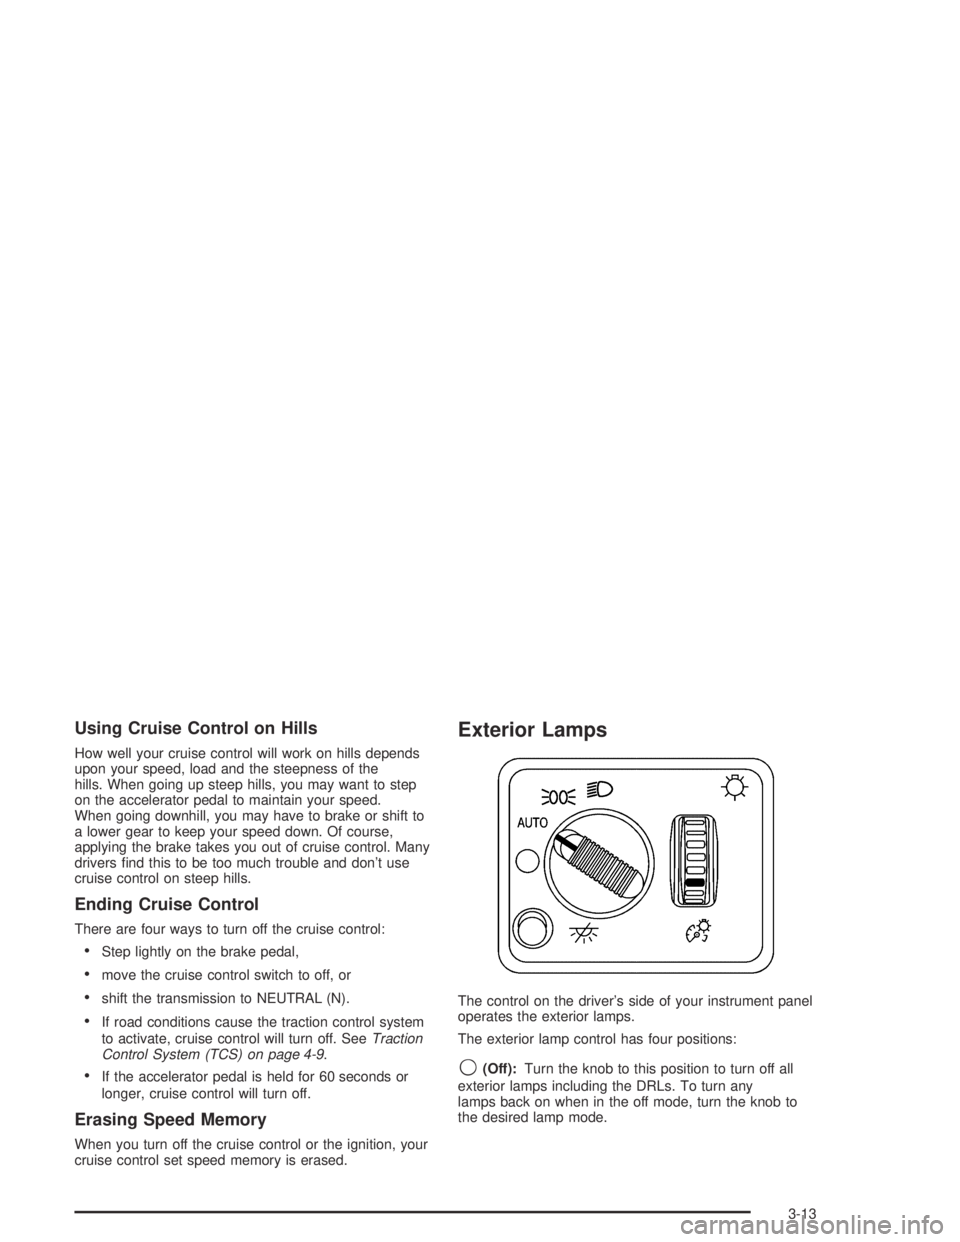
Exterior Lamps
The control on the driver’s side of your instrument panel
operates the exterior lamps.
The exterior lamp control has four positions:
9(Off):Turn the knob to this position to turn off all
exterior lamps including the DRLs. To turn any
lamps back on when in the off mode, turn the knob to
the desired lamp mode.
3-13
Page 159 of 468
Climate Controls
Dual Automatic Climate Control
System
With this system, you can control the heating, cooling
and ventilation in your vehicle.
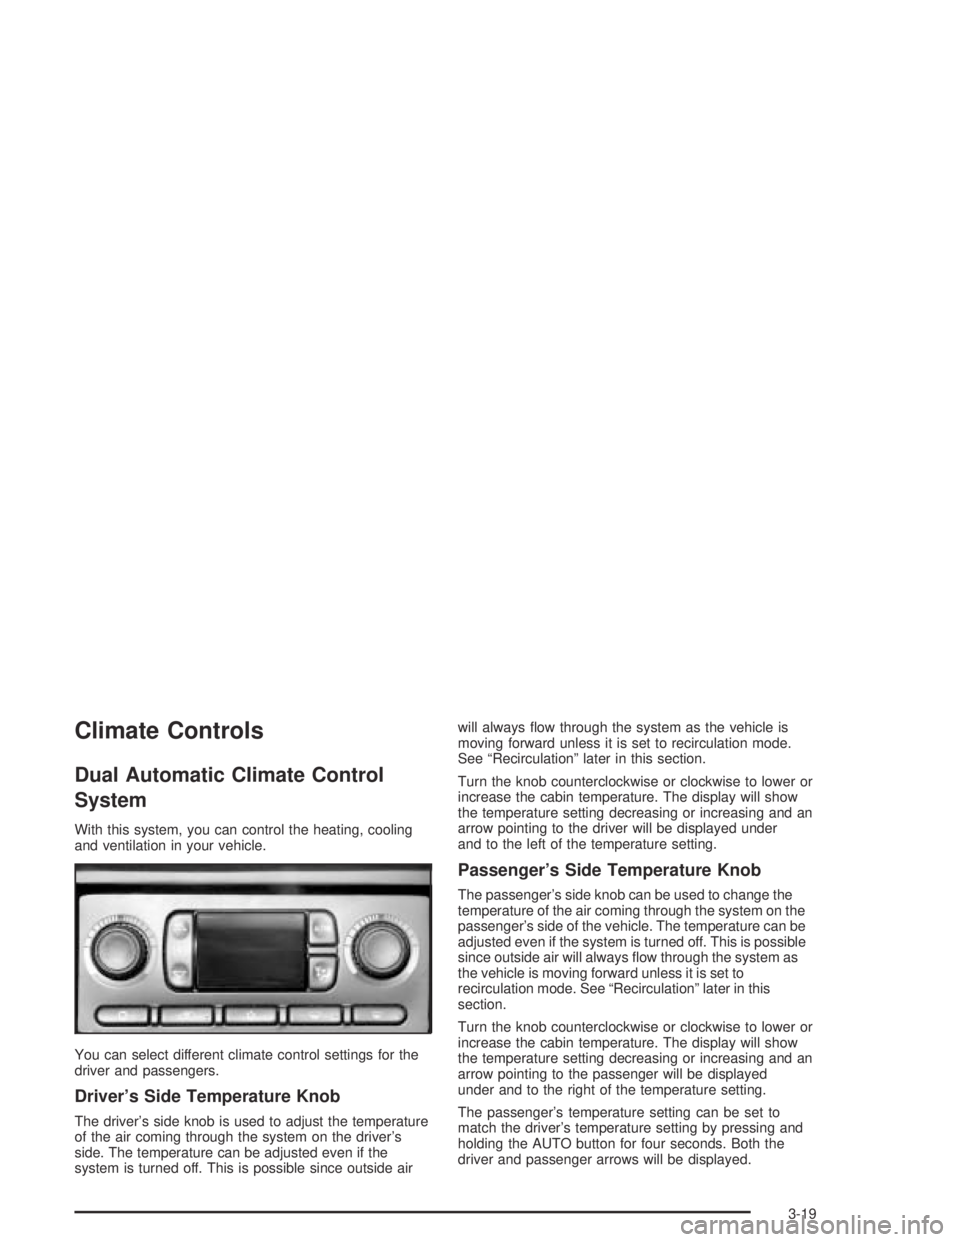
You can select different climate control settings for the
driver and passengers.
Driver’s Side Temperature Knob
The driver’s side knob is used to adjust the temperature
of the air coming through the system on the driver’s
side. The temperature can be adjusted even if the
system is turned off. This is possible since outside airwill always �ow through the system as the vehicle is
moving forward unless it is set to recirculation mode.
See “Recirculation” later in this section.
Turn the knob counterclockwise or clockwise to lower or
increase the cabin temperature. The display will show
the temperature setting decreasing or increasing and an
arrow pointing to the driver will be displayed under
and to the left of the temperature setting.
Passenger’s Side Temperature Knob
The passenger’s side knob can be used to change the
temperature of the air coming through the system on the
passenger’s side of the vehicle. The temperature can be
adjusted even if the system is turned off. This is possible
since outside air will always �ow through the system as
the vehicle is moving forward unless it is set to
recirculation mode. See “Recirculation” later in this
section.
Turn the knob counterclockwise or clockwise to lower or
increase the cabin temperature. The display will show
the temperature setting decreasing or increasing and an
arrow pointing to the passenger will be displayed
under and to the right of the temperature setting.
The passenger’s temperature setting can be set to
match the driver’s temperature setting by pressing and
holding the AUTO button for four seconds. Both the
driver and passenger arrows will be displayed.
3-19