traction control HUMMER H2 2005 Owners Manual
[x] Cancel search | Manufacturer: HUMMER, Model Year: 2005, Model line: H2, Model: HUMMER H2 2005Pages: 468, PDF Size: 3.21 MB
Page 141 of 468
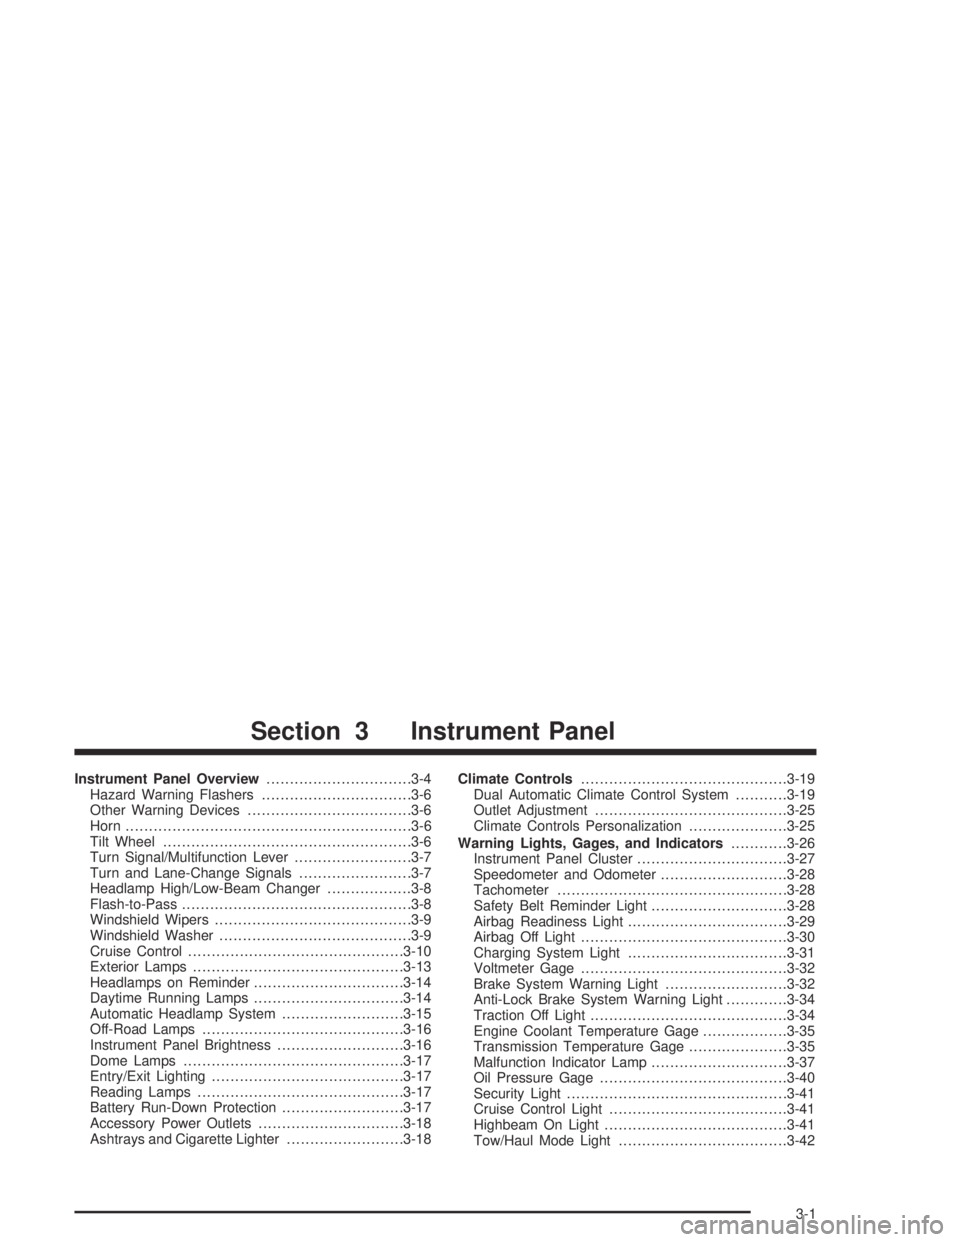
Instrument Panel Overview...............................3-4
Hazard Warning Flashers................................3-6
Other Warning Devices...................................3-6
Horn.............................................................3-6
Tilt Wheel.....................................................3-6
Turn Signal/Multifunction Lever.........................3-7
Turn and Lane-Change Signals........................3-7
Headlamp High/Low-Beam Changer..................3-8
Flash-to-Pass.................................................3-8
Windshield Wipers..........................................3-9
Windshield Washer.........................................3-9
Cruise Control..............................................3-10
Exterior Lamps.............................................3-13
Headlamps on Reminder................................3-14
Daytime Running Lamps................................3-14
Automatic Headlamp System..........................3-15
Off-Road Lamps...........................................3-16
Instrument Panel Brightness...........................3-16
Dome Lamps...............................................3-17
Entry/Exit Lighting.........................................3-17
Reading Lamps............................................3-17
Battery Run-Down Protection..........................3-17
Accessory Power Outlets...............................3-18
Ashtrays and Cigarette Lighter.........................3-18Climate Controls............................................3-19
Dual Automatic Climate Control System...........3-19
Outlet Adjustment.........................................3-25
Climate Controls Personalization.....................3-25
Warning Lights, Gages, and Indicators............3-26
Instrument Panel Cluster................................3-27
Speedometer and Odometer...........................3-28
Tachometer.................................................3-28
Safety Belt Reminder Light.............................3-28
Airbag Readiness Light..................................3-29
Airbag Off Light............................................3-30
Charging System Light..................................3-31
Voltmeter Gage............................................3-32
Brake System Warning Light..........................3-32
Anti-Lock Brake System Warning Light.............3-34
Traction Off Light..........................................3-34
Engine Coolant Temperature Gage..................3-35
Transmission Temperature Gage.....................3-35
Malfunction Indicator Lamp.............................3-37
Oil Pressure Gage........................................3-40
Security Light...............................................3-41
Cruise Control Light......................................3-41
Highbeam On Light.......................................3-41
Tow/Haul Mode Light....................................3-42
Section 3 Instrument Panel
3-1
Page 145 of 468
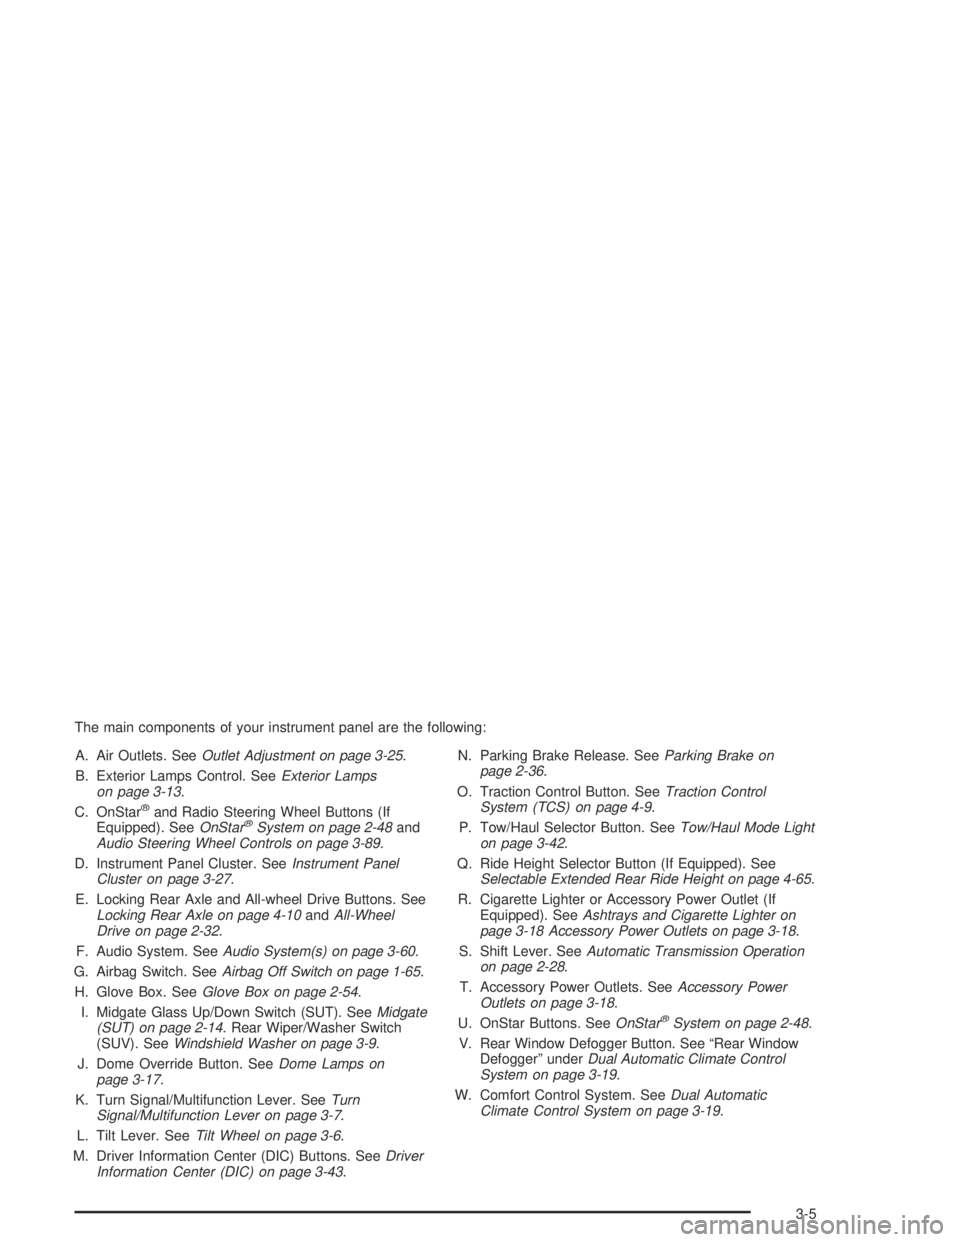
The main components of your instrument panel are the following:
A. Air Outlets. SeeOutlet Adjustment on page 3-25.
B. Exterior Lamps Control. SeeExterior Lamps
on page 3-13.
C. OnStar
®and Radio Steering Wheel Buttons (If
Equipped). SeeOnStar®System on page 2-48and
Audio Steering Wheel Controls on page 3-89.
D. Instrument Panel Cluster. SeeInstrument Panel
Cluster on page 3-27.
E. Locking Rear Axle and All-wheel Drive Buttons. See
Locking Rear Axle on page 4-10andAll-Wheel
Drive on page 2-32.
F. Audio System. SeeAudio System(s) on page 3-60.
G. Airbag Switch. SeeAirbag Off Switch on page 1-65.
H. Glove Box. SeeGlove Box on page 2-54.
I. Midgate Glass Up/Down Switch (SUT). SeeMidgate
(SUT) on page 2-14. Rear Wiper/Washer Switch
(SUV). SeeWindshield Washer on page 3-9.
J. Dome Override Button. SeeDome Lamps on
page 3-17.
K. Turn Signal/Multifunction Lever. SeeTurn
Signal/Multifunction Lever on page 3-7.
L. Tilt Lever. SeeTilt Wheel on page 3-6.
M. Driver Information Center (DIC) Buttons. SeeDriver
Information Center (DIC) on page 3-43.N. Parking Brake Release. SeeParking Brake on
page 2-36.
O. Traction Control Button. SeeTraction Control
System (TCS) on page 4-9.
P. Tow/Haul Selector Button. SeeTow/Haul Mode Light
on page 3-42.
Q. Ride Height Selector Button (If Equipped). See
Selectable Extended Rear Ride Height on page 4-65.
R. Cigarette Lighter or Accessory Power Outlet (If
Equipped). SeeAshtrays and Cigarette Lighter on
page 3-18 Accessory Power Outlets on page 3-18.
S. Shift Lever. SeeAutomatic Transmission Operation
on page 2-28.
T. Accessory Power Outlets. SeeAccessory Power
Outlets on page 3-18.
U. OnStar Buttons. SeeOnStar
®System on page 2-48.
V. Rear Window Defogger Button. See “Rear Window
Defogger” underDual Automatic Climate Control
System on page 3-19.
W. Comfort Control System. SeeDual Automatic
Climate Control System on page 3-19.
3-5
Page 151 of 468
T(Set):Press this button to set the speed.
With cruise control, you can maintain a speed of about
25 mph (40 km/h) or more without keeping your foot
on the accelerator. This can really help on long
trips. Cruise control does not work at speeds below
about 25 mph (40 km/h).
If you apply your brakes, the cruise control will shut off.
{CAUTION:
Cruise control can be dangerous where you
cannot drive safely at a steady speed. So, do
not use your cruise control on winding roads
or in heavy traffic.
Cruise control can be dangerous on slippery
roads. On such roads, fast changes in tire
traction can cause needless wheel spinning,
and you could lose control. Do not use cruise
control on slippery roads.
Setting Cruise Control
{CAUTION:
If you leave your cruise control on when you
are not using cruise, you might hit a button
and go into cruise when you do not want to.
You could be startled and even lose control.
Keep the cruise control switch off until you
want to use cruise control.
1. Move the cruise control switch to on.
2. Get up to the speed you want.
3. Press in the set button at the end of the lever and
release it.
4. Take your foot off the accelerator pedal.
The cruise symbol on the
instrument panel will
illuminate when the cruise
control is engaged.
3-11
Page 153 of 468
Using Cruise Control on Hills
How well your cruise control will work on hills depends
upon your speed, load and the steepness of the
hills. When going up steep hills, you may want to step
on the accelerator pedal to maintain your speed.
When going downhill, you may have to brake or shift to
a lower gear to keep your speed down. Of course,
applying the brake takes you out of cruise control. Many
drivers �nd this to be too much trouble and don’t use
cruise control on steep hills.
Ending Cruise Control
There are four ways to turn off the cruise control:
Step lightly on the brake pedal,
move the cruise control switch to off, or
shift the transmission to NEUTRAL (N).
If road conditions cause the traction control system
to activate, cruise control will turn off. SeeTraction
Control System (TCS) on page 4-9.
If the accelerator pedal is held for 60 seconds or
longer, cruise control will turn off.
Erasing Speed Memory
When you turn off the cruise control or the ignition, your
cruise control set speed memory is erased.
Exterior Lamps
The control on the driver’s side of your instrument panel
operates the exterior lamps.
The exterior lamp control has four positions:
9(Off):Turn the knob to this position to turn off all
exterior lamps including the DRLs. To turn any
lamps back on when in the off mode, turn the knob to
the desired lamp mode.
3-13
Page 174 of 468
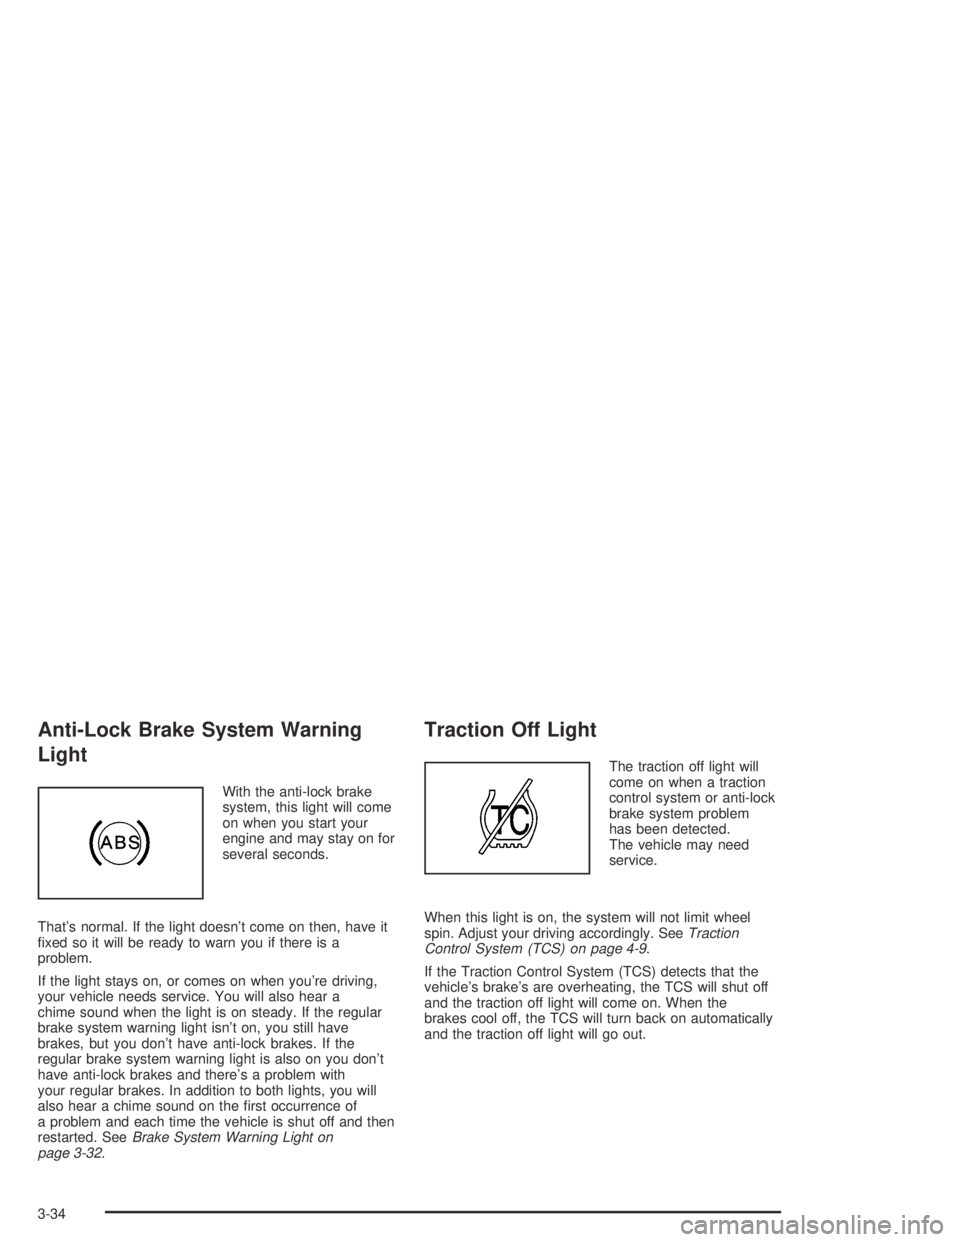
Anti-Lock Brake System Warning
Light
With the anti-lock brake
system, this light will come
on when you start your
engine and may stay on for
several seconds.
That’s normal. If the light doesn’t come on then, have it
�xed so it will be ready to warn you if there is a
problem.
If the light stays on, or comes on when you’re driving,
your vehicle needs service. You will also hear a
chime sound when the light is on steady. If the regular
brake system warning light isn’t on, you still have
brakes, but you don’t have anti-lock brakes. If the
regular brake system warning light is also on you don’t
have anti-lock brakes and there’s a problem with
your regular brakes. In addition to both lights, you will
also hear a chime sound on the �rst occurrence of
a problem and each time the vehicle is shut off and then
restarted. SeeBrake System Warning Light on
page 3-32.
Traction Off Light
The traction off light will
come on when a traction
control system or anti-lock
brake system problem
has been detected.
The vehicle may need
service.
When this light is on, the system will not limit wheel
spin. Adjust your driving accordingly. SeeTraction
Control System (TCS) on page 4-9.
If the Traction Control System (TCS) detects that the
vehicle’s brake’s are overheating, the TCS will shut off
and the traction off light will come on. When the
brakes cool off, the TCS will turn back on automatically
and the traction off light will go out.
3-34
Page 192 of 468
SERVICE CHARGING SYSTEM
On some vehicles, if there is a problem with the battery
charging system, this message will appear on the
DIC. The battery will not be charging at an optimal rate
and the vehicle will lose the ability to enter the fuel
economy mode. The vehicle is safe to drive, however
you should have the electrical system checked by
your GM dealer. Pressing any of the four DIC buttons or
the trip odometer reset stem will clear the message
from the DIC display.
TIGHTEN FUEL CAP
If the vehicle’s fuel cap is not tightened properly, this
message may appear along with the check engine light
on the instrument panel cluster. SeeMalfunction Indicator
Lamp on page 3-37. Reinstall the fuel cap, making sure
to fully install the cap. SeeFilling Your Tank on page 5-7.
The diagnostic system can determine if the fuel cap has
been left off or improperly installed. A loose or missing
fuel cap will allow fuel to evaporate into the atmosphere.
A few driving trips with the cap properly installed should
turn the light and message off.
TRACTION ACTIVE
When the traction control system has detected that any
of the vehicle’s wheels are slipping, the traction
control system will activate and this message will appear
on the DIC. SeeTraction Control System (TCS) on
page 4-9for more information.
TRANS HOT IDLE ENGINE
If the transmission �uid gets hot, this message will
appear on the DIC along with a continuous chime.
Driving with the transmission �uid temperature high can
cause damage to the vehicle. Stop the vehicle and
let it idle to allow the transmission to cool. This message
will clear and the chime will stop when the �uid
temperature reaches a safe level.
3-52
Page 233 of 468

Your Driving, the Road, and Your Vehicle..........4-2
Defensive Driving...........................................4-2
Drunken Driving.............................................4-2
Control of a Vehicle........................................4-5
Braking.........................................................4-6
Anti-Lock Brake System (ABS).........................4-7
Braking in Emergencies...................................4-8
Traction Control System (TCS).........................4-9
Locking Rear Axle........................................4-10
Steering......................................................4-11
Off-Road Recovery.......................................4-13
Passing.......................................................4-13
Loss of Control.............................................4-15
Off-Road Driving...........................................4-16
Driving at Night............................................4-39
Driving in Rain and on Wet Roads..................4-40
City Driving..................................................4-43
Freeway Driving...........................................4-44
Before Leaving on a Long Trip.......................4-45Highway Hypnosis........................................4-46
Hill and Mountain Roads................................4-46
Winter Driving..............................................4-48
If You Are Stuck: In Sand, Mud, Ice or Snow........4-52
Rocking Your Vehicle to Get It Out.................4-53
Recovery Loops...........................................4-53
First Aid Kit and Tool Kit...............................4-55
Front Mounted Receiver.................................4-56
Power Winch Platform...................................4-57
Loading Your Vehicle....................................4-58
Towing..........................................................4-64
Towing Your Vehicle.....................................4-64
Recreational Vehicle Towing...........................4-64
Selectable Extended Rear
Ride Height..............................................4-65
Electronically Controlled Air Suspension
System....................................................4-66
Trailer Recommendations...............................4-67
Towing a Trailer...........................................4-68
Section 4 Driving Your Vehicle
4-1
Page 237 of 468

There is something else about drinking and driving that
many people do not know. Medical research shows that
alcohol in a person’s system can make crash injuries
worse, especially injuries to the brain, spinal cord, or
heart. This means that when anyone who has been
drinking — driver or passenger — is in a crash, that
person’s chance of being killed or permanently disabled
is higher than if the person had not been drinking.
{CAUTION:
Drinking and then driving is very dangerous.
Your re�exes, perceptions, attentiveness, and
judgment can be affected by even a small
amount of alcohol. You can have a serious — or
even fatal — collision if you drive after drinking.
Please do not drink and drive or ride with a
driver who has been drinking. Ride home in a
cab; or if you are with a group, designate a
driver who will not drink.
Control of a Vehicle
You have three systems that make your vehicle go
where you want it to go. They are the brakes, the
steering, and the accelerator. All three systems have
to do their work at the places where the tires meet
the road.
Sometimes, as when you are driving on snow or ice, it
is easy to ask more of those control systems than
the tires and road can provide. That means you can lose
control of your vehicle. SeeTraction Control System
(TCS) on page 4-9.
4-5
Page 241 of 468
Traction Control System (TCS)
Your vehicle has a Traction Control System (TCS) that
limits wheel spin. This is especially useful in slippery
road conditions. The system operates only if it senses
that any of the wheels are spinning or beginning to lose
traction. When this happens, the system applies the
brakes to limit wheel spin.
The Traction Control System may operate on dry roads
under some conditions. When this happens, you may
notice a reduction in acceleration or a pumping sound.
This is normal and doesn’t mean there’s a problem with
your vehicle. Examples of these conditions include hard
acceleration in a turn, an abrupt upshift or downshift of
the transmission or driving on rough roads.
If your vehicle is in cruise control when the TCS begins
to limit wheel spin, the cruise control will automatically
disengage. When road conditions allow you to safely
use it again, you may re-engage the cruise control. See
Cruise Control on page 3-10.
Another feature of this system is the Traction Control 2
(TC2) mode. TC2 should be selected for improved
traction and system performance when the vehicle is on
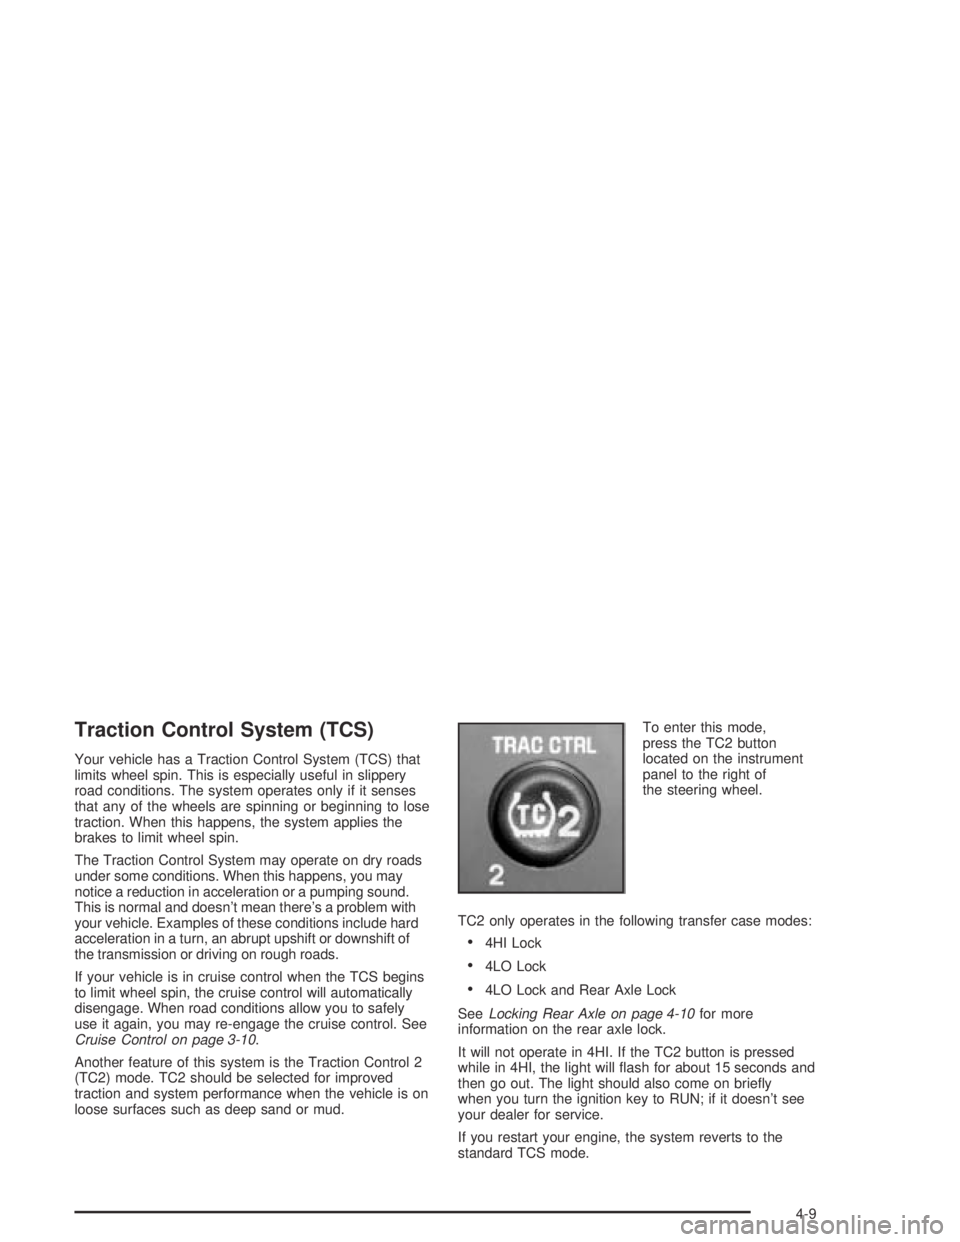
loose surfaces such as deep sand or mud.To enter this mode,
press the TC2 button
located on the instrument
panel to the right of
the steering wheel.
TC2 only operates in the following transfer case modes:
4HI Lock
4LO Lock
4LO Lock and Rear Axle Lock
SeeLocking Rear Axle on page 4-10for more
information on the rear axle lock.
It will not operate in 4HI. If the TC2 button is pressed
while in 4HI, the light will �ash for about 15 seconds and
then go out. The light should also come on brie�y
when you turn the ignition key to RUN; if it doesn’t see
your dealer for service.
If you restart your engine, the system reverts to the
standard TCS mode.
4-9
Page 242 of 468
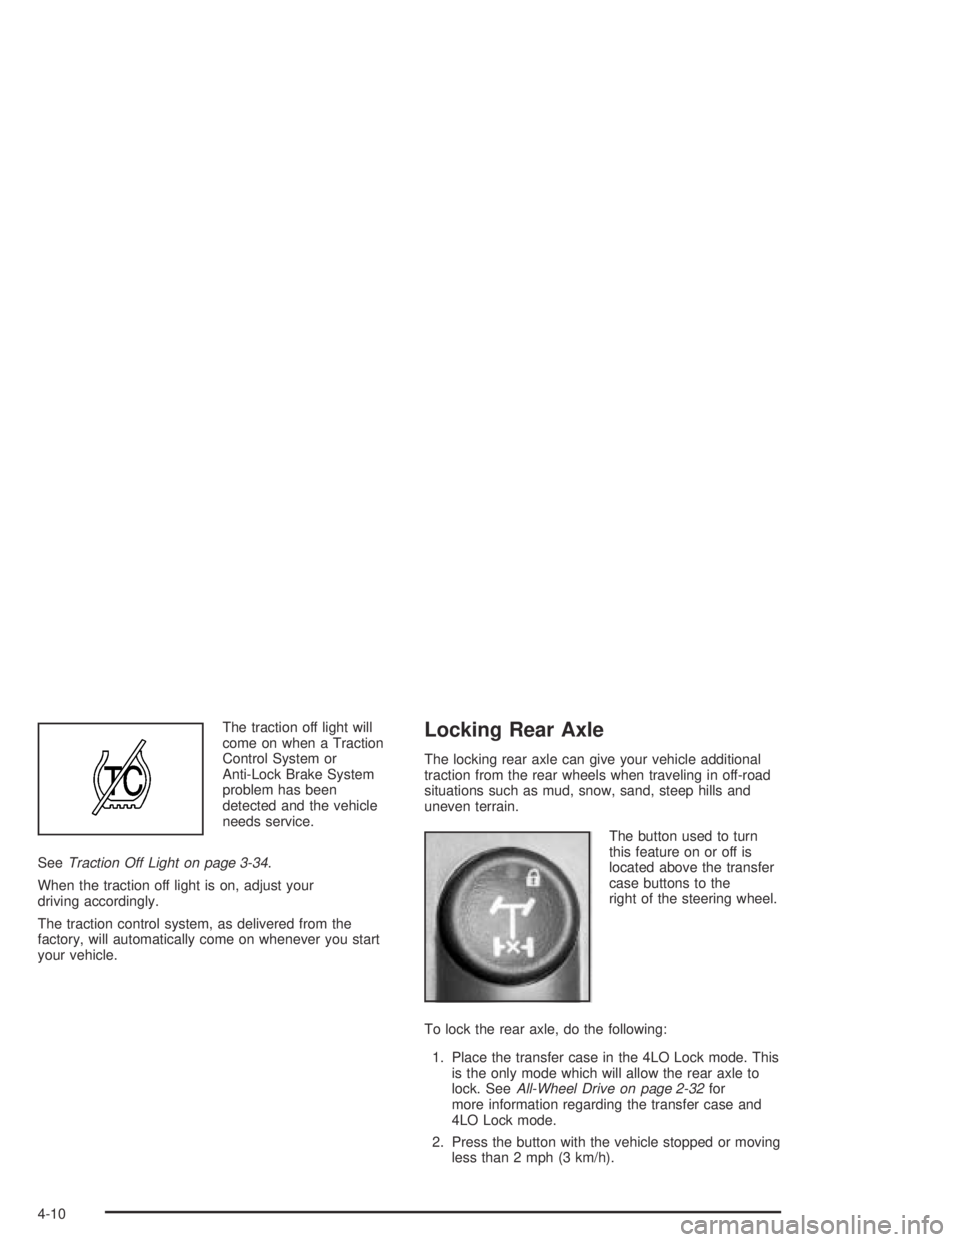
The traction off light will
come on when a Traction
Control System or
Anti-Lock Brake System
problem has been
detected and the vehicle
needs service.
SeeTraction Off Light on page 3-34.
When the traction off light is on, adjust your
driving accordingly.
The traction control system, as delivered from the
factory, will automatically come on whenever you start
your vehicle.Locking Rear Axle
The locking rear axle can give your vehicle additional
traction from the rear wheels when traveling in off-road
situations such as mud, snow, sand, steep hills and
uneven terrain.
The button used to turn
this feature on or off is
located above the transfer
case buttons to the
right of the steering wheel.
To lock the rear axle, do the following:
1. Place the transfer case in the 4LO Lock mode. This
is the only mode which will allow the rear axle to
lock. SeeAll-Wheel Drive on page 2-32for
more information regarding the transfer case and
4LO Lock mode.
2. Press the button with the vehicle stopped or moving
less than 2 mph (3 km/h).
4-10