shift Hyundai Accent 2007 Owner's Manual
[x] Cancel search | Manufacturer: HYUNDAI, Model Year: 2007, Model line: Accent, Model: Hyundai Accent 2007Pages: 282, PDF Size: 10.55 MB
Page 9 of 282
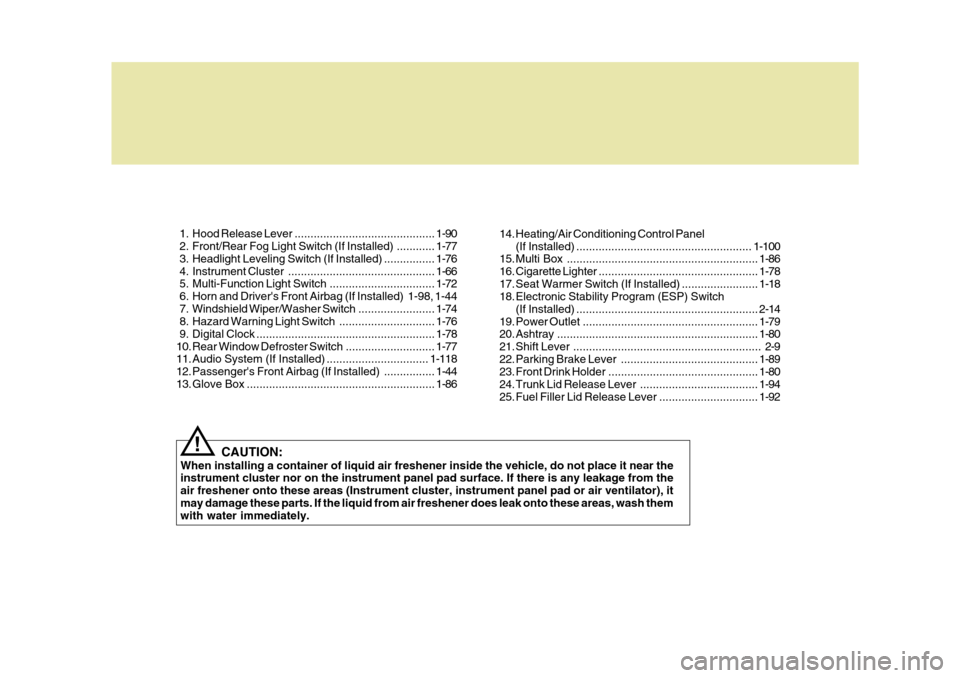
1. Hood Release Lever ............................................ 1-90
2. Front/Rear Fog Light Switch (If Installed) ............ 1-77
3. Headlight Leveling Switch (If Installed) ................ 1-76
4. Instrument Cluster.............................................. 1-66
5. Multi-Function Light Switch................................. 1-72
6. Horn and Driver's Front Airbag (If Installed) 1-98, 1-44
7. Windshield W iper/Washer Switch ........................1-74
8. Hazard Warning Light Switch.............................. 1-76
9. Digital Clock ........................................................ 1-78
10. Rear Window De froster Switch ............................ 1-77
11. Audio System (If Installed) ................................ 1-118
12. Passenger's Front Airbag (If Installed) ................1-44
13. Glov e Box ........................................................... 1-86
CAUTION:
When installing a container of liquid air freshener inside the vehicle, do not place it near the instrument cluster nor on the instrument panel pad surface. If there is any leakage from the air freshener onto these areas (Instrument cluster, instrument panel pad or air ventilator), itmay damage these parts. If the liquid from air freshener does leak onto these areas, wash them with water immediately.
! 14. Heating/Air Conditioning Control Panel
(If Installed) ....................................................... 1-100
15. Multi Box ............................................................ 1-86
16. Cigarette Lighter .................................................. 1-78
17. Seat Warmer Switch (If Installed) ........................ 1-18
18. Electronic Stability Program (ESP) Switch
(If Installed) ......................................................... 2-14
19. Power Outlet ....................................................... 1-79
20. Ashtray ............................................................... 1-80
21. Shift Lever ........................................................... 2-9
22. Parking Brake Lever ........................................... 1-89
23. Front Drink Holder ............................................... 1-80
24. Trunk Lid Release Lever .....................................1-94
25. Fuel Filler Lid Release Lever ...............................1-92
Page 11 of 282
CAUTION:
When installing a container of liquid air freshener inside the vehicle, do not place it near the instrument cluster nor on the instrument panel pad surface. If there is any leakage from the air freshener onto these areas (Instrument cluster, instrument panel pad or air ventilator), it may damage these parts. If the liquid from air freshener does leak onto these areas, wash themwith water immediately.!
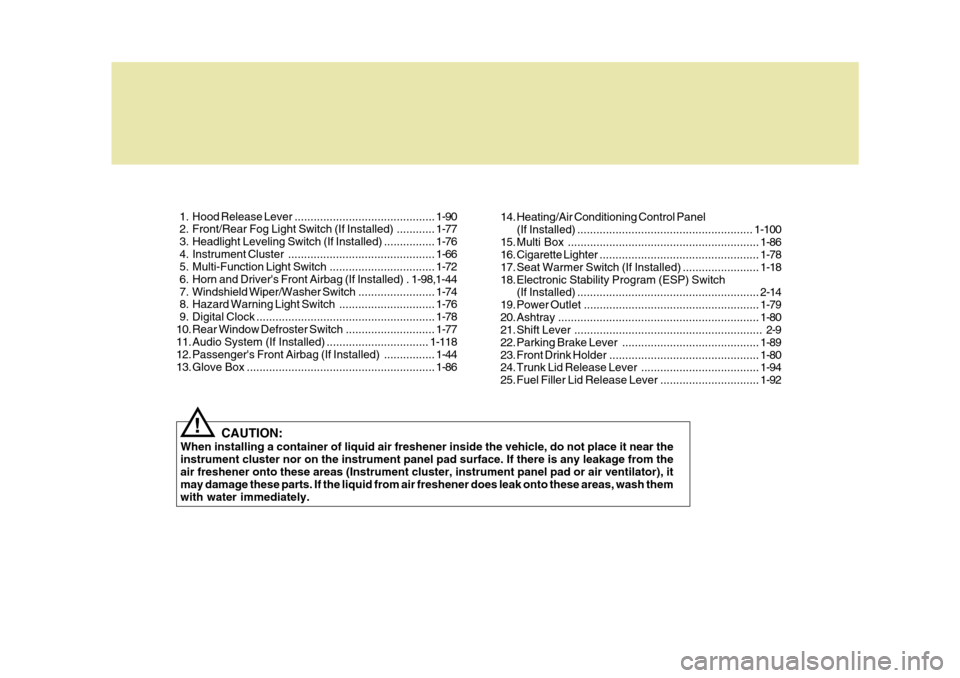
1. Hood
Release Lever ............................................ 1-90
2. Front/Rear Fog Light Switch (If Installed) ............ 1-77
3. Headlight Leveling Switch (If Installed) ................ 1-76
4. Instrument Cluster.............................................. 1-66
5. Multi-Function Light Switch................................. 1-72
6. Horn and Driver's Front Airbag (If Installed) . 1-98,1-44
7. Windshield W iper/Washer Switch ........................1-74
8. Hazard Warning Light Switch.............................. 1-76
9. Digital Clock ........................................................ 1-78
10. Rear Window De froster Switch ............................ 1-77
11. Audio System (If Installed) ................................ 1-118
12. Passenger's Front Airbag (If Installed) ................1-44
13. Glov e Box ........................................................... 1-8614. Heating/Air Conditioning Control Panel
(If Installed) ....................................................... 1-100
15. Multi Box ............................................................ 1-86
16. Cigarette Lighter .................................................. 1-78
17. Seat Warmer Switch (If Installed) ........................ 1-18
18. Electronic Stability Program (ESP) Switch (If Installed) ......................................................... 2-14
19. Power Outlet ....................................................... 1-79
20. Ashtray ............................................................... 1-80
21. Shift Lever ........................................................... 2-9
22. Parking Brake Lever ........................................... 1-89
23. Front Drink Holder ............................................... 1-80
24. Trunk Lid Release Lever .....................................1-94
25. Fuel Filler Lid Release Lever ...............................1-92
Page 15 of 282
1
FEATURES OF YOUR HYUNDAI
3BREAKING IN YOUR NEW HYUNDAI
B010B01A-AAT What About Gasohol? Gasohol (a mixture of 90% unleaded gasoline and 10% ethanol or grain alco-hol) may be used in your Hyundai. However, if your engine develops driveability problems, the use of 100%unleaded gasoline is recommended. Fuels with unspecified quantities of alcohol, or alcohols other than ethanol,should not be used. B010E01A-AAT Gasolines for Cleaner Air To help contribute to cleaner air, Hyundai recommends that you use gasolinestreated with detergent additives, which help prevent deposit formation in the engine. These gasolines will help theengine run cleaner and enhance perfor- mance of the Emission Control Sys- tem.
B010D01S-AAT Do not Use Methanol Fuels containing methanol (wood alco- hol) should not be used in your Hyundai. This type of fuel can reduce vehicleperformance and damage components of the fuel system. CAUTION:
Your Hyundai's New Vehicle Limited Warranty may not cover damage to the fuel system and performance problems that are caused by the useof methanol or fuels containing methanol.
! B010F01A-AAT Operation in Foreign Countries If you are going to drive your Hyundai in another country, be sure to:
o Observe all regulations regarding reg-
istration and insurance.
o Determine that acceptable fuel is available. B020A01S-GAT During the First 2,000 Km (1,200 Miles) (Gasoline Engine) No formal "break-in" procedure is re- quired with your new Hyundai. How-ever, you can contribute to the eco- nomical operation and durability of your Hyundai by observing the following rec-ommendations during the first 2,000 km (1,200 miles).
o Don't drive faster than 88 km/h (55
mph).
o While driving, keep your engine speed (rpm, or revolutions per minute) be- tween 2,000 rpm and 4,000 rpm.
o Use moderate acceleration. Don't start, depress the accelerator pedalfully.
o For the first 300 km (200 miles), try to avoid hard stops.
o Don't lug the engine (in other words,
don't drive so slowly in too high a gear that the engine "bucks": shift to a lower gear).
o Whether going fast or slow, vary your
speed from time to time.
Page 16 of 282
1FEATURES OF YOUR HYUNDAI
4KEYS
B020B01FC-GAT During the First 1,000 Km (600 Miles) (Diesel Engine) No formal "break-in" procedure is re- quired with your new Hyundai. How- ever, you can contribute to the eco- nomical operation and durability of your Hyundai by observing the following rec- ommendations during the first 1,000km (600 miles).
o While driving, keep your engine speed (rpm, or revolutions per minute) within 3,000 rpm.
o While driving, keep under three quar- ters of maximum speed.
o Use moderate acceleration. Don't
start, depress the accelerator pedal fully.
o For the first 300 km (200 miles), try
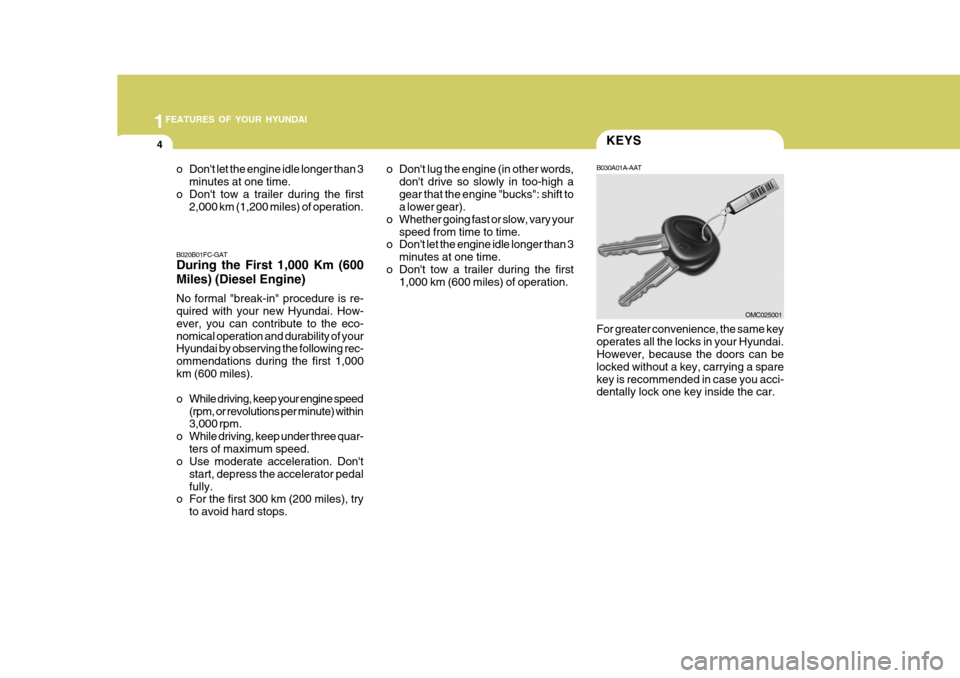
to avoid hard stops. B030A01A-AAT For greater convenience, the same key operates all the locks in your Hyundai. However, because the doors can be locked without a key, carrying a sparekey is recommended in case you acci- dentally lock one key inside the car.
o Don't lug the engine (in other words,
don't drive so slowly in too-high a gear that the engine "bucks": shift to a lower gear).
o Whether going fast or slow, vary your speed from time to time.
o Don't let the engine idle longer than 3
minutes at one time.
o Don't tow a trailer during the first 1,000 km (600 miles) of operation.
OMC025001
o Don't let the engine idle longer than 3
minutes at one time.
o Don't tow a trailer during the first 2,000 km (1,200 miles) of operation.
Page 72 of 282
1FEATURES OF YOUR HYUNDAI
60
!
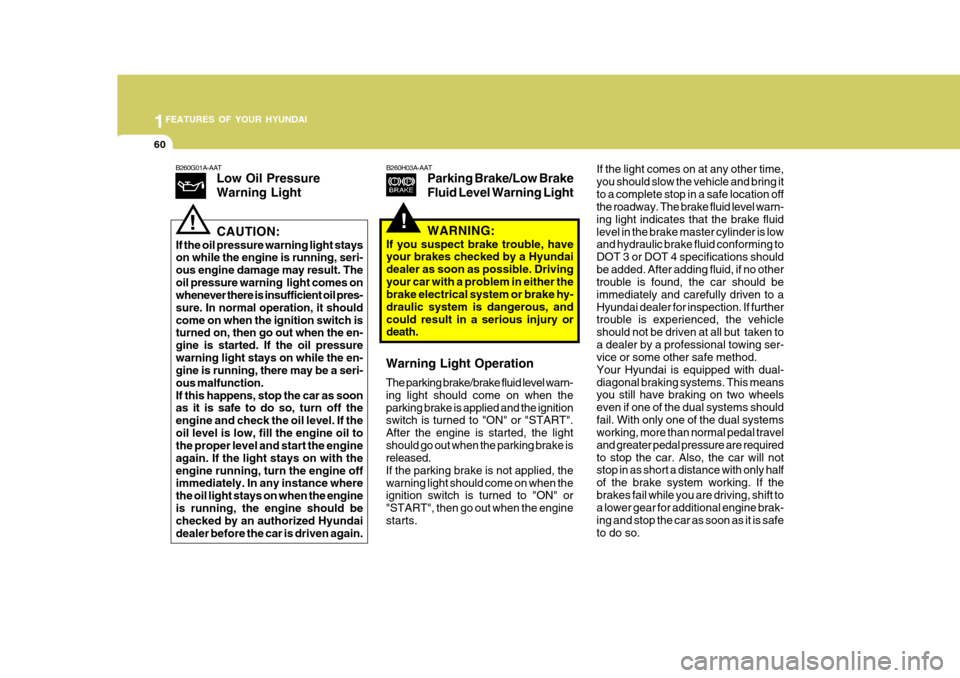
B260H03A-AAT
Parking Brake/Low Brake Fluid Level Warning LightB260G01A-AATLow Oil Pressure Warning Light
!CAUTION:
If the oil pressure warning light stays on while the engine is running, seri- ous engine damage may result. Theoil pressure warning light comes on whenever there is insufficient oil pres- sure. In normal operation, it shouldcome on when the ignition switch is turned on, then go out when the en- gine is started. If the oil pressurewarning light stays on while the en- gine is running, there may be a seri- ous malfunction.If this happens, stop the car as soon as it is safe to do so, turn off the
engine and check the oil level. If the oil level is low, fill the engine oil to the proper level and start the engine again. If the light stays on with theengine running, turn the engine off immediately. In any instance where the oil light stays on when the engineis running, the engine should be checked by an authorized Hyundai dealer before the car is driven again. WARNING:
If you suspect brake trouble, have your brakes checked by a Hyundai dealer as soon as possible. Drivingyour car with a problem in either the brake electrical system or brake hy- draulic system is dangerous, andcould result in a serious injury or death.
Warning Light Operation The parking brake/brake fluid level warn- ing light should come on when theparking brake is applied and the ignition switch is turned to "ON" or "START". After the engine is started, the lightshould go out when the parking brake is released. If the parking brake is not applied, thewarning light should come on when the ignition switch is turned to "ON" or "START", then go out when the enginestarts. If the light comes on at any other time,you should slow the vehicle and bring itto a complete stop in a safe location off the roadway. The brake fluid level warn- ing light indicates that the brake fluidlevel in the brake master cylinder is low and hydraulic brake fluid conforming to DOT 3 or DOT 4 specifications shouldbe added. After adding fluid, if no other trouble is found, the car should be immediately and carefully driven to aHyundai dealer for inspection. If further trouble is experienced, the vehicle should not be driven at all but taken toa dealer by a professional towing ser- vice or some other safe method. Your Hyundai is equipped with dual-diagonal braking systems. This means you still have braking on two wheels even if one of the dual systems shouldfail. With only one of the dual systems working, more than normal pedal travel and greater pedal pressure are requiredto stop the car. Also, the car will not stop in as short a distance with only half of the brake system working. If thebrakes fail while you are driving, shift to a lower gear for additional engine brak- ing and stop the car as soon as it is safeto do so.
Page 101 of 282
1
FEATURES OF YOUR HYUNDAI
89PARKING BRAKE
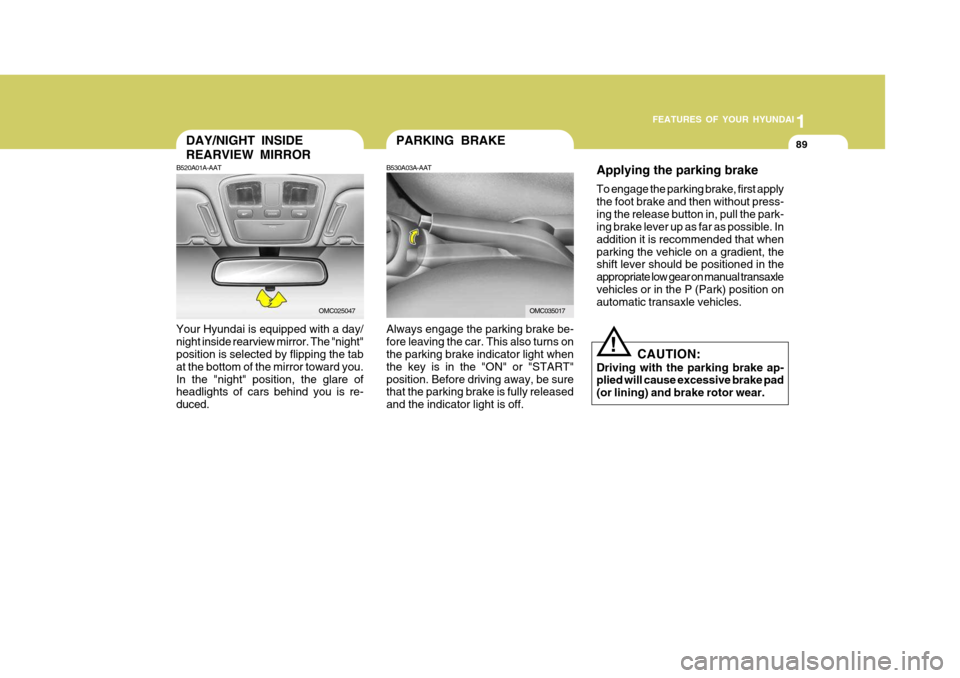
Always engage the parking brake be- fore leaving the car. This also turns on the parking brake indicator light when the key is in the "ON" or "START"position. Before driving away, be sure that the parking brake is fully released and the indicator light is off.
B530A03A-AATDAY/NIGHT INSIDE REARVIEW MIRROR
B520A01A-AAT
Your Hyundai is equipped with a day/ night inside rearview mirror. The "night" position is selected by flipping the tab at the bottom of the mirror toward you.In the "night" position, the glare of headlights of cars behind you is re- duced.
OMC025047OMC035017 Applying the parking brake To engage the parking brake, first apply the foot brake and then without press-ing the release button in, pull the park-
ing brake lever up as far as possible. In addition it is recommended that whenparking the vehicle on a gradient, the shift lever should be positioned in the appropriate low gear on manual transaxlevehicles or in the P (Park) position on automatic transaxle vehicles.
CAUTION:
Driving with the parking brake ap-plied will cause excessive brake pad (or lining) and brake rotor wear.
!
Page 120 of 282
1FEATURES OF YOUR HYUNDAI
108
B740D01A-AAT Operation Tips
o If the interior of the car is hot whenyou first get in, open the windows for a few minutes to expel the hot air.
o When you are using the air condi-
tioning system, keep all windowsclosed to keep hot air out.
o When moving slowly, as in heavy
traffic, shift to a lower gear.This increases engine speed, which in turn increases the speed of the air conditioning compressor.
o On steep grades, turn the air condi- tioning off to avoid the possibility ofthe engine overheating.
o During winter months or in periods when the air conditioning is not usedregularly, run the air conditioningonce every month for a few min- utes. This will help circulate the lubricantsand keep your system in peak oper- ating condition.
Page 166 of 282
2
DRIVING YOUR HYUNDAI
3
2
DRIVING YOUR HYUNDAI
3
!
BEFORE STARTING THE EN- GINE
C020A02O-GAT Before you start the engine, you should always:
1. Look around the vehicle to be sure
there are no flat tires, puddles of oil, water or other indications of pos- sible trouble.
2. After entering the car, check to be sure the parking brake is engaged.
3. Check that all windows, and lights are clean.
4. Check that the interior and exterior
mirrors are clean and in position.
5. Check your seat, seatback and headrest to be sure they are in theirproper positions.
6. Lock all the doors.
7. Fasten your seat belt and be sure
that all other occupants have fas- tened theirs.
8. Turn off all lights and accessories
that are not needed.
9. When you turn the ignition switch to "ON", check that all appropriatewarning lights are operating andthat you have sufficient fuel.
10.Check the operation of warning
lights and all bulbs when key is inthe "ON" position. WARNING:
(Diesel Engine)
To ensure that sufficient vacuum exists within the brake system dur-ing cold weather start-up condi- tions, it is necessary to run the engine at idle for several secondsafter starting the engine.TO START THE ENGINE
C030A01A-GAT COMBINATION IGNITION SWITCH
o If your Hyundai is equipped with a manual transaxle, place the shift lever in neutral and depress the clutch pedal fully.
o If your Hyundai has an automatic
transaxle, place the shift lever in "P"(park).
o To start the engine, insert the igni- tion key and turn it to the "START"position. Release it as soon as the engine starts. Do not hold the key inthe "START" position for more than 15 seconds.
NOTE: For safety, the engine will not start if the shift lever is not in "P" or "N" position (Automatic transaxle).
!WARNING:
Always wear appropriate shoes when operating your vehicle. Unsuitable shoes (high heels, skiboots, etc.) may interfere with your ability to use the brake and accelera- tor pedal, and the clutch (if installed).
Page 168 of 282
2
DRIVING YOUR HYUNDAI
5
2
DRIVING YOUR HYUNDAI
5
!WARNING:
Never run the engine in a closed or poorly ventilated area any longer than is needed to move your car in or out of the area. The carbon mon-oxide gas emitted is odorless and can cause serious injury or death.
C050A01E C051A01O-GAT STARTING FOR THE DIESEL ENGINE ENGINE COLD
o Turn the ignition key to position
"ON" and wait for the pre-heat indi- cator light to go out.
o Operate the starter until the engine
runs.
ENGINE WARM Operate the starter. If the engine does not respond on the first attempt, wait several seconds and try again usingthe pre-heat.
STARTING
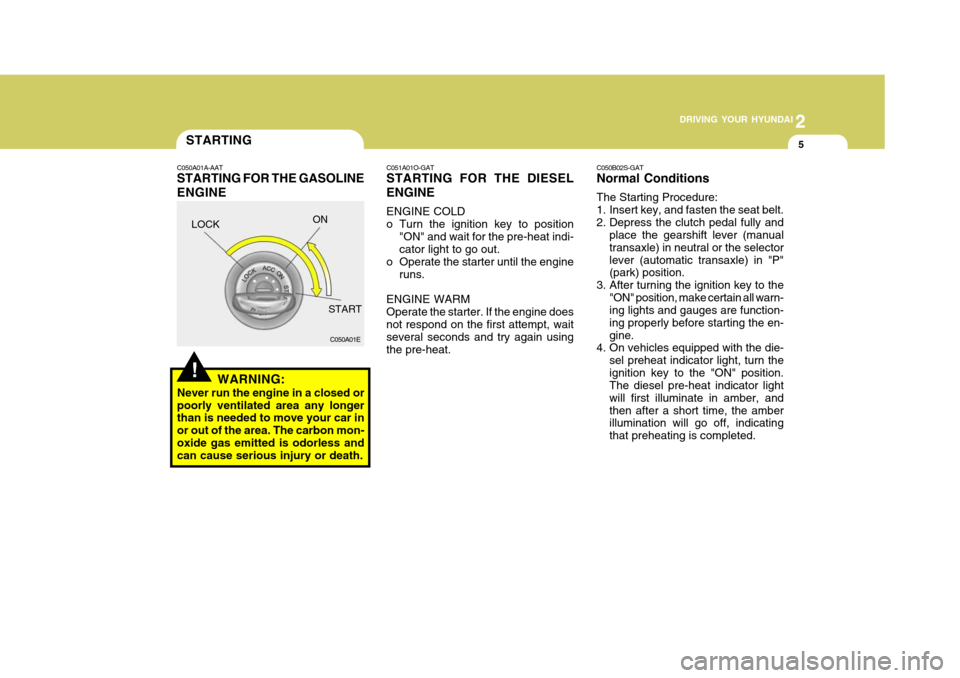
C050A01A-AAT STARTING FOR THE GASOLINE ENGINE C050B02S-GAT Normal Conditions The Starting Procedure:
1. Insert key, and fasten the seat belt.
2. Depress the clutch pedal fully and
place the gearshift lever (manualtransaxle) in neutral or the selectorlever (automatic transaxle) in "P" (park) position.
3. After turning the ignition key to the "ON" position, make certain all warn-ing lights and gauges are function- ing properly before starting the en-gine.
4. On vehicles equipped with the die-
sel preheat indicator light, turn theignition key to the "ON" position. The diesel pre-heat indicator light will first illuminate in amber, andthen after a short time, the amber illumination will go off, indicating that preheating is completed.
LOCK
ON
START
Page 170 of 282
2
DRIVING YOUR HYUNDAI
7
2
DRIVING YOUR HYUNDAI
7OPERATING THE MANUAL TRANSAXLE
OMC035013 NOTE:
o To shift into reverse, rest the lever
in neutral for at least 3 seconds after your car is completelystopped. Then move the lever into the reverse position.
o During cold weather, shifting may be difficult until the transaxle lu-bricant has warmed up. This is normal and not harmful to thetransaxle.
o If you've come to a complete stop
and it's hard to shift into 1 st
or
R(Reverse), put the shift lever in N(Neutral) position and release the clutch. Press the clutch pedalback down, and then shift into 1 st
or R(Reverse) gear position.
o Do not use the shift lever as a handrest during driving, as this can result in premature wear of the transaxle shift forks.
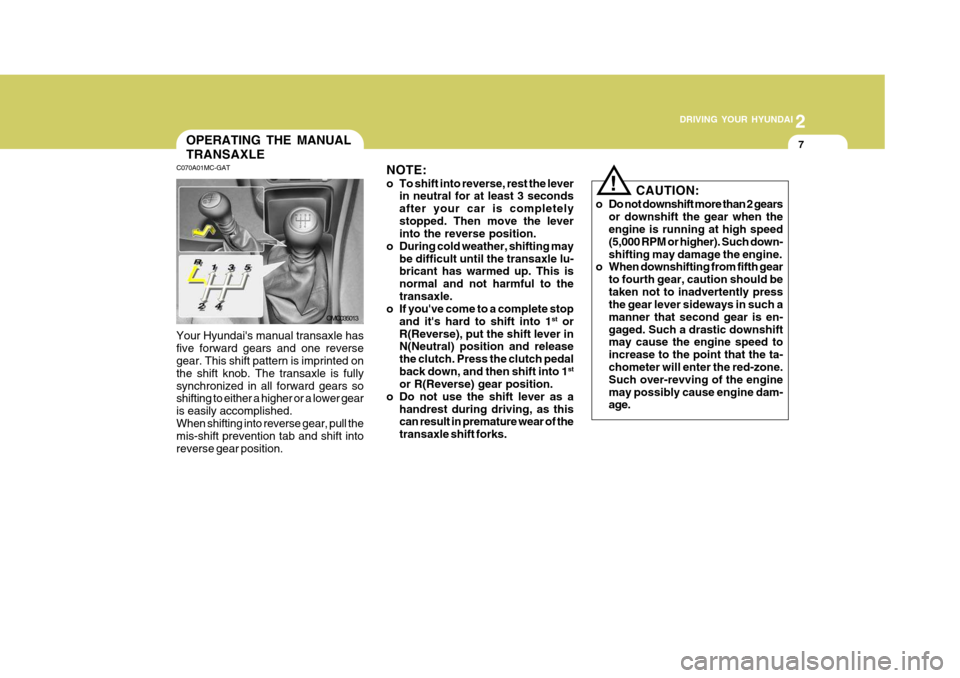
C070A01MC-GAT Your Hyundai's manual transaxle has five forward gears and one reverse gear. This shift pattern is imprinted on the shift knob. The transaxle is fullysynchronized in all forward gears so shifting to either a higher or a lower gear is easily accomplished.When shifting into reverse gear, pull the mis-shift prevention tab and shift into reverse gear position.
CAUTION:
o Do not downshift more than 2 gears or downshift the gear when the engine is running at high speed (5,000 RPM or higher). Such down-shifting may damage the engine.
o When downshifting from fifth gear
to fourth gear, caution should betaken not to inadvertently press the gear lever sideways in such a manner that second gear is en-gaged. Such a drastic downshift may cause the engine speed to increase to the point that the ta- chometer will enter the red-zone. Such over-revving of the enginemay possibly cause engine dam- age.
!