trunk release Hyundai Accent 2007 Owner's Manual
[x] Cancel search | Manufacturer: HYUNDAI, Model Year: 2007, Model line: Accent, Model: Hyundai Accent 2007Pages: 282, PDF Size: 10.55 MB
Page 9 of 282
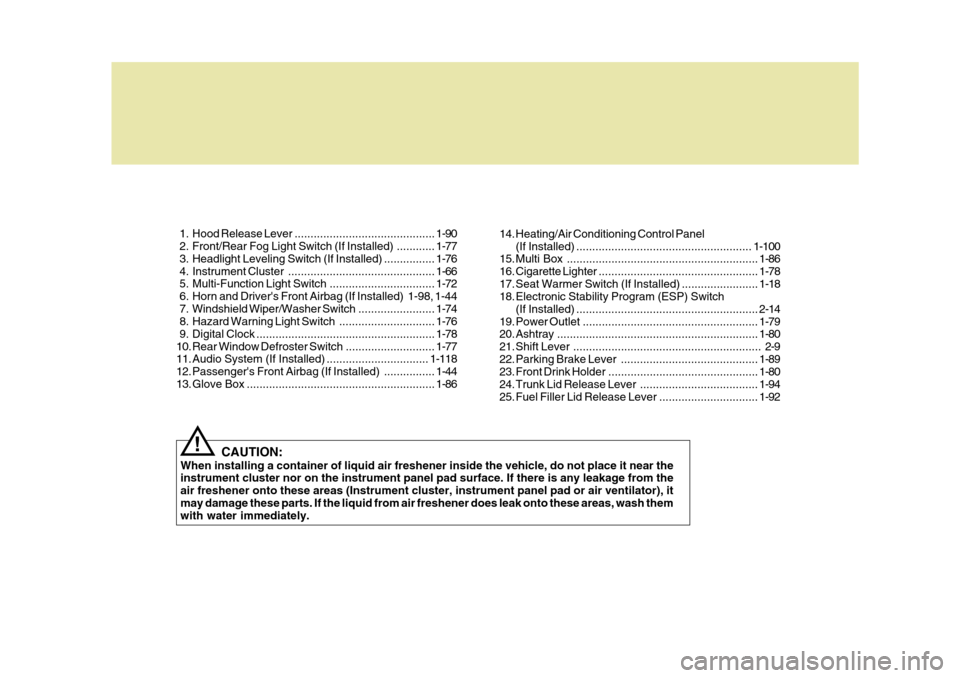
1. Hood Release Lever ............................................ 1-90
2. Front/Rear Fog Light Switch (If Installed) ............ 1-77
3. Headlight Leveling Switch (If Installed) ................ 1-76
4. Instrument Cluster.............................................. 1-66
5. Multi-Function Light Switch................................. 1-72
6. Horn and Driver's Front Airbag (If Installed) 1-98, 1-44
7. Windshield W iper/Washer Switch ........................1-74
8. Hazard Warning Light Switch.............................. 1-76
9. Digital Clock ........................................................ 1-78
10. Rear Window De froster Switch ............................ 1-77
11. Audio System (If Installed) ................................ 1-118
12. Passenger's Front Airbag (If Installed) ................1-44
13. Glov e Box ........................................................... 1-86
CAUTION:
When installing a container of liquid air freshener inside the vehicle, do not place it near the instrument cluster nor on the instrument panel pad surface. If there is any leakage from the air freshener onto these areas (Instrument cluster, instrument panel pad or air ventilator), itmay damage these parts. If the liquid from air freshener does leak onto these areas, wash them with water immediately.
! 14. Heating/Air Conditioning Control Panel
(If Installed) ....................................................... 1-100
15. Multi Box ............................................................ 1-86
16. Cigarette Lighter .................................................. 1-78
17. Seat Warmer Switch (If Installed) ........................ 1-18
18. Electronic Stability Program (ESP) Switch
(If Installed) ......................................................... 2-14
19. Power Outlet ....................................................... 1-79
20. Ashtray ............................................................... 1-80
21. Shift Lever ........................................................... 2-9
22. Parking Brake Lever ........................................... 1-89
23. Front Drink Holder ............................................... 1-80
24. Trunk Lid Release Lever .....................................1-94
25. Fuel Filler Lid Release Lever ...............................1-92
Page 11 of 282
CAUTION:
When installing a container of liquid air freshener inside the vehicle, do not place it near the instrument cluster nor on the instrument panel pad surface. If there is any leakage from the air freshener onto these areas (Instrument cluster, instrument panel pad or air ventilator), it may damage these parts. If the liquid from air freshener does leak onto these areas, wash themwith water immediately.!
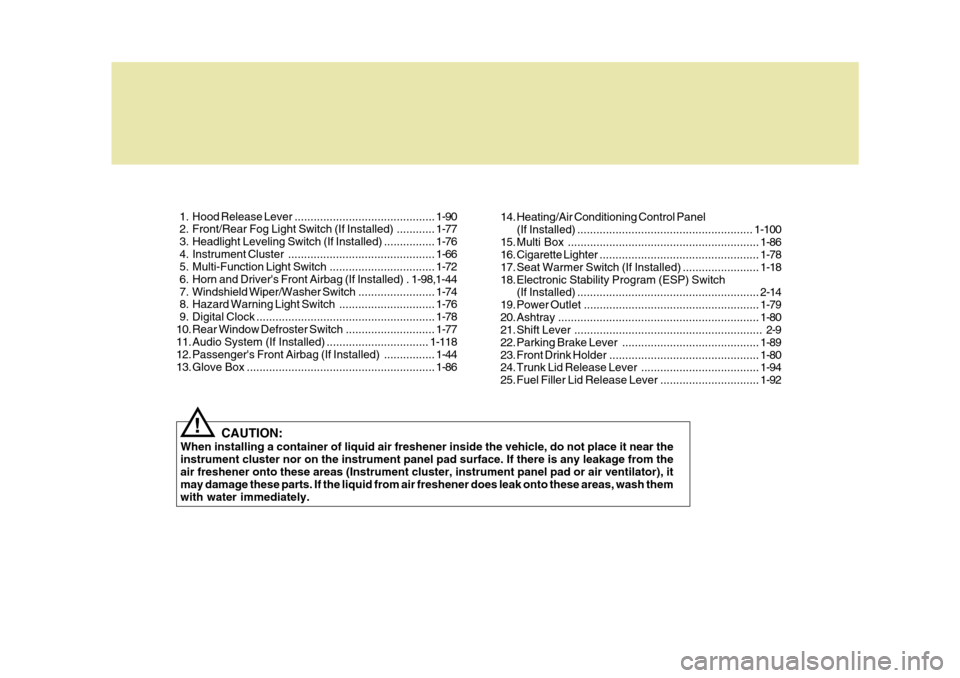
1. Hood
Release Lever ............................................ 1-90
2. Front/Rear Fog Light Switch (If Installed) ............ 1-77
3. Headlight Leveling Switch (If Installed) ................ 1-76
4. Instrument Cluster.............................................. 1-66
5. Multi-Function Light Switch................................. 1-72
6. Horn and Driver's Front Airbag (If Installed) . 1-98,1-44
7. Windshield W iper/Washer Switch ........................1-74
8. Hazard Warning Light Switch.............................. 1-76
9. Digital Clock ........................................................ 1-78
10. Rear Window De froster Switch ............................ 1-77
11. Audio System (If Installed) ................................ 1-118
12. Passenger's Front Airbag (If Installed) ................1-44
13. Glov e Box ........................................................... 1-8614. Heating/Air Conditioning Control Panel
(If Installed) ....................................................... 1-100
15. Multi Box ............................................................ 1-86
16. Cigarette Lighter .................................................. 1-78
17. Seat Warmer Switch (If Installed) ........................ 1-18
18. Electronic Stability Program (ESP) Switch (If Installed) ......................................................... 2-14
19. Power Outlet ....................................................... 1-79
20. Ashtray ............................................................... 1-80
21. Shift Lever ........................................................... 2-9
22. Parking Brake Lever ........................................... 1-89
23. Front Drink Holder ............................................... 1-80
24. Trunk Lid Release Lever .....................................1-94
25. Fuel Filler Lid Release Lever ...............................1-92
Page 95 of 282
1
FEATURES OF YOUR HYUNDAI
83
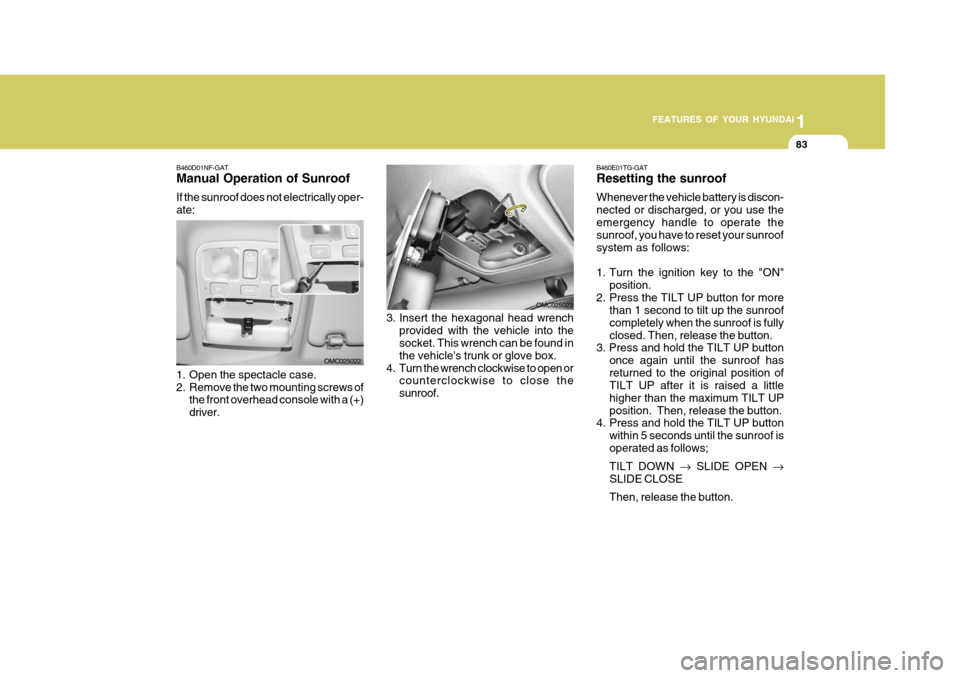
B460D01NF-GAT Manual Operation of Sunroof If the sunroof does not electrically oper- ate:
1. Open the spectacle case.
2. Remove the two mounting screws of
the front overhead console with a (+)driver. OMC025022
3. Insert the hexagonal head wrench
provided with the vehicle into the socket. This wrench can be found in the vehicle's trunk or glove box.
4. Turn the wrench clockwise to open or counterclockwise to close thesunroof. OMC025023B460E01TG-GAT Resetting the sunroof Whenever the vehicle battery is discon- nected or discharged, or you use theemergency handle to operate the sunroof, you have to reset your sunroof system as follows:
1. Turn the ignition key to the "ON"
position.
2. Press the TILT UP button for more than 1 second to tilt up the sunroof completely when the sunroof is fullyclosed. Then, release the button.
3. Press and hold the TILT UP button
once again until the sunroof hasreturned to the original position of TILT UP after it is raised a little higher than the maximum TILT UPposition. Then, release the button.
4. Press and hold the TILT UP button
within 5 seconds until the sunroof isoperated as follows; TILT DOWN � SLIDE OPEN �
SLIDE CLOSEThen, release the button.
Page 106 of 282
1FEATURES OF YOUR HYUNDAI
94
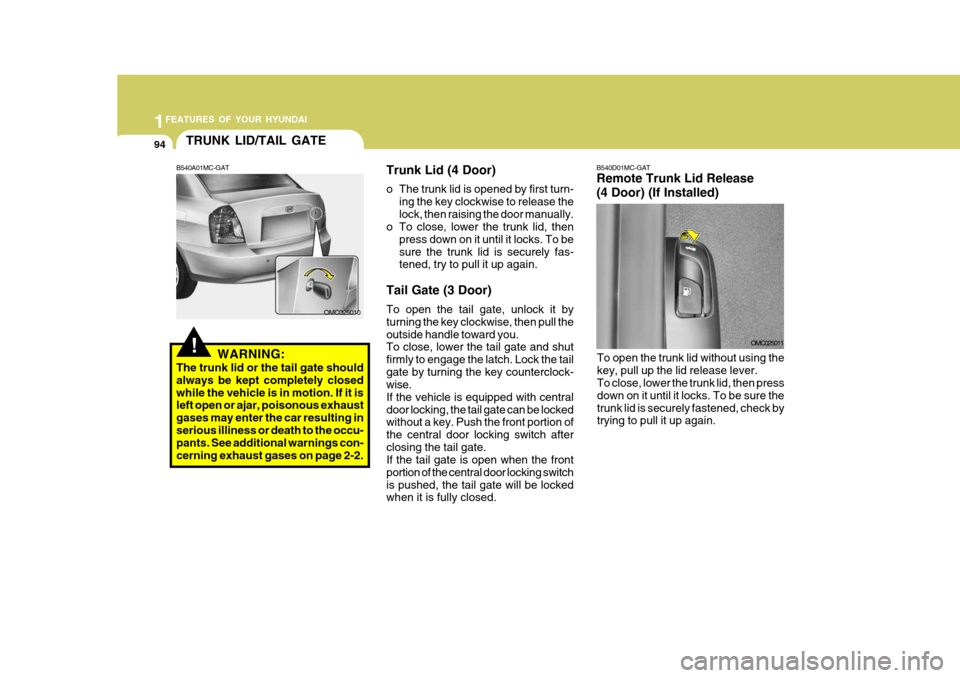
B540D01MC-GAT Remote Trunk Lid Release (4 Door) (If Installed)
OMC025011
To open the trunk lid without using the key, pull up the lid release lever. To close, lower the trunk lid, then press down on it until it locks. To be sure thetrunk lid is securely fastened, check by trying to pull it up again.
!
TRUNK LID/TAIL GATE
B540A01MC-GAT
WARNING:
The trunk lid or the tail gate should always be kept completely closedwhile the vehicle is in motion. If it is left open or ajar, poisonous exhaust gases may enter the car resulting inserious illiness or death to the occu- pants. See additional warnings con- cerning exhaust gases on page 2-2. Trunk Lid (4 Door)
o The trunk lid is opened by first turn-
ing the key clockwise to release the lock, then raising the door manually.
o To close, lower the trunk lid, then
press down on it until it locks. To besure the trunk lid is securely fas- tened, try to pull it up again.
Tail Gate (3 Door) To open the tail gate, unlock it by turning the key clockwise, then pull theoutside handle toward you. To close, lower the tail gate and shut firmly to engage the latch. Lock the tailgate by turning the key counterclock- wise. If the vehicle is equipped with centraldoor locking, the tail gate can be locked without a key. Push the front portion of the central door locking switch afterclosing the tail gate. If the tail gate is open when the front portion of the central door locking switchis pushed, the tail gate will be locked when it is fully closed.
OMC025010
Page 201 of 282
3 WHAT TO DO IN AN EMERGENCY
12
If there is small fire and you know how to use the fire extinguisher, take thefollowing steps carefully.
1. Pull the pin at the top of the extin-guisher that keeps the handle from being accidentally pressed.
2. Aim the nozzle toward the base of
the fire.
3. Stand approximately 2.5 m (8 ft)
away from the fire and squeeze the handle to discharge the extinguisher. If you release the handle, the dis- charge will stop.
4. Sweep the nozzle back and forth at the base of the fire. After the fireappears to be out, watch it carefullysince it may re-ignite.
Triangle Reflector The triangle reflector is located in the trunk. Placed the triangle reflector on the road to warn oncoming vehicles during emer- gencies, such as when the vehicle is parked by the roadside due to anyproblems. First Aid Kit The first aid kit is located in the trunk. There are some items such as scis- sors, bandage and adhesive tape and etc. in the kit to give first aid to aninjured person. Tire Pressure Gauge (If Installed) You can easily check the tire pressure with a tire pressure gauge that is found in OVM tool bag. Tires normally lose some air in day-to-day use, and youmay have to add a few pounds of air periodically and it is not usually a sign of a leaking tire, but of normal wear.Always check tire pressure when the tires are cold because tire pressure increases with temperature. To check the tire pressure, take the following steps;
1. Unscrew the inflation valve cap that
is located on the rim of the tire.
2. Press and hold the gauge against the tire valve. Some air will escape asyou begin and more will escape if youdon't press the gauge in firmly.
3. A firm non-leaking push will activate
the gauge.
4. Read the tire pressure on the gauge to know whether the tire pressure islow or high.
5. Adjust the tire pressures to the speci- fied pressure. See page 3-5.
6. Reinstall the inflation valve cap.