torque Hyundai Azera 2005 Owner's Manual
[x] Cancel search | Manufacturer: HYUNDAI, Model Year: 2005, Model line: Azera, Model: Hyundai Azera 2005Pages: 297, PDF Size: 13.2 MB
Page 217 of 297

3 WHAT TO DO IN AN EMERGENCY
10
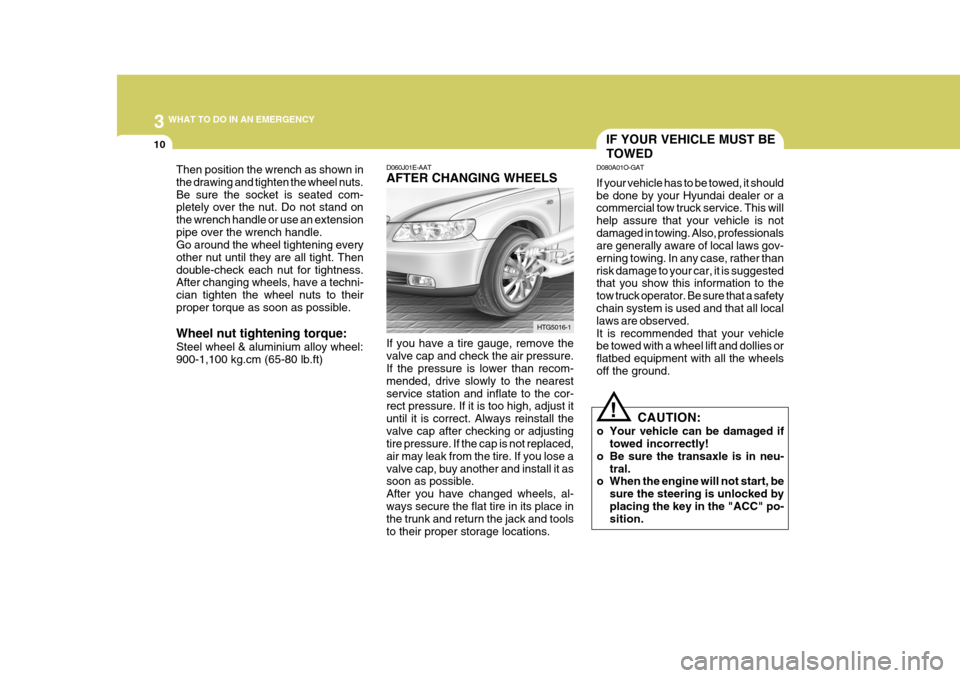
Then position the wrench as shown in the drawing and tighten the wheel nuts.Be sure the socket is seated com- pletely over the nut. Do not stand on the wrench handle or use an extensionpipe over the wrench handle. Go around the wheel tightening every other nut until they are all tight. Thendouble-check each nut for tightness. After changing wheels, have a techni- cian tighten the wheel nuts to theirproper torque as soon as possible. Wheel nut tightening torque: Steel wheel & aluminium alloy wheel: 900-1,100 kg.cm (65-80 lb.ft) D060J01E-AAT AFTER CHANGING WHEELS If you have a tire gauge, remove the valve cap and check the air pressure. If the pressure is lower than recom- mended, drive slowly to the nearestservice station and inflate to the cor- rect pressure. If it is too high, adjust it until it is correct. Always reinstall thevalve cap after checking or adjusting tire pressure. If the cap is not replaced, air may leak from the tire. If you lose avalve cap, buy another and install it as soon as possible. After you have changed wheels, al-ways secure the flat tire in its place in the trunk and return the jack and tools to their proper storage locations.HTG5016-1
IF YOUR VEHICLE MUST BE TOWED
D080A01O-GAT If your vehicle has to be towed, it should be done by your Hyundai dealer or a commercial tow truck service. This will help assure that your vehicle is notdamaged in towing. Also, professionals are generally aware of local laws gov- erning towing. In any case, rather thanrisk damage to your car, it is suggested that you show this information to the tow truck operator. Be sure that a safetychain system is used and that all local laws are observed. It is recommended that your vehicle be towed with a wheel lift and dollies or flatbed equipment with all the wheelsoff the ground.
! CAUTION:
o Your vehicle can be damaged if towed incorrectly!
o Be sure the transaxle is in neu- tral.
o When the engine will not start, be
sure the steering is unlocked by placing the key in the "ACC" po- sition.
Page 236 of 297

5
VEHICLE MAINTENANCE REQUIREMENTS
9
F070G02A-AAT
o Brake Fluid
Check brake fluid level in the brake fluid reservoir. The level should be between "MIN" and "MAX" marks on the side of the reservoir. Use onlyhydraulic brake fluid conforming to DOT 3 or DOT 4. F070H01TG-AAT
o Rear Disc Brake /
Linings, Parking Brake
Check the rear disc brake and linings for scoring, burning, leaking fluid, bro- ken parts, and excessive wear. In-spect the parking brake system in- cluding the parking brake pedal and cables. For detailed service proce-dures, refer to the Shop Manual. F070J01A-AAT
o Brake Pads, Calipers and
Rotors
Check the pads for excessive wear, discs for run out and wear, and cali-pers for fluid leakage. F070K01A-AAT
o Exhaust Pipe and Muffler
Visually inspect the exhaust pipes,
muffler and hangers for cracks, dete- rioration, or damage. Start the engine and listen carefully for any exhaustgas leakage. Tighten connections or replace parts as necessary.
F070L01A-AAT
o Suspension Mounting Bolts
Check the suspension connections for
looseness or damage. Retighten to thespecified torque.
F070M01Y-AAT
o Steering Gear Box, Linkage &
Boots/Lower Arm Ball Joint, Upper Arm Ball Joint
With the vehicle stopped and engine
off, check for excessive free-play in the steering wheel.
Check the linkage for bends or dam-
age. Check the dust boots and ball joints for deterioration, cracks, or dam-age. Replace any damaged parts. F070N01A-AAT
o Power Steering Pump,
Belt and Hoses
Check the power steering pump and hoses for leakage and damage. Re- place any damaged or leaking parts immediately. Inspect the power steer-ing belt for evidence of cuts, cracks, excessive wear, oiliness and proper tension. Replace or adjust it if neces-sary. F070P01A-AAT o Drive Shafts and Boots Check the drive shafts, boots and clamps for cracks, deterioration, ordamage. Replace any damaged parts and, if necessary, repack the grease. F070Q01A-AAT
o Air Conditioning Refrigerant Check the air conditioning lines and connections for leakage and damage. Check air conditioning performanceaccording to the relevant shop manual if necessary.
Page 239 of 297

6
DO-IT-YOURSELF MAINTENANCE
3GENERAL CHECKS
G020A01NF-GAT
Engine Compartment
The following should be checked regu- larly:
o Engine oil level and condition
o Transaxle fluid level and condition
o Brake fluid level
o Engine coolant level
o Windshield washer fluid level
o Accessory drive belt condition
o Engine coolant hose condition
o Fluid leaks (on or below compo- nents)
o Power steering fluid level
o Battery condition
o Air filter condition
o Immediate repairing when engine trembling occurs
o Limit to restart more than 3 times when engine cannot start o Defroster, heating system operation
(and air conditioning, If Installed)
o Steering operation and condition
o Mirror condition and operation
o Turn signal operation
o Accelerator pedal operation
o Brake operation, including parking brake
o Automatic transaxle operation, in- cluding "Park" mechanism opera- tion
o Seat control condition and opera- tion
o Seat belt condition and operation
o Sun visor operation If you notice anything that does not operate correctly or appears to befunctioning incorrectly, inspect it care- fully and seek assistance from your Hyundai dealer if service is needed.
G020B01A-AAT
Vehicle Exterior
The following should be checked
monthly:
o Overall appearance and condition
o Wheel condition and wheel nut
torque
o Exhaust system condition
o Light condition and operation
o Windshield glass condition
o Wiper blade condition
o Paint condition and body corrosion
o Fluid leaks
o Door and hood lock condition
o Tire pressure and condition (including spare tire)
G020C01TG-AAT
Vehicle Interior
The following should be checked each
time when the vehicle is driven:
o Lights operation
o Windshield wiper operation
o Horn operation