door lock Hyundai Coupe 2004 Owner's Guide
[x] Cancel search | Manufacturer: HYUNDAI, Model Year: 2004, Model line: Coupe, Model: Hyundai Coupe 2004Pages: 389, PDF Size: 10.22 MB
Page 189 of 389
1
CONTROLS AND EQUIPMENT
9
1) The driver's or passenger's door is
unlocked by depressing the "UN- LOCK" button on the transmitter.
2) In the middle of alarming or after
alarming, it disarms after 30 sec-onds if the key is turned to and kept in the "ON" position.
After completing one of steps above,the turn signal lamp will blink twice to indicate that the system is disarmed. NOTE: If any door, hatchback door or en- gine bonnet is not opened within 30 seconds, the system will be re-armed.
!
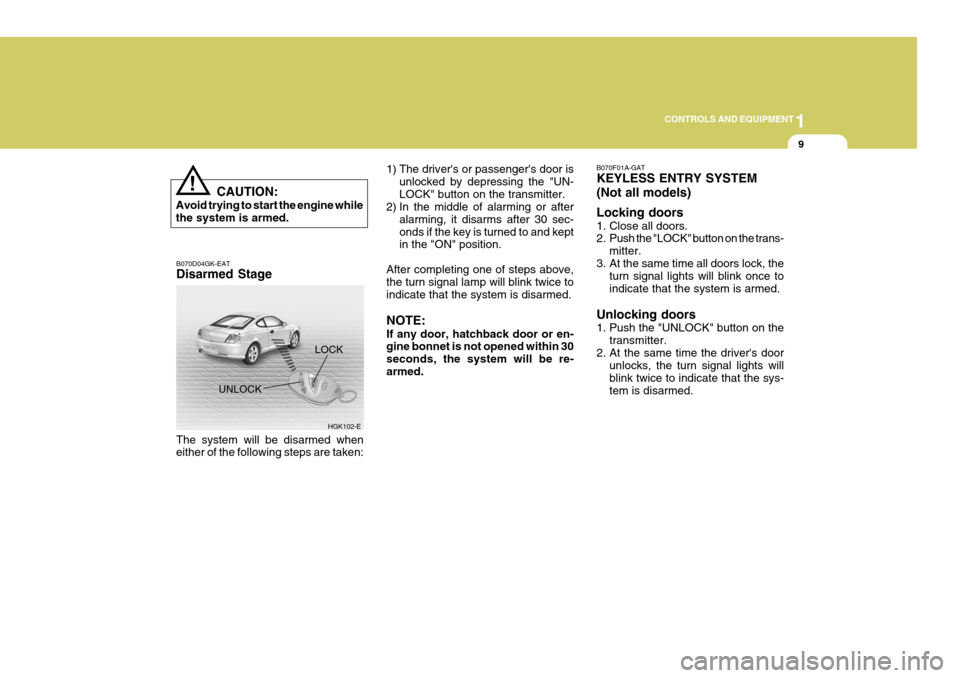
B070D04GK-EAT Disarmed Stage
UNLOCK
The system will be disarmed when either of the following steps are taken: CAUTION:
Avoid trying to start the engine whilethe system is armed.
HGK102-E
LOCK
B070F01A-GAT KEYLESS ENTRY SYSTEM (Not all models) Locking doors
1. Close all doors.
2. Push the "LOCK" button on the trans-
mitter.
3. At the same time all doors lock, the turn signal lights will blink once to indicate that the system is armed.
Unlocking doors
1. Push the "UNLOCK" button on the transmitter.
2. At the same time the driver's door unlocks, the turn signal lights will blink twice to indicate that the sys-tem is disarmed.
Page 190 of 389

1CONTROLS AND EQUIPMENT
10
B070E02GK-GAT Replacing the battery When the transmitter's battery begins to get weak, it may take several pusheson the button to lock or unlock the doors, and the LED will not light. Re- place the battery as soon as possible. Battery type : CR2032 Replacement instructions:
Screwdriver 2. Remove the old battery from the
case and note the polarity. Make sure the polarity of the new battery is the same(+side facing down), then insert it in the transmitter.
3. Installation is the reverse order of disassembly.
1. Carefully seperate the case with a blade screwdriver as shown in theillustration. Battery
HGK122
HGK121
NOTE: Install a new battery within 30 sec- onds after remove the old one, if installing a new battery takes morethan 30 seconds, take the following steps.
1) Turn the ignition key to the "ACC" position.
2) Make sure that the turn signal lights blink once by pushing the "LOCK" or "UNLOCK" button on the transmitter.
Page 191 of 389
1
CONTROLS AND EQUIPMENT
11
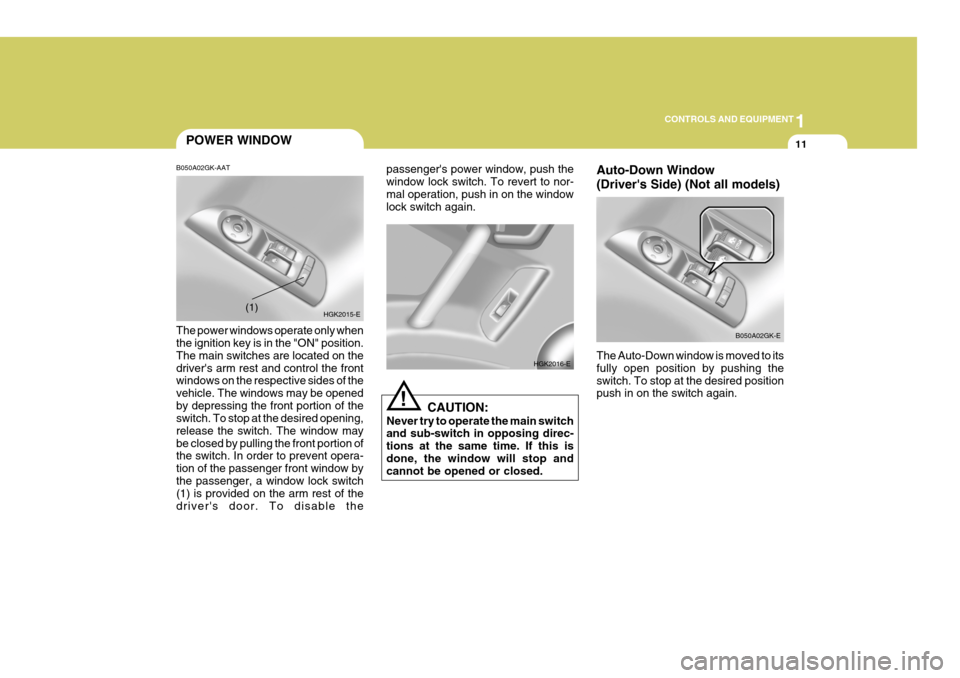
Auto-Down Window (Driver's Side) (Not all models) The Auto-Down window is moved to its fully open position by pushing theswitch. To stop at the desired position push in on the switch again. B050A02GK-E
POWER WINDOW
!
B050A02GK-AAT The power windows operate only when the ignition key is in the "ON" position. The main switches are located on thedriver's arm rest and control the front windows on the respective sides of the vehicle. The windows may be openedby depressing the front portion of the switch. To stop at the desired opening, release the switch. The window maybe closed by pulling the front portion of the switch. In order to prevent opera- tion of the passenger front window bythe passenger, a window lock switch (1) is provided on the arm rest of the driver's door. To disable the passenger's power window, push thewindow lock switch. To revert to nor-mal operation, push in on the window lock switch again.
CAUTION:
Never try to operate the main switchand sub-switch in opposing direc- tions at the same time. If this isdone, the window will stop and cannot be opened or closed.
HGK2015-E
(1)
HGK2016-E
Page 192 of 389

1CONTROLS AND EQUIPMENT
12
!
!WARNING:
To ensure the seat is locked se- curely, attempt to move the seatforward or rearward without using the lock release lever.
SEATS
!
WARNING:
1) Be careful that someone's head, hands and body are not trapped by a closing window.
2) Never try to operate the main switch on the driver's door andthe individual door windowswitch in opposing directions at the same time. If this is done, the window will stop and cannot beopened or closed.
3) Do not leave children alone in the
car. Always remove the ignitionkey for their safety. SB070A1-E FRONT SEAT ADJUSTMENT
WARNING:
Front seat adjustments must not be undertaken whilst the vehicle is in motion. Loss of control of the ve-hicle may result if seat adjustments are made whilst the vehicle is in motion. SB070B2-E Front seat rake adjustment The front seat rake adjustment is per- formed by raising the lever at the front of the seat base and sliding the seat to the desired position. At this positionthe lever should be released and the seat rocked to and fro to ensure that the mechanism has locked.
HGK2027-E
Page 202 of 389
1CONTROLS AND EQUIPMENT
22
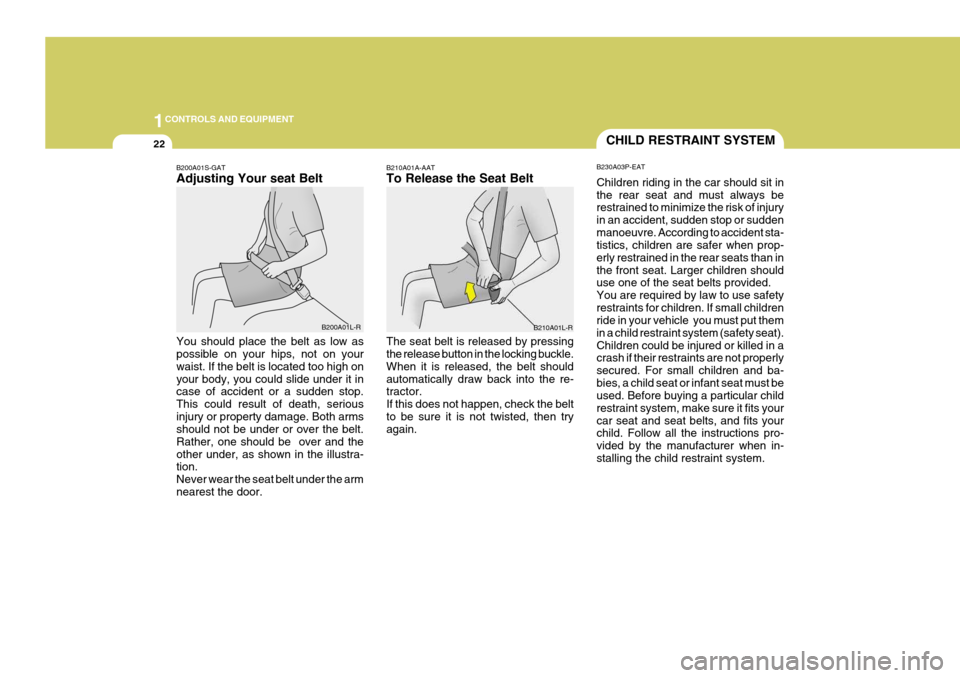
B210A01A-AAT To Release the Seat Belt The seat belt is released by pressing the release button in the locking buckle. When it is released, the belt shouldautomatically draw back into the re- tractor. If this does not happen, check the beltto be sure it is not twisted, then try again.
CHILD RESTRAINT SYSTEM
B230A03P-EAT Children riding in the car should sit in the rear seat and must always be restrained to minimize the risk of injury in an accident, sudden stop or suddenmanoeuvre. According to accident sta- tistics, children are safer when prop- erly restrained in the rear seats than inthe front seat. Larger children should use one of the seat belts provided. You are required by law to use safetyrestraints for children. If small children ride in your vehicle you must put them in a child restraint system (safety seat).Children could be injured or killed in a crash if their restraints are not properly secured. For small children and ba-bies, a child seat or infant seat must be used. Before buying a particular child restraint system, make sure it fits yourcar seat and seat belts, and fits your child. Follow all the instructions pro- vided by the manufacturer when in-stalling the child restraint system.
B210A01L-R
B200A01S-GAT Adjusting Your seat Belt You should place the belt as low as possible on your hips, not on your waist. If the belt is located too high onyour body, you could slide under it in case of accident or a sudden stop. This could result of death, seriousinjury or property damage. Both arms should not be under or over the belt. Rather, one should be over and theother under, as shown in the illustra- tion. Never wear the seat belt under the armnearest the door. B200A01L-R
Page 215 of 389
1
CONTROLS AND EQUIPMENT
35
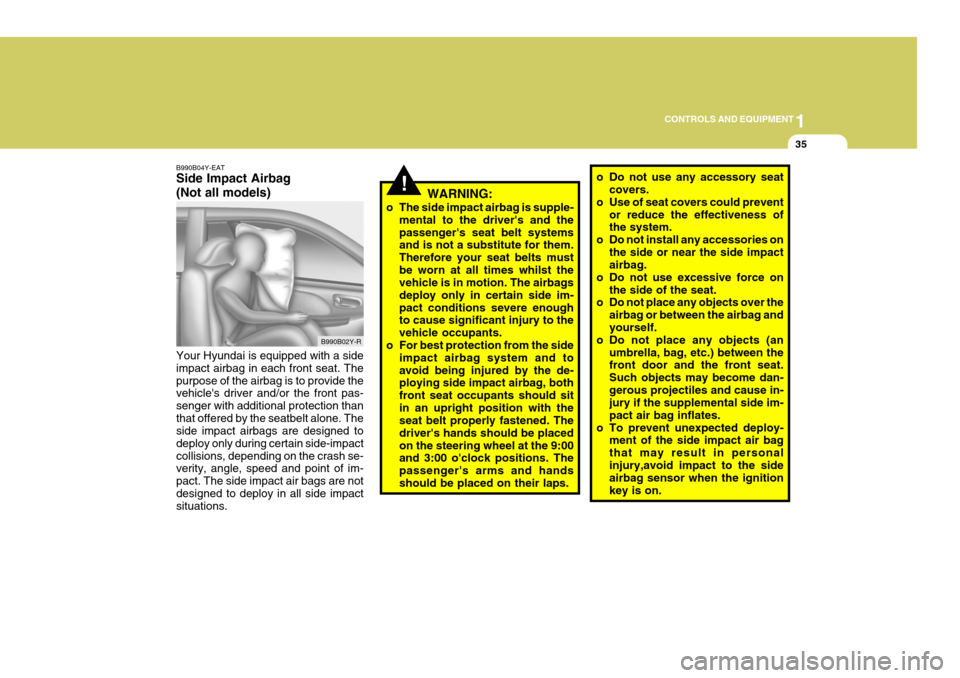
B990B04Y-EAT Side Impact Airbag (Not all models)
B990B02Y-R
Your Hyundai is equipped with a side impact airbag in each front seat. Thepurpose of the airbag is to provide the vehicle's driver and/or the front pas- senger with additional protection thanthat offered by the seatbelt alone. The side impact airbags are designed to deploy only during certain side-impactcollisions, depending on the crash se- verity, angle, speed and point of im- pact. The side impact air bags are notdesigned to deploy in all side impact situations.
!WARNING:
o The side impact airbag is supple- mental to the driver's and the passenger's seat belt systems and is not a substitute for them. Therefore your seat belts mustbe worn at all times whilst the vehicle is in motion. The airbags deploy only in certain side im-pact conditions severe enough to cause significant injury to the vehicle occupants.
o For best protection from the side
impact airbag system and toavoid being injured by the de- ploying side impact airbag, both front seat occupants should sitin an upright position with the seat belt properly fastened. The driver's hands should be placedon the steering wheel at the 9:00 and 3:00 o'clock positions. The passenger's arms and handsshould be placed on their laps. o Do not use any accessory seat
covers.
o Use of seat covers could prevent
or reduce the effectiveness of the system.
o Do not install any accessories on
the side or near the side impactairbag.
o Do not use excessive force on the side of the seat.
o Do not place any objects over the
airbag or between the airbag and yourself.
o Do not place any objects (an
umbrella, bag, etc.) between the front door and the front seat. Such objects may become dan-gerous projectiles and cause in- jury if the supplemental side im- pact air bag inflates.
o To prevent unexpected deploy- ment of the side impact air bagthat may result in personalinjury,avoid impact to the side airbag sensor when the ignition key is on.
Page 219 of 389
1
CONTROLS AND EQUIPMENT
39
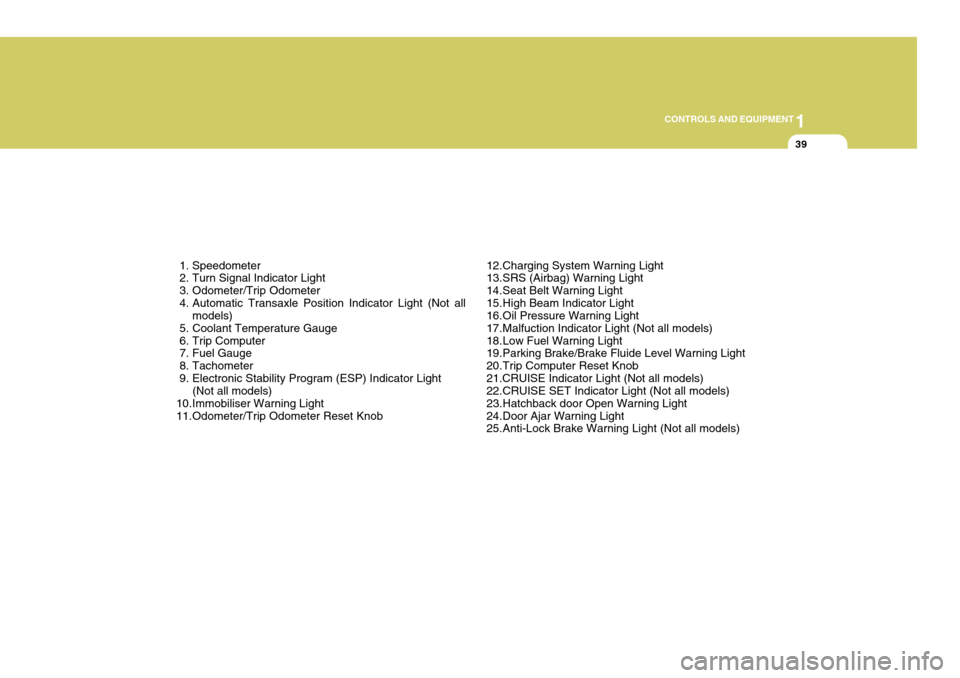
1. Speedometer
2. Turn Signal Indicator Light
3. Odometer/Trip Odometer
4. Automatic Transaxle Position Indicator Light (Not all models)
5. Coolant Temperature Gauge
6. Trip Computer
7. Fuel Gauge
8. Tachometer
9. Electronic Stability Program (ESP) Indicator Light (Not all models)
10.Immobiliser Warning Light
11.Odometer/Trip Odometer Reset Knob 12.Charging System Warning Light
13.SRS (Airbag) Warning Light
14.Seat Belt Warning Light
15.High Beam Indicator Light
16.Oil Pressure Warning Light
17.Malfuction Indicator Light (Not all models)
18.Low Fuel Warning Light
19.Parking Brake/Brake Fluide Level Warning Light
20.Trip Computer Reset Knob21.CRUISE Indicator Light (Not all models)
22.CRUISE SET Indicator Light (Not all models)
23.Hatchback door Open Warning Light
24.Door Ajar Warning Light
25.Anti-Lock Brake Warning Light (Not all models)
Page 241 of 389
1
CONTROLS AND EQUIPMENT
61
B460E03GK-GAT Resetting the Sunroof System If the battery has been recharged, disconnected or if the sunroof is oper-ated with the hexagonal head wrench manually, you may need to reset the sunroof. To do this;
1. Turn the ignition switch "OFF".
2. With pressing " " "up" button at the
same time, turn the ignition switch"ON". The resetting is failed when the ignition key to the "OFF" within1.5 seconds.
3. If the sunroof is set like this, the sunroof is reset with tilting up/down automatically once for all.
CAUTION:
If the sunroof is not reset, it may not be operated properly.
!
MAP LIGHT
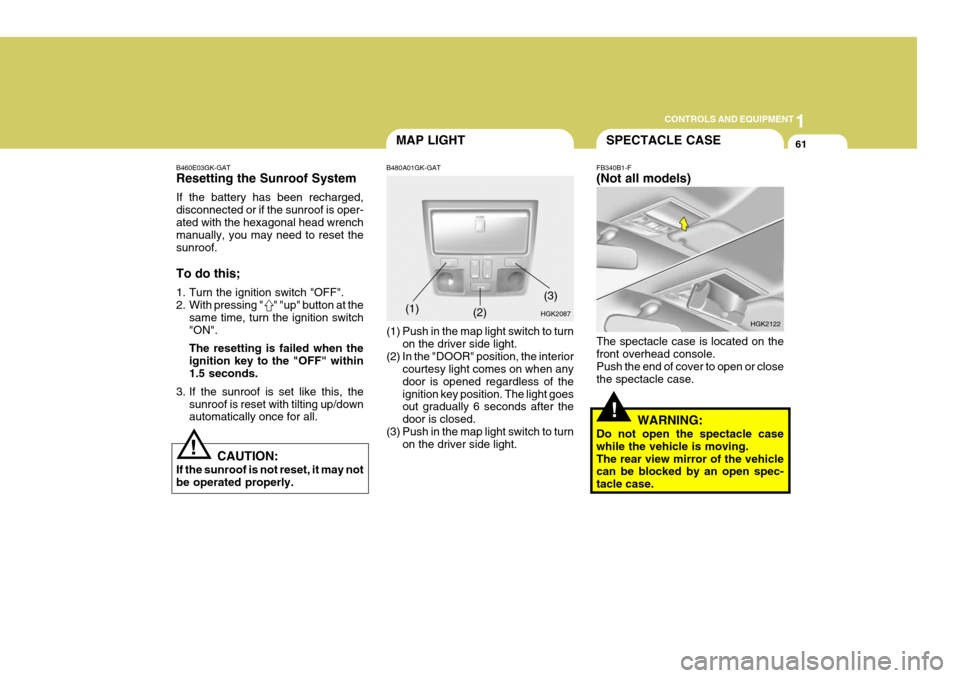
B480A01GK-GAT
(1) Push in the map light switch to turn on the driver side light.
(2) In the "DOOR" position, the interior courtesy light comes on when any door is opened regardless of theignition key position. The light goes out gradually 6 seconds after the door is closed.
(3) Push in the map light switch to turn on the driver side light.(1)
HGK2087
(2)
(3)
!
SPECTACLE CASE
FB340B1-F (Not all models) The spectacle case is located on the front overhead console. Push the end of cover to open or closethe spectacle case.
WARNING:
Do not open the spectacle casewhile the vehicle is moving.The rear view mirror of the vehicle can be blocked by an open spec- tacle case. HGK2122
Page 245 of 389
1
CONTROLS AND EQUIPMENT
65FRONT DOOR EDGE WARN- ING LAMP
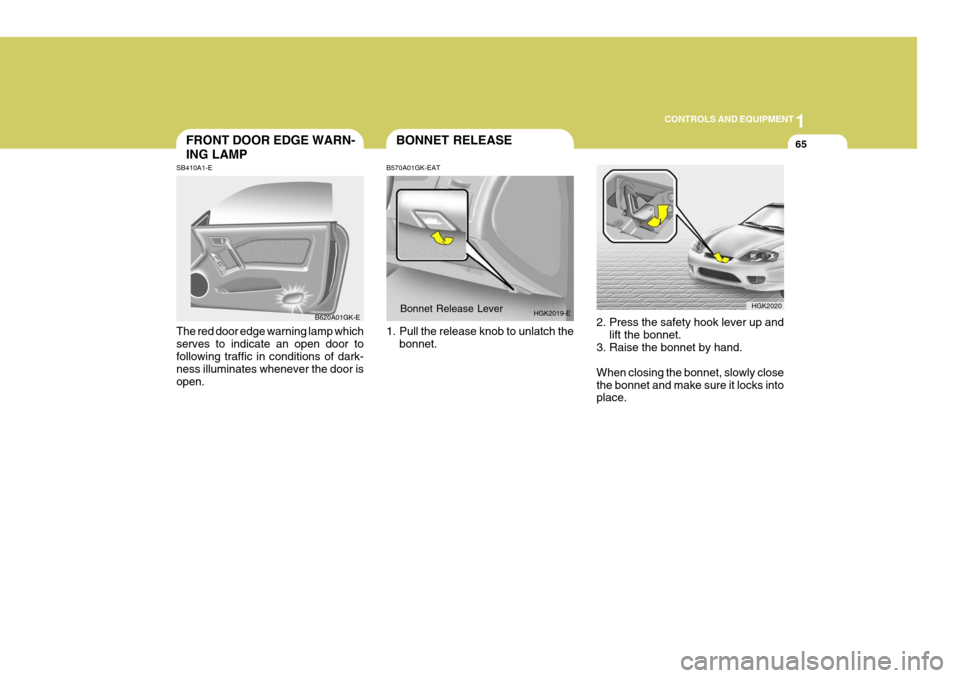
SB410A1-E The red door edge warning lamp which serves to indicate an open door tofollowing traffic in conditions of dark- ness illuminates whenever the door is open. B620A01GK-EBONNET RELEASE
B570A01GK-EAT
1. Pull the release knob to unlatch the bonnet.Bonnet Release Lever
HGK2019-E
2. Press the safety hook lever up and
lift the bonnet.
3. Raise the bonnet by hand. When closing the bonnet, slowly close the bonnet and make sure it locks into place. HGK2020
Page 247 of 389
1
CONTROLS AND EQUIPMENT
67HATCHBACK DOOR
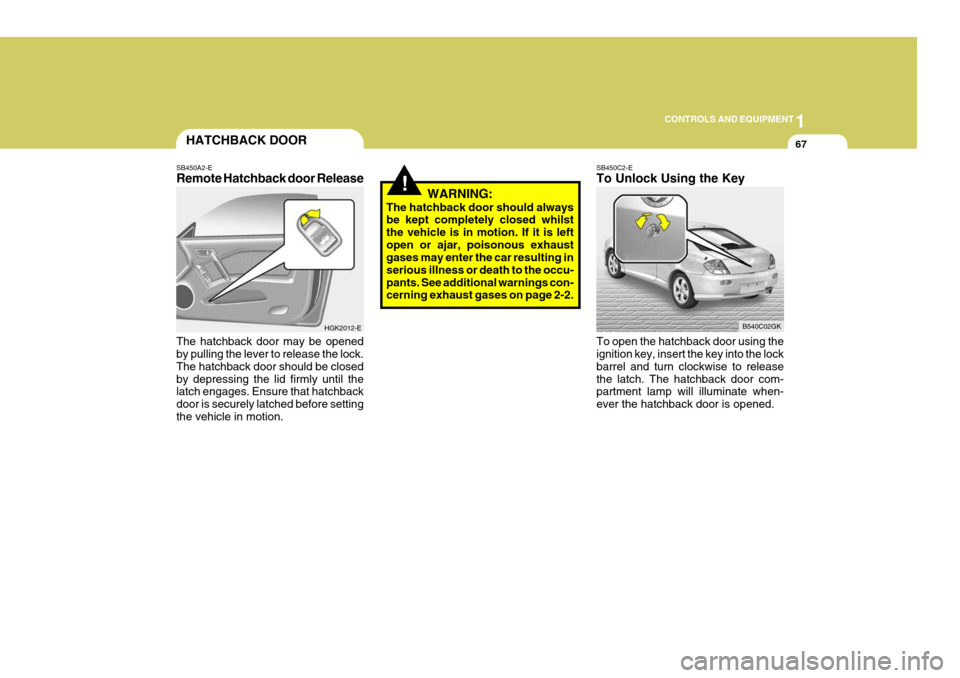
SB450A2-E Remote Hatchback door Release The hatchback door may be opened by pulling the lever to release the lock. The hatchback door should be closedby depressing the lid firmly until the latch engages. Ensure that hatchback door is securely latched before settingthe vehicle in motion. HGK2012-E
!WARNING:
The hatchback door should always be kept completely closed whilst the vehicle is in motion. If it is leftopen or ajar, poisonous exhaust gases may enter the car resulting in serious illness or death to the occu-pants. See additional warnings con- cerning exhaust gases on page 2-2.
SB450C2-E To Unlock Using the Key To open the hatchback door using the ignition key, insert the key into the lock barrel and turn clockwise to releasethe latch. The hatchback door com- partment lamp will illuminate when- ever the hatchback door is opened. B540C02GK