check oil Hyundai Coupe 2005 Service Manual
[x] Cancel search | Manufacturer: HYUNDAI, Model Year: 2005, Model line: Coupe, Model: Hyundai Coupe 2005Pages: 478, PDF Size: 13.44 MB
Page 433 of 478
6
OWNER MAINTENANCE
15MANUAL TRANSAXLE LUBRICANT
HGK5009
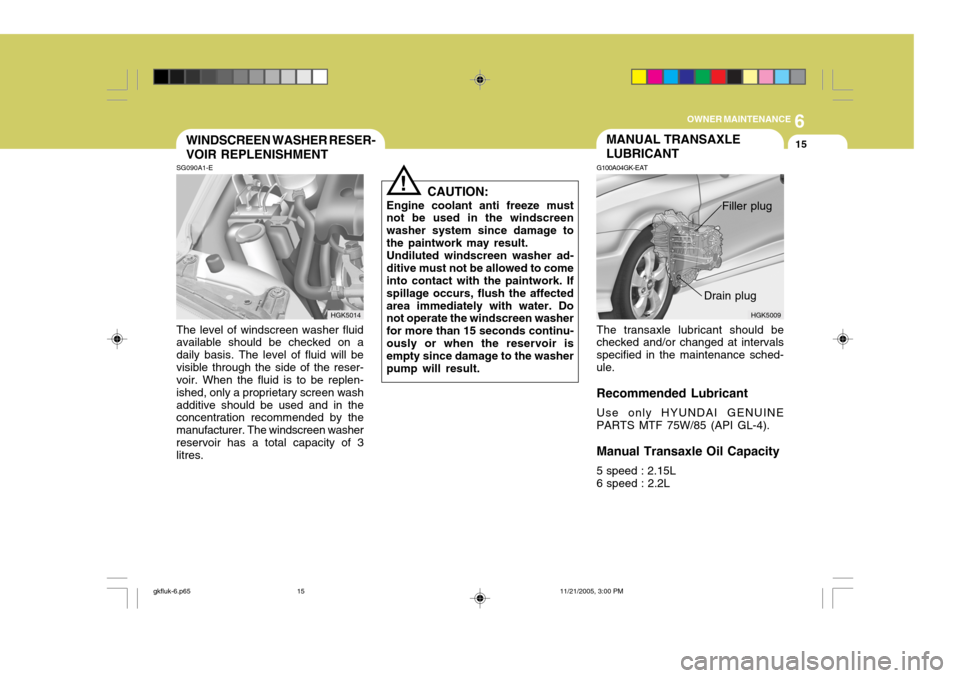
G100A04GK-EAT The transaxle lubricant should be checked and/or changed at intervals specified in the maintenance sched-ule. Recommended Lubricant Use only HYUNDAI GENUINE PARTS MTF 75W/85 (API GL-4). Manual Transaxle Oil Capacity 5 speed : 2.15L 6 speed : 2.2L Drain plugSG090A1-E The level of windscreen washer fluid available should be checked on a daily basis. The level of fluid will bevisible through the side of the reser- voir. When the fluid is to be replen- ished, only a proprietary screen washadditive should be used and in the concentration recommended by the manufacturer. The windscreen washerreservoir has a total capacity of 3 litres. CAUTION:
Engine coolant anti freeze mustnot be used in the windscreen washer system since damage tothe paintwork may result.Undiluted windscreen washer ad-ditive must not be allowed to come into contact with the paintwork. If spillage occurs, flush the affectedarea immediately with water. Do not operate the windscreen washer for more than 15 seconds continu-ously or when the reservoir is empty since damage to the washer pump will result.
WINDSCREEN WASHER RESER- VOIR REPLENISHMENT
!
HGK5014
Filler plug
gkfluk-6.p65
11/21/2005, 3:00 PM
15
Page 434 of 478
6OWNER MAINTENANCE
16
!
G100B01L
WARNING:
The transaxle lubricant level should only be checked when the engineis cold to prelude the possibility of personal injury by contact with hot components. NOTE: It is recommended that the manual transaxle lubricant should bechecked by Hyundai authorised re- pairer.
1. To check the transaxle lubricant level, the vehicle should be placed on level ground and the level plug removed with a suitable spanner.
2. If the level is correct, lubricant should begin to drip from the plug orifice. In this case the plug shouldbe replaced.If the level is incorrect, lubricantshould be added until it begins todrip from the plug orifice at which time the plug should be replaced. To Check the Transaxle Oil Level
Park the car on level ground with the
engine off.
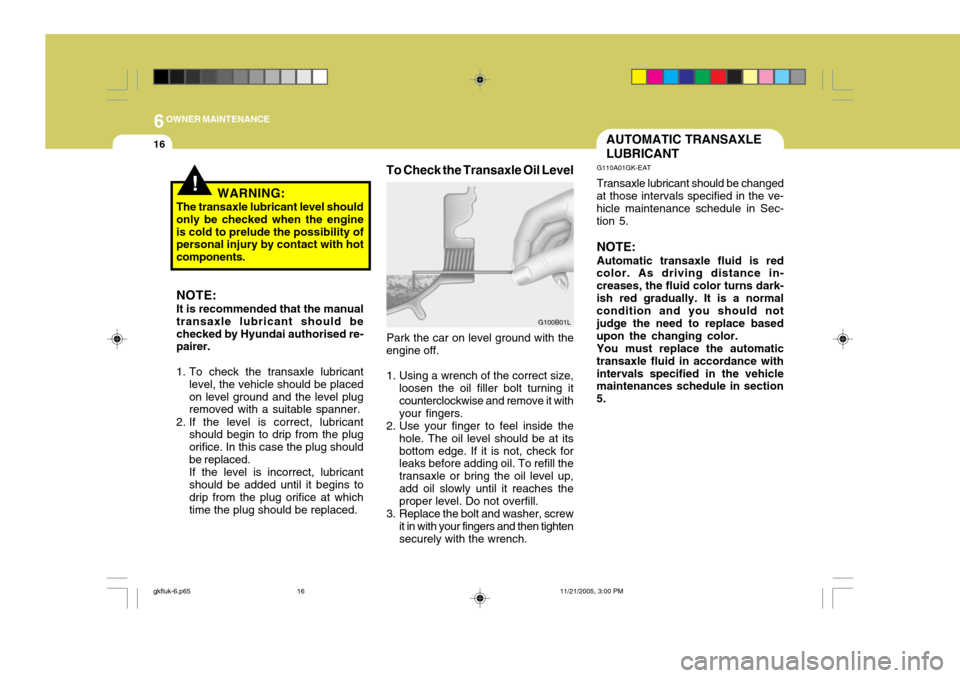
1. Using a wrench of the correct size, loosen the oil filler bolt turning it counterclockwise and remove it with your fingers.
2. Use your finger to feel inside the
hole. The oil level should be at itsbottom edge. If it is not, check for leaks before adding oil. To refill the transaxle or bring the oil level up,add oil slowly until it reaches the proper level. Do not overfill.
3. Replace the bolt and washer, screw it in with your fingers and then tightensecurely with the wrench.
AUTOMATIC TRANSAXLE LUBRICANT
G110A01GK-EAT Transaxle lubricant should be changed
at those intervals specified in the ve- hicle maintenance schedule in Sec-tion 5.
NOTE: Automatic transaxle fluid is red
color. As driving distance in- creases, the fluid color turns dark-ish red gradually. It is a normal condition and you should not judge the need to replace basedupon the changing color.
You must replace the automatic
transaxle fluid in accordance withintervals specified in the vehicle maintenances schedule in section 5.
gkfluk-6.p65 11/21/2005, 3:00 PM
16
Page 447 of 478
6
OWNER MAINTENANCE
29
G290B01GK-EAT
Adjustment After Headlight As- sembly Replacement
If the vehicle has had front body
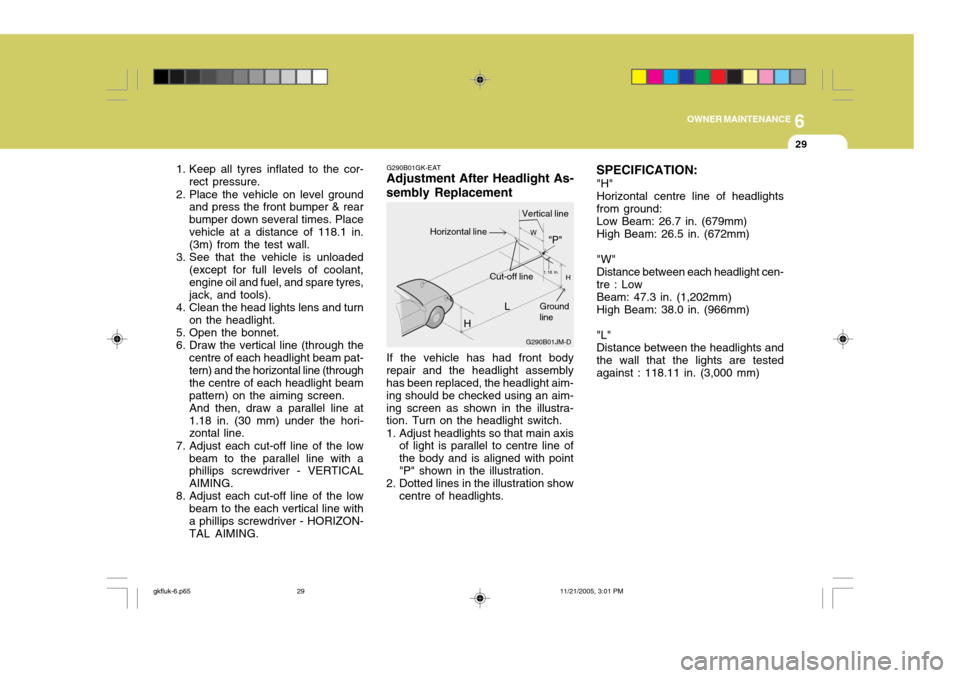
repair and the headlight assembly has been replaced, the headlight aim- ing should be checked using an aim-ing screen as shown in the illustra- tion. Turn on the headlight switch.
1. Adjust headlights so that main axis of light is parallel to centre line of the body and is aligned with point"P" shown in the illustration.
2. Dotted lines in the illustration show centre of headlights. SPECIFICATION:
"H" Horizontal centre line of headlights from ground: Low Beam: 26.7 in. (679mm) High Beam: 26.5 in. (672mm) "W" Distance between each headlight cen- tre : Low Beam: 47.3 in. (1,202mm) High Beam: 38.0 in. (966mm) "L" Distance between the headlights and the wall that the lights are tested against : 118.11 in. (3,000 mm)
1. Keep all tyres inflated to the cor-
rect pressure.
2. Place the vehicle on level ground and press the front bumper & rearbumper down several times. Placevehicle at a distance of 118.1 in. (3m) from the test wall.
3. See that the vehicle is unloaded (except for full levels of coolant, engine oil and fuel, and spare tyres,jack, and tools).
4. Clean the head lights lens and turn on the headlight.
5. Open the bonnet.
6. Draw the vertical line (through the centre of each headlight beam pat- tern) and the horizontal line (through the centre of each headlight beampattern) on the aiming screen.And then, draw a parallel line at1.18 in. (30 mm) under the hori- zontal line.
7. Adjust each cut-off line of the low beam to the parallel line with aphillips screwdriver - VERTICAL AIMING.
8. Adjust each cut-off line of the low beam to the each vertical line witha phillips screwdriver - HORIZON- TAL AIMING. L
G290B01JM-D
W
H
H Cut-off line"P"
Vertical lineHorizontal line
Ground line
1.18 in.
gkfluk-6.p65
11/21/2005, 3:01 PM
29
Page 475 of 478
10INDEX
2
A Air bag ....................................................................... 1-30
Air conditioning switch .............................................. 1-82
Air conditioning system mai ntenance .........................6-20
Antenna ...................................................................... 1-96
Anti-lock brake system (ABS) .................................... 2-13
Audio remote control switch .......................................1-73
Automatic transaxle lubricant .....................................6-16
Automatic transaxle ..................................................... 2-8
B
Battery maintenance ................................................... 6-26
Before folding the rear seats ...................................... 1-17
Before starting the engine ........................................... 2-3
Bonnet release ............................................................ 1-65
Brake pedal freeplay ................................................... 6-23
Brake system checking .............................................. 6-18
C Care of cassette tape ............................................... 1-95
Care of disc .............................................................. 1-94
Care of seat belts ..................................................... 1-20
Catalytic convertor ...................................................... 7-3
Central door lock ......................................................... 1-7
Changing a flat type ................................................... 3-6
Changing the air cleaner filter ..................................... 6-12
Checking the clutch fluid ............................................ 6-19Child restra
int system ................................................. 1-22
Cigar lighter ................................................................ 1-56
Clutch pedal freeplay .................................................. 6-23
Cruise control ............................................................. 1-70
D Daily operating checks ................................................ 6-5
Day/nignt rear view mirror ... .....................................1-63
Defrosting/defogging ................................................. 1-80
Digital clock ................................................................ 1-56
Door locks ................................................................... 1-6
Drink holder ................................................................ 1-57
Drive belts .................................................................. 6-24
Driving for economy ................................................... 2-15
EEffective braking ......................................................... 2-12
Electric cooling f ans ................................................... 6-27
Emission control system s ........................................... 7-2
Engine compartment .................................................... 6-2
Engine coolant checking and replacing ...................... 6-10
Engine coolant temperature guage .............................1-44
Engine oil and filter replacement ................................. 6-8
Engine oil consump tion ............................................... 6-7
Engine oil replenishment .............................................. 6-7
Engine oil ..................................................................... 6-5
Exterior rear view mirror ............................................. 1-62
gkfluk-10.p65 11/21/2005, 2:58 PM
2