oil pressure Hyundai Elantra 2017 Owner's Manual - RHD (UK. Australia)
[x] Cancel search | Manufacturer: HYUNDAI, Model Year: 2017, Model line: Elantra, Model: Hyundai Elantra 2017Pages: 571, PDF Size: 65.66 MB
Page 153 of 571
3-61
Convenient features of your vehicle
3
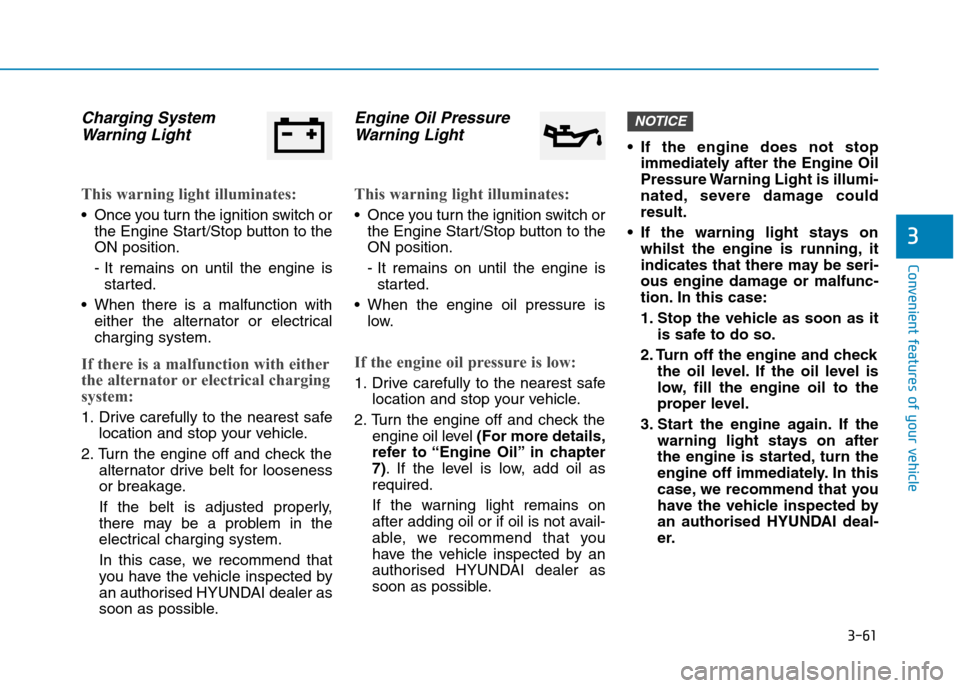
Charging System
Warning Light
This warning light illuminates:
•Once you turn the ignition switch or
the Engine Start/Stop button to the
ON position.
- It remains on until the engine is
started.
•When there is a malfunction with
either the alternator or electrical
charging system.
If there is a malfunction with either
the alternator or electrical charging
system:
1. Drive carefully to the nearest safe
location and stop your vehicle.
2. Turn the engine off and check the
alternator drive belt for looseness
or breakage.
If the belt is adjusted properly,
there may be a problem in the
electrical charging system.
In this case, we recommend that
you have the vehicle inspected by
an authorised HYUNDAI dealer as
soon as possible.
Engine Oil Pressure
Warning Light
This warning light illuminates:
•Once you turn the ignition switch or
the Engine Start/Stop button to the
ON position.
- It remains on until the engine is
started.
•When the engine oil pressure is
low.
If the engine oil pressure is low:
1. Drive carefully to the nearest safe
location and stop your vehicle.
2. Turn the engine off and check the
engine oil level (For more details,
refer to “Engine Oil” in chapter
7).If the level is low, add oil as
required.
If the warning light remains on
after adding oil or if oil is not avail-
able, we recommend that you
have the vehicle inspected by an
authorised HYUNDAI dealer as
soon as possible.
•If the engine does not stop
immediately after the Engine Oil
Pressure Warning Light is illumi-
nated, severe damage could
result.
•If the warning light stays on
whilst the engine is running, it
indicates that there may be seri-
ous engine damage or malfunc-
tion. In this case:
1. Stop the vehicle as soon as it
is safe to do so.
2. Turn off the engine and check
the oil level. If the oil level is
low, fill the engine oil to the
proper level.
3. Start the engine again. If the
warning light stays on after
the engine is started, turn the
engine off immediately. In this
case, we recommend that you
have the vehicle inspected by
an authorised HYUNDAI deal-
er.
NOTICE
Page 221 of 571

3-129
Convenient features of your vehicle
3
Air Conditioning refrigerant
label
The actual Air Conditioning refriger-
ant label in the vehicle may differ
from the illustration.
The symbols and specifications on
the air conditioning refrigerant label
describe the:
1. Classification of refrigerant
2. Amount of refrigerant
3. Classification of Compressor lubri-
cant
Yo u c a n f i n d o u t w h i c h a i r c o n d i t i o n -
ing refrigerant is applied to your vehi-
cle on the label located inside the
bonnet.
Checking the amount of air
conditioner refrigerant and
compressor lubricant
When the amount of refrigerant is
low, the performance of the air con-
ditioning is reduced. Overfilling also
reduces the performance of the air
conditioning system.
Therefore, if abnormal operation is
found, we recommend that the sys-
tem be inspected by an authorised
HYUNDAI dealer.
Vehicles equipped with R-134a
Because the refriger-
ant is at very high
pressure, the air con-
ditioning system
should only be serv-
iced by trained and certified
technicians. It is important that
the correct type and amount of
oil and refrigerant is used.
Otherwise, it may cause damage
to the vehicle and personal injury.
WA R N I N GODH044365R
■Example
Page 234 of 571
3-142
Convenient features of your vehicle
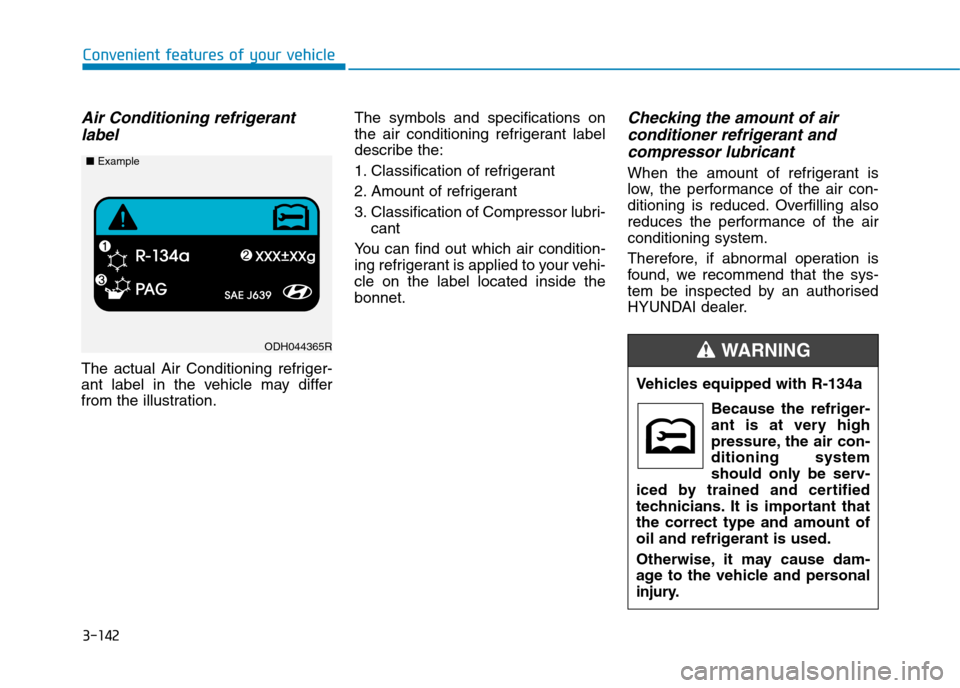
Air Conditioning refrigerant
label
The actual Air Conditioning refriger-
ant label in the vehicle may differ
from the illustration.
The symbols and specifications on
the air conditioning refrigerant label
describe the:
1. Classification of refrigerant
2. Amount of refrigerant
3. Classification of Compressor lubri-
cant
Yo u c a n f i n d o u t w h i c h a i r c o n d i t i o n -
ing refrigerant is applied to your vehi-
cle on the label located inside the
bonnet.
Checking the amount of air
conditioner refrigerant and
compressor lubricant
When the amount of refrigerant is
low, the performance of the air con-
ditioning is reduced. Overfilling also
reduces the performance of the air
conditioning system.
Therefore, if abnormal operation is
found, we recommend that the sys-
tem be inspected by an authorised
HYUNDAI dealer.
Vehicles equipped with R-134a
Because the refriger-
ant is at very high
pressure, the air con-
ditioning system
should only be serv-
iced by trained and certified
technicians. It is important that
the correct type and amount of
oil and refrigerant is used.
Otherwise, it may cause dam-
age to the vehicle and personal
injury.
WA R N I N GODH044365R
■Example
Page 437 of 571
5-61
Driving your vehicle
5
Driving in flooded areas
Avoid dr iving through flooded areas
unless you are sure the water is no
higher than the bottom of the wheel
hub. Drive through any water slowly.
Allow adequate stopping distance
because brake performance may be
reduced.
After driving through water, dry the
brakes by gently applying them sev-
eral times whilst the vehicle is mov-
ing slowly.
Highway driving
Ty r e s
Adjust the tyre inflation, as specified.
Under-inflation may overheat or
damage the tyres.
Do not install worn-out or damaged
tyres, which may reduce traction or
fail the braking operation.
Information
Never over-inflate your tyres above
the maximum inflation pressure, as
specified on your tyres.
Fuel, engine coolant and engine
oil
Driving at higher speeds on the high-
way consumes more fuel and is less
efficient than driving at a slower,
more moderate speed. Maintain a
moderate speed in order to conserve
fuel when driving on the highway.
Be sure to check both the engine
coolant level and the engine oil
before driving.
Drive belt
A loose or damaged drive belt may
overheat the engine.
i
Page 471 of 571
7
Maintenance
7
Maintenance
Engine compartment .............................................7-3
Maintenance services ...........................................7-4
Owne's responsibility........................................................7-4
Owner maintenance precautions ..................................7-4
Owner maintenance ...............................................7-5
Owner maintenance schedule ........................................7-6
Scheduled maintenance services.........................7-8
Normal Maintenance Schedule .....................................7-9
Maintenance under severe usage and
low mileage conditions ..................................................7-13
Explanation of scheduled maintenance items..7-15
Engine oil ..............................................................7-19
Checking the engine oil level ....................................7-19
Checking the engine oil and filter ..............................7-20
Engine coolant......................................................7-21
Checking the engine coolant level..............................7-21
Changing the coolant .....................................................7-23
Brake/clutch fluid ................................................7-24
Checking the brake/clutch fluid level ........................7-24
Washer fluid .........................................................7-26
Checking the washer fluid level ...............................7-26
Parking brake .......................................................7-27
Checking the parking brake .........................................7-27
Air cleaner ............................................................7-28
Filter replacement ...........................................................7-28
Climate control air filter .....................................7-30
Filter inspection ...............................................................7-30
Filter replacement ...........................................................7-30
Wiper blades .........................................................7-31
Blade inspection ..............................................................7-31
Blade replacement ..........................................................7-31
Battery...................................................................7-34
For best battery service................................................7-34
Battery capacity label ...................................................7-36
Battery recharging .......................................................7-36
Reset items .......................................................................7-37
Ty r e s a n d w h e e l s . . . . . . . . . . . . . . . . . . . . . . . . . . . . . . . . . . . . . . . . . . . . . . . . . 7 - 3 8
Ty r e c a r e . . . . . . . . . . . . . . . . . . . . . . . . . . . . . . . . . . . . . . . . . . . . . . . . . . . . . . . . . . . . . . . . . . . . . . . . . . . 7 - 3 8
Recommended cold tyre inflation pressures ...........7-38
Checking tyre inflation pressure.................................7-40
Ty r e r o t a t i o n . . . . . . . . . . . . . . . . . . . . . . . . . . . . . . . . . . . . . . . . . . . . . . . . . . . . . . . . . . . . . . . . . . . 7 - 4 1
Wheel alignment and tyre balance ..........................7-42
Ty r e r e p l a c e m e n t . . . . . . . . . . . . . . . . . . . . . . . . . . . . . . . . . . . . . . . . . . . . . . . . . . . . . . . . . . . . 7 - 4 2
Wheel replacement ........................................................7-44
Ty r e t r a c t i o n . . . . . . . . . . . . . . . . . . . . . . . . . . . . . . . . . . . . . . . . . . . . . . . . . . . . . . . . . . . . . . . . . . . . . 7 - 4 4
Ty r e m a i n t e n a n c e . . . . . . . . . . . . . . . . . . . . . . . . . . . . . . . . . . . . . . . . . . . . . . . . . . . . . . . . . . 7 - 4 4
Ty r e s i d e w a l l l a b e l l i n g . . . . . . . . . . . . . . . . . . . . . . . . . . . . . . . . . . . . . . . . . . . . . . . . . . . . 7 - 4 4
Low aspect ratio tyre ...................................................7-49
7
Page 476 of 571
7-6
Maintenance
Owner maintenance schedule
When you stop for fuel:
•Check the engine oil level.
•Check coolant level in the engine
coolant reservoir.
•Check the windscreen washer fluid
level.
•Check for low or under-inflated
tyres.
Whilst operating your vehicle:
•Note any changes in the sound of
the exhaust or any smell of exhaust
fumes in the vehicle.
•Check for vibrations in the steering
wheel. Notice if there is any
increased steering effort or loose-
ness in the steering wheel, or
change in its straight-ahead position.
•Notice if your vehicle constantly
turns slightly or “pulls” to one side
when travelling on smooth, level
road.
•When stopping, listen and check for
unusual sounds, pulling to one side,
increased brake pedal travel or
“hard-to-push” brake pedal.
•If any slipping or changes in the
operation of your transmission
occurs, check the transmission fluid
level.
•Check the automatic transmission
P (Park) function.
•Check the parking brake.
•Check for fluid leaks under your vehi-
cle (water dripping from the air con-
ditioning system during or after use
is normal).
At least monthly:
•Check coolant level in the engine
coolant reservoir.
•Check the operation of all exterior
lights, including the stoplights, turn
signals and hazard warning flashers.
•Check the inflation pressures of all
tyres including the spare for tyres
that are worn, show uneven wear,
or are damaged.
•Check for loose wheel lug nuts.
Be careful when checking your
engine coolant level when the
engine is hot. This may result in
coolant being blown out of the
opening and cause serious
burns and other injuries.
WA R N I N G
Page 552 of 571
7-82
Maintenance
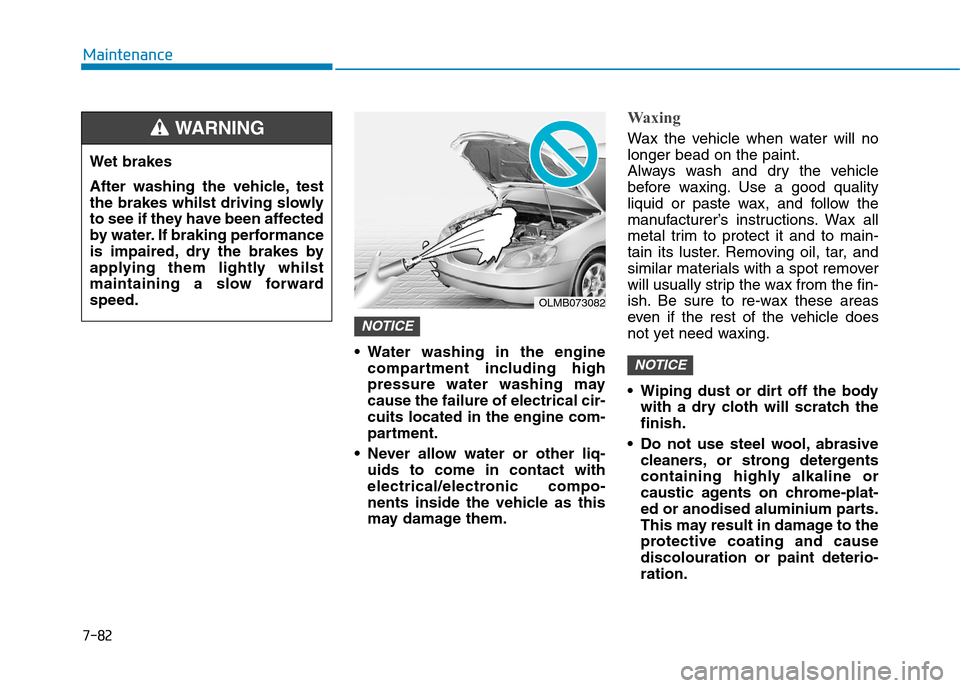
•Water washing in the engine
compartment including high
pressure water washing may
cause the failure of electrical cir-
cuits located in the engine com-
partment.
•Never allow water or other liq-
uids to come in contact with
electrical/electronic compo-
nents inside the vehicle as this
may damage them.
Waxing
Wax the vehicle when water will no
longer bead on the paint.
Always wash and dry the vehicle
before waxing. Use a good quality
liquid or paste wax, and follow the
manufacturer’s instructions. Wax all
metal trim to protect it and to main-
tain its luster. Removing oil, tar, and
similar materials with a spot remover
will usually strip the wax from the fin-
ish. Be sure to re-wax these areas
even if the rest of the vehicle does
not yet need waxing.
•Wiping dust or dirt off the body
with a dry cloth will scratch the
finish.
•Do not use steel wool,abrasive
cleaners, or strong detergents
containing highly alkaline or
caustic agents on chrome-plat-
ed or anodised aluminium parts.
This may result in damage to the
protective coating and cause
discolouration or paint deterio-
ration.
NOTICE
NOTICE
Wet brakes
After washing the vehicle, test
the brakes whilst driving slowly
to see if they have been affected
by water. If braking performance
is impaired, dry the brakes by
applying them lightly whilst
maintaining a slow forward
speed.
WA R N I N G
OLMB073082